
1. Introduction
Thank you for choosing the Art3d Pre-Cut Wall Molding Set. This product is designed to add depth, character, and a touch of elegance to your interior walls. Made from premium polystyrene, these ready-to-assemble panels offer a durable and paintable solution for transforming living rooms, bedrooms, and other spaces. This manual provides essential information for safe and effective installation.
2. Product Features
- Transformative Design: Adds traditional elegance with a contemporary refinement to walls.
- Premium Polystyrene Material: Stiff, sturdy, paintable, and resistant to moisture, warping, and cracking.
- Easy & Quick Installation: Pre-cut design for simple application using adhesive (not included), suitable for DIY enthusiasts.
- Wide Application: Enhances living rooms, bedrooms, bathrooms, doors, cabinets, and hallways.
- Coverage: Each package contains components for 3 decorative wall frames, suitable for a wall approximately 10ft high by 11ft wide.

Image: Features of Art3d Wall Molding, highlighting its high-strength, waterproof, lightweight, and paintable properties.
3. Package Contents
Your Art3d Pre-Cut Wall Molding Set includes the following:
- Pre-cut polystyrene molding pieces to assemble 3 decorative wall frames.
- Instruction guide (this document).
Note: Adhesive/glue is not included and must be purchased separately.
4. Safety Information
- Always wear appropriate personal protective equipment (PPE) such as gloves and eye protection during installation.
- Ensure the work area is well-ventilated when using adhesives or paints.
- Keep all materials and tools out of reach of children and pets.
- Follow the manufacturer's instructions for any adhesives or paints used with this product.
5. Installation Guide
5.1. Tools and Materials Required (Not Included)
- Strong adhesive or construction glue (e.g., liquid nails)
- Caulk gun (if using tube adhesive)
- Measuring tape
- Level (laser level recommended for accuracy)
- Pencil for marking
- Clean cloth
- Paint and brushes/rollers (if painting after installation)
- Caulk (for filling gaps, if desired)
5.2. Preparation
- Ensure your wall surface is clean, dry, and smooth. Remove any dust, dirt, or loose paint.
- Unpack all molding pieces and inspect them for any damage. The pieces are pre-cut and often numbered for easy assembly.
5.3. Measuring and Planning
- Determine the desired layout for your wall frames. The set is designed to create three frames. Refer to the product images for common layouts.
- Using a measuring tape and level, mark the positions of your frames on the wall with a pencil. Ensure all lines are straight and evenly spaced.

Image: Planning your molding layout with dimensions.
5.4. Applying Adhesive and Attaching Molding
- Apply a continuous bead of strong adhesive or construction glue to the back of each molding piece. Ensure good coverage, especially along the edges.
- Carefully align each molding piece with your pencil marks on the wall. Press firmly along the entire length of the molding to ensure good adhesion.
- Hold each piece in place for a few moments as the adhesive begins to set. You may use painter's tape to temporarily secure pieces if needed, especially for longer sections.
- Repeat for all pieces, assembling each frame one by one. The pre-cut angles should fit together seamlessly.

Image: Key steps in the installation process, including measuring, applying adhesive, and placing molding.
5.5. Finishing Touches
- Once all molding pieces are securely attached and the adhesive has dried (refer to adhesive manufacturer's drying times), you can apply caulk to any small gaps between the molding and the wall for a smooth, professional finish.
- If desired, paint the molding and the wall to match or create a contrasting look. The polystyrene material is paintable.
Video: Official product video demonstrating the features and ease of installation of the Art3d Pre-Cut Wall Molding Set.
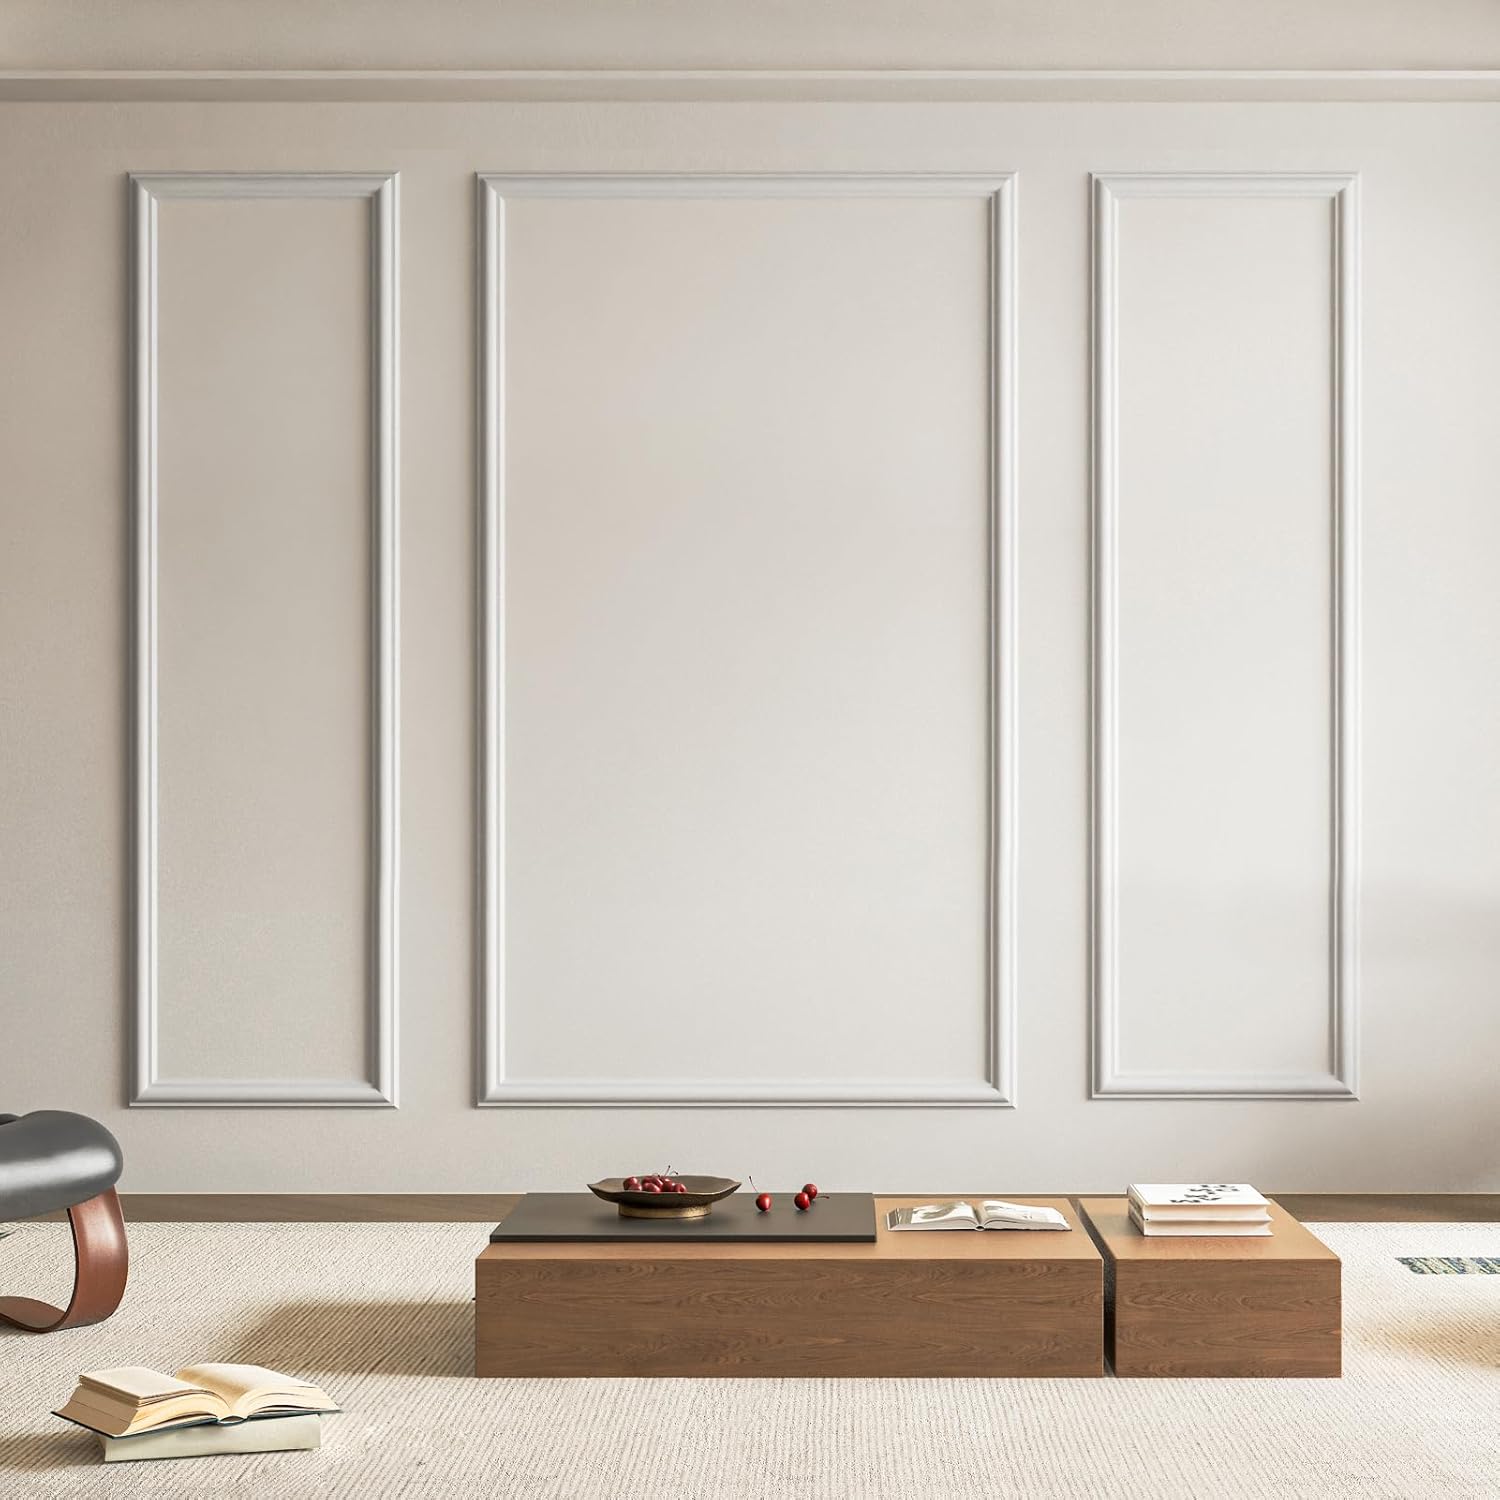
Image: Completed installation of Art3d Pre-Cut Wall Molding Set in a living room.

Image: Art3d Wall Molding installed in a bedroom, adding decorative frames.

Image: Before and after view of a wall transformed with Art3d Wall Molding.

Image: Family installing Art3d Wall Molding, demonstrating ease of DIY.
6. Usage and Application
The Art3d Pre-Cut Wall Molding Set is versatile and can be used in various indoor settings to enhance aesthetic appeal. Common applications include:
- Creating accent walls in living rooms and bedrooms.
- Adding decorative trim to hallways and entryways.
- Enhancing the appearance of doors and cabinet panels.
- Suitable for both residential and commercial interior decor projects.

Image: Examples of wide application for Art3d Wall Molding in different interior spaces.
7. Maintenance
- Clean the molding with a soft, damp cloth. Avoid abrasive cleaners or harsh chemicals that could damage the finish or material.
- If painted, touch up paint as needed to maintain the desired appearance.
- Periodically check for any signs of loosening or damage. Reapply adhesive or caulk if necessary.
8. Troubleshooting
- Molding not adhering: Ensure the wall surface is clean and dry. Use a high-quality construction adhesive and apply sufficient pressure during installation. Allow adequate drying time.
- Gaps between pieces or wall: Use paintable caulk to fill any small gaps for a seamless finish.
- Uneven alignment: Use a level during the marking and installation phases to ensure straight lines. Adjust pieces quickly before the adhesive fully sets.
9. Specifications
| Attribute | Detail |
|---|---|
| Brand | Art3d |
| Model Number | A20101 |
| Material | Polystyrene |
| Color | White |
| Style | Modern (3 Frames) |
| Product Dimensions | 96 x 96 x 1.7 inches (approximate coverage for 3 frames) |
| Item Weight | 5.2 Pounds |
| Number of Pieces | 24 (to form 3 frames) |
| Installation Method | Glue (adhesive not included) |

Image: Polystyrene material used in Art3d Wall Molding, highlighting its recycled nature.
10. Warranty and Support
For warranty information or product support, please refer to the seller's contact details on the purchase platform or visit the official Art3d website. Keep your proof of purchase for any warranty claims.