
1. Important Safety Information
Before beginning any repair or installation, ensure the appliance is disconnected from the power supply to prevent electric shock. Wear appropriate safety gear, such as gloves, if necessary. If you are unsure about any step, consult a qualified technician.
2. Package Contents
Verify that all components are present in your package:
- 1 x Door Handle (Original Part Number: 4244570100)
- 1 x Spring (Original Part Number: 4244510100)
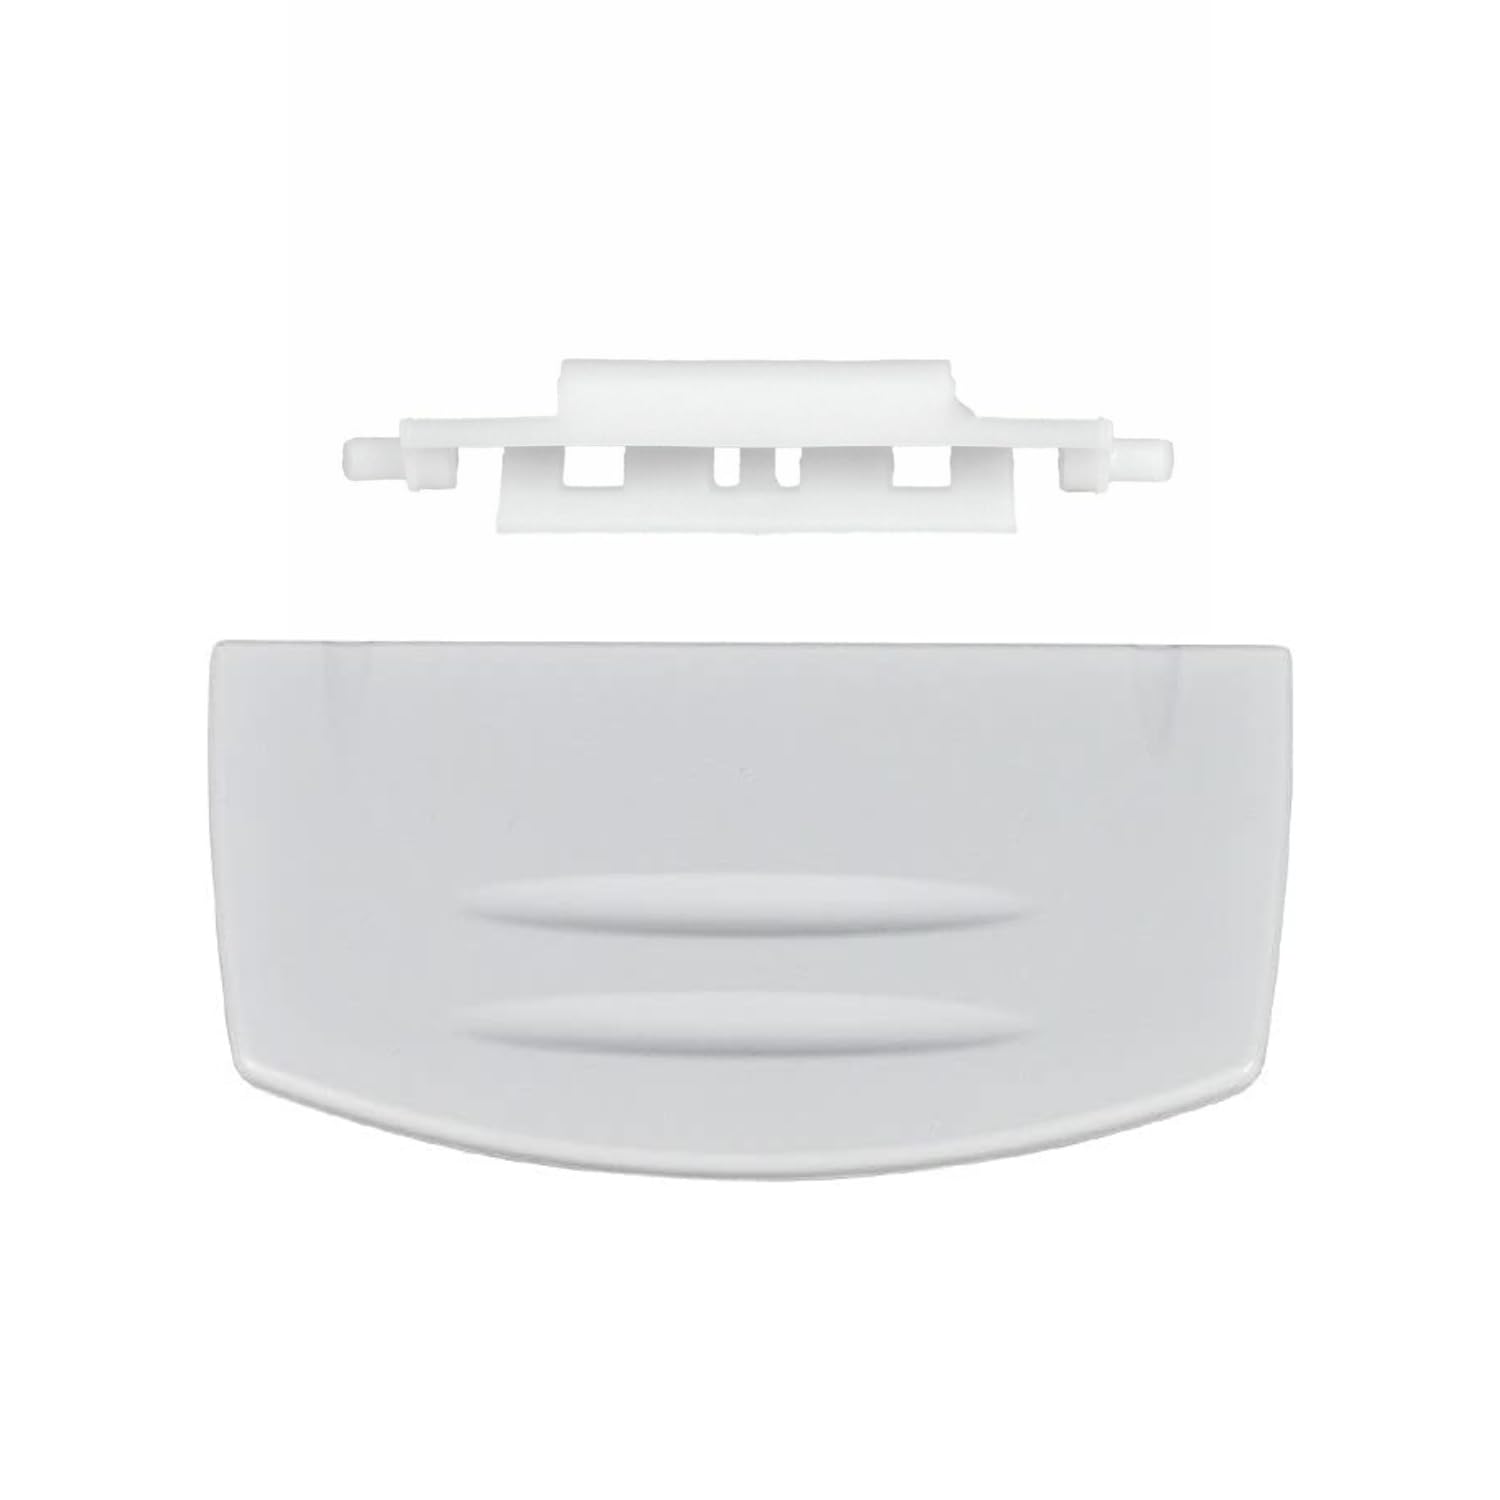
Image 1: The complete kit, showing the white plastic door handle and the smaller white plastic spring component.
3. Installation Instructions
Follow these steps to replace the door handle and spring on your Beko refrigerator or freezer.
- Preparation: Disconnect the appliance from the main power supply. Open the refrigerator/freezer door to access the handle area.
- Remove Old Handle: Carefully remove the old or broken door handle. This may involve unscrewing fasteners or gently prying it off, depending on your specific Beko model. Note how the old spring was positioned.
- Inspect Mounting Area: Clean any debris from the handle mounting area on the door.
- Insert New Spring: Take the new spring (part number 4244510100) and insert it into the designated slot within the new door handle (part number 4244570100). Ensure it is seated correctly.

Image 2: The spring component being inserted into the main door handle body, showing the correct alignment.
- Attach New Handle: Align the new door handle assembly with the mounting points on the refrigerator/freezer door. Press firmly or secure with screws if applicable, ensuring a snug fit.

Image 3: The reverse side of the door handle, illustrating the clips and recesses designed for attachment to the appliance door.
- Test Operation: Gently open and close the door several times to ensure the new handle operates smoothly and securely.
- Reconnect Power: Once satisfied with the installation, reconnect the appliance to the power supply.
4. Operating the Handle
After successful installation, the door handle functions identically to the original part. Apply gentle, even pressure to open the refrigerator or freezer door. The spring mechanism assists in the smooth operation of the handle.
5. Maintenance
To ensure longevity and hygiene of your new door handle:
- Cleaning: Wipe the handle regularly with a soft cloth dampened with mild soap and water. Avoid abrasive cleaners or solvents, as these can damage the plastic finish.
- Inspection: Periodically check the handle for any signs of looseness or damage. Address any issues promptly to prevent further wear.
6. Troubleshooting
If you encounter issues after installation:
- Handle feels loose: Ensure all mounting points are securely fastened. Re-check the installation steps to confirm the handle is correctly seated.
- Door not opening smoothly: Verify that the spring is correctly inserted and not obstructed. Ensure no debris is preventing the handle from moving freely.
- Handle breaks again: This may indicate excessive force being applied to the handle or an underlying issue with the door mechanism. Consider professional inspection if the problem persists.
7. Specifications
| Brand | Generisch (Compatible with Beko appliances) |
| Color | White |
| Material | Plastic |
| Included Components | 1 x Door Handle (4244570100), 1 x Spring (4244510100) |
| Product Dimensions (Packaging/Overall) | Approximately 42L x 20B centimeters |
| Actual Handle Dimensions (Front) | Length: 10 cm, Width: 5.4 cm |
| Actual Handle Dimensions (Rear) | Width: 7.2 cm (at mounting points), Hole Diameter: 4.5 mm |

Image 4: Front view of the handle, indicating a length of 10 cm and a width of 5.4 cm.

Image 5: Rear view of the handle, showing a width of 7.2 cm and a mounting hole diameter of 4.5 mm.
8. Support
If you have any further questions regarding the installation, compatibility, or operation of this product, please contact the seller for assistance. We are committed to helping you.