1. Introduction and Safety Information
This manual provides essential instructions for the safe operation, assembly, maintenance, and storage of your PowerSmart 21-inch 15 Amp Electric Snow Blower, Model DB7521. Please read all instructions carefully before use to ensure proper function and to prevent injury or damage.
General Safety Warnings
- Always wear appropriate personal protective equipment, including eye protection and sturdy footwear.
- Be aware of rotating parts. Keep hands, feet, and clothing away from the auger and discharge chute during operation.
- This is an electric unit. Use only UL-rated extension cords suitable for outdoor use and rated for the snow blower's amperage.
- Ensure proper ventilation when operating any power equipment.
- Do not operate the snow blower in wet conditions or rain.
- Always disconnect power before performing any maintenance or clearing blockages.
- The product is equipped with overload protection to prevent damage from excessive power.
2. Product Overview and Components
The PowerSmart DB7521 is a corded electric snow blower designed for efficient snow removal from driveways, sidewalks, and other paved surfaces. It features a powerful 15 Amp motor, a 21-inch clearing width, and an adjustable discharge chute.

Figure 2.1: Overall view of the PowerSmart 21-inch Electric Snow Blower, highlighting its compact design and control panel on the handle.
Key Components:
- 15 Amp Motor: Provides power for snow clearing.
- 21-inch Clearing Width: The width of snow cleared in a single pass.
- 12.5-inch Clearing Depth: The maximum depth of snow the unit can effectively clear.
- Adjustable Chute Deflector: Controls the height of snow discharge.
- 180-degree Rotating Chute: Allows control over the direction of snow discharge.
- Dual LED Lights: Enhances visibility during low-light operation.
- Reinforced Auger: Designed for durability and effective snow collection.
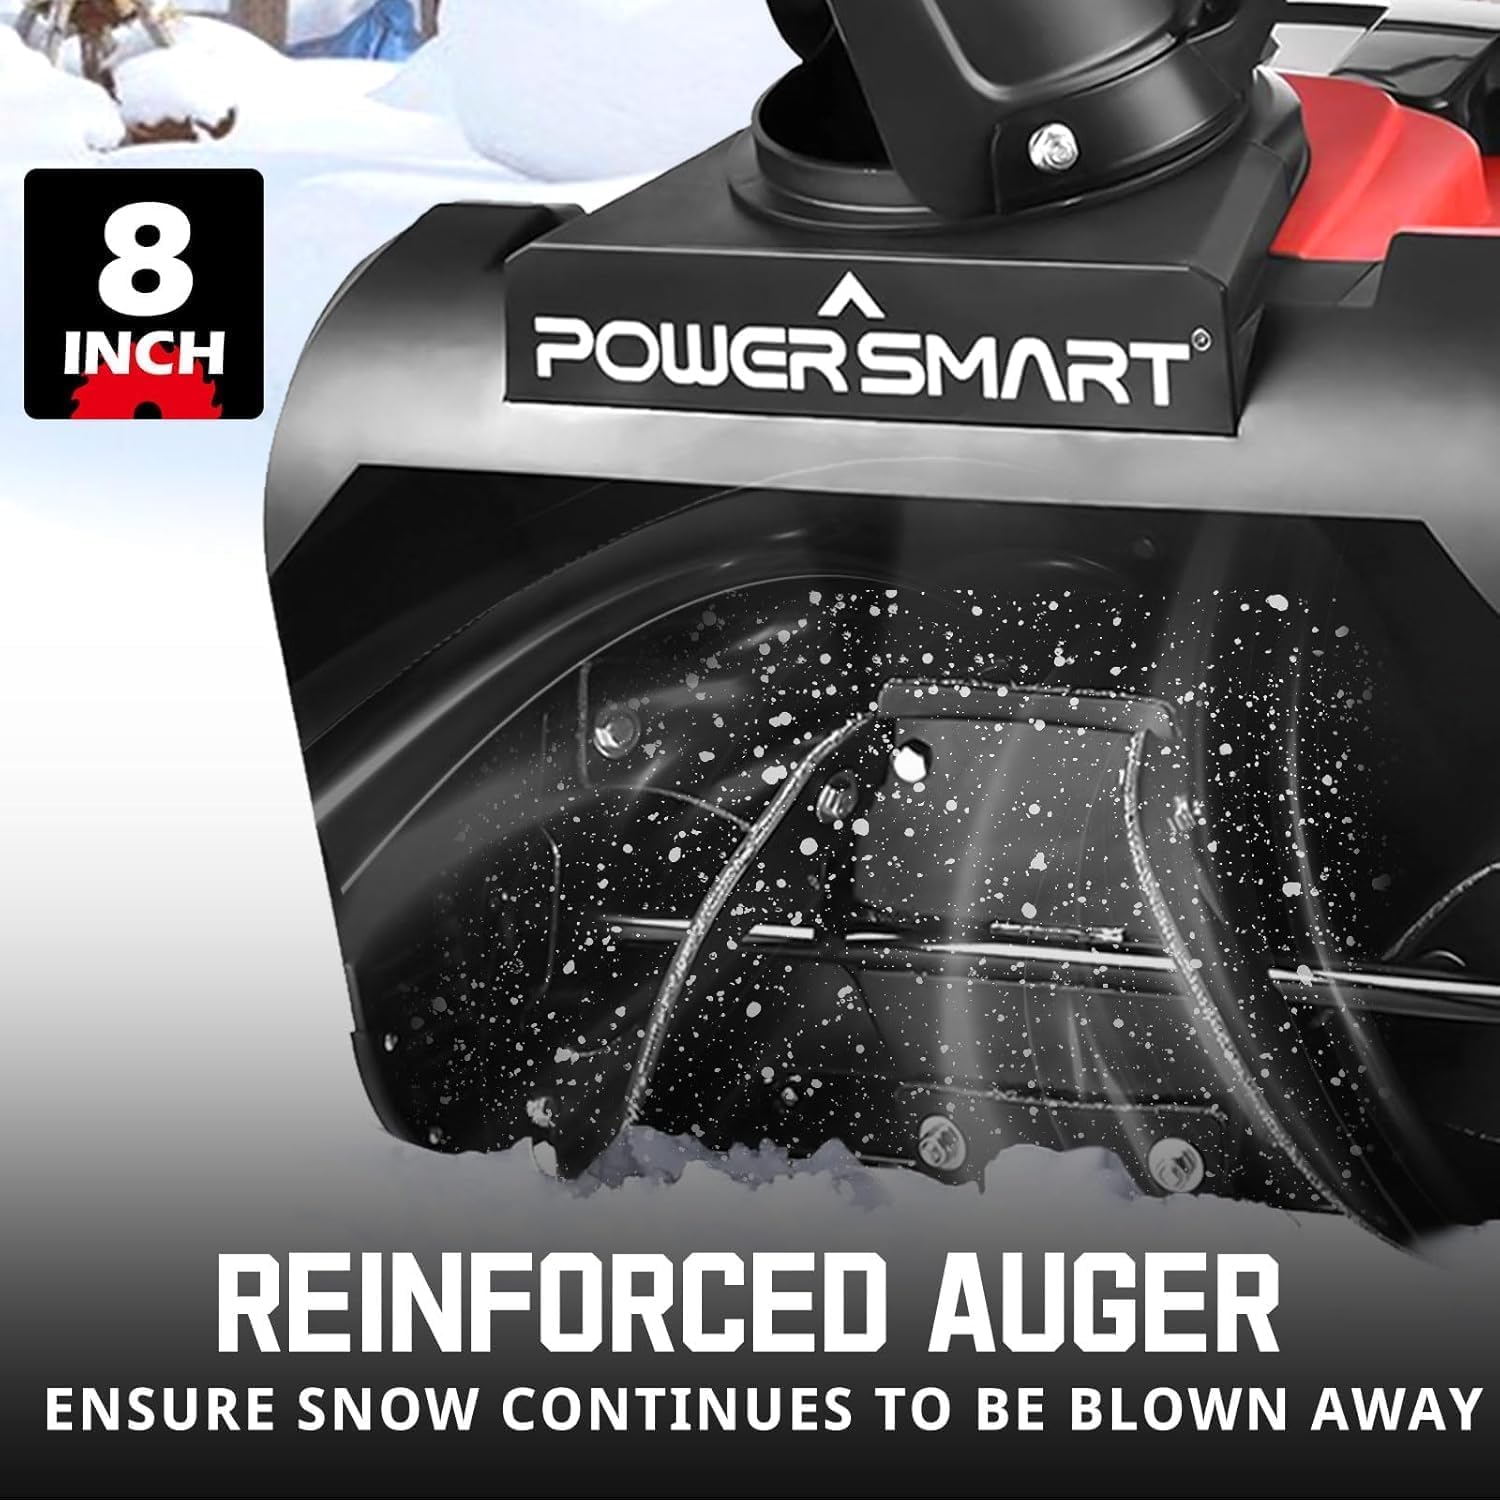
Figure 2.2: Close-up view of the 8-inch reinforced rubber auger, designed to efficiently collect and throw snow.
3. Assembly and Setup
Your PowerSmart snow blower requires minimal assembly. Follow these steps to prepare your unit for operation.
- Handle Assembly: Attach the upper handle to the lower handle using the provided hardware. Ensure all bolts are securely tightened.
- Chute Assembly: Secure the discharge chute to the main unit. Ensure it rotates freely and the deflector mechanism is functional.
- Power Cord Connection: Connect the snow blower's power cord to a suitable outdoor-rated extension cord. Ensure the extension cord is rated for 15 Amps and is of appropriate gauge for its length to prevent voltage drop.

Figure 3.1: The push-button start mechanism located on the handle for convenient operation.
4. Operating Instructions
Follow these steps for safe and effective snow removal.
- Pre-Operation Check: Inspect the area to be cleared for any objects that could be thrown by the auger. Ensure the extension cord is clear of the clearing path.
- Starting the Unit: Connect the extension cord to a power outlet. Press the push-button start on the handle to activate the motor.
- Clearing Snow: Push the snow blower forward into the snow. The 15 Amp motor and 2100 RPM rotation speed are designed to handle heavy snow.
- Adjusting Snow Discharge: Use the 180-degree rotating chute to direct snow away from cleared areas. Adjust the chute deflector to control the throwing height. The unit can throw snow up to 30 feet.
- Using LED Lights: Activate the dual LED lights for improved visibility when operating in low-light conditions.
- Stopping the Unit: Release the handle or press the stop button to turn off the motor. Disconnect the extension cord from the power outlet after use.

Figure 4.1: Demonstrating the snow blower's maximum clearing capability of 21 inches wide and 12.5 inches deep.

Figure 4.2: Illustrating the snow throwing distance of up to 30 feet, allowing snow to be moved away from the clearing area.
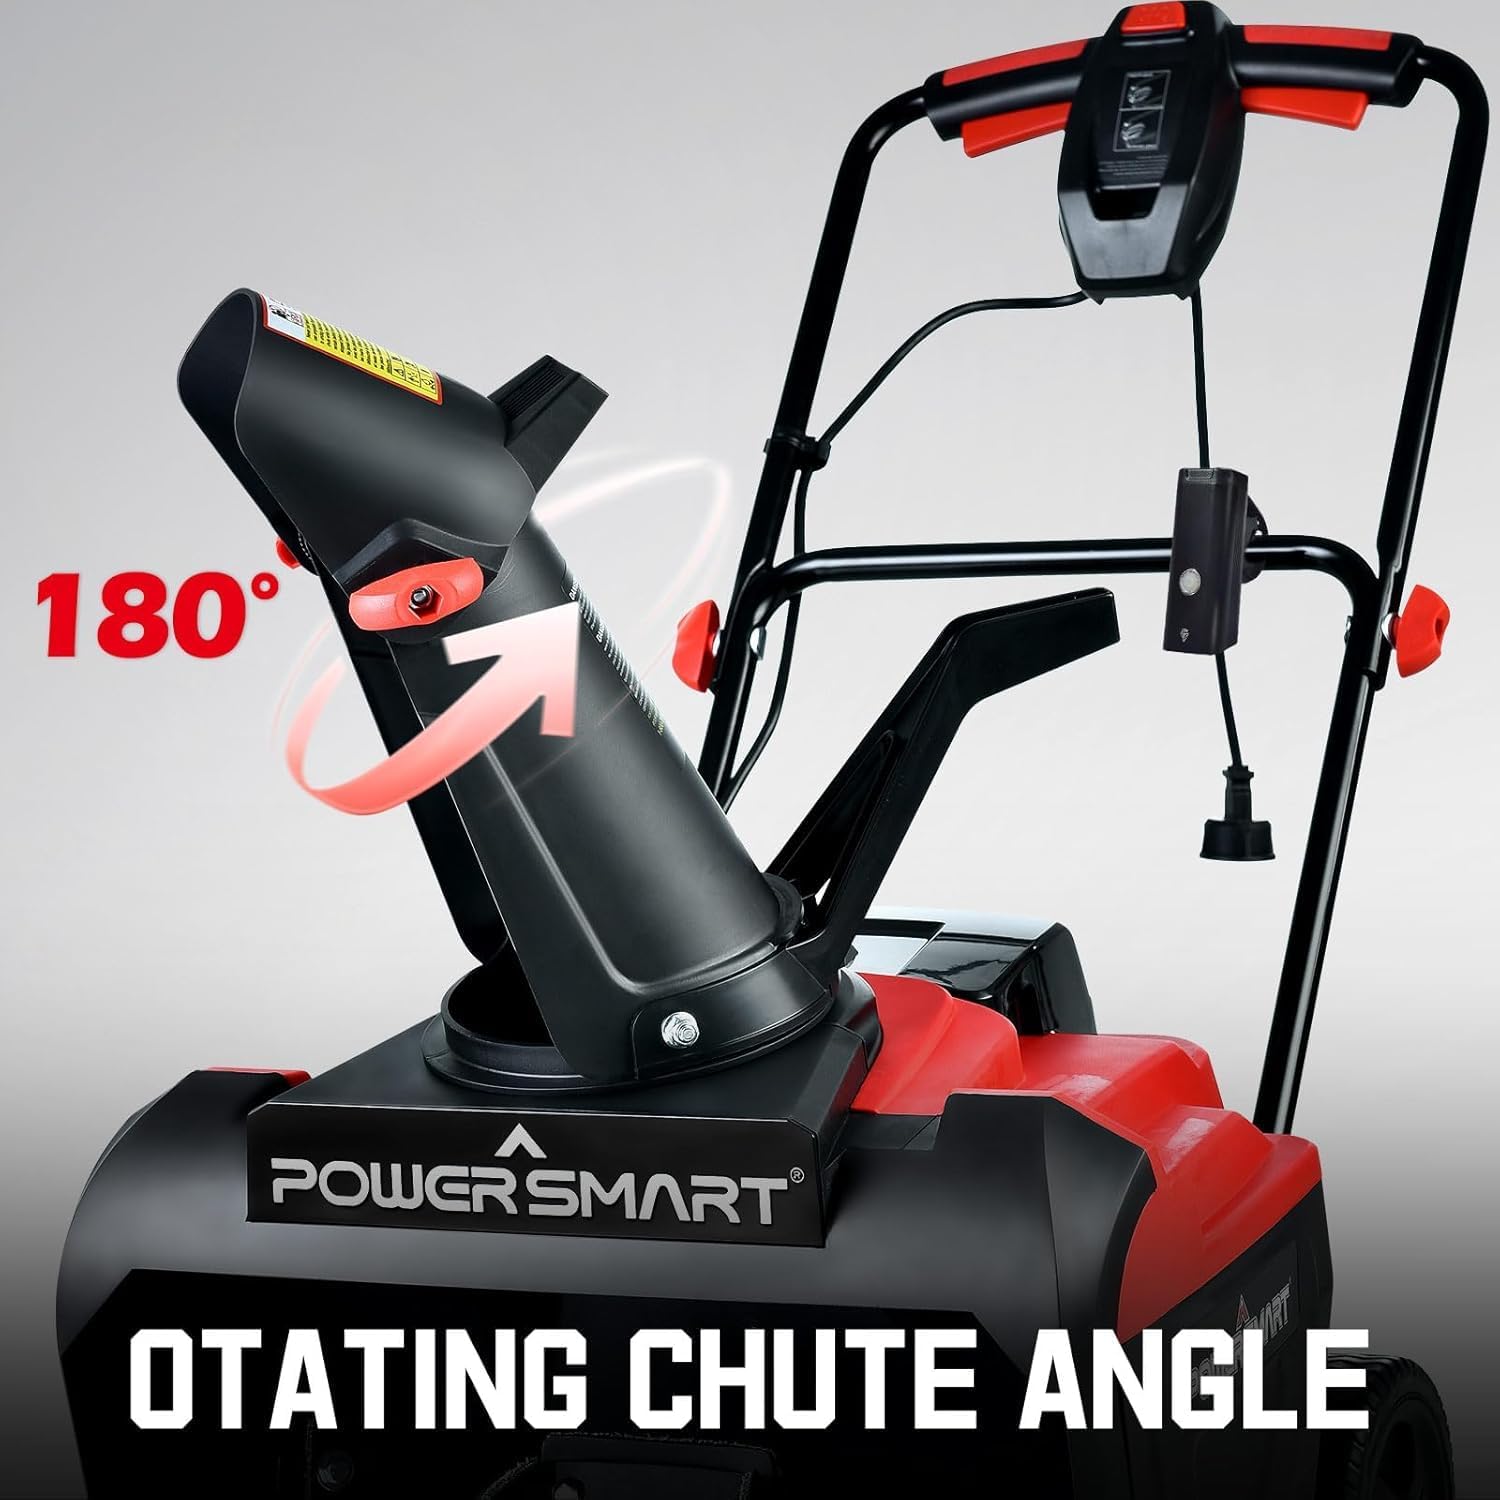
Figure 4.3: The 180-degree rotating chute, providing control over the direction of snow discharge.
5. Maintenance and Storage
Proper maintenance ensures the longevity and optimal performance of your snow blower.
- After Each Use:
- Disconnect power.
- Clear any remaining snow or debris from the auger housing and chute using the provided cleaning tool or a non-metallic object.
- Wipe down the exterior with a damp cloth.
- Seasonal Maintenance:
- Inspect the auger for wear or damage. Replace if necessary.
- Check all fasteners for tightness.
- Inspect the power cord and extension cord for any cuts or damage.
- Storage:
- Store the snow blower in a dry, protected area away from direct sunlight and moisture.
- Ensure the unit is clean and dry before storing.
6. Troubleshooting
Refer to this section for common issues and their solutions.
| Problem | Possible Cause | Solution |
|---|---|---|
| Snow blower does not start. | No power supply; tripped circuit breaker; faulty extension cord. | Check power connection and outlet. Reset circuit breaker. Inspect and replace extension cord if damaged. |
| Snow discharge is weak or clogged. | Wet, heavy snow; auger housing or chute clogged; worn auger. | Clear snow in smaller passes. Disconnect power and clear blockage with a non-metallic tool. Inspect auger for wear. |
| Unit struggles with heavy snow. | Overload protection activated; snow depth exceeds capacity. | Clear snow in narrower or shallower passes. Allow motor to cool if overload protection has engaged. |
7. Specifications
Technical details for the PowerSmart 21-inch Electric Snow Blower, Model DB7521.
| Feature | Detail |
|---|---|
| Brand | PowerSmart |
| Model Number | DB7521 |
| Power Source | Corded Electric (AC) |
| Motor | 15 Amp |
| Motor Speed | 2100 RPM |
| Clearing Width | 21 Inches |
| Ideal Snow Depth | 12.5 Inches |
| Throwing Distance | Up to 30 feet |
| Product Dimensions (D x W x H) | 37.7" x 20.8" x 38" |
| Item Weight | 49.9 pounds |
| Voltage | 120 Volts (AC) |

Figure 7.1: Dimensional overview of the PowerSmart snow blower, showing height, depth, and width.
8. Warranty and Customer Support
For warranty information or technical assistance, please contact PowerSmart customer support.
Customer Support Email: support2@powersmartusa.com

Figure 8.1: PowerSmart's customer support team is available to provide assistance.


