
msi PRO MP251 E2
MSI PRO MP251 E2 Monitor User Manual
Model: PRO MP251 E2
Introduction
This manual provides detailed instructions for the setup, operation, maintenance, and troubleshooting of your MSI PRO MP251 E2 monitor. Please read this manual thoroughly before using the product to ensure proper and safe operation.

Front view of the MSI PRO MP251 E2 monitor, showcasing its 24.5-inch IPS display.
Important Safety Information
To ensure safe operation and prevent damage, please observe the following precautions:
- Always place the monitor on a stable, flat surface.
- Do not block ventilation openings. Ensure adequate airflow around the monitor.
- Use only the power adapter and cables supplied by the manufacturer.
- Keep the monitor away from water, moisture, and extreme temperatures.
- Do not attempt to disassemble or repair the monitor yourself. Refer all servicing to qualified personnel.
- Unplug the monitor from the power outlet during lightning storms or when unused for long periods.
Package Contents
Please check that all items are present in your package:
- MSI PRO MP251 E2 Monitor
- Monitor Stand (Base and Neck)
- Power Adapter and Power Cord
- HDMI Cable
- Quick Start Guide
- Warranty Card
Setup Guide
1. Assembling the Stand
- Carefully remove the monitor from its packaging, keeping the screen protected.
- Attach the stand neck to the monitor panel.
- Secure the stand base to the neck using the provided screw.
- Place the assembled monitor on a stable desk.
2. Connecting Cables
Connect the necessary cables to the monitor's rear ports:
Rear view of the monitor, highlighting the various input ports including DC Jack, DisplayPort 1.4a, HDMI 2.0, D-Sub (VGA), Line-in, and Headphone-out.
- Power Connection: Connect the power adapter to the monitor's DC Jack and then plug the power cord into a wall outlet.
- Video Connection: Connect one end of the HDMI cable (or DisplayPort/VGA cable) to the corresponding port on your computer and the other end to the monitor.
- Audio Connection (Optional): If using external speakers or headphones, connect them to the Line-in or Headphone-out port.
3. Initial Power-On
Press the power button located on the monitor to turn it on. The monitor will automatically detect the active input source. If no signal is detected, ensure your computer is on and the video cable is securely connected.

Front view of the monitor, indicating the general location of the power button and OSD controls.
Operating Instructions
1. On-Screen Display (OSD) Navigation
The OSD menu allows you to adjust various monitor settings. Use the joystick or buttons located on the back or bottom of the monitor to navigate:
- Press Joystick/Button: Enter OSD menu / Confirm selection.
- Move Joystick Up/Down: Navigate menu options.
- Move Joystick Left/Right: Adjust values / Go back.
2. Adjusting Display Settings
Common settings you can adjust include:
- Brightness/Contrast: Adjust the overall luminance and contrast ratio.
- Color Temperature: Select predefined color modes (e.g., Warm, Cool, User) or adjust RGB values manually.
- Input Source: Manually select between HDMI, DisplayPort, or VGA inputs.
- Refresh Rate: The monitor supports up to 120Hz. Ensure your graphics card settings are configured to utilize the higher refresh rate.
- Aspect Ratio: Adjust between Full, 4:3, or 16:9 modes.
3. Using Built-in Speakers
The MSI PRO MP251 E2 monitor features built-in speakers. Ensure your audio output from the computer is set to the monitor. Volume can be adjusted via the OSD menu or your computer's sound settings.
4. Eye Care Features (EyesErgo Tech)
The monitor incorporates MSI's EyesErgo Tech, including TÜV certified display for reduced blue light and flicker-free technology, designed to minimize eye strain during prolonged use.

Visual representation of MSI Eye Care Technology, including Less Blue Light, Anti-Flicker, and Anti-Glare features for improved eye comfort.
The MSI Eye-Q Check feature helps users perform self-checks for eye health and reminds them to take breaks when using the monitor for extended periods.
5. Accessory Slot
The monitor stand includes an accessory slot designed to help organize small peripherals, contributing to a clutter-free workspace.

The accessory slot on the monitor stand, shown with a smartphone placed within it for organized desk space.
Maintenance
To maintain the performance and appearance of your monitor:
- Always unplug the monitor before cleaning.
- Use a soft, lint-free cloth slightly dampened with water or a mild, non-abrasive screen cleaner.
- Do not spray cleaner directly onto the screen.
- Avoid using harsh chemicals, solvents, or abrasive materials.
- Clean the ventilation openings regularly to prevent dust buildup.
Troubleshooting
If you encounter issues with your monitor, refer to the following table for common problems and solutions:
| Problem | Possible Solution |
|---|---|
| No image on screen | Ensure the power cable is securely connected. Check if the video cable (HDMI/DP/VGA) is properly connected to both the monitor and the computer. Verify the correct input source is selected in the OSD menu. |
| Image is blurry or distorted | Check the display resolution settings on your computer and ensure they match the monitor's native resolution (1920x1080). Adjust the refresh rate if necessary. |
| No sound from speakers | Ensure the audio output on your computer is set to the monitor. Check the volume level in the monitor's OSD menu and on your computer. |
| Monitor flickers | Ensure the video cable is securely connected. Try a different video cable. Check for external interference. The monitor has anti-flicker technology, but extreme conditions might cause issues. |
| OSD menu does not appear | Ensure the monitor is powered on. Press the OSD joystick/button firmly. |
Specifications
Detailed technical specifications for the MSI PRO MP251 E2 monitor:
Key features of the MSI PRO MP251 E2 monitor, including screen size, resolution, refresh rate, response time, panel type, HDR readiness, and built-in speakers.
| Feature | Detail |
|---|---|
| Product Dimensions | 7.4 x 21.92 x 16.3 inches; 10 Pounds |
| Item model number | PRO MP251 E2 |
| Manufacturer | MSI |
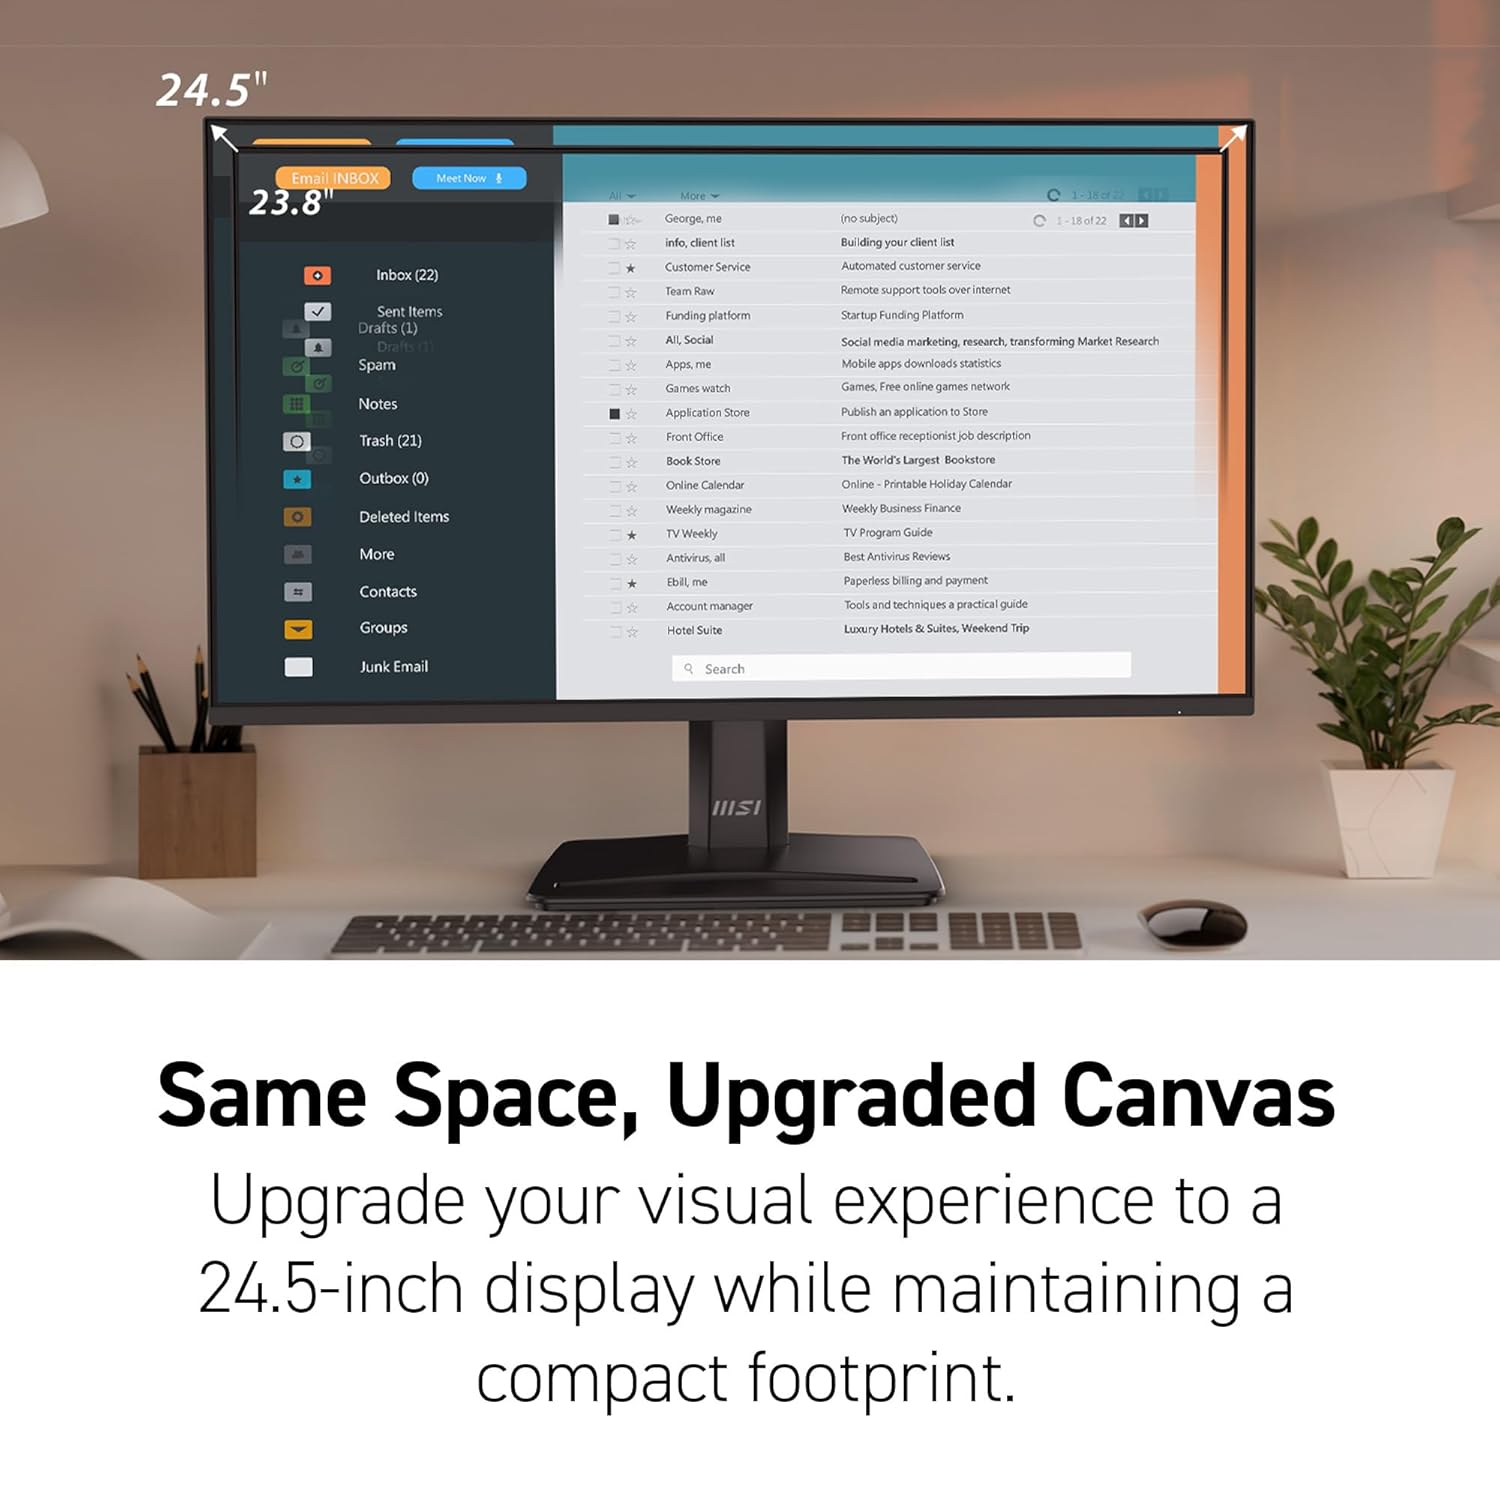
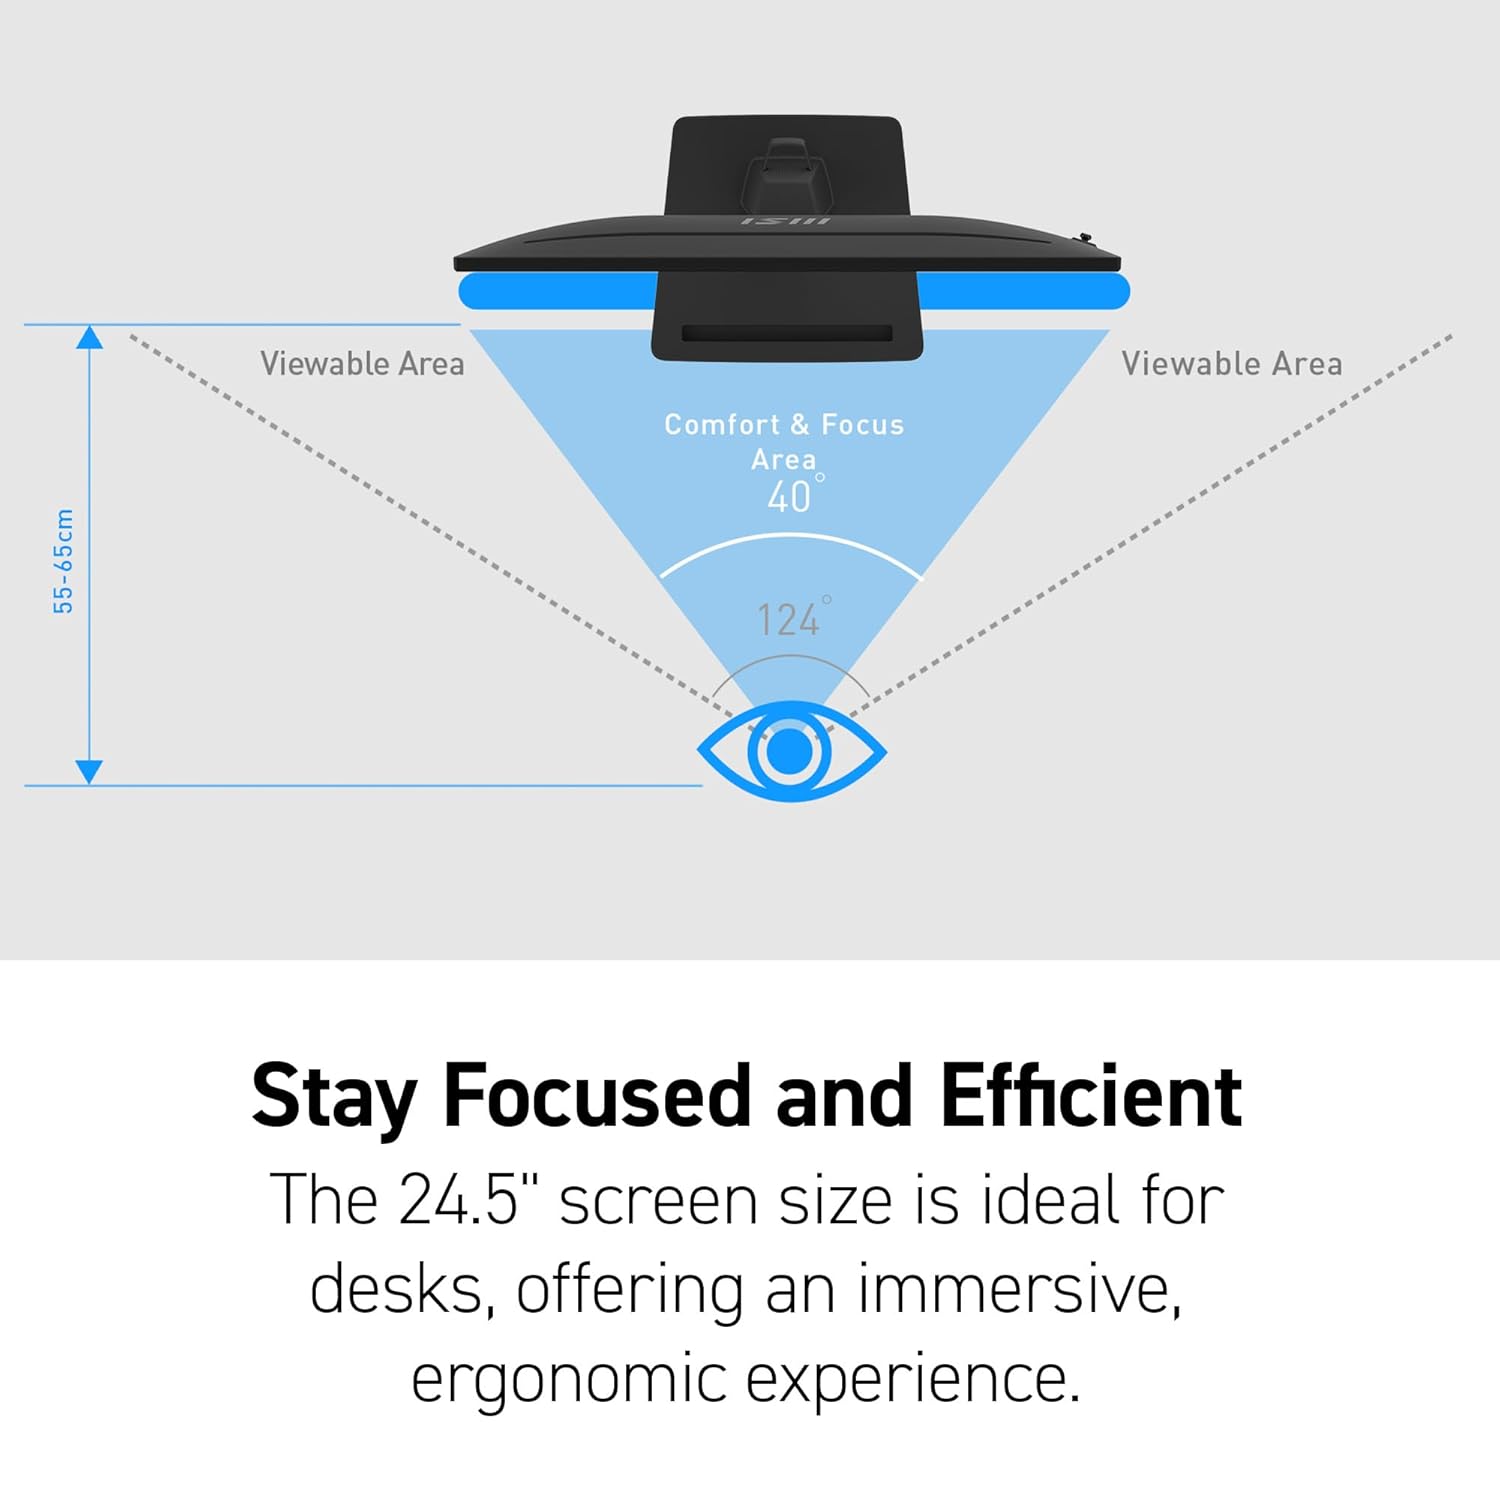
| Screen Size | 24.5 inches |
| Resolution | FHD 1080p (1920 x 1080) |
| Aspect Ratio | 16:9 |
| Refresh Rate | 120 Hz |
| Response Time | 1ms (MPRT) |
| Panel Type | IPS |
| Viewing Angle | 178° Wide Viewing Angle |
| Screen Surface Description | Matte |
| Video Ports | HDMI, VGA, DisplayPort |
| Audio Ports | Line-in, Headphone-out |
| Speakers | Built-in Speakers |
| VESA Mountable | Yes |
| Tilt Adjustment | Yes |
| Eye Care Technology | TÜV certified, Less Blue Light, Anti-Flicker, Anti-Glare, MSI Eye-Q Check |
Warranty and Support
Your MSI PRO MP251 E2 monitor comes with a standard manufacturer's warranty. Please refer to the warranty card included in your package for specific terms and conditions, including warranty period and coverage details.
For technical support, driver downloads, or further assistance, please visit the official MSI support website or contact their customer service. Keep your purchase receipt and product serial number handy for any warranty claims.
Official MSI Support Website: www.msi.com/support
Related documentsPRO MP251 E2


Ask a question about this manual
Ask about setup, troubleshooting, compatibility, parts, safety, or missing instructions. Manuals+ will review the question and use this page’s manual context to help answer it.