
PowMr POW-LVM3.6M-24V
Contents
PowMr 3600W Solar Inverter Instruction Manual
Model: POW-LVM3.6M-24V
1. Product Overview
The PowMr 3600W Solar Inverter is an advanced pure sine wave solar inverter charger designed for off-grid solar power systems. It features a full digital voltage and current double closed-loop control, advanced SPWM technology, and a built-in 120A MPPT controller with an 80A AC charger. This versatile inverter supports various power sources including utility, generator, and solar charging, making it suitable for a wide range of applications from home and office loads to RVs and camping setups.

Figure 1.1: PowMr 3600W Solar Inverter (Model: POW-LVM3.6M-24V)
2. Safety Information
WARNING: Please read and understand all safety instructions before installation and operation. Failure to follow these instructions may result in electric shock, fire, serious injury, or death.
- Ensure all power sources are disconnected before performing any wiring or maintenance.
- Installation should be performed by qualified personnel.
- Do not expose the inverter to rain, snow, spray, or excessive dust.
- Ensure proper grounding of the inverter.
- Verify battery voltage and polarity before connecting to the inverter.
- Use appropriately sized cables and circuit breakers as specified in the technical parameters.
3. Product Features
- 3600W Pure Sine Wave Output: Provides clean and stable power for sensitive electronics.
- Built-in 120A MPPT Controller: Maximizes solar power harvesting efficiency.
- 80A AC Charger: Allows for efficient charging from utility or generator sources.
- Multiple Charging Modes: Supports solar first, solar and utility, and solar-only charging.
- Multiple Output Modes: Offers utility first, solar first, and SBU priority for load management.
- LCD Real-Time Display: Provides dynamic system data and operating status, allowing for adjustable input voltage range and battery charging current.
- Battery Compatibility: Suitable for 24V lead-acid (sealed, AGM, gel, flooded) and lithium batteries.
- Wide Application: Can power various home and office loads, including refrigerators, lamps, televisions, fans, and air conditioners.
4. Technical Specifications
| Parameter | Value |
|---|---|
| Product Dimensions | 16.65 x 4.33 x 13.14 inches |
| Item Weight | 19.8 pounds |
| Model Number | POW-LVM3.6M-24V |
| Brand | PowMr |
| Recommended Uses | Office, Home |
| Power Source | Solar Powered |
| Wattage | 3600 watts |
| Max PV Input | 4200W, 500V (VOC), 18A |
| Max PV Output | 120A |
| Hybrid Charging Max Current (AC+PV) | 120A |
| PV Starting Voltage | >60V (suggest all solar panels in series) |
| Suggested PV & AC Cable Size | 12AWG |
| Suggested Battery Cable Size | 2AWG |
5. Installation Guide
This section provides step-by-step instructions for installing your PowMr Solar Inverter. For a visual guide, please refer to the official installation video below.
Video 5.1: 24V Solar Inverter Wiring Guide by PowMr. This video demonstrates the complete installation and wiring process for the POW-LVM3.6M-24V all-in-one solar inverter, including mounting, battery connections, PV array connections, and AC input/output wiring.
5.1. Site Selection and Mounting
- Determine Installation Location: Choose a suitable, dry, and well-ventilated location for the inverter. Ensure there is enough space for air circulation and cable connections.
- Mount the Inverter: Secure the inverter to a sturdy wall using two screws through the mounting holes located at the top of the inverter. Ensure it is level and firmly attached.
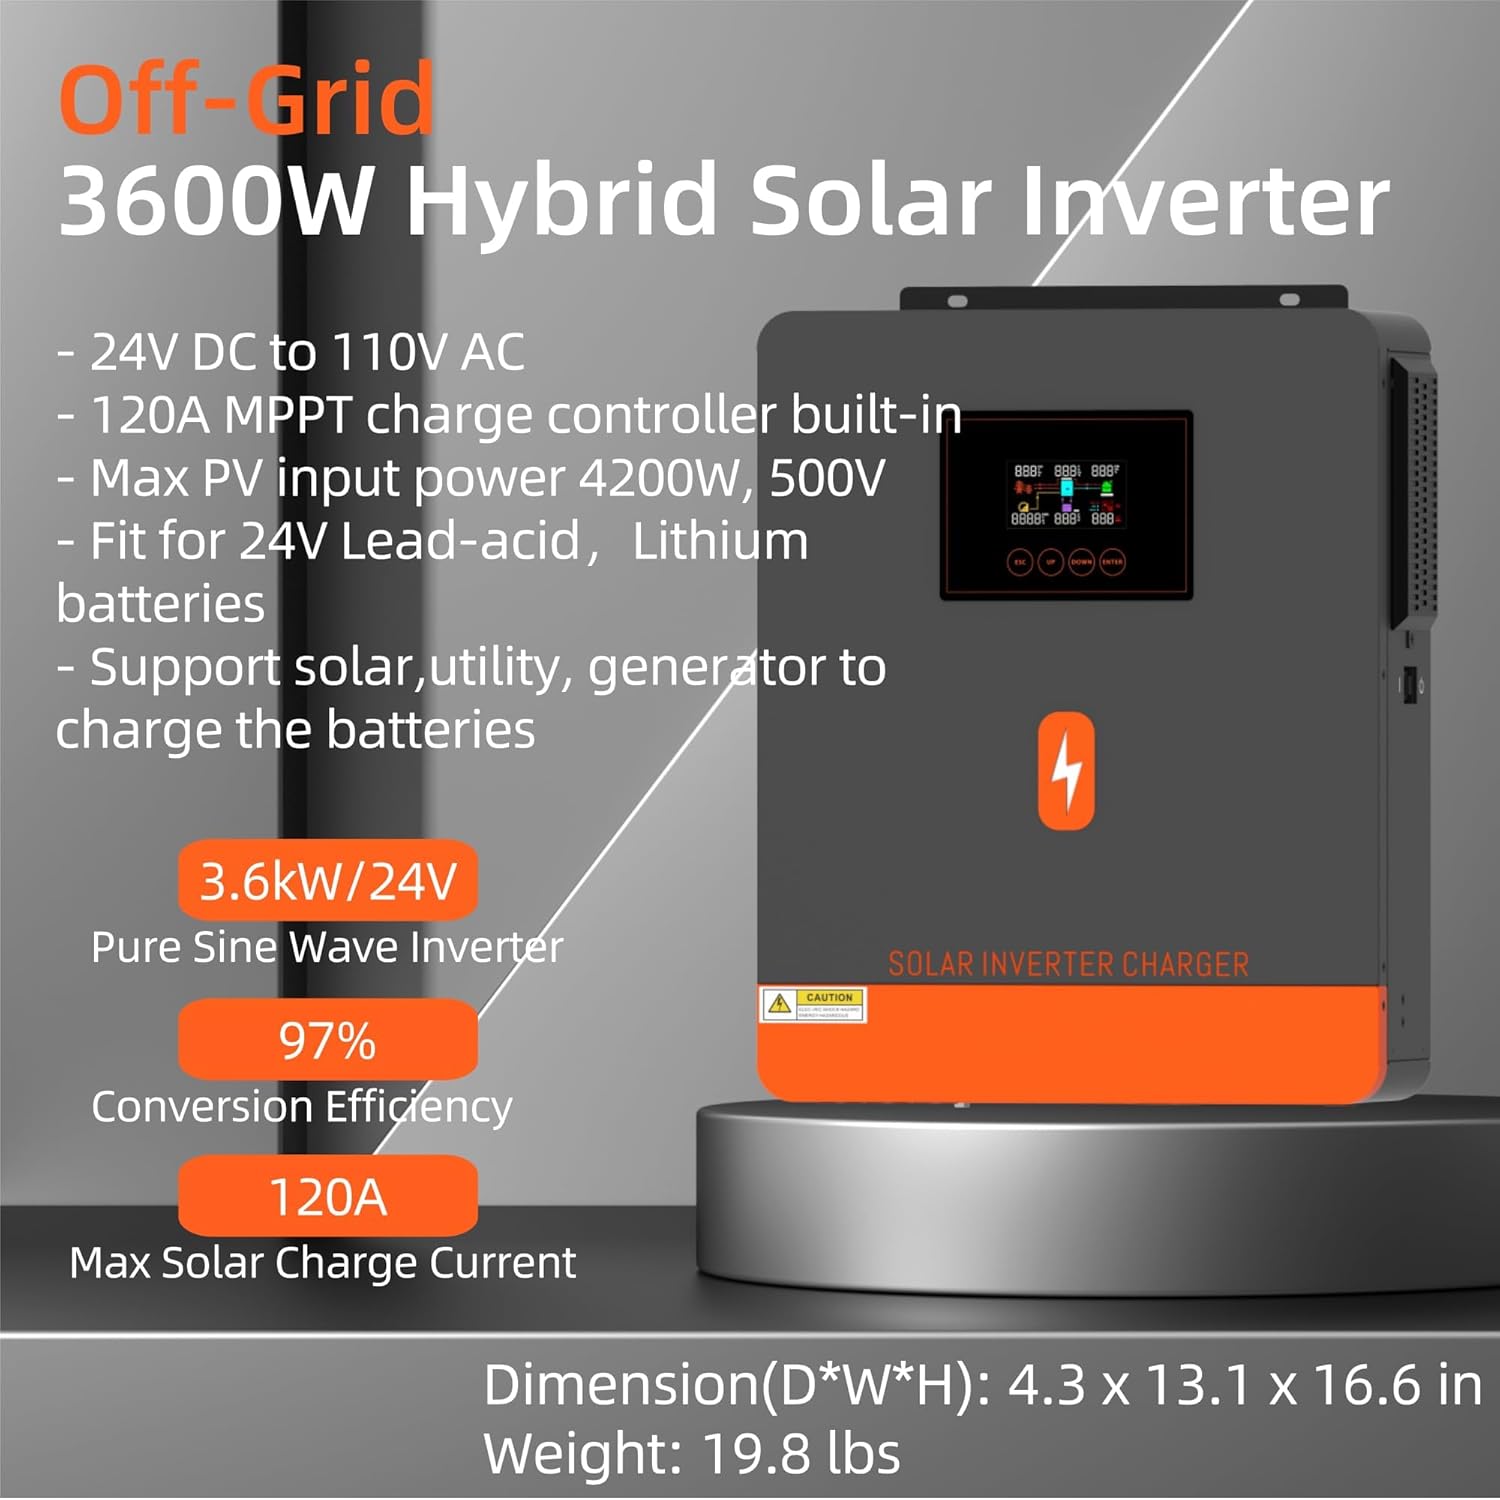
Figure 5.1: Inverter dimensions and key features, including 24V DC to 110V AC conversion, 120A MPPT controller, and 4200W max PV input.
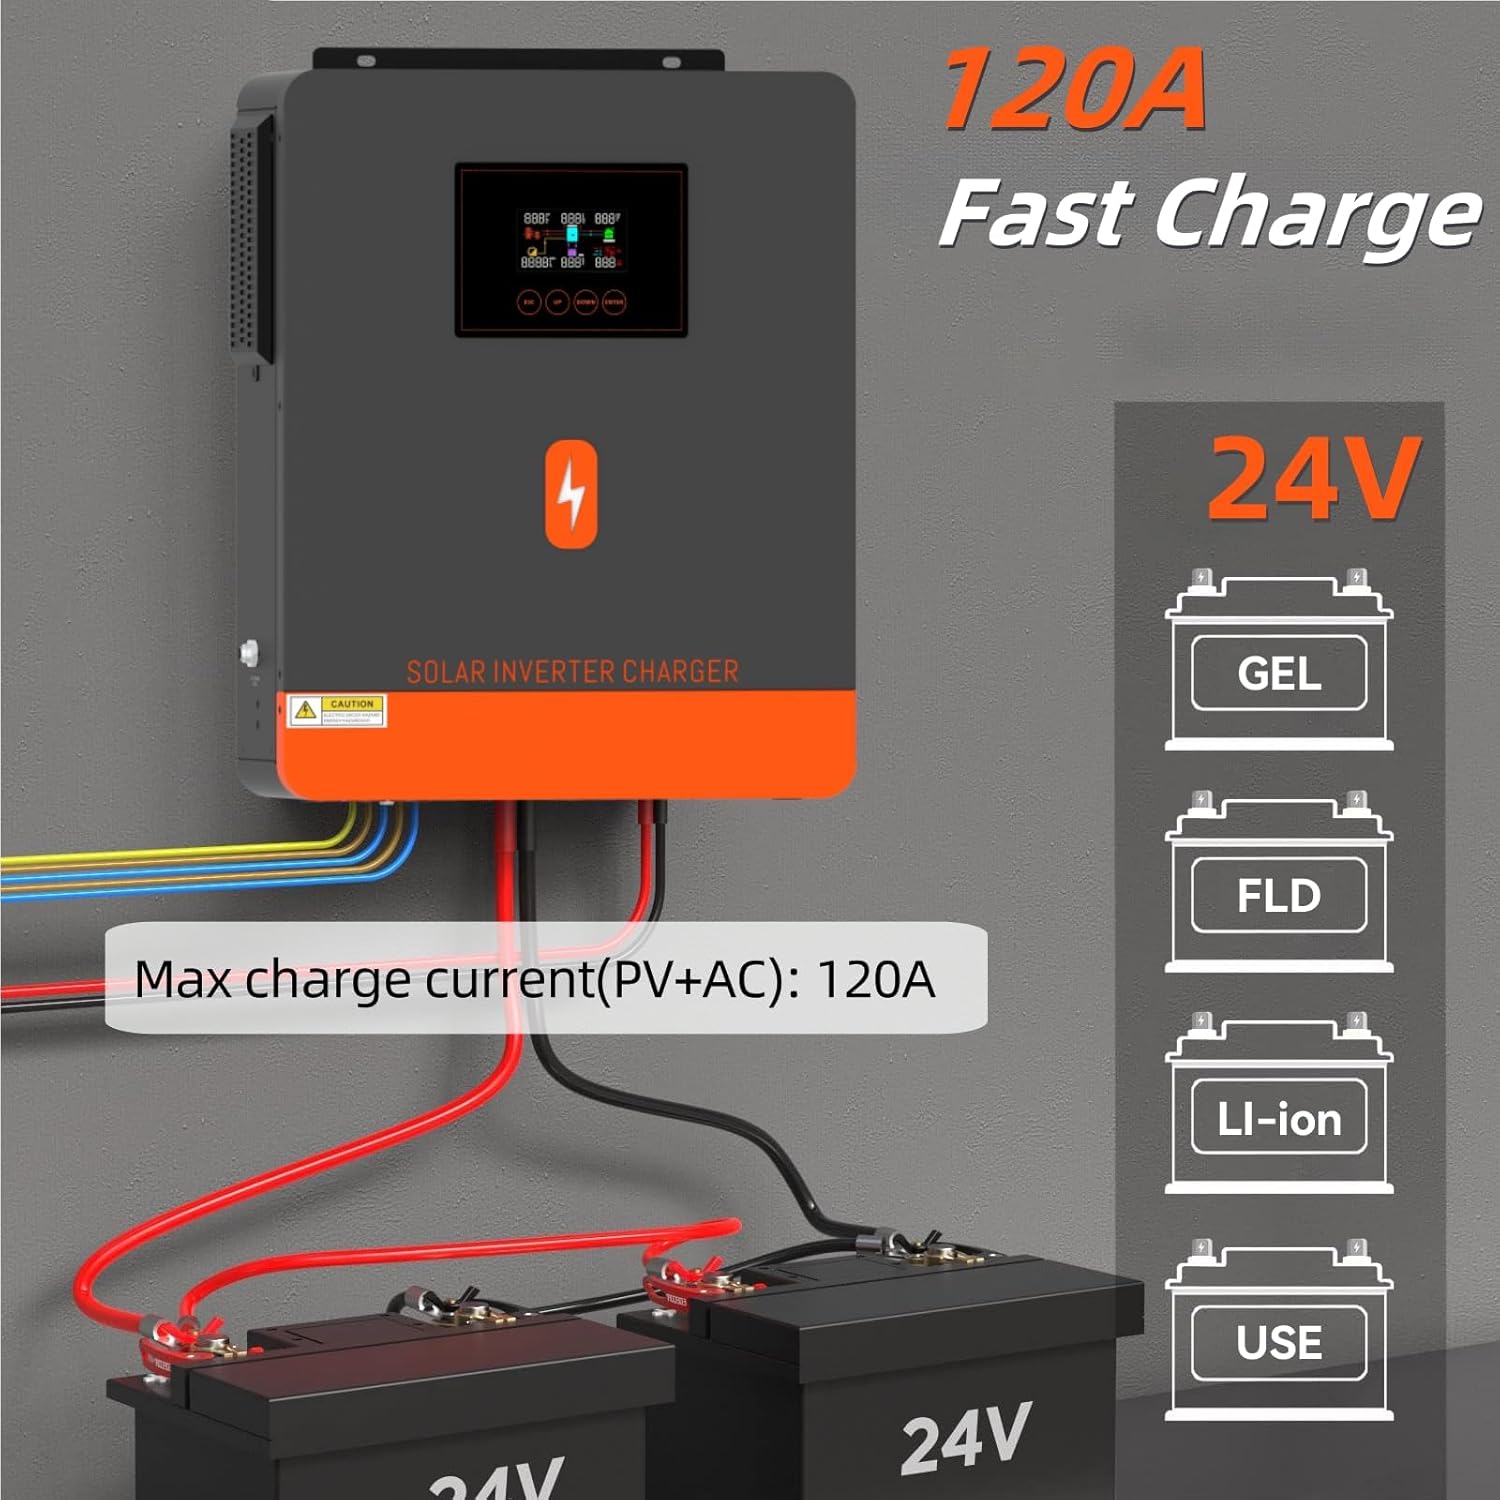
Figure 5.2: Inverter mounted on a wooden board, demonstrating the secure attachment points.
5.2. Battery Connection
- Connect Battery Cables: Connect the positive (red) and negative (black) cables to the corresponding positive and negative terminals of your 24V battery. Ensure a secure connection.
- Install DC Circuit Breaker: Install a suitably rated DC circuit breaker between the battery and the inverter. This provides protection and a disconnect point.
- Connect Battery to Circuit Breaker: Connect the battery terminals to the DC circuit breaker.
- Verify Battery Voltage: Before connecting to the inverter, use a multimeter to check that the battery voltage is within the acceptable range for the inverter (e.g., 24V system).
- Connect Battery to Inverter: Remove the port cover at the bottom of the inverter by unscrewing the four screws. Connect the battery positive and negative lines from the DC circuit breaker to the designated battery terminals on the inverter. Ensure correct polarity to avoid reverse connection and damage.

Figure 5.3: Illustration of connecting battery cables to the battery terminals, ensuring proper polarity.
5.3. PV Array Connection
- Connect PV Array: Connect the positive and negative PV array cables to the positive and negative PV input ports on the inverter. Ensure all solar panels are connected in series if their starting voltage is >60V.

Figure 5.4: Detailed diagram showing solar panel specifications and how to connect the PV array to the inverter, including recommended cable sizes.
5.4. AC Input and Output Connections
- Connect AC Input: Connect the inverter to your utility power or generator via the AC input port. Ensure the input voltage and frequency match the inverter's specifications.
- Connect AC Output (Loads): Connect your electrical loads to the main AC output port. If utilizing the dual output smart management feature, also connect loads to the secondary AC output port. This feature helps coordinate the main output switch and ensures stable power supply to the secondary output line.
- Replace Port Cover: After all wiring is complete, replace the port cover at the bottom of the inverter and secure it with the four screws.

Figure 5.5: Comprehensive system diagram illustrating connections for generator, utility, solar panels, battery, and AC loads to the inverter.
6. Operating the Inverter
- Power On Battery Circuit Breaker: Close the DC circuit breaker connected to the battery.
- Power On Inverter: Locate the power switch on the inverter and turn it to the "ON" position.
- Activate PV and AC Inputs: If the inverter shows no abnormalities on its LCD display, you can then sequentially activate the PV input (solar panels) and AC input (utility/generator) lines.
- Monitor System: Use the LCD display to monitor dynamic system data and operating status. You can adjust settings such as input voltage range for appliances and battery charging current based on your specific needs.
6.1. Operating Modes
The inverter offers flexible operating modes to optimize power usage:
- Battery Charging Modes:
- Solar First: Prioritizes solar power for battery charging.
- Solar and Utility: Uses both solar and utility power for charging.
- Only Solar: Charges batteries exclusively from solar power.
- Load Output Working Modes:
- Utility First: Prioritizes utility power for loads.
- Solar First: Prioritizes solar power for loads.
- SBU Priority (Solar-Battery-Utility): Prioritizes solar, then battery, then utility for loads.
7. Maintenance
Regular maintenance ensures optimal performance and longevity of your PowMr Solar Inverter.
- Cleanliness: Keep the inverter and its surroundings clean and free from dust and debris. Ensure ventilation openings are not blocked.
- Connections: Periodically check all electrical connections for tightness and signs of corrosion. Tighten any loose connections.
- Battery Health: Monitor battery voltage and health regularly. Follow the battery manufacturer's guidelines for maintenance.
- Environmental Conditions: Ensure the inverter operates within its specified temperature and humidity ranges.
- Professional Inspection: It is recommended to have a qualified technician inspect the system annually.
8. Troubleshooting
This section provides basic troubleshooting steps for common issues. For more complex problems, please contact customer support.
| Problem | Possible Cause | Solution |
|---|---|---|
| Inverter not powering on | Battery circuit breaker open; Inverter power switch off; Loose battery connections. | Close battery circuit breaker; Turn on inverter power switch; Check and tighten battery connections. |
| No AC output | Overload; Short circuit; AC output breaker tripped. | Reduce load; Check for short circuits in wiring; Reset AC output breaker. |
| Low PV input/charging | Insufficient sunlight; Shaded panels; Loose PV connections. | Ensure panels are in direct sunlight; Clear any shading; Check and tighten PV connections. |
| Battery not charging | Incorrect charging mode; Faulty battery; Low input voltage. | Verify charging mode settings; Test battery; Check AC or PV input voltage. |
9. Warranty and Support
For warranty information, technical support, or service inquiries, please contact PowMr customer service. Refer to your purchase documentation for specific warranty terms and conditions.
Contact Information: Please visit the official PowMr website or refer to the contact details provided with your product packaging.
Online Resources: Additional resources, FAQs, and software updates may be available on the PowMr website: PowMr Store on Amazon
Ask a question about this manual
Ask about setup, troubleshooting, compatibility, parts, safety, or missing instructions. Manuals+ will review the question and use this page’s manual context to help answer it.