Introduction
This manual provides detailed instructions for the installation, operation, and maintenance of your GOWENIC 1080P HD Dual Lens Dash Cam. This device is designed to record driving footage, enhance vehicle security, and provide a clear view of your surroundings. Please read this manual thoroughly before using the product to ensure proper function and safety.
Package Contents
Please verify that all items listed below are included in your package:
- 1 x Dash Cam
- 1 x Power Cable (Type C)
- 1 x Instruction Manual
- 1 x Backup Camera
- 2 x Screws (for backup camera installation)
- 1 x License Plate Sticker (for backup camera mounting)
- 1 x Suction Cup Base (for dash cam mounting)

Image: The GOWENIC Dash Cam with its complete set of accessories, including the main unit, backup camera, cables, and mounting hardware.
Product Features
- Dual-Lens Recording: Simultaneously records front (1080P) and rear (720P) views, providing comprehensive coverage.
- 3.16-inch Display: Offers real-time viewing and easy menu navigation.
- Microlight Night Vision: Enhances recording clarity in low-light conditions.
- Parking Mode: Automatically activates upon parking, recording 30-second videos upon collision detection or motion sensing.
- Loop Recording: Overwrites the oldest footage when the memory card is full, ensuring continuous recording.
- Emergency Crash Lock (G-Sensor): Automatically locks and protects video files during sudden impacts or collisions.
- Reversing Visual Function: Displays the rear camera feed on the screen when reversing, aiding in parking and maneuvering.

Image: An overview of the dash cam's key functionalities, including ultra-clear video, reversing image, photo recording, multilingual support, infrared night vision, loop recording, fish-eye wide angle, and LED fill light.
Setup
1. Inserting the Memory Card
Insert a high-speed Micro SD card (Class 10 or higher, 4GB to 32GB capacity recommended) into the designated slot on the dash cam. Ensure the card is inserted correctly until it clicks into place. The device does not include a memory card.
2. Mounting the Main Dash Cam
- Clean the windshield area where you intend to mount the dash cam.
- Attach the suction cup base to the dash cam.
- Press the suction cup firmly against the windshield and lock it into position. Adjust the camera angle for an optimal view of the road.
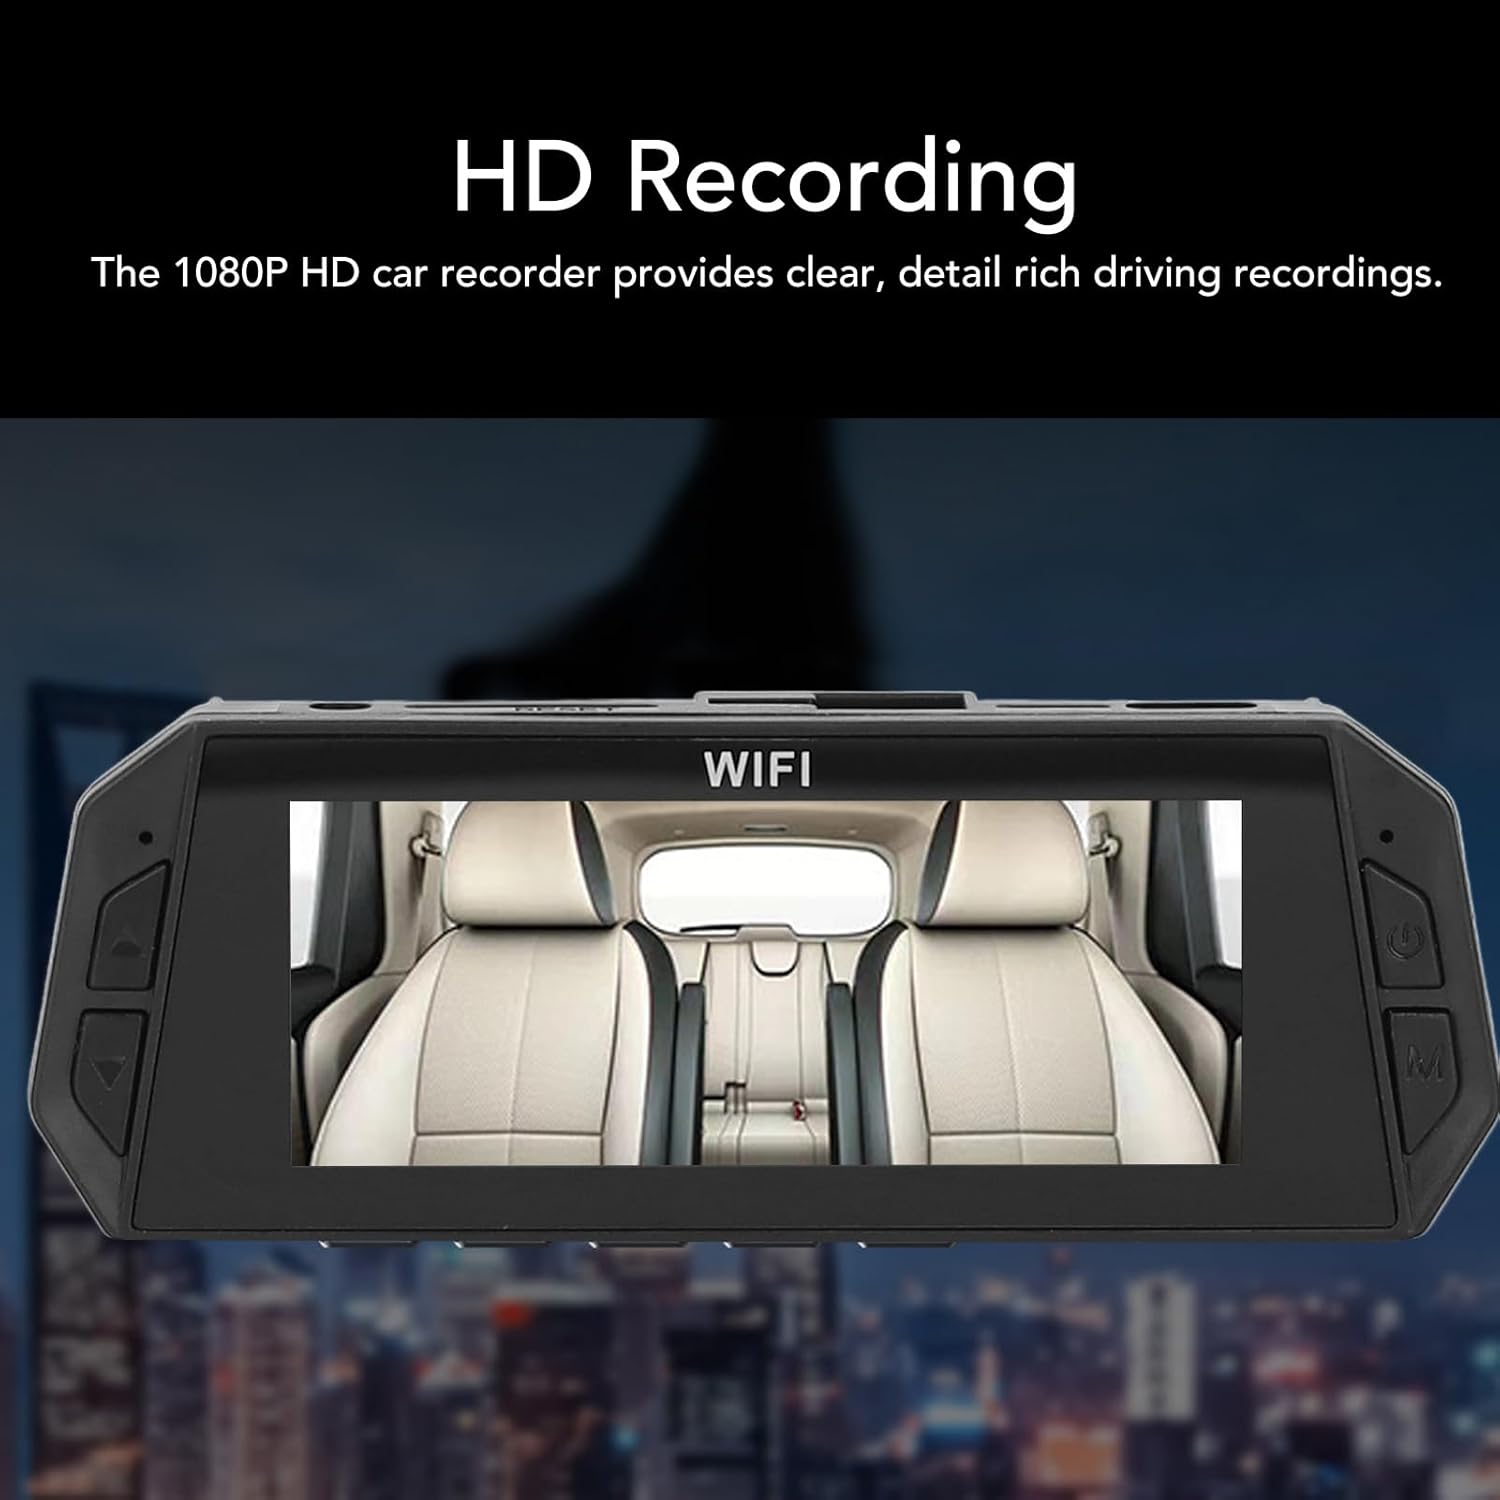
Image: The main dash cam unit, showing its 3.16-inch display with a view of the car's interior, indicating its HD recording capability.
3. Connecting the Backup Camera
- Identify a suitable location for the backup camera, typically near the license plate or on the rear windshield.
- Secure the backup camera using the provided screws or license plate sticker.
- Route the backup camera cable to the main dash cam unit, ensuring it does not interfere with vehicle operations. Connect the cable to the designated port on the main unit.

Image: An illustration demonstrating the dual-lens design, providing wide-angle surveillance for both the front (170°) and rear (120°) of the vehicle.
4. Power Connection
Connect the provided Type C power cable to the dash cam and plug the other end into your vehicle's 12V power outlet (cigarette lighter socket). The dash cam will typically power on automatically when the vehicle starts.
Operating Instructions
1. Basic Recording
Once powered on, the dash cam will automatically begin loop recording. Video segments are saved to the Micro SD card. When the card is full, the oldest unlocked files will be overwritten.

Image: A visual representation of seamless loop recording, showing how expired videos are deleted and new ones are recorded, with locked videos being protected from deletion.
2. Emergency Crash Lock (G-Sensor)
The built-in G-sensor detects sudden impacts or rapid deceleration. When triggered, the current video segment will be automatically locked and protected from being overwritten by loop recording. The sensitivity of the G-sensor can be adjusted in the settings menu.

Image: An illustration depicting the Emergency Crash Lock feature, which automatically secures video footage during a collision, with adjustable sensitivity.
3. Parking Mode
When the vehicle is parked and the dash cam detects a collision or motion, it will automatically power on and record a short video (approximately 30 seconds). To enable 24-hour parking mode, the dash cam requires a continuous power supply, such as a power bank or direct connection to the car battery (requires a separate hardwire kit, not included).
4. Reversing Visual Function
When the vehicle is put into reverse gear (if properly wired), the dash cam display will automatically switch to show the live feed from the backup camera, providing a wider field of vision for safer reversing.

Image: The dash cam screen displaying the reversing visual function, showing a wide-angle view from the rear camera with parking guidelines.
5. Menu Navigation
Use the buttons on the dash cam to navigate through the menu options. Common settings include video resolution, loop recording duration, G-sensor sensitivity, date/time, and parking mode settings.
Maintenance
1. Cleaning
Gently wipe the camera lenses and display screen with a soft, lint-free cloth. Avoid using abrasive cleaners or solvents that could damage the surfaces.
2. Memory Card Management
Regularly format your Micro SD card (at least once a month) to ensure optimal performance and prevent data corruption. This can usually be done through the dash cam's settings menu. Replace the memory card if you experience frequent errors or reduced performance.
3. Battery Care
The dash cam contains a built-in lithium-ion battery (150mAh). Avoid exposing the device to extreme temperatures for prolonged periods, as this can affect battery life and performance.
Troubleshooting
- Dash Cam does not power on: Ensure the power cable is securely connected to both the dash cam and the vehicle's power outlet. Check if the vehicle's power outlet is functioning.
- Recording stops or freezes: Format the Micro SD card. If the issue persists, try a different high-speed (Class 10 or higher) Micro SD card within the recommended capacity (4GB-32GB).
- Poor video quality: Ensure the camera lenses are clean and free from obstructions. Check the video resolution settings in the menu.
- Parking Mode not working 24/7: The 24-hour parking mode requires a continuous power supply to the dash cam, such as a power bank or a hardwire kit connected to the car battery. The standard power cable only provides power when the vehicle's ignition is on.
- Backup camera not displaying: Check all cable connections between the backup camera and the main unit. Ensure the backup camera is properly installed and powered.
Specifications
| Main Camera Recording Resolution | 1080P (Maximum) |
| Secondary Camera Recording Resolution | 720P (Maximum) |
| Video Format | MOV |
| Image Format | JPG |
| Motion Detection | Supported |
| Battery Type | Lithium Ion Battery (Built-In) |
| Battery Capacity | 150mAh |
| Display Size | 3.16 inches Color Display |
| Display Resolution | 800x480 |
| Supported Memory Card | Micro SD Card, Max 32GB (Class 10 or higher recommended, not included) |
| Operating Temperature | -40 to 70 Degree Celsius |
| Loop Recording | Supported |
| Power Interface | Type C |
| App Name (if applicable) | For Vidure |
| Product Dimensions | 5.91 x 4.33 x 2.76 inches |
| Item Weight | 10.9 ounces |
| Model Number | GOWENIChqz2bx37gw |
Warranty and Support
For warranty information or technical support, please refer to the contact details provided by your retailer or visit the official GOWENIC website. Keep your purchase receipt as proof of purchase.