1. Introduction
The Raddy DT7 Weather Station is an advanced indoor and outdoor temperature and humidity monitor designed to provide comprehensive weather information and timekeeping functions. Featuring a unique round HTN display, it offers clear readability and a modern aesthetic. This manual provides detailed instructions for setting up, operating, maintaining, and troubleshooting your Raddy DT7 Weather Station.

Image: The Raddy DT7 Weather Station main display unit and its accompanying wireless outdoor sensor.
2. What's in the Box
Please verify that all components are present and in good condition upon unpacking:
- Raddy DT7 Main Display Unit
- Wireless Outdoor Sensor
- AC Power Adapter
- User Manual (this document)
Note: AA batteries for both the main unit (if not using AC power) and the wireless sensor are not included and must be purchased separately.

Image: The Raddy DT7 main display unit, wireless sensor, and AC power adapter.
3. Setup Guide
3.1 Powering the Main Unit
The main display unit can be powered by the included AC adapter or by batteries (not included).
- Using AC Adapter: Connect the AC power adapter to the DC input port on the back of the main unit, then plug it into a standard wall outlet.
- Using Batteries: Open the battery compartment on the back of the main unit and insert 2 AA batteries, observing the correct polarity (+/-).
3.2 Powering the Wireless Outdoor Sensor
The wireless outdoor sensor requires batteries (not included) for operation.
- Open the battery compartment on the back of the wireless sensor.
- Insert 2 AA batteries, observing the correct polarity (+/-).
- Close the battery compartment securely.
3.3 Initial Pairing and Placement
Once both units are powered, they will automatically attempt to pair. This may take a few minutes. Ensure the sensor is placed within range of the main unit (typically up to 100 meters in open air, less with obstructions).
- Place the outdoor sensor in a shaded area, away from direct sunlight and precipitation, to ensure accurate temperature and humidity readings.
- Avoid placing the sensor near heat sources (e.g., vents, appliances) or reflective surfaces that could skew readings.
3.4 Setting Time, Date, and Location
The Raddy DT7 features an Atomic Clock (WWVB) for automatic time synchronization. If the signal is not available, you can set it manually.
- Press the SET button (usually on the back) to enter setup mode.
- Use the UP and DOWN buttons to adjust values.
- Press SET again to confirm and move to the next setting (e.g., 12/24 hour format, time zone, year, month, day).
- For sunrise/sunset times, you will need to input your city code or latitude/longitude. Refer to the detailed instructions in the included manual for specific city codes or manual coordinate entry.

Image: The Raddy DT7 Weather Station highlighting its Atomic Clock (WWVB) feature for precise timekeeping.
4. Operating Instructions
4.1 Display Overview
The Raddy DT7 features a comprehensive HTN display that presents various weather and time-related data. Refer to the image below for a visual guide to the display sections:

Image: Detailed view of the Raddy DT7's multi-functional display, indicating various data points.
- Calendar: Displays the current date and day of the week.
- Sunrise/Sunset Time: Shows the precise sunrise and sunset times based on your configured location.
- Indoor & Outdoor Temperature: Current temperature readings for both indoor and outdoor environments.
- Indoor & Outdoor Humidity: Current humidity levels for both indoor and outdoor environments.
- Weather Forecast: An icon-based prediction of future weather conditions (e.g., sunny, cloudy, rainy).
- Barometric Pressure: Displays the current atmospheric pressure and its trend.
- Moon Phases & Tides: Indicates the current moon phase and tide information.
- High/Low Alerts: Visual indicators for extreme temperature or humidity conditions.
- Trends: Arrows indicating whether temperature, humidity, or pressure are rising, falling, or stable.
- Comfort Level: An icon indicating the indoor comfort level based on temperature and humidity.
4.2 Button Functions
The main unit features several buttons on its back for configuration and operation:
- SET: Enters setup mode, confirms settings, and moves to the next parameter.
- UP / DOWN: Adjusts values during setup, scrolls through options.
- MODE: Toggles between different display modes or views.
- ALARM: Enters alarm setting mode, activates/deactivates alarms.
- SNOOZE / LIGHT: Activates the backlight temporarily (on battery power) or adjusts brightness (on AC power), and functions as a snooze button for alarms.
4.3 Alarm Settings
The Raddy DT7 supports dual alarms with a snooze function.
- Press the ALARM button to enter alarm setting mode.
- Use UP and DOWN to set the desired alarm time.
- Press ALARM again to confirm and set the second alarm if needed.
- To activate/deactivate an alarm, press ALARM repeatedly until the alarm icon appears/disappears.
- When an alarm sounds, press the SNOOZE / LIGHT button to activate snooze (alarm will sound again after a set interval) or any other button to stop the alarm.
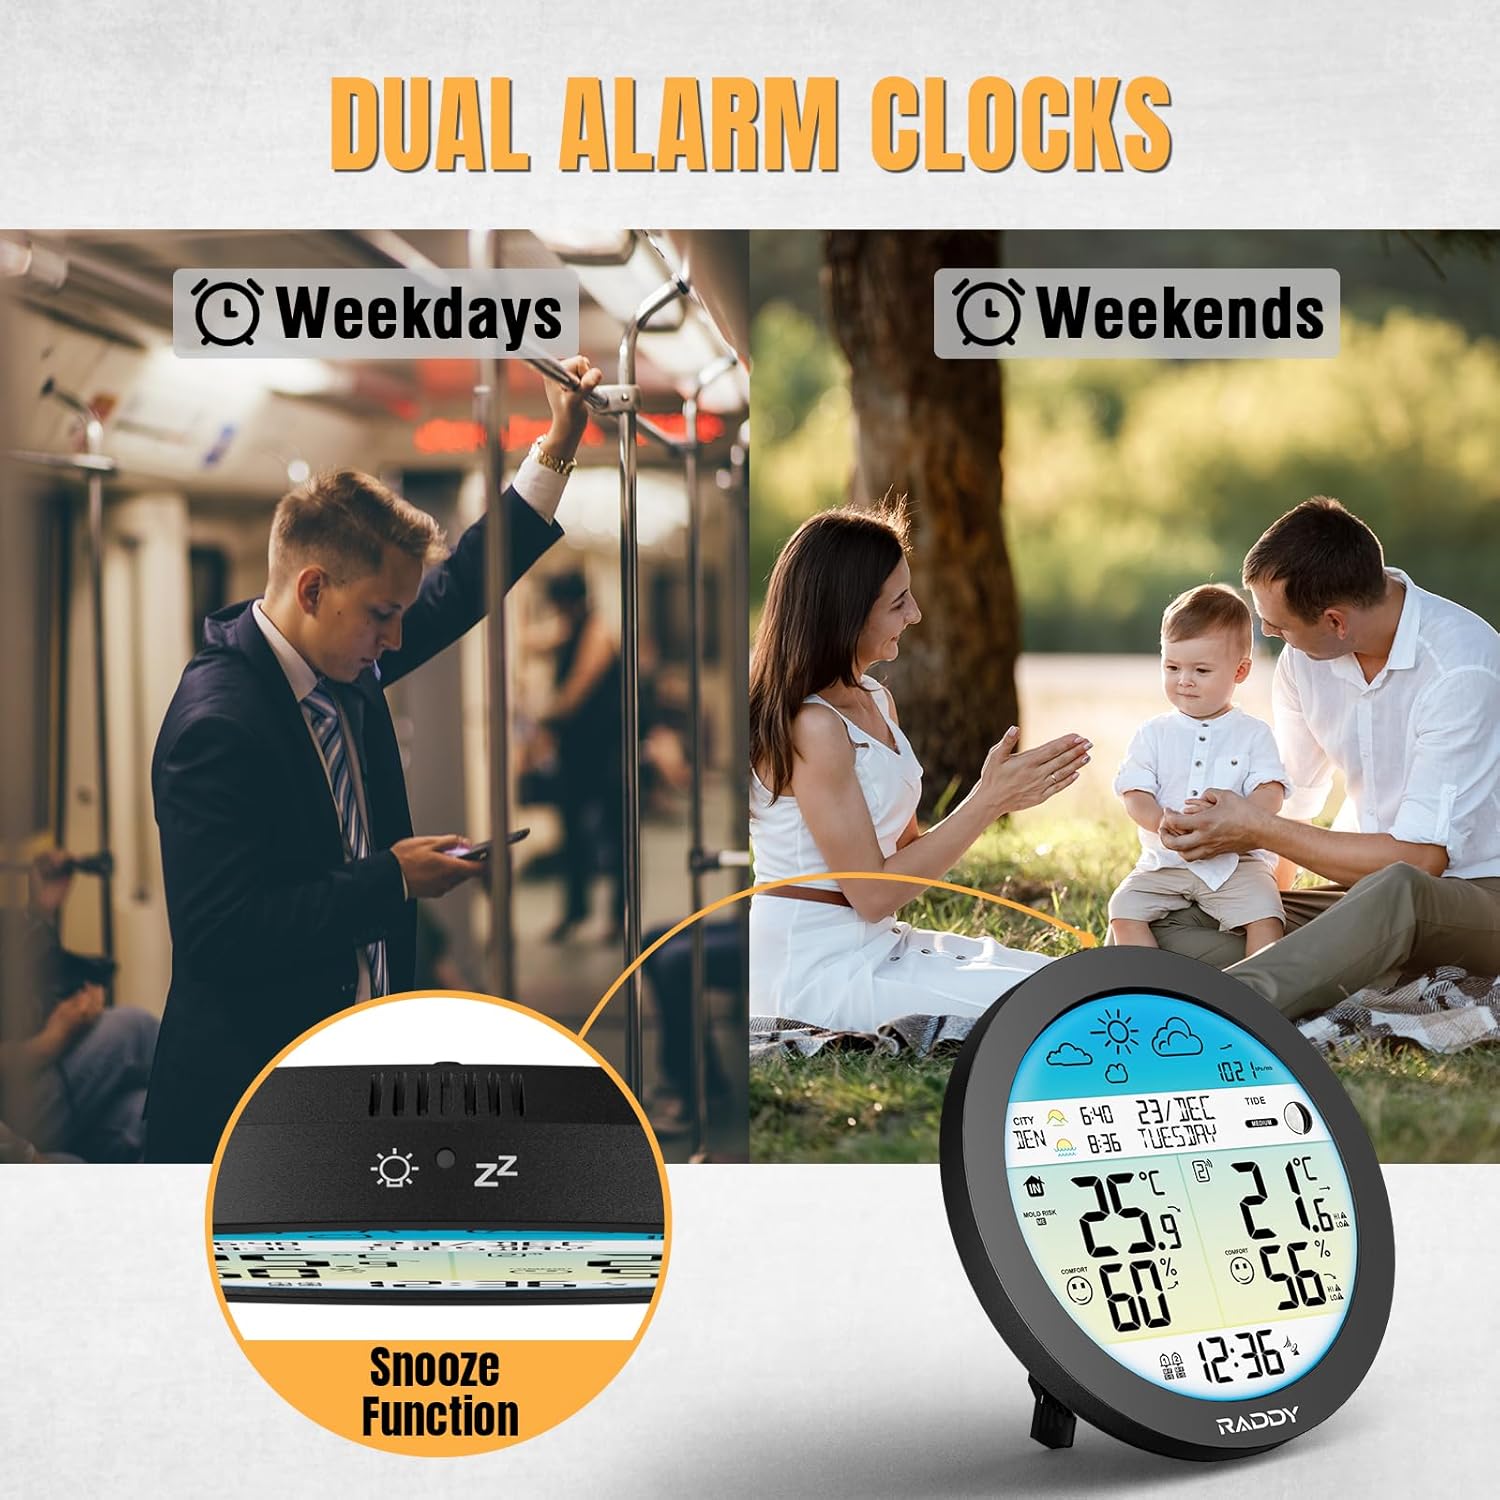
Image: The Raddy DT7 Weather Station featuring dual alarm clocks for weekdays and weekends, along with a snooze function.
4.4 Backlight Adjustment
The display backlight has 4 adjustable levels and an automatic mode.
- When powered by AC, repeatedly press the SNOOZE / LIGHT button to cycle through brightness levels (100%, 80%, 60%, 0%) and automatic mode.
- In automatic mode, the ambient light sensor will adjust the display brightness based on room lighting.
- When powered by batteries, the backlight will only illuminate temporarily when the SNOOZE / LIGHT button is pressed.

Image: The Raddy DT7 Weather Station demonstrating its 4-level and automatic brightness adjustment feature for optimal viewing day and night.
4.5 Unit Conversion
You can switch between Fahrenheit and Celsius for temperature readings, and 12-hour or 24-hour format for time.
- During time/date setup, use the UP or DOWN buttons when the temperature unit or time format is flashing to toggle between options.
5. Key Features
- All-in-One Weather Monitoring: Tracks indoor/outdoor temperature and humidity, 12-24 hour weather forecast, barometric pressure & trends, moon phases, tide information, calendar, and DCF radio clock.
- Accurate Sunrise & Sunset Times: Input your city or coordinates for precise sunrise and sunset information, useful for planning outdoor activities.
- Intelligent Alerts for Extreme Conditions: Provides alerts for high/low outdoor temperature and humidity, frost warnings (no alarm sound), indoor mold risk level, and real-time comfort level display.
- Dual Alarms + Light Sensor Backlight: Set two independent alarms with a snooze function. The 4-level adjustable backlight with an ambient light sensor ensures perfect readability day or night.
- Unique Round Design with HTN Wide-Angle Screen: The distinctive round design offers a larger visible area compared to standard square displays. The HTN screen provides sharp, wide-angle readability from various viewing angles.
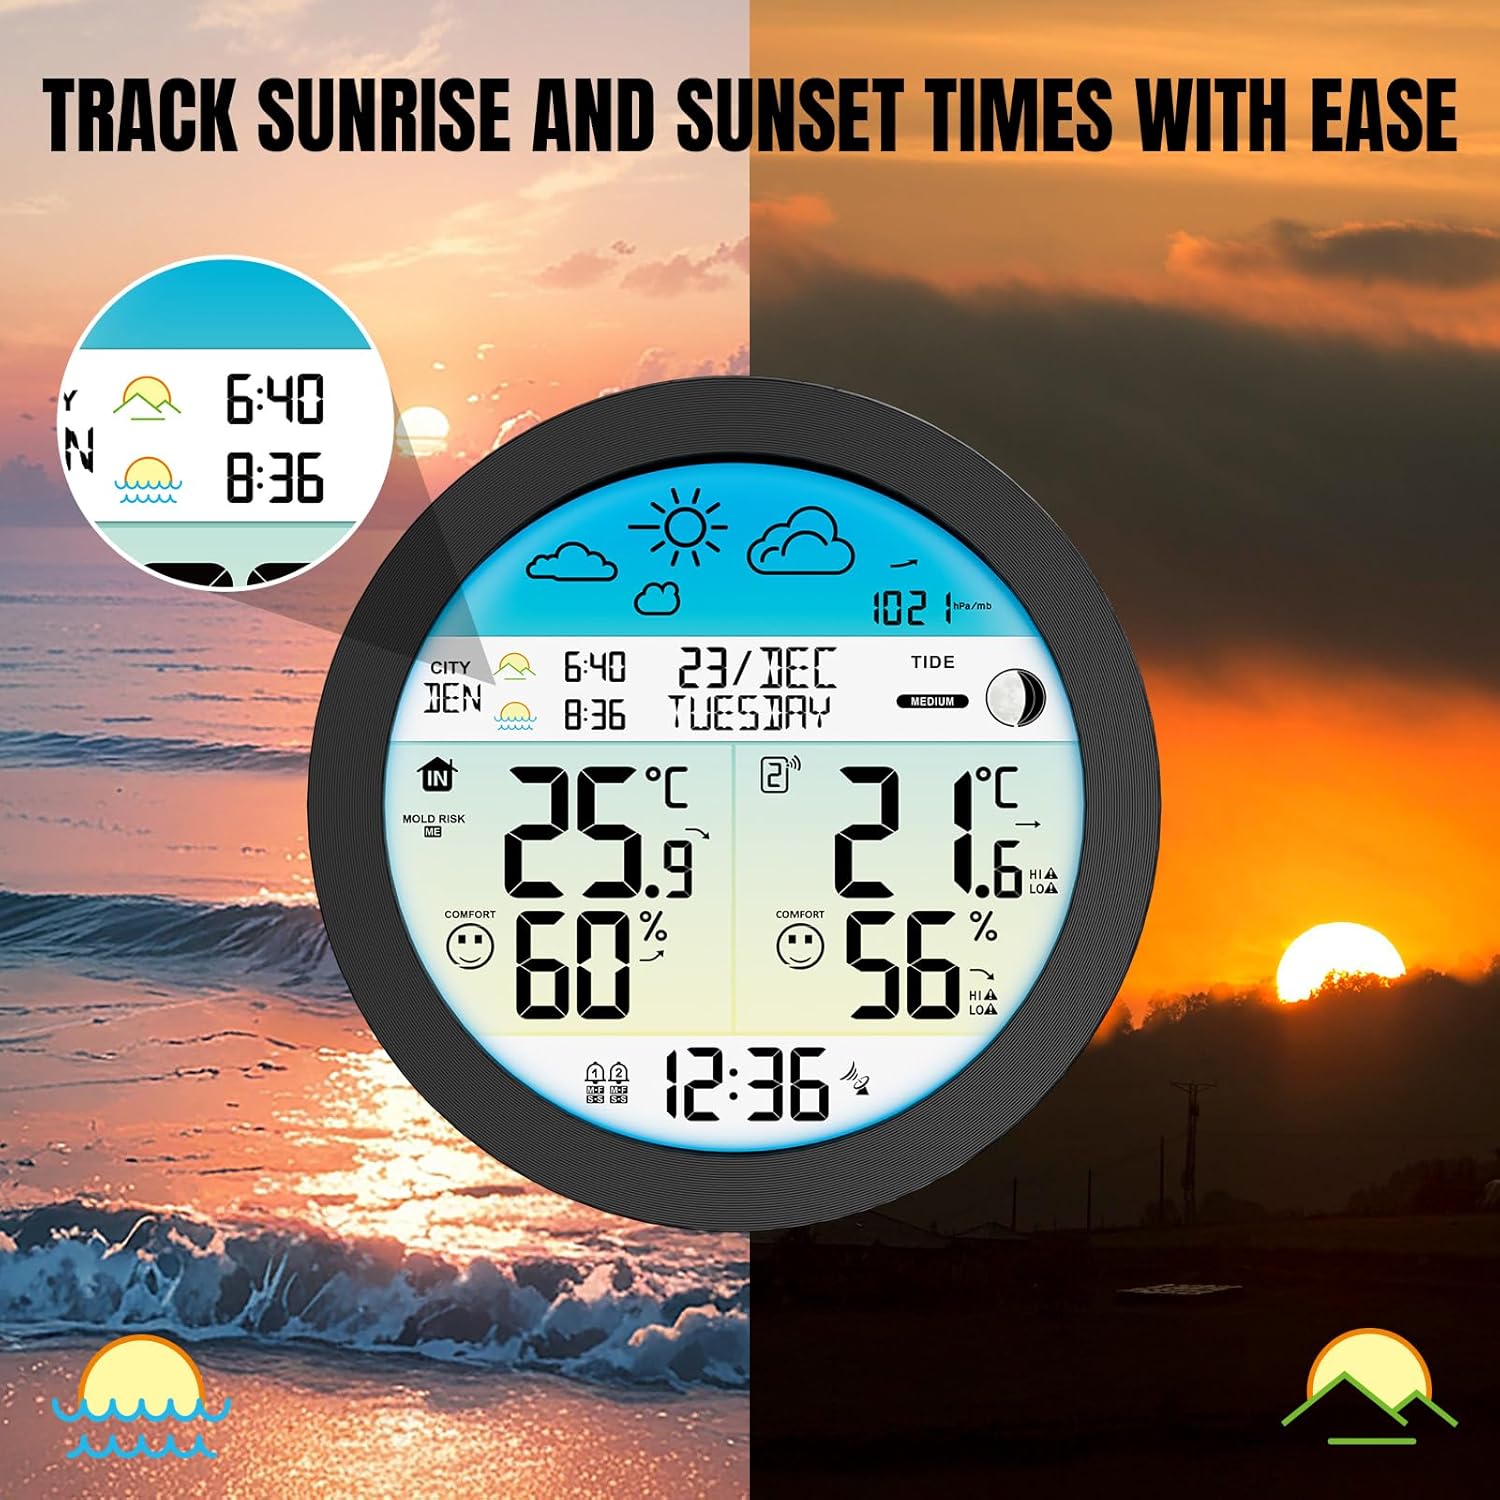
Image: The Raddy DT7 Weather Station displaying accurate sunrise and sunset times based on location.

Image: The Raddy DT7 Weather Station indicating high/low alerts for temperature and humidity, and frost warnings.

Image: A visual comparison highlighting the larger and clearer display of the Raddy DT7's 6.6" circular design versus other weather stations.
6. Maintenance
- Cleaning: Wipe the display unit and sensor with a soft, damp cloth. Do not use abrasive cleaners or solvents.
- Battery Replacement: Replace batteries in both the main unit (if applicable) and the wireless sensor when the low battery indicator appears on the display. Ensure correct polarity.
- Sensor Placement: Periodically check the outdoor sensor's placement to ensure it remains protected from direct sunlight and heavy rain, which can affect accuracy and lifespan.
7. Troubleshooting
| Problem | Possible Cause | Solution |
|---|---|---|
| No display on main unit | No power; batteries depleted or AC adapter not connected. | Ensure AC adapter is securely plugged in or replace batteries. |
| Outdoor temperature/humidity not displayed or inaccurate | Sensor out of range; batteries low in sensor; interference; sensor improperly placed. | Move sensor closer to main unit; replace sensor batteries; avoid large metal objects; relocate sensor to a shaded, dry area. |
| Atomic clock not syncing | Weak signal; interference; incorrect time zone setting. | Place unit near a window; avoid electronic devices; manually set time zone. |
| Sunrise/sunset times are incorrect | Incorrect city code or coordinates entered; Daylight Saving Time not adjusted. | Verify and re-enter city code/coordinates; check DST setting. |
| Display has black splotches | Pressure on the display. | Ensure no pressure is applied to the screen; lay flat for a period if recently handled. |
8. Specifications
- Model Number: 221940490
- Brand: Raddy
- Display Type: HTN Wide-Angle Screen
- Connectivity Technology: 433 MHz (Wireless Sensor)
- Power Source (Main Unit): AC Adapter (included) or 2 x AA Batteries (not included)
- Power Source (Sensor): 2 x AA Batteries (not included)
- Temperature Accuracy: ±1 °C
- Special Features: Alarm, Clock, Large Display, Barometric Pressure, Moon Phase, Sunrise/Sunset, Tide Info
- Color: Blue (display backlight)
- Dimensions (Main Unit): Approximately 8.62 x 8.5 x 3.11 inches
- Weight: 1.41 Pounds
9. Warranty and Support
Raddy products are designed for reliability and performance. For warranty information, technical support, or service inquiries, please refer to the contact details provided on the product packaging or visit the official Raddy website. Keep your purchase receipt as proof of purchase for any warranty claims.
No official seller videos were found in the provided product data to embed in this manual.


