
BANRIA FBAAEAGY21404-3
DIY Bluetooth-Compatible Speaker Kit Instruction Manual
Model: FBAAEAGY21404-3
1. Introduction
This instruction manual provides detailed guidance for assembling and operating your BANRIA DIY Bluetooth-Compatible Speaker Kit. This kit is designed to offer a comprehensive learning experience in electronics and soldering, culminating in a fully functional multi-feature speaker system. It integrates Bluetooth connectivity, FM radio, recording capabilities, and various audio input options, along with an LED spectrum display.

Figure 1.1: Assembled DIY Bluetooth Speaker Kit with remote control.
2. Safety Information
Please read and understand all safety precautions before beginning assembly or operation. Failure to follow these instructions may result in injury or damage to the product.
- Soldering Safety: Always work in a well-ventilated area. Use appropriate personal protective equipment, including safety glasses. Avoid touching hot soldering iron tips or recently soldered components. Ensure proper disposal of solder waste.
- Electrical Safety: Do not connect the kit to a power source until assembly is complete and verified. Use only the specified USB power source. Avoid contact with exposed wires or circuit board traces when powered.
- Component Handling: Handle electronic components carefully. Some components may be sensitive to static electricity. Avoid bending or forcing pins.
- Adult Supervision: This kit contains small parts and requires soldering. Adult supervision is recommended for users under 16 years of age.
- Environment: Keep the kit away from water, excessive heat, and direct sunlight.
3. Package Contents
Before starting assembly, verify that all components listed below are present in your kit. If any parts are missing or damaged, please contact customer support.

Figure 3.1: Overview of all kit components.
| Component | Description | Quantity |
|---|---|---|
| Main Control Board | Pre-assembled module with Bluetooth, FM, USB, TF card reader. | 1 |
| Speaker Units | Audio output transducers. | 2 |
| Acrylic Casing Panels | Transparent panels for speaker enclosure. | Multiple (as per design) |
| Remote Control | Infrared remote for controlling speaker functions. | 1 |
| Antenna | Retractable antenna for FM radio reception. | 1 |
| Power Switch | On/Off toggle switch. | 1 |
| Power Jack | DC power input connector. | 1 |
| Potentiometer | Adjustable resistor for volume control. | 1 |
| LEDs | Light Emitting Diodes for spectrum display. | Multiple |
| Resistors | Various values for circuit operation. | Multiple |
| Capacitors | Various values for circuit operation. | Multiple |
| Diodes/Transistors | Semiconductor components. | Multiple |
| Wires & Connectors | For internal wiring. | Assorted |
| Screws & Nuts | For assembling the acrylic casing. | Assorted |
| USB Power Cable | For powering the device. | 1 |
| Audio Cable (AUX) | For wired audio input. | 1 |
| English Manual | Printed instruction guide. | 1 |
4. Assembly Instructions (Setup)
This section guides you through the step-by-step assembly of your DIY Bluetooth Speaker Kit. Soldering skills are required. Refer to the detailed English manual provided in the kit for visual aids and more specific component placement.

Figure 4.1: Soldering practice is a key part of the assembly process.
4.1. Preparing Components
- Identify all components using the provided component list and the circuit diagram in the manual.
- Organize components by type (resistors, capacitors, LEDs, etc.) to streamline the soldering process.
- Ensure your soldering iron is properly heated and tinned. Prepare your workspace with good ventilation.
4.2. Soldering the Circuit Board
Follow the circuit diagram and component layout provided in the detailed manual. It is generally recommended to solder smaller components first, then larger ones.
- Resistors and Diodes: Solder these components, paying attention to the polarity of diodes (if applicable).
- Capacitors: Observe polarity for electrolytic capacitors.
- LEDs: Ensure correct polarity (long leg is positive, short leg is negative).
- Potentiometer: Solder the potentiometer into its designated position.
- Power Switch and Jack: Solder the power switch and DC power jack to the board, ensuring secure connections.
- Antenna Connector: Solder the antenna connector.

Antenna

Power Switch

Power Jack

Potentiometer
4.3. Connecting Main Module and Speakers
- Connect the main control board to the soldered circuit board using the provided wires and connectors. Ensure correct pin alignment and secure connections.
- Connect the two speaker units to the designated audio output terminals on the circuit board. Observe polarity (+/-).
4.4. Assembling the Acrylic Casing
- Carefully remove the protective film from all acrylic panels.
- Mount the speakers and the main control board onto the appropriate acrylic panels using the provided screws and nuts.
- Assemble the acrylic panels to form the speaker enclosure, ensuring all components are securely housed and wires are not pinched.
- Attach the antenna to its connector on the casing.
5. Operating Instructions
This section details how to operate your assembled Bluetooth speaker kit.
5.1. Powering On/Off
- Connect the provided USB power cable to the DC power jack on the speaker and to a compatible USB power source (e.g., USB wall adapter, computer USB port).
- Flip the power switch to the "ON" position to power on the speaker. The LED spectrum lights will illuminate.
- Flip the power switch to the "OFF" position to power off the speaker.
5.2. Function Introduction (Control Panel & Remote)

Figure 5.1: Control Panel Function Overview.
- Mode Button: Short press to switch between Bluetooth, FM Radio, AUX, USB, and TF Card modes. Long press to initiate recording (in USB/TF mode).
- Play/Pause Button: Short press to play or pause audio. Long press for volume control (Volume -).
- Next Track Button: Short press for next track/station. Long press for volume control (Volume +).
- TF Card Slot: Insert a TF (MicroSD) card for music playback.
- USB Port: Insert a USB flash drive for music playback.
- Audio Line Jack (AUX): Connect external audio devices via a 3.5mm audio cable.

Figure 5.2: FM Radio and Remote Control Functions.
The remote control provides additional functionality:
- ON/OFF: Power on/off the speaker.
- Mode: Switch playback modes.
- Mute: Mute/unmute audio.
- Prev/Next: Previous/next track or FM station.
- VOL-/VOL+: Adjust volume.
- EQ: Cycle through equalizer settings.
- USB/SCAN: Switch to USB mode or initiate FM auto-scan.
- Number Buttons (0-9): Directly select FM stations (after auto-scan).
5.3. Audio Input Modes
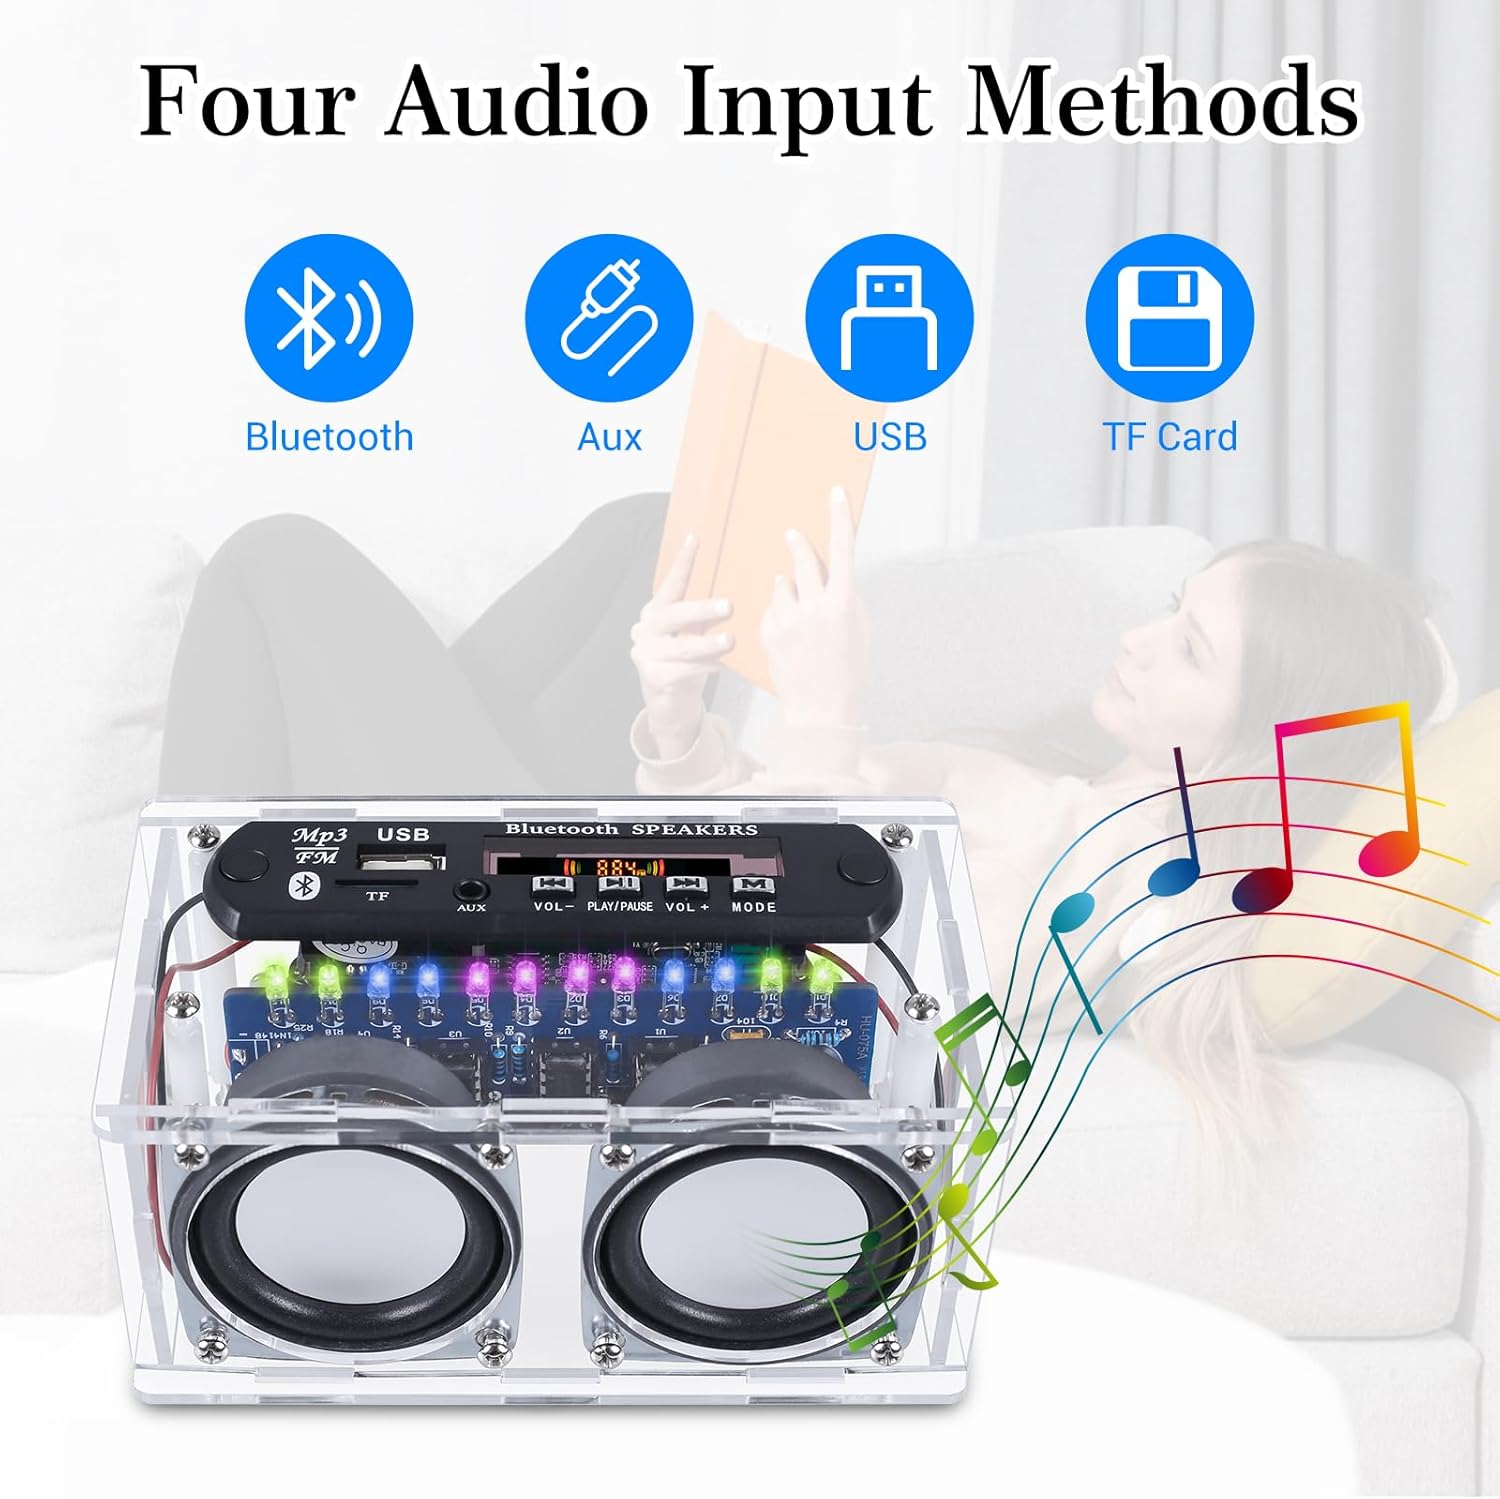
Figure 5.3: Available Audio Input Methods.
- Bluetooth Mode:
- Switch the speaker to Bluetooth mode. The display will show "BT" and a pairing indicator.
- Enable Bluetooth on your device (smartphone, tablet, etc.) and search for "Bluetooth Speakers".
- Select "Bluetooth Speakers" to pair. Once paired, you will hear a confirmation tone.
- Play audio from your device.
- FM Radio Mode:
- Switch the speaker to FM mode. Extend the antenna for better reception.
- Long press the "Play/Pause" button on the speaker or press "USB/SCAN" on the remote to initiate auto-station searching. The speaker will scan and save available stations (e.g., P01, P02).
- Use the "Prev/Next" buttons on the speaker or remote, or the number buttons on the remote, to select a saved station.
- USB Disk / TF Card Mode:
- Insert a USB flash drive into the USB port or a TF card into the TF card slot.
- The speaker will automatically switch to the corresponding mode and begin playing audio files (MP3, WAV, etc.). If not, manually switch using the "Mode" button.
- Use "Prev/Next" and "Play/Pause" buttons for control.
- AUX Mode:
- Connect your external audio device to the "Audio Line Jack" using the provided 3.5mm audio cable.
- Switch the speaker to AUX mode.
- Play audio from your connected device. Volume control can be done via the speaker or the external device.
5.4. Recording Function

Figure 5.4: Utilizing the recording function.
- Ensure a USB disk or TF card is inserted into the speaker.
- While playing music from the USB disk or TF card, long press the "Mode" button to start recording.
- Long press the "Mode" button again to stop recording. The recorded file will automatically play back.
5.5. Hands-Free Calling

Figure 5.5: Hands-free calling feature.
- When connected via Bluetooth to a smartphone, the speaker can be used for hands-free calls.
- Answering/Ending Calls: Use the "Play/Pause" button on the speaker or remote to answer or end a call.
- The built-in high-sensitivity microphone ensures clear communication.
6. Maintenance
Proper maintenance ensures the longevity and optimal performance of your speaker kit.
- Cleaning: Use a soft, dry cloth to clean the acrylic casing and control panel. Avoid abrasive cleaners or solvents.
- Storage: Store the speaker in a cool, dry place away from direct sunlight and extreme temperatures.
- Component Check: Periodically inspect soldered joints for any signs of cracking or corrosion. Re-solder if necessary.
- Power Off: Always power off the speaker when not in use for extended periods.
7. Troubleshooting
If you encounter issues with your speaker kit, refer to the following troubleshooting guide.
| Problem | Possible Cause | Solution |
|---|---|---|
| No power / Speaker does not turn on. |
|
|
| No sound from speakers. |
|
|
| Bluetooth pairing issues. |
|
|
| Poor FM radio reception. |
|
|
| Recording function not working. |
|
|
8. Specifications

Figure 8.1: Product Dimensions.
| Feature | Detail |
|---|---|
| Product Model | FBAAEAGY21404-3 |
| Brand | BANRIA |
| Product Dimensions (L x W x H) | 5.9 x 3.54 x 1.96 inches (15.0 x 9.0 x 5.0 cm) |
| Item Weight | 13.9 ounces (394 grams) |
| Material | Plastic (Acrylic Casing) |
| Connectivity Technology | Bluetooth, USB, AUX, TF Card |
| Special Features | Recording Function, FM Radio, LED Spectrum, Hands-free Call, Remote Control |
| Power Source | USB |
| Radio Bands Supported | FM |
9. Warranty and Support
This product is a DIY kit, and successful assembly depends on the user's soldering skills and adherence to instructions. While the manufacturer provides all necessary components and detailed instructions, specific warranty terms for self-assembled products may vary.
- Technical Support: For assembly questions, missing parts, or technical assistance, please refer to the detailed English manual included in your kit, which may contain QR codes or contact information for the manufacturer.
- Online Resources: You may also find additional support or community forums online by searching for "BANRIA DIY Bluetooth Speaker Kit" or the model number "FBAAEAGY21404-3".
- Returns/Replacements: For issues related to initial product defects or missing components upon receipt, please contact your retailer within their specified return period.
Related documentsFBAAEAGY21404-3

Ask a question about this manual
Ask about setup, troubleshooting, compatibility, parts, safety, or missing instructions. Manuals+ will review the question and use this page’s manual context to help answer it.