Product Overview
This Offgridtec digital plug-in timer features an LCD display and a Schuko socket. It offers 18 configurable programs, random mode, and a countdown function for flexible control of your devices. Supports manual and automatic operation, with a rating of 230V, 16A, and 3680W.
Key Features:
- Smart Time Management: Easily automate your daily routines with up to 18 programmable time settings. Perfect for lamps, heaters, aquariums, or garden sprinklers. Enjoy convenient and energy-saving automation that simplifies daily life.
- Multiple Operating Modes: Choose between ON, OFF, or AUTO for complete flexibility. Enable random mode to make it appear someone is home — a simple way to increase security and peace of mind when you are away.
- Simple Programming and Display: The clear LCD display ensures quick and easy setup. Program timers by day, hour, and minute (minimum switching time: 1 minute). Intuitive controls make it accessible to everyone.
- Built-in Countdown Function and Backup: Use the countdown timer for one-time tasks and rely on the integrated NiMH battery, which saves settings in case of power outages. Always reliable and ready when you need it most.
- Technical Specifications: Compatible with standard Schuko sockets and supports up to 3680 W (230 V, 16 A). Operating voltage: 230 VAC, max. Power: 3680W, Temperature range: -10°C to +40°C, Battery: NiMH 1.2V, Power consumption: < 0.8W, Response time: 1 minute, Weight: 0.176kg.
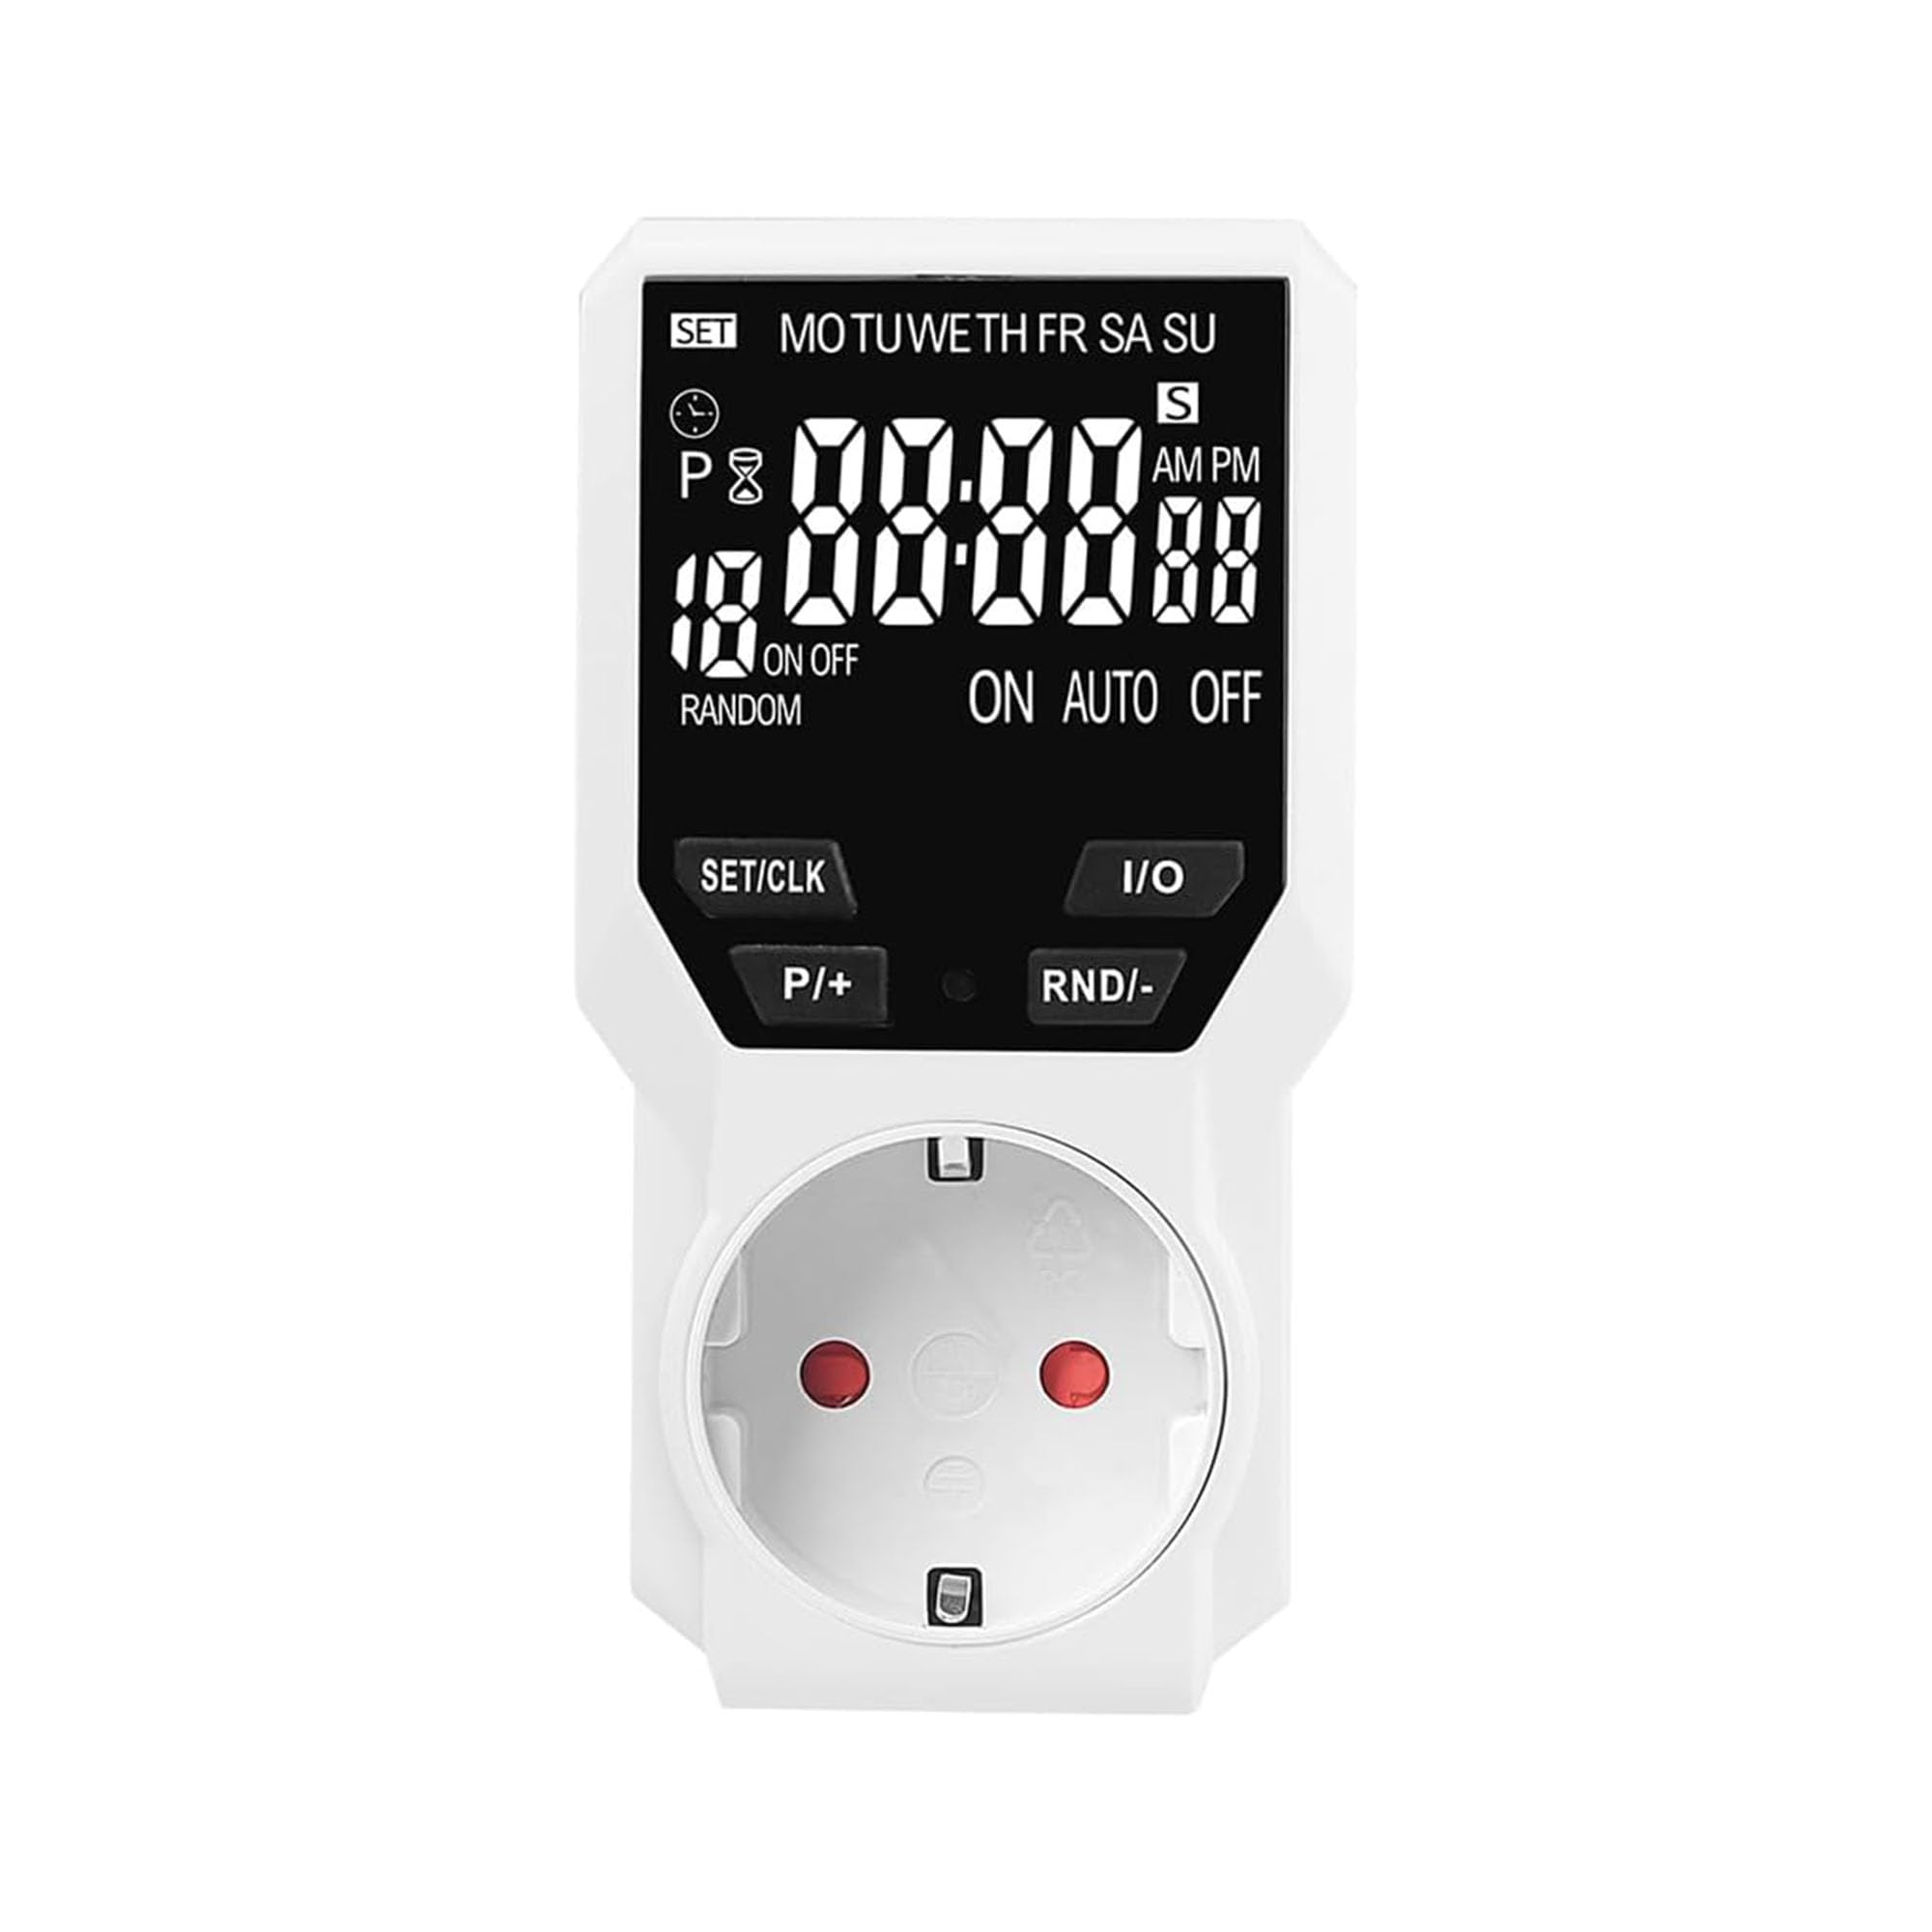
Image: Offgridtec Digital Plug-in Timer with LCD display and Schuko socket.

Image: The Offgridtec digital timer used with various household appliances.
Setup
- Initial Charge: Before first use, plug the timer into a live socket for at least 4 hours to charge the internal NiMH battery. This ensures settings are retained during power outages.
- Clear All Settings: Use a pointed object (like a pen tip) to press the "RESET" button. This clears all previous programs and settings. The display will show "0:00".
- Set Current Time:
- Press the "SET/CLK" button once. The hour digit will flash.
- Use the "P/+" and "RND/-" buttons to adjust the hour.
- Press "SET/CLK" again. The minute digit will flash.
- Use "P/+" and "RND/-" to adjust the minute.
- Press "SET/CLK" a third time. The day of the week will flash.
- Use "P/+" and "RND/-" to select the current day (MO, TU, WE, TH, FR, SA, SU).
- Press "SET/CLK" to confirm and exit time setting.
- Connect Device: Plug the appliance you wish to control into the timer's Schuko socket. Ensure the appliance's power switch is in the ON position.
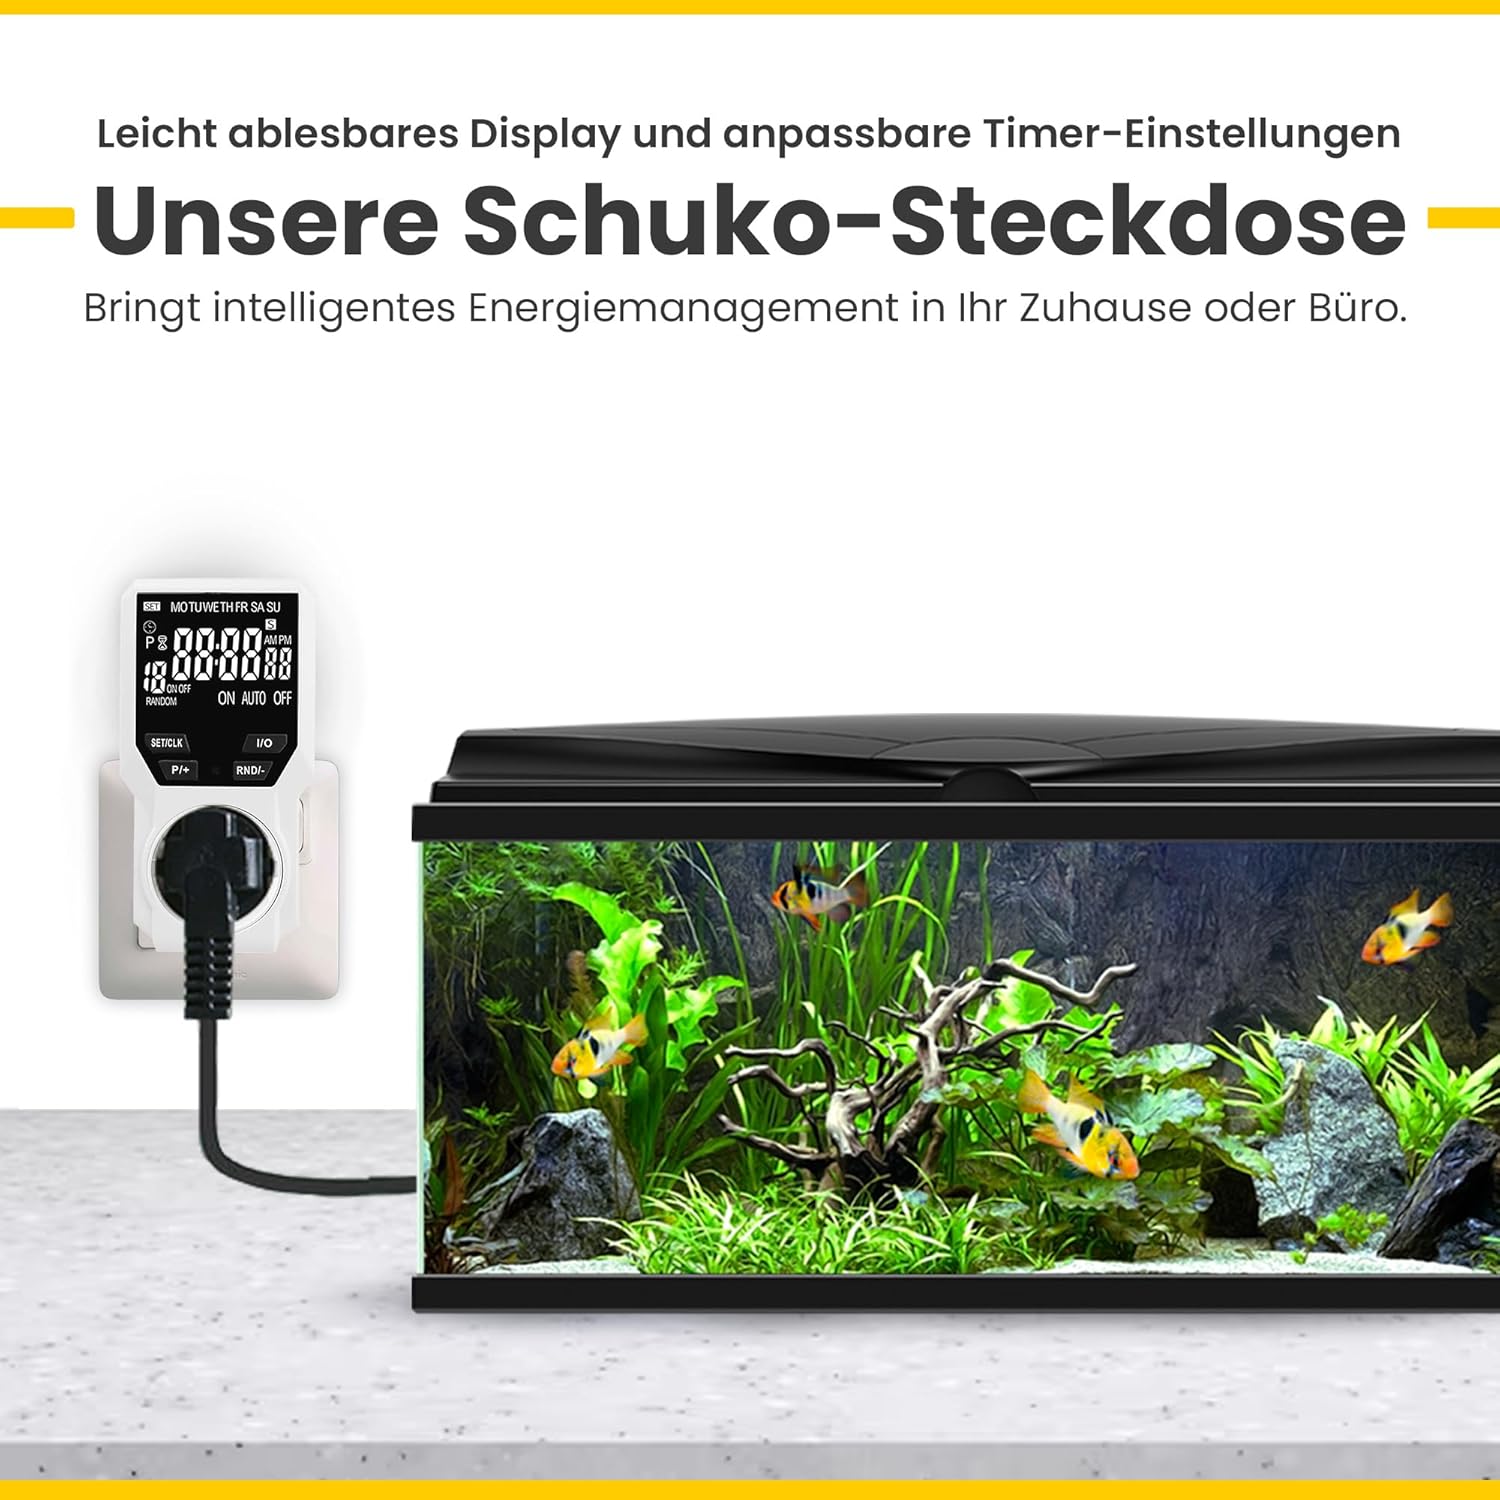
Image: The Offgridtec digital timer connected to an aquarium, demonstrating its use.
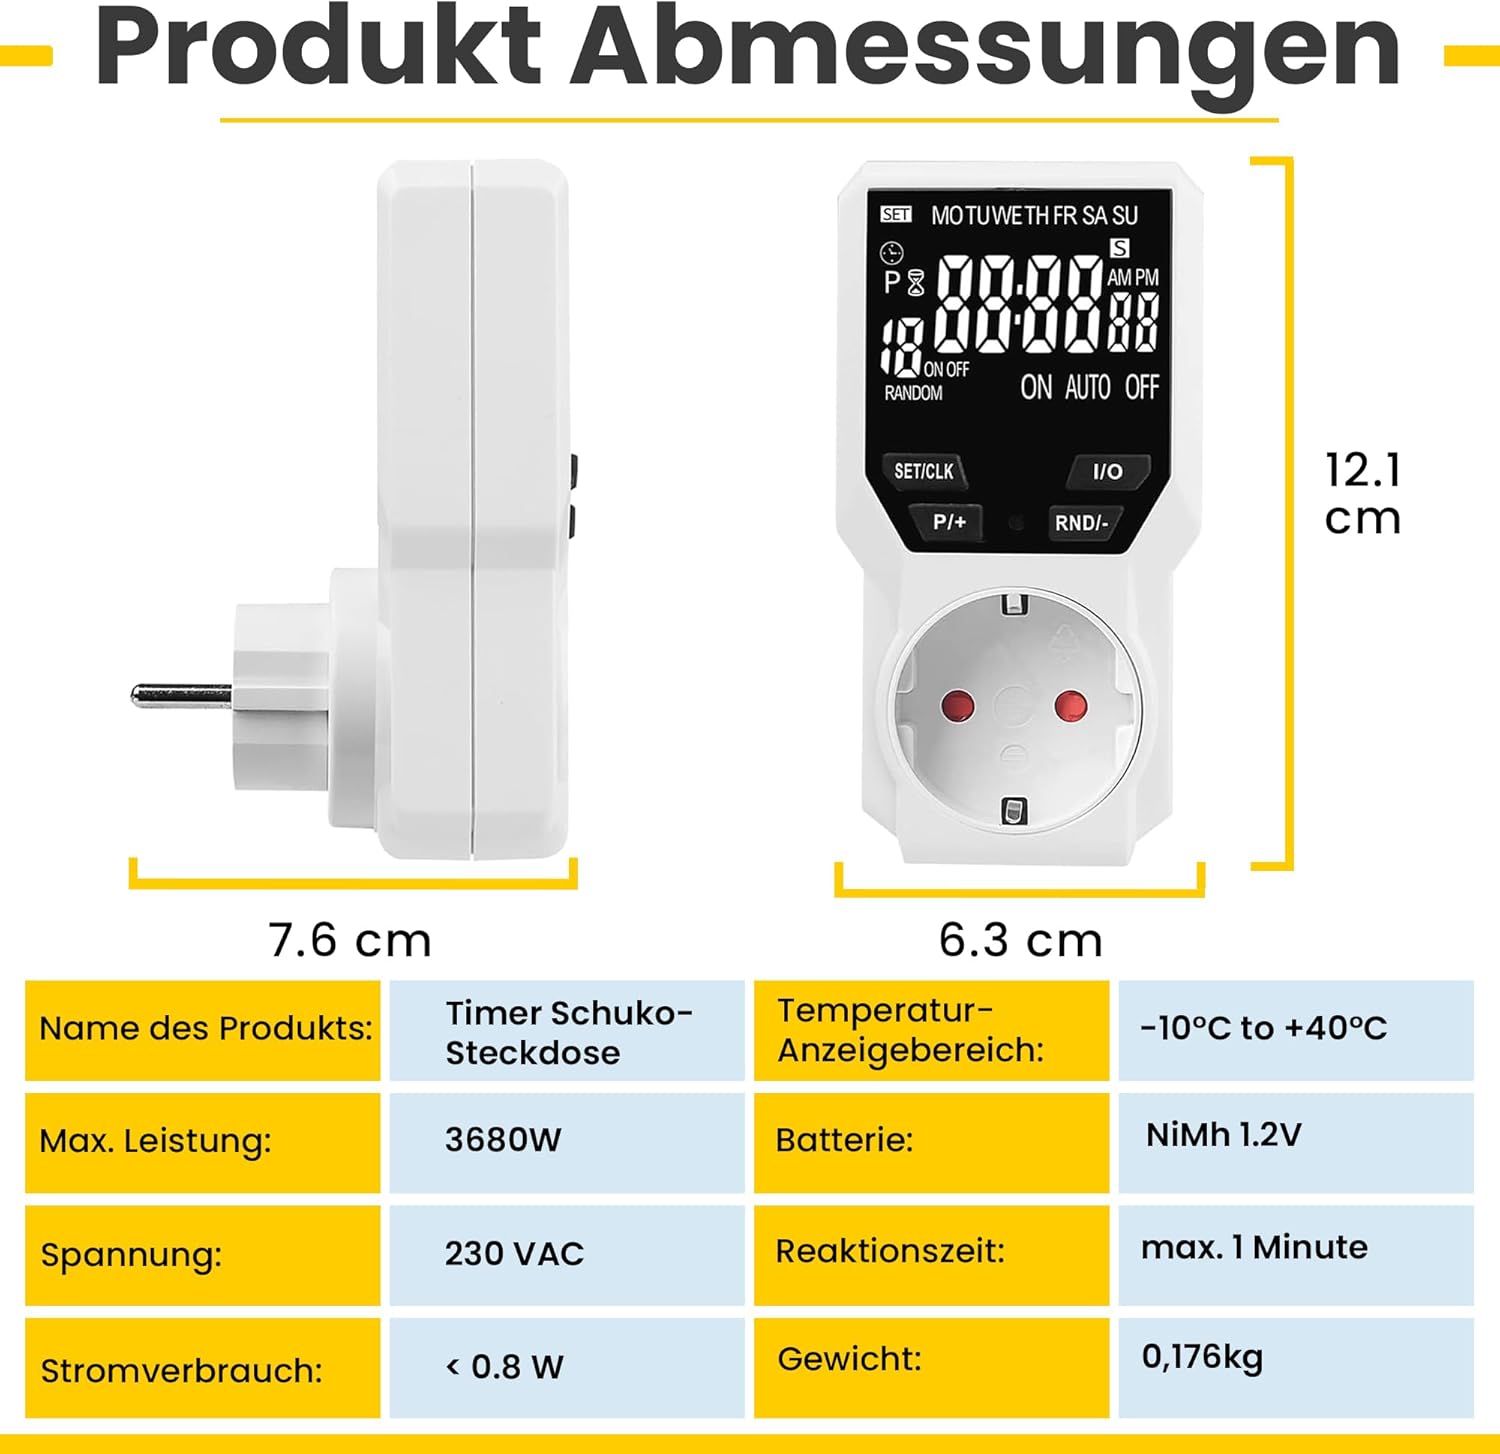
Image: Product dimensions and technical specifications of the Offgridtec digital timer.
Operating Instructions
Programming Timer Events (ON/OFF Cycles):
The timer allows up to 18 ON/OFF programs. Each program consists of an ON time and an OFF time.
- Press the "P/+" button to enter programming mode. "1 ON" will appear on the display.
- Set ON Time:
- Press "SET/CLK" to select the day(s) for this program (e.g., MO, TU, WE, TH, FR, SA, SU, or specific combinations).
- Press "P/+" to adjust the hour for the ON time.
- Press "RND/-" to adjust the minute for the ON time.
- Press "P/+" again. "1 OFF" will appear on the display.
- Set OFF Time:
- Press "SET/CLK" to select the day(s) for this program (usually the same as ON time, but can be different).
- Press "P/+" to adjust the hour for the OFF time.
- Press "RND/-" to adjust the minute for the OFF time.
- Repeat steps 1-4 for additional programs (up to 18). To exit programming mode, press "I/O" or wait for 30 seconds.
Operating Modes:
Press the "I/O" button to cycle through the operating modes:
- ON: The connected appliance is continuously ON.
- OFF: The connected appliance is continuously OFF.
- AUTO: The timer operates according to the programmed ON/OFF cycles.
Random Mode:
The random mode adds a random delay (10-31 minutes) to programmed ON/OFF times between 6:00 PM and 6:00 AM. This feature is useful for security, making it appear as if someone is home.
- Ensure the timer is in "AUTO" mode.
- Press the "RND/-" button to activate/deactivate random mode. "RANDOM" will appear on the display when active.
Countdown Function:
The countdown function allows a single ON or OFF event after a set duration.
- Press the "SET/CLK" button repeatedly until "COUNTDOWN" appears.
- Use "P/+" and "RND/-" to set the desired countdown duration (hours and minutes).
- Press "I/O" to start the countdown. The display will show the remaining time.
- Once the countdown finishes, the appliance will switch ON or OFF as configured.

Image: Illustration of daily ON/OFF programming with up to 18 groups.
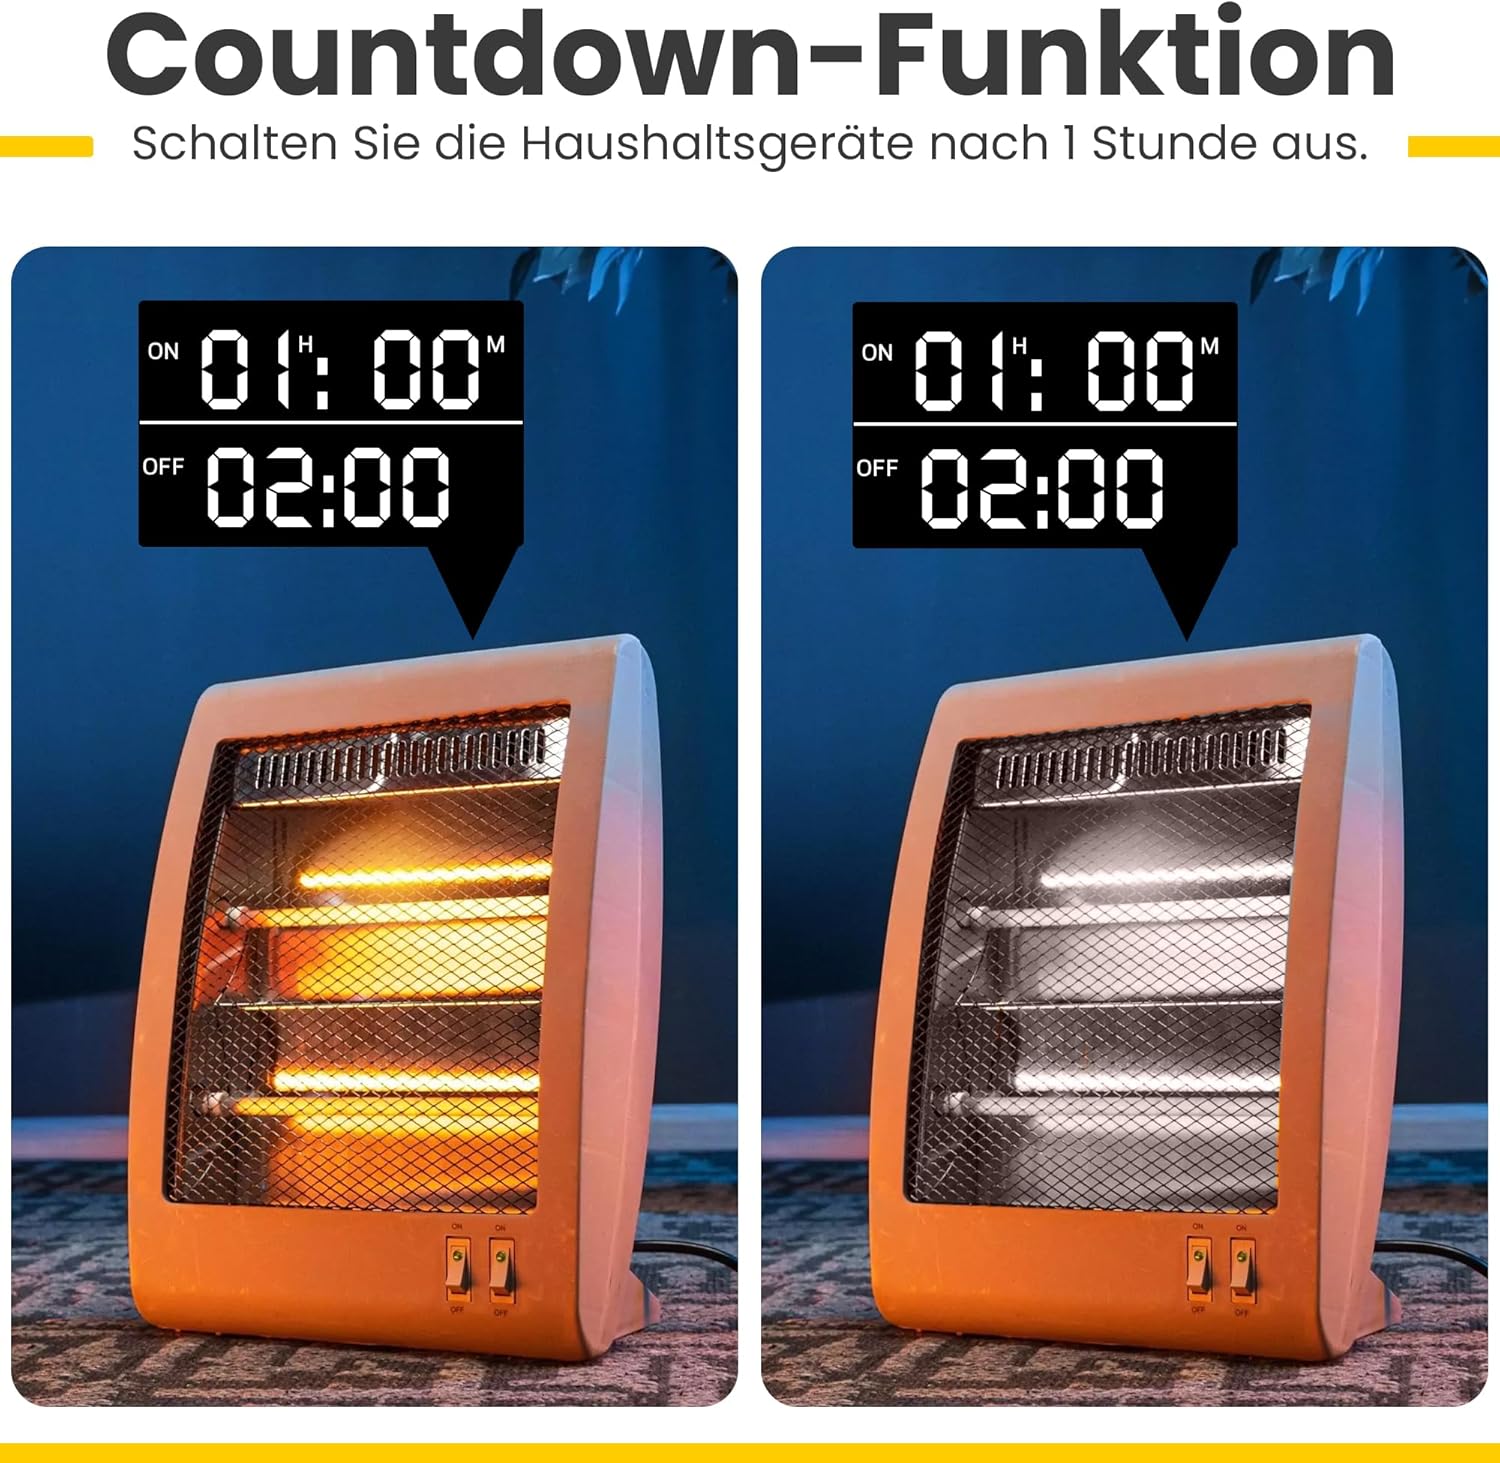
Image: Example of the countdown function turning off a heater after a set time.
Instructional Videos:
Video: Demonstrates the operating method of a digital timer, including setting time and programs. This video provides a visual guide to the programming steps.
Video: Shows the programming process for a digital electronic timed socket, illustrating how to set ON/OFF times for various days.
Video: Provides a visual overview of a digital timer plug, demonstrating its physical features and basic operation.
Video: Illustrates various applications of a digital timer plug, showing it in use with different electrical devices.
Maintenance
- Cleaning: Wipe the timer with a dry, soft cloth. Do not use liquid cleaners or immerse the device in water.
- Battery: The internal NiMH battery is designed for long-term use and retains settings during power outages. If the display becomes dim or settings are frequently lost, ensure the timer is plugged in for several hours to recharge the battery. The battery is not user-replaceable.
- Storage: When not in use for extended periods, store the timer in a cool, dry place away from direct sunlight and extreme temperatures.
Troubleshooting
| Problem | Possible Cause | Solution |
|---|---|---|
| Display is blank or dim. | Internal battery is low or discharged. | Plug the timer into a live socket for at least 4 hours to recharge the battery. |
| Settings are lost after power outage. | Internal battery not sufficiently charged. | Ensure the timer is plugged in for sufficient time to fully charge the internal battery. |
| Appliance does not turn ON/OFF as programmed. |
|
|
| Random mode not working. | Random mode is not activated or timer is not in "AUTO" mode. | Ensure "AUTO" mode is selected and press "RND/-" to activate random mode (RANDOM icon should appear). |
Specifications
| Feature | Detail |
|---|---|
| Brand | Offgridtec |
| Model | 8-01-020190 |
| Color | White |
| Product Dimensions (L x W x H) | 6.3 x 7.6 x 12.1 cm |
| Material | Plastic |
| Item Weight | 176 grams |
| Operating Voltage | 230 VAC |
| Max. Power | 3680W |
| Max. Current | 16A |
| Temperature Range | -10°C to +40°C |
| Internal Battery | NiMH 1.2V (for settings backup) |
| Power Consumption | < 0.8W |
| Minimum Switching Time | 1 minute |
| Number of Programs | 18 (ON/OFF cycles) |

Image: Key features of the Offgridtec digital timer, including display, buttons, and functions.
Warranty and Support
This Offgridtec product is covered by a standard manufacturer's warranty. For specific warranty details, please refer to the documentation included with your purchase or contact Offgridtec customer support directly.
For technical assistance, troubleshooting, or further inquiries, please visit the official Offgridtec website or contact their customer service department. Keep your purchase receipt for warranty claims.


