
Introduction
This manual provides comprehensive instructions for assembling and operating the Klever Kits 6-in-1 Electric Robot Kits. This educational STEM kit allows users to build six distinct robotics-inspired projects: the Crawly Octo-Robot, Bubble Maker Windmill, Mini Traffic Light, Doodling Robot, Powered Racing Car, and Twinkling Starlight Lamp. Designed for ages 8 and up, this kit promotes hands-on learning of basic scientific principles, robotics, and engineering mechanics.

Image: A child and adult working together to assemble one of the robot projects, demonstrating the collaborative and educational nature of the kit.
Safety Information
- This product is for external use only.
- Adult supervision is recommended for children under 12 years of age during assembly and operation.
- Keep small parts away from young children to prevent choking hazards.
- Do not expose electronic components to water or excessive moisture.
- Ensure batteries are inserted correctly according to polarity markings. Remove batteries when the kit is not in use for extended periods.
- Do not mix old and new batteries, or different types of batteries.
What's in the Box
The Klever Kits 6-in-1 Electric Robot Kits include all necessary components to build six different projects. Please verify all parts are present before beginning assembly.
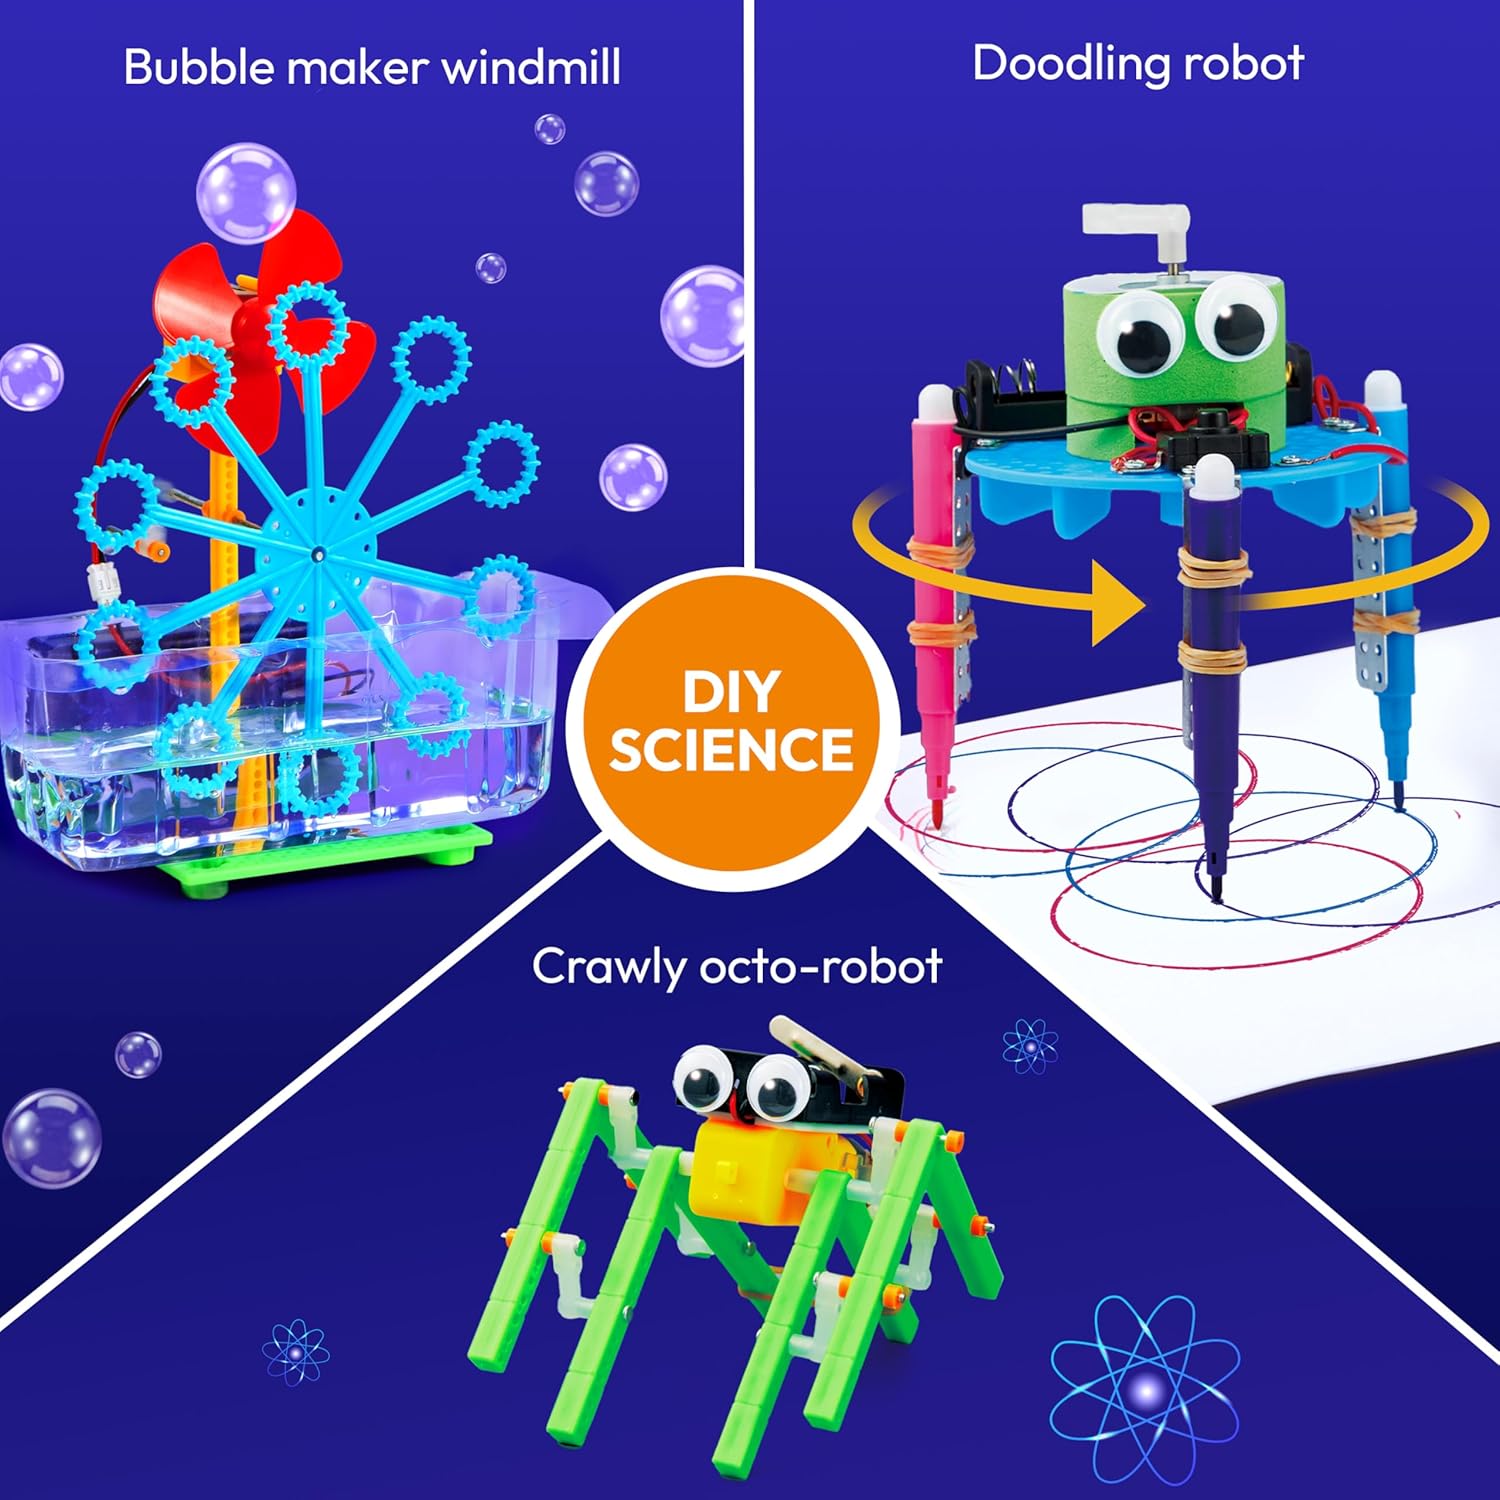
Image: An overhead view of all components included in the kit, neatly arranged, showing various plastic pieces, motors, wires, and decorative elements.
The kit contains parts for:
- Crawly Octo-Robot
- Bubble Maker Windmill
- Mini Traffic Light
- Doodling Robot
- Powered Racing Car
- Twinkling Starlight Lamp
Note: Batteries are not included and must be purchased separately. Refer to individual project instructions for specific battery requirements.
Setup and Assembly
Each of the six projects comes with its own detailed assembly instructions within the included manual. Follow these general steps for setting up any project:
- Unpack Components: Carefully remove all parts from the packaging. Organize them to easily identify pieces for your chosen project.
- Review Instructions: Before starting, read through the specific instructions for the robot you wish to build. Familiarize yourself with the steps and required components.
- Assemble Structure: Connect the plastic pieces as indicated in the manual. Ensure all connections are secure.
- Install Electronic Components: Attach motors, wires, and other electronic parts. Pay close attention to wiring diagrams to ensure correct connections.
- Insert Batteries: Once the structure and electronics are assembled, insert the required batteries into the battery compartment. Ensure correct polarity.
- Test Functionality: Before full operation, perform a quick test to ensure all parts move and function as expected.

Image: A visual guide showing three steps: assembling the robot's base, inserting batteries into the power pack, and operating the Doodling Robot as it draws on paper.
Operating Instructions
Once assembled, each robot can be operated by activating its power source (usually a switch on the battery pack). Below are general operating principles and specific notes for some projects.
General Operation
- Ensure all connections are firm and batteries are correctly installed.
- Place the robot on a flat, stable surface for optimal performance.
- Activate the power switch to begin operation.
- Observe the robot's movement and functionality.
Project Specific Notes
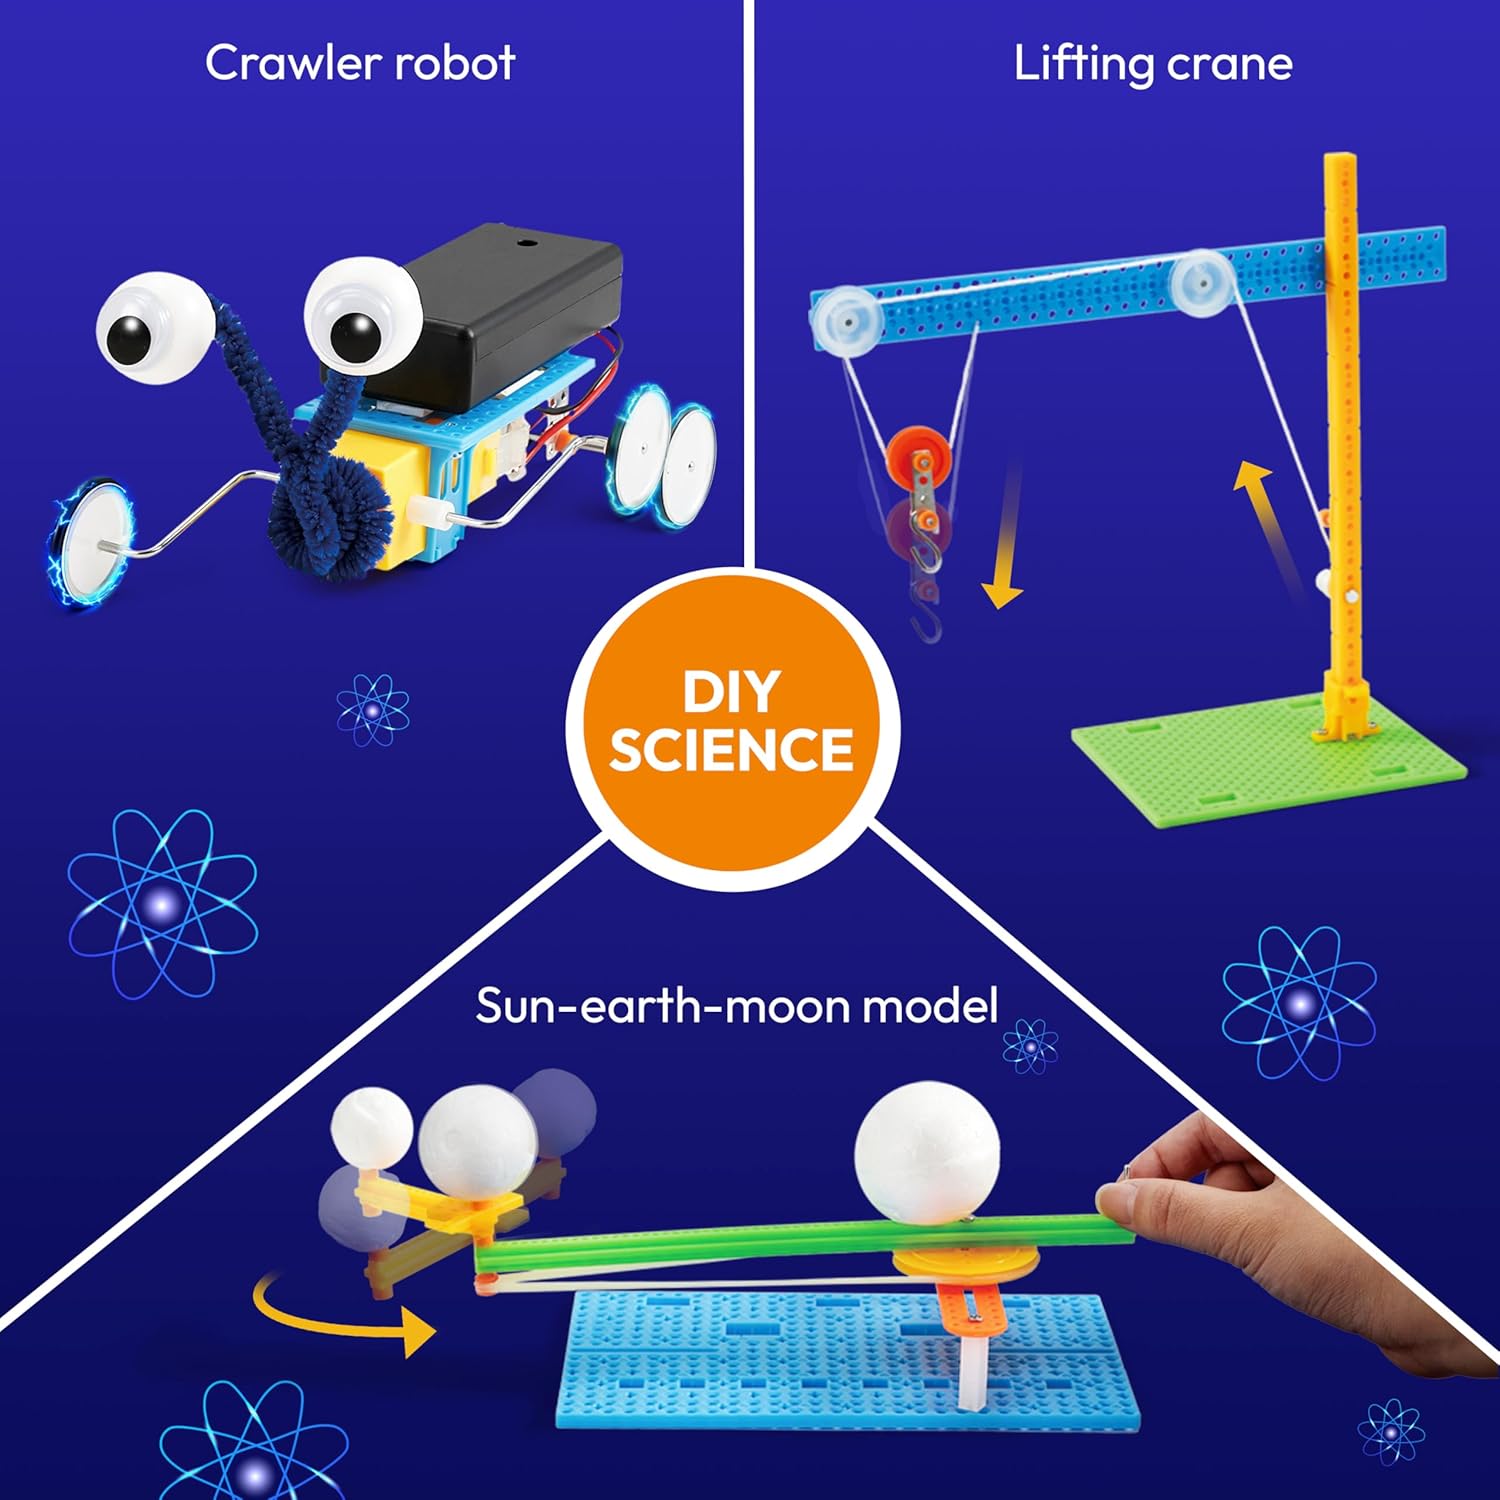
Image: A collage displaying the Bubble Maker Windmill producing bubbles, the Doodling Robot creating patterns, and the Crawly Octo-Robot in action.
- Doodling Robot: Attach markers securely to the robot's legs. Place it on a large sheet of paper. When activated, the robot will vibrate and move, creating unique patterns.
- Bubble Maker Windmill: Fill the designated tray with bubble solution (not included). Activate the motor to spin the bubble wands and fan, generating bubbles.
- Crawly Octo-Robot / Powered Racing Car: These robots are designed for movement. Ensure they are placed on a smooth, flat surface for best results.
- Mini Traffic Light / Twinkling Starlight Lamp: These projects involve light-emitting components. Observe the light sequences or patterns upon activation.

Image: A collage showing the Crawler Robot moving, the Lifting Crane demonstrating pulley mechanics, and the Sun-Earth-Moon Model illustrating planetary motion.
Official Product Video
Video: An official product video from Klever Kits demonstrating the assembly and operation of various robots included in the 6-in-1 Electric Robot Kits, showcasing their functionality and educational value.
Maintenance
- Cleaning: Wipe down plastic components with a dry or slightly damp cloth. Do not use harsh chemicals or immerse electronic parts in water.
- Storage: Store the kit and assembled robots in a cool, dry place away from direct sunlight. Disassemble projects for compact storage if desired.
- Battery Care: Remove batteries from the battery compartment if the kit will not be used for an extended period to prevent leakage.
- Component Check: Periodically inspect wires and connections for any signs of wear or damage. Replace any damaged parts if necessary (contact support for replacement parts).
Troubleshooting
| Problem | Possible Cause | Solution |
|---|---|---|
| Robot does not move or light up. |
|
|
| Robot moves erratically or weakly. |
|
|
| Bubble Maker Windmill does not produce bubbles. |
|
|
If you encounter issues not listed here, please refer to the detailed instruction booklet included with your kit or contact customer support.
Specifications
- Product Name: Klever Kits 6-in-1 Electric Robot Kits
- Model Number: 60151
- Product Dimensions: 10.08 x 9.65 x 2.72 inches
- Item Weight: 1.32 pounds
- Manufacturer Recommended Age: 8 years and up
- Manufacturer: JOYIN US CORP
Warranty and Support
For any questions, concerns, or technical assistance regarding your Klever Kits 6-in-1 Electric Robot Kits, please refer to the contact information provided in the product packaging or visit the official Klever Kits website for support resources.
This product is designed for educational and recreational purposes. Please retain your purchase receipt for any warranty claims, if applicable. Specific warranty details are typically included with the product documentation.