
WeChef 26FWM009-151520-11-3
Contents
WeChef 15" 3-Tier Commercial Food Warmer Instruction Manual
Model: 26FWM009-151520-11-3
1. Introduction
This manual provides essential instructions for the safe and efficient operation, maintenance, and troubleshooting of your WeChef 15" 3-Tier Commercial Food Warmer. Please read this manual thoroughly before initial use and retain it for future reference.
The WeChef 15" 3-Tier Commercial Food Warmer is designed for commercial use to keep various food items warm at a consistent temperature. It features a stainless steel frame, tempered glass panels, and adjustable temperature control.
2. Safety Instructions
Always follow basic safety precautions when using electrical appliances to reduce the risk of fire, electric shock, and injury.
- Read all instructions before operating the appliance.
- Ensure the power supply matches the voltage specified on the appliance's rating label.
- Do not immerse the appliance, cord, or plug in water or other liquids.
- Unplug from the outlet when not in use and before cleaning. Allow to cool before handling parts.
- Do not operate any appliance with a damaged cord or plug, or after the appliance malfunctions or has been damaged in any manner.
- Do not use outdoors.
- Do not let the cord hang over the edge of a table or counter, or touch hot surfaces.
- Do not place on or near a hot gas or electric burner, or in a heated oven.
- Extreme caution must be used when moving an appliance containing hot oil or other hot liquids.
- Always attach the plug to the appliance first, then plug the cord into the wall outlet. To disconnect, turn any control to "off", then remove the plug from the wall outlet.
- This appliance is for commercial use only.
- Keep children away from the appliance during operation.
3. Product Components
The WeChef 15" 3-Tier Commercial Food Warmer consists of the following main components:
- Stainless Steel Frame
- Tempered Glass Walls and Door
- 3 Perforated Stainless Steel Trays
- Removable Dregs Tray
- Temperature Control Knob
- Power Switch
- Heat Switch
- LED Light Bars (Warm White Light)
- Water Bowl (for humidity)
- Anti-slip Feet

Figure 1: Front view of the WeChef 15" 3-Tier Commercial Food Warmer with food displayed on its shelves.
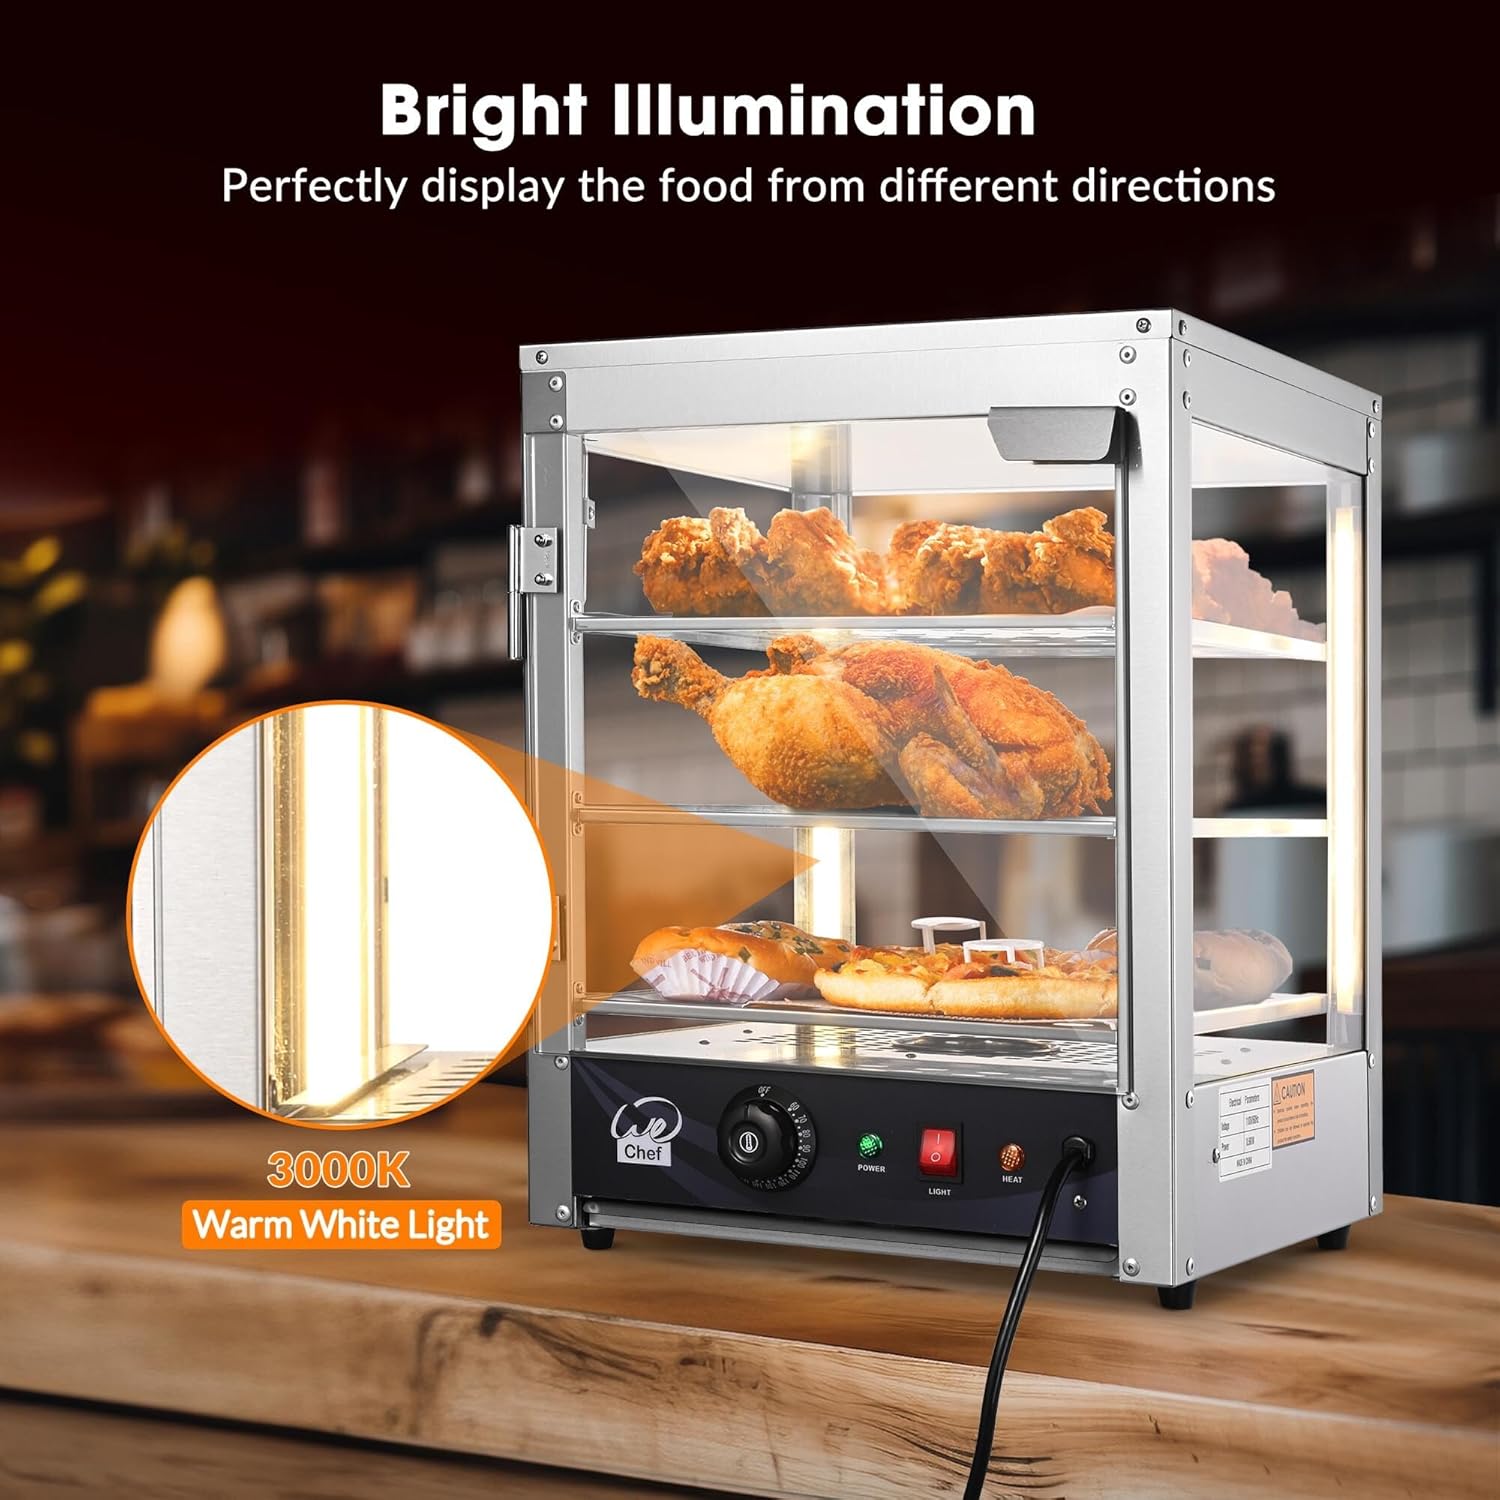
Figure 2: The food warmer showcasing its bright LED illumination, highlighting the displayed food items.
4. Specifications
| Feature | Detail |
|---|---|
| Model Number | 26FWM009-151520-11-3 |
| Dimensions (L x W x H) | 20.1" x 15" x 20.1" (51 cm x 38 cm x 51 cm) |
| Tray Dimensions | 12 3/8" x 13 3/4" (31.5 cm x 35 cm) |
| Number of Tiers | 3 |
| Wattage | 600W |
| Voltage | 110V / 60Hz |
| Temperature Range | 57°F to 185°F (13°C to 85°C) |
| Material | Stainless Steel, Tempered Glass |
| Item Weight | 26 lbs (11.8 kg) |

Figure 3: Dimensional diagram of the food warmer, illustrating its overall size and internal shelf dimensions.
5. Setup and Installation
The WeChef Food Warmer is designed for instant use with minimal assembly required. Follow these steps for initial setup:
- Unpacking: Carefully remove the food warmer from its packaging. Inspect for any damage during transit.
- Placement: Place the unit on a stable, level, heat-resistant surface. Ensure there is adequate ventilation around the unit. Do not block air vents.
- Internal Components:
- Insert the three perforated stainless steel trays into the designated slots within the warmer.
- Slide the removable dregs tray into the bottom slot of the unit.
- Place the water bowl on the heating element at the bottom of the unit. This helps maintain humidity.

Figure 4: Internal view of the food warmer, illustrating the three removable perforated trays and the bottom dregs tray.
Video 1: A demonstration of setting up the internal shelves and placing food items inside the WeChef food warmer.
- Power Connection: Plug the power cord into a grounded 110V/60Hz electrical outlet.
6. Operating Instructions
- Power On: Flip the main power switch to the "ON" position. The green "POWER" indicator light will illuminate.
- Activate Heating: Flip the "HEAT" switch to the "ON" position. The red "HEAT" indicator light will illuminate, indicating the heating element is active.
- Set Temperature: Rotate the temperature control knob to your desired temperature between 57°F and 185°F (13°C to 85°C). The unit will automatically maintain this temperature.
- Activate Lighting: Flip the "LIGHT" switch to the "ON" position to illuminate the interior of the warmer. This enhances food visibility.
- Add Water for Humidity: Ensure the water bowl at the bottom contains water to maintain humidity and prevent food from drying out. Refill as needed.
- Loading Food: Place pre-cooked, warm food items onto the perforated trays. Do not overload the shelves.
- Monitoring: Periodically check the temperature and food quality. Adjust settings as necessary.
- Power Off: When finished, turn off the "HEAT" and "LIGHT" switches, then the main "POWER" switch. Unplug the unit from the wall outlet.

Figure 5: Close-up of the control panel, detailing the power switch, light switch, heat switch, and temperature control knob.

Figure 6: The water bowl component, essential for maintaining food freshness and preventing dryness.
7. Cleaning and Maintenance
Regular cleaning and maintenance will ensure the longevity and optimal performance of your food warmer.
- Disconnect Power: Always unplug the unit from the power outlet and allow it to cool completely before cleaning.
- Remove Components: Remove the perforated trays, dregs tray, and water bowl for separate cleaning.
- Cleaning Trays and Bowl: Wash the stainless steel trays and water bowl with warm, soapy water. Rinse thoroughly and dry completely before reinserting.
- Cleaning Interior/Exterior: Wipe down the interior and exterior surfaces of the warmer with a damp cloth and mild detergent. Avoid abrasive cleaners or scouring pads that could scratch the stainless steel or glass.
- Glass Panels: Clean glass panels with a glass cleaner or a damp cloth to remove smudges and food residue.
- Dregs Tray: Empty and clean the dregs tray regularly to prevent accumulation of food particles and oil.
- Drying: Ensure all parts are completely dry before reassembling and operating the unit.

Figure 7: Illustration of the food warmer's design for easy cleaning, highlighting removable shelves and the dregs tray.
8. Troubleshooting
Refer to the table below for common issues and their solutions.
| Problem | Possible Cause | Solution |
|---|---|---|
| Unit does not power on. |
|
|
| Unit heats slowly or not at all. |
|
|
| Food is drying out. |
|
|
| Internal lights are not working. |
|
|
9. Warranty and Support
For warranty information, technical support, or replacement parts, please contact WeChef customer service. Refer to your purchase documentation for specific warranty terms and contact details.
Manufacturer: Yescom
Brand: WeChef
Contact: Please visit the official WeChef website or refer to the contact information provided with your product packaging.
Ask a question about this manual
Ask about setup, troubleshooting, compatibility, parts, safety, or missing instructions. Manuals+ will review the question and use this page’s manual context to help answer it.