1. Introduction
Thank you for purchasing the Trumpeter 757413 1/72 US M1240 M-ATV MRAP plastic model kit. This kit allows you to construct a detailed replica of the US M1240 M-ATV Mine Resistant Ambush Protected vehicle. This manual provides essential information for safe assembly, operation, and maintenance of your model.
2. Safety Information
Please read and understand all safety warnings before beginning assembly. This model kit contains small parts and requires the use of adhesives and paints, which may pose hazards if not handled correctly.
- Choking Hazard: This product contains small parts and is not suitable for children under 14 years of age. Keep all components out of reach of young children.
- Adhesives and Paints: Use model-specific adhesives and paints in a well-ventilated area. Avoid inhaling fumes. Follow the manufacturer's safety instructions for all chemical products used.
- Sharp Tools: Assembly may require hobby knives, clippers, and files. Handle all tools with care to prevent injury.
- Eye Protection: Consider wearing eye protection during assembly, especially when cutting or sanding plastic parts.
3. Package Contents
Verify that all components are present before starting assembly. The kit includes:
- Plastic sprues with approximately 100 parts
- Rubber tires
- Clear parts
- Masking stickers
- Instruction manual (this document)
Note: Adhesives, tools, and paints are sold separately and are not included in this kit.
4. Assembly Instructions
Follow the step-by-step diagrams provided in the included instruction sheet. The general assembly process involves:
- Preparation: Carefully remove parts from the sprues using a hobby knife or clippers. Clean any excess plastic (flash) with a file or sandpaper.
- Sub-Assemblies: Begin by assembling smaller components such as the chassis, interior, and weapon systems as indicated in the diagrams.
- Main Body Assembly: Attach the sub-assemblies to form the main body of the vehicle. Ensure proper alignment before applying adhesive.
- Wheels and Tires: Mount the rubber tires onto the plastic wheel hubs and attach them to the chassis.
- Detailing: Add clear parts for windows and lights. Use masking stickers for painting intricate areas.
- Painting and Finishing: Once assembly is complete, paint the model according to your desired scheme. Allow paint to dry thoroughly before handling.

Figure 1: Front-left view of the assembled Trumpeter 1/72 M1240 M-ATV MRAP model. This image shows the detailed front armor, windshield, and roof-mounted weapon station.

Figure 2: Rear-right view of the assembled Trumpeter 1/72 M1240 M-ATV MRAP model. This perspective highlights the rear cargo area, spare tire, and various antennas.

Figure 3: Underbody view of the Trumpeter 1/72 M1240 M-ATV MRAP model, showcasing the chassis, suspension, and drivetrain details.
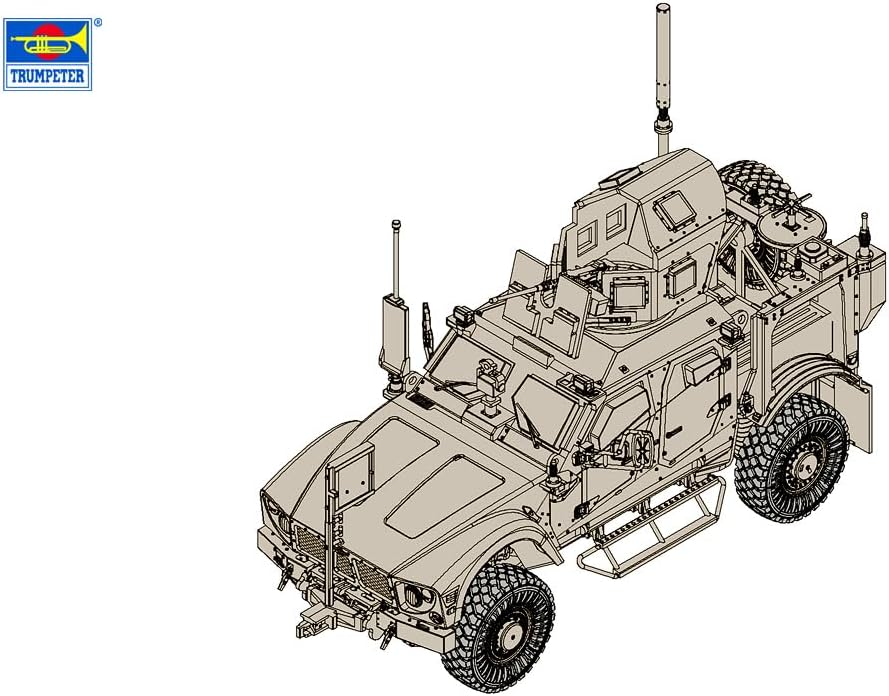
Figure 4: An illustrative diagram providing an exploded view or detailed assembly steps for the Trumpeter 1/72 M1240 M-ATV MRAP model kit.
5. Operating Your Model
This Trumpeter kit is a static display model and is not designed for functional operation. Once assembled, it serves as a detailed replica for display purposes. Avoid applying excessive force or attempting to move parts that are not designed to articulate, as this may cause damage.
6. Maintenance and Care
To ensure the longevity and appearance of your model:
- Cleaning: Dust the model regularly with a soft, dry brush or a lint-free cloth. Avoid using harsh chemicals or abrasive cleaners, which can damage paint and plastic.
- Display Environment: Display your model in a stable, dry environment away from direct sunlight, extreme temperatures, and high humidity. These conditions can cause discoloration, warping, or degradation of materials.
- Handling: Handle the model carefully, grasping it by the main body rather than delicate protruding parts.
7. Troubleshooting Common Assembly Issues
While assembling your model, you might encounter minor challenges. Here are some common issues and solutions:
- Parts Not Fitting: Ensure you are using the correct parts for each step. Sometimes, a small amount of flash (excess plastic) may prevent parts from fitting snugly. Carefully trim or sand these areas.
- Adhesive Issues: Use a minimal amount of adhesive. Too much can damage the plastic or obscure details. Allow sufficient drying time before moving to the next step.
- Paint Adhesion: Ensure plastic surfaces are clean and free of oils before painting. A primer coat can improve paint adhesion and finish.
- Missing Parts: Double-check the sprues and packaging. If a part is genuinely missing, contact the manufacturer's customer support.
8. Product Specifications
| Model Number | 757413 (also known as 120116) |
| Scale | 1/72 |
| Assembled Length | 86.4 mm (3.4 inches) |
| Assembled Width | 35 mm (1.4 inches) |
| Part Count | Approximately 100 parts |
| Material | Plastic, Rubber (tires) |
| Recommended Age | 14 years and up |
| Manufacturer | Trumpeter |
9. Warranty Information
This product is a model kit and typically does not come with an extended warranty for assembled items. For issues regarding missing or defective parts upon initial inspection, please contact the retailer or manufacturer within a reasonable timeframe after purchase. Retain your proof of purchase.
10. Customer Support
For technical assistance, questions about parts, or general inquiries, please refer to the contact information provided on the product packaging or visit the official Trumpeter website. When contacting support, please have your model number (757413) and proof of purchase readily available.


