Introduction
Thank you for choosing the VITCOCO Ear Wax Removal Kit. This comprehensive system is designed to provide a safe, effective, and convenient solution for ear hygiene at home. It combines a water-powered ear irrigation system with a high-definition visual otoscope, allowing for thorough cleaning and inspection of the ear canal. Please read this manual carefully before use to ensure proper operation and safety.
Safety Information
Important Safety Precautions:
- Always use warm water (approximately 37°C ± 2°C or 98°F ± 4°F) for irrigation to avoid dizziness. Do not use water hotter than 50°C (122°F).
- Do not use if you have ear infections, perforated eardrums, ear tubes, or have recently had ear surgery. Consult a medical professional if unsure.
- Children must use the otoscope and irrigation system under adult supervision.
- Insert the irrigation tip gently into the ear canal. Do not force it.
- The device is IPX7 waterproof, meaning it can withstand immersion in water up to 1 meter for 30 minutes. However, ensure the charging port cover is securely closed before rinsing or immersing.
- Clean the device thoroughly after each use to prevent bacterial growth.
- If you experience pain, discomfort, or hearing changes during or after use, discontinue use immediately and consult a doctor.
- This product is for personal home use and is not intended to replace professional medical advice or treatment.
Legal Disclaimer: Actual product packaging and materials may contain more and different information than what is shown on our website. We recommend that you do not rely solely on the information presented and that you always read labels, warnings, and directions before using or consuming a product.
Product Overview and Components
The VITCOCO Ear Wax Removal Kit includes the following components:
- Electric Ear Irrigation Device
- 1080P HD Visual Otoscope
- Water Collection Basin
- 10 Replaceable Nozzles (5x 3-hole, 5x 5-hole)
- USB Type-C Charging Cable
- Set of Ear Picks (Traditional, 4-ring screw, Classic Ear Scoop in various sizes)
- Cleaning Brush
- 3 Types of Ear Cushions for Otoscope

Image: All components of the VITCOCO Ear Wax Removal Kit, including the main irrigation device, visual otoscope, water basin, various nozzles, ear picks, and charging cable.

Image: A detailed layout showing all items included in the product package, such as the main unit, otoscope, charging cable, ear picks, and various ear tips.
Setup
Charging the Device
The electric ear cleaner and the visual otoscope both have internal rechargeable batteries. Before first use, fully charge both devices.
- Electric Ear Cleaner: Connect the USB Type-C charging cable to the charging port on the device and to a suitable USB power adapter (not included). A full charge takes approximately 3 hours and provides up to 12 hours of continuous working time.
- Visual Otoscope: Connect the USB Type-C charging cable to the otoscope's charging port. The otoscope has a 350mAh battery.

Image: Illustration showing the 2000mAh battery capacity of the main unit, its waterproof charging port, and Type-C fast charge capability.

Image: Close-up view of the device highlighting the 2000mAh battery, 250mL water tank, and Type-C charging port.
Preparing the Ear Irrigation Device
- Fill with Warm Water: Rotate the bottom half of the water reservoir counter-clockwise to open. Fill the 250mL water tank with warm water (approximately 37°C ± 2°C or 98°F ± 4°F). Do not use cold or hot water as it can cause dizziness. Close the reservoir by rotating clockwise until secure.
- Install Nozzle: Select a suitable nozzle (3-hole or 5-hole) and firmly attach it to the top of the device.
- Positioning: Position yourself over a sink or in a shower/bath to collect the expelled water and earwax. Use the included water collection basin if preferred.

Image: Step-by-step visual guide on how to open and close the water tank for filling.

Image: Display of the 10 replaceable nozzles, showing both 3-hole and 5-hole types for different spray patterns.
Setting up the Visual Otoscope
- Download App: Scan the QR code provided in the product packaging or visit https://qr19.cn/DTdpCy to download the companion application (LMECHN) for your Android (4.4+) or iOS (9.0+) device.
- Power On Otoscope: Press and hold the power button on the otoscope to turn it on.
- Connect to Wi-Fi: Go to your phone's Wi-Fi settings and connect to the Wi-Fi network named "LMECHN-xxx" (where xxx is a unique identifier).
- Open App: Launch the LMECHN app. The otoscope's camera feed should now be visible on your device screen.
- Attach Ear Cushion: Select an appropriate ear cushion and attach it to the tip of the otoscope for comfortable and safe insertion.

Image: Four-step guide illustrating how to download the app, power on the otoscope, connect to its Wi-Fi, and operate within the application.

Image: Detailed view of the visual otoscope, showing its 3.5mm lens, IP67 water resistance, removable ear spoon, and three types of ear cushions.
Operating Instructions
Using the Electric Ear Irrigation Device
- Power On: Long press the power button to turn on the device.
- Select Mode: Short press the mode selection button to cycle through the four cleaning modes:
- Normal: Daily cleaning mode.
- Soft: Gentle cleaning for sensitive ears.
- Pulse: Alternate water spray for efficient cleaning.
- Strong: For removing stubborn earwax.
- Start Spray: Gently insert the irrigation tip into the ear canal. Short press the start/pause button to begin the water spray.
- Clean: Allow the warm water to flush out earwax. Move the device slightly to ensure thorough cleaning.
- Pause/Stop: Short press the start/pause button to pause or stop the water spray. Long press the power button to turn off the device.

Image: Visual representation of the four working modes (Normal, Soft, Pulse, Strong) and their spray patterns.

Image: Detailed diagram showing the power button, mode selection button, pause button, and mode indicators for the four cleaning modes.

Image: Four-step visual guide on how to use the ear irrigation device: fill with warm water, install nozzle, press and hold power button, and start cleaning.

Image: A person using the ear irrigation device, emphasizing the use of warm water for safe and efficient earwax removal, contrasting with unsafe methods like cotton swabs or fingers.
Using the Visual Otoscope
The otoscope allows you to visually inspect your ear canal and eardrum, aiding in precise earwax removal and general ear health monitoring.
- Insert Gently: Carefully insert the otoscope tip into your ear canal while observing the live feed on your connected device. The 6 high-brightness LED lights will illuminate the ear canal.
- Navigate: Slowly and gently move the otoscope to view different areas of the ear canal and eardrum. Do not push too deep or force the device.
- Capture Images/Videos: Use the functions within the LMECHN app to capture still images or record videos of your ear canal for later review or to share with a medical professional if needed.
- Remove Earwax (with caution): If using the removable ear spoon or other ear picks, use extreme caution and only remove visible, easily accessible earwax. Never insert tools blindly into the ear canal. Always use the otoscope for visual guidance.
- Power Off: Long press the power button on the otoscope to turn it off after use.

Image: Diagram illustrating the internal components of the 1080P High Definition Otoscope, highlighting its 2.4GHz operating frequency and 30fps image transmission for video without delay.

Image: A child sleeping, with an adult gently using the otoscope, demonstrating the product's suitability for gentle and safe ear cleaning and observation for all ages.

Image: Display of various ear picks including traditional, 4-ring screw, and classic ear scoops of different sizes, along with a cleaning brush for maintenance.
Maintenance
Cleaning the Ear Irrigation Device
- After each use, empty any remaining water from the reservoir.
- Rinse the water tank and nozzles thoroughly with clean water.
- The device is IPX7 waterproof; you can rinse it under running water. Ensure the charging port cover is sealed.
- Allow all components to air dry completely before storing.
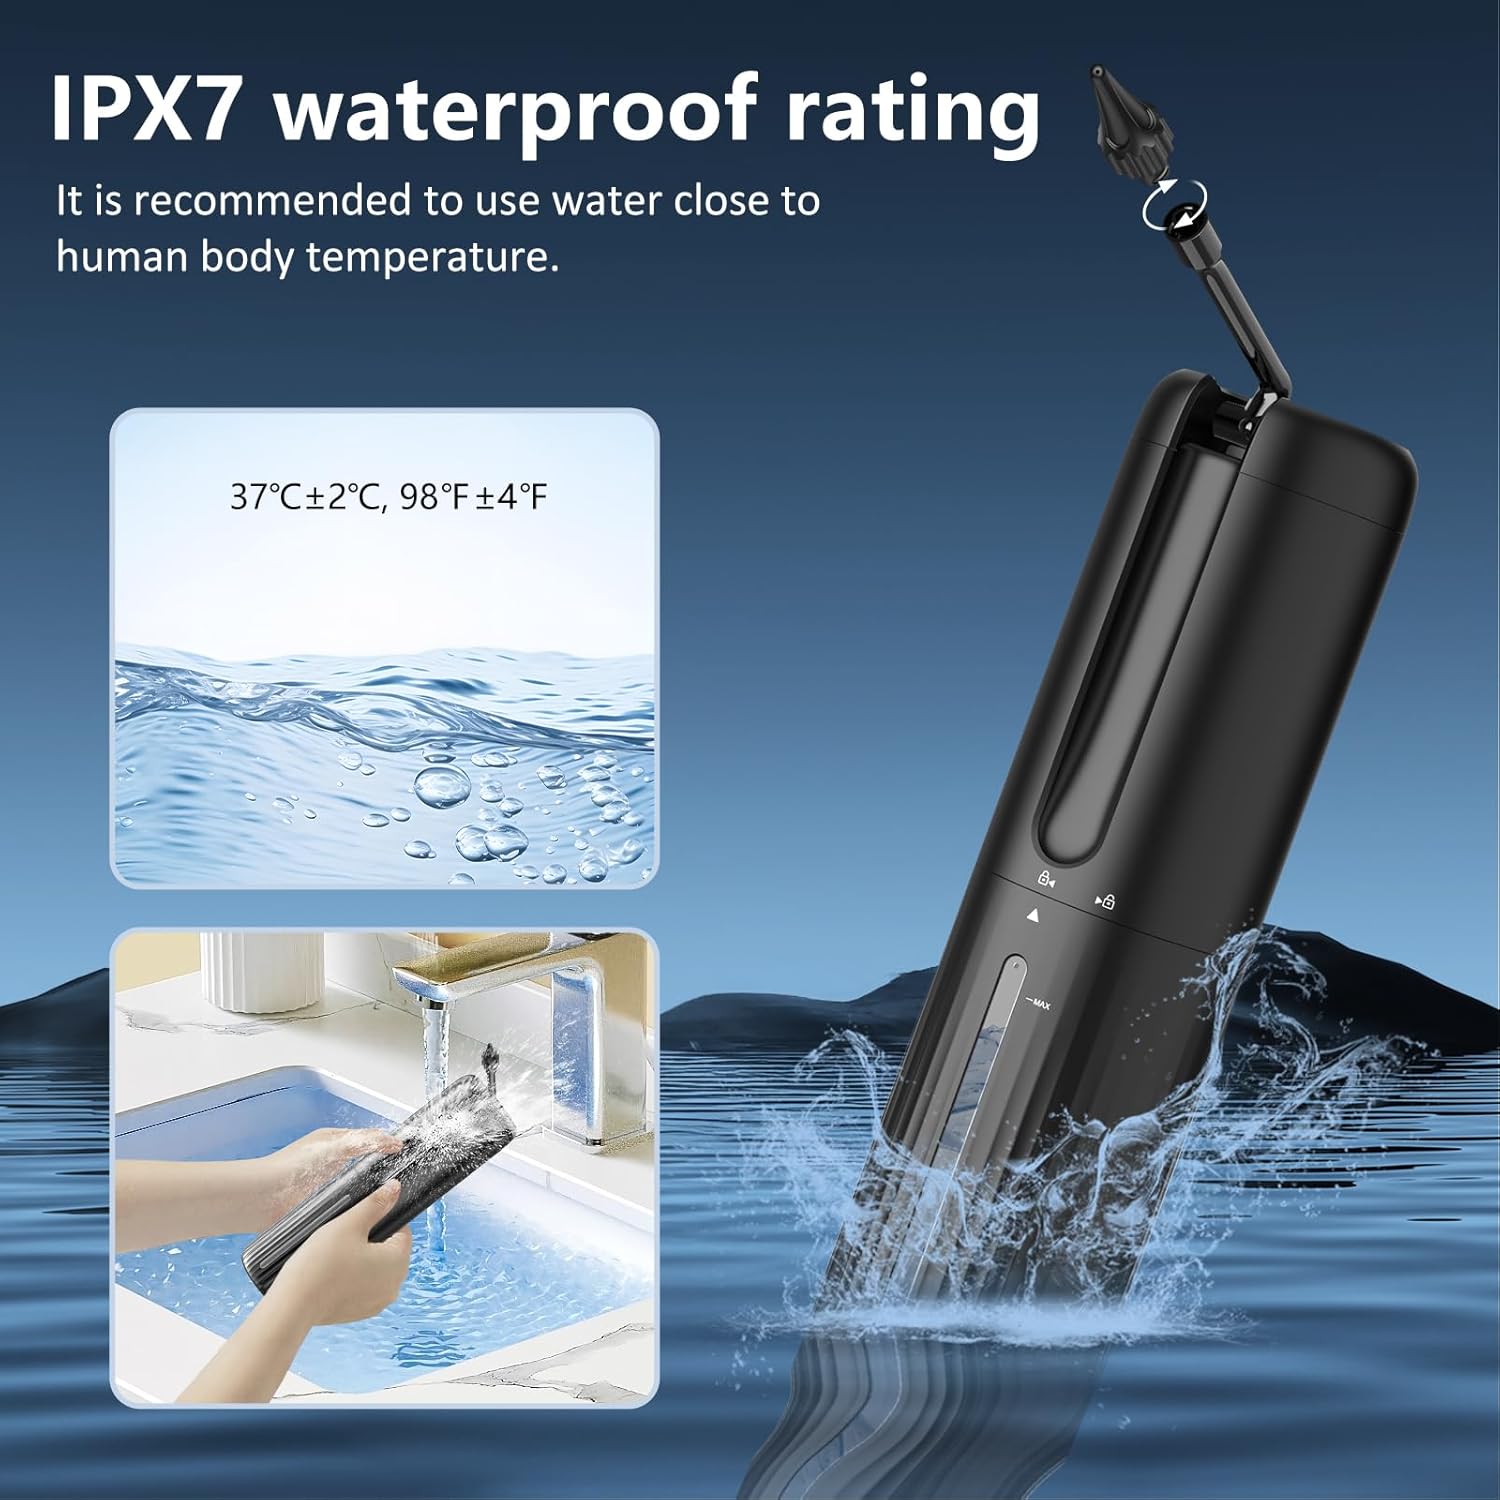
Image: Demonstrates the IPX7 waterproof rating of the device, showing it being rinsed under a faucet and submerged in water, with a reminder to use water close to human body temperature.
Cleaning the Visual Otoscope
- Remove the ear cushion and clean it with soap and water, then rinse thoroughly.
- Wipe the otoscope lens and tip with a soft, damp cloth. The otoscope tip is IP67 water resistant, allowing for gentle cleaning with water.
- Use the provided cleaning brush for any ear picks or accessories.
- Ensure all parts are dry before reassembling or storing.

Image: Close-up views of the otoscope tip, highlighting its IP67 waterproof capability, the 6 LED lights for illumination, and the removable ear scoop design.
Storage
Store the VITCOCO Ear Wax Removal Kit in a cool, dry place, away from direct sunlight and out of reach of children.
Troubleshooting
| Problem | Possible Cause | Solution |
|---|---|---|
| Device not turning on. | Low battery. | Charge the device fully using the provided USB Type-C cable. |
| No water spray or weak spray. | Water tank empty; Nozzle clogged; Incorrect mode selected. | Refill the water tank; Clean the nozzle; Select a stronger mode if needed. |
| Otoscope app not connecting to Wi-Fi. | Otoscope not powered on; Incorrect Wi-Fi network selected; App issue. | Ensure otoscope is on; Connect to "LMECHN-xxx" Wi-Fi; Restart app and otoscope; Check phone's Wi-Fi settings. |
| Blurred image from otoscope. | Lens dirty; Too close/far from earwax. | Clean the otoscope lens gently; Adjust distance for optimal focus. |
| Dizziness during irrigation. | Water temperature too cold or too hot. | Ensure water is at body temperature (approx. 37°C / 98°F). Discontinue use if dizziness persists. |
Specifications
- Model: DQ-DE-W70-P30
- Waterproof Rating (Irrigation Device): IPX7
- Water Tank Capacity: 250mL
- Irrigation Modes: Normal, Soft, Pulse, Strong
- Irrigation Device Battery: 2000mAh
- Charging Port: USB Type-C
- Otoscope Camera Resolution: 1080P Full HD
- Otoscope Lens Diameter: 3.5mm
- Otoscope LED Lights: 6 high-brightness LEDs
- Otoscope Waterproof Rating: IP67 (tip)
- Otoscope Battery: 350mAh
- Image Transmission Rate: 30fps
- Operating Frequency: 2.4GHz
- Compatibility: Android 4.4+ / iOS 9.0+
- Parcel Dimensions: 38.5 x 12.1 x 7.2 cm
- Weight: 610 g

Image: Overview of the 1080P HD Ear Wax Remover (Otoscope), highlighting its 1080P HD pixel resolution, 6 LED lights, 3.5mm diameter, IP67 waterproof rating, removable ear spoon, and three types of ear cushions.

Image: Technical specifications for the otoscope, including 30 frames per second, 2.4 GHz image transfer rate, and operating frequency.

Image: Details on the otoscope's 3.5mm tip, the three types of ear cushions, and its 350mAh battery capacity.
Warranty and Support
For warranty information and customer support, please refer to the contact details provided with your product packaging or visit the official VITCOCO store on Amazon. The product typically comes with a 60-day return/replacement policy as per Amazon's terms.
Manufacturer: VITCOCO
Place of Business: VITCOCO
ASIN: B0DBLXJYCP
Date First Available: October 7, 2024


