
Introduction
This document provides instructions for assembling the 4D Build Harry Potter Fawkes Phoenix 3D Model Kit. This kit allows users to construct a detailed replica of Fawkes the Phoenix, featuring 172 punch-out pieces. The completed model is designed for display and measures approximately 20.1 x 16.4 x 19.1 inches (51 x 41.7 x 48.6 cm). No additional glue or tools are required for assembly.
Setup and Unboxing
Package Contents:
- 20 x EPS Foam 3D Puzzle Sheets
- 1 x Instruction Manual
Carefully remove all components from the packaging. Verify that all 20 EPS foam sheets and the instruction manual are present. Inspect pieces for any damage before beginning assembly.

Image: The 20 EPS foam sheets containing the punch-out pieces for the Fawkes Phoenix model.
Assembly Instructions
The Fawkes Phoenix 3D Model Kit consists of 172 durable punch-out pieces. Follow the numbered steps in the included instruction manual for proper assembly. No glue or additional tools are required as pieces are designed to interlock securely.
Key Assembly Steps:
- Identify and carefully punch out pieces from the EPS foam sheets. Refer to the instruction manual for piece identification.
- Assemble the core body structure of Fawkes, ensuring all tabs are securely inserted into their corresponding slots.
- Attach the wings and tail feathers, paying attention to the layered design for a realistic appearance.
- Construct the display stand according to the instructions.
- Mount the completed Fawkes Phoenix model onto its display stand.

Image: A close-up of the assembly process, highlighting the durable interlocking pieces.
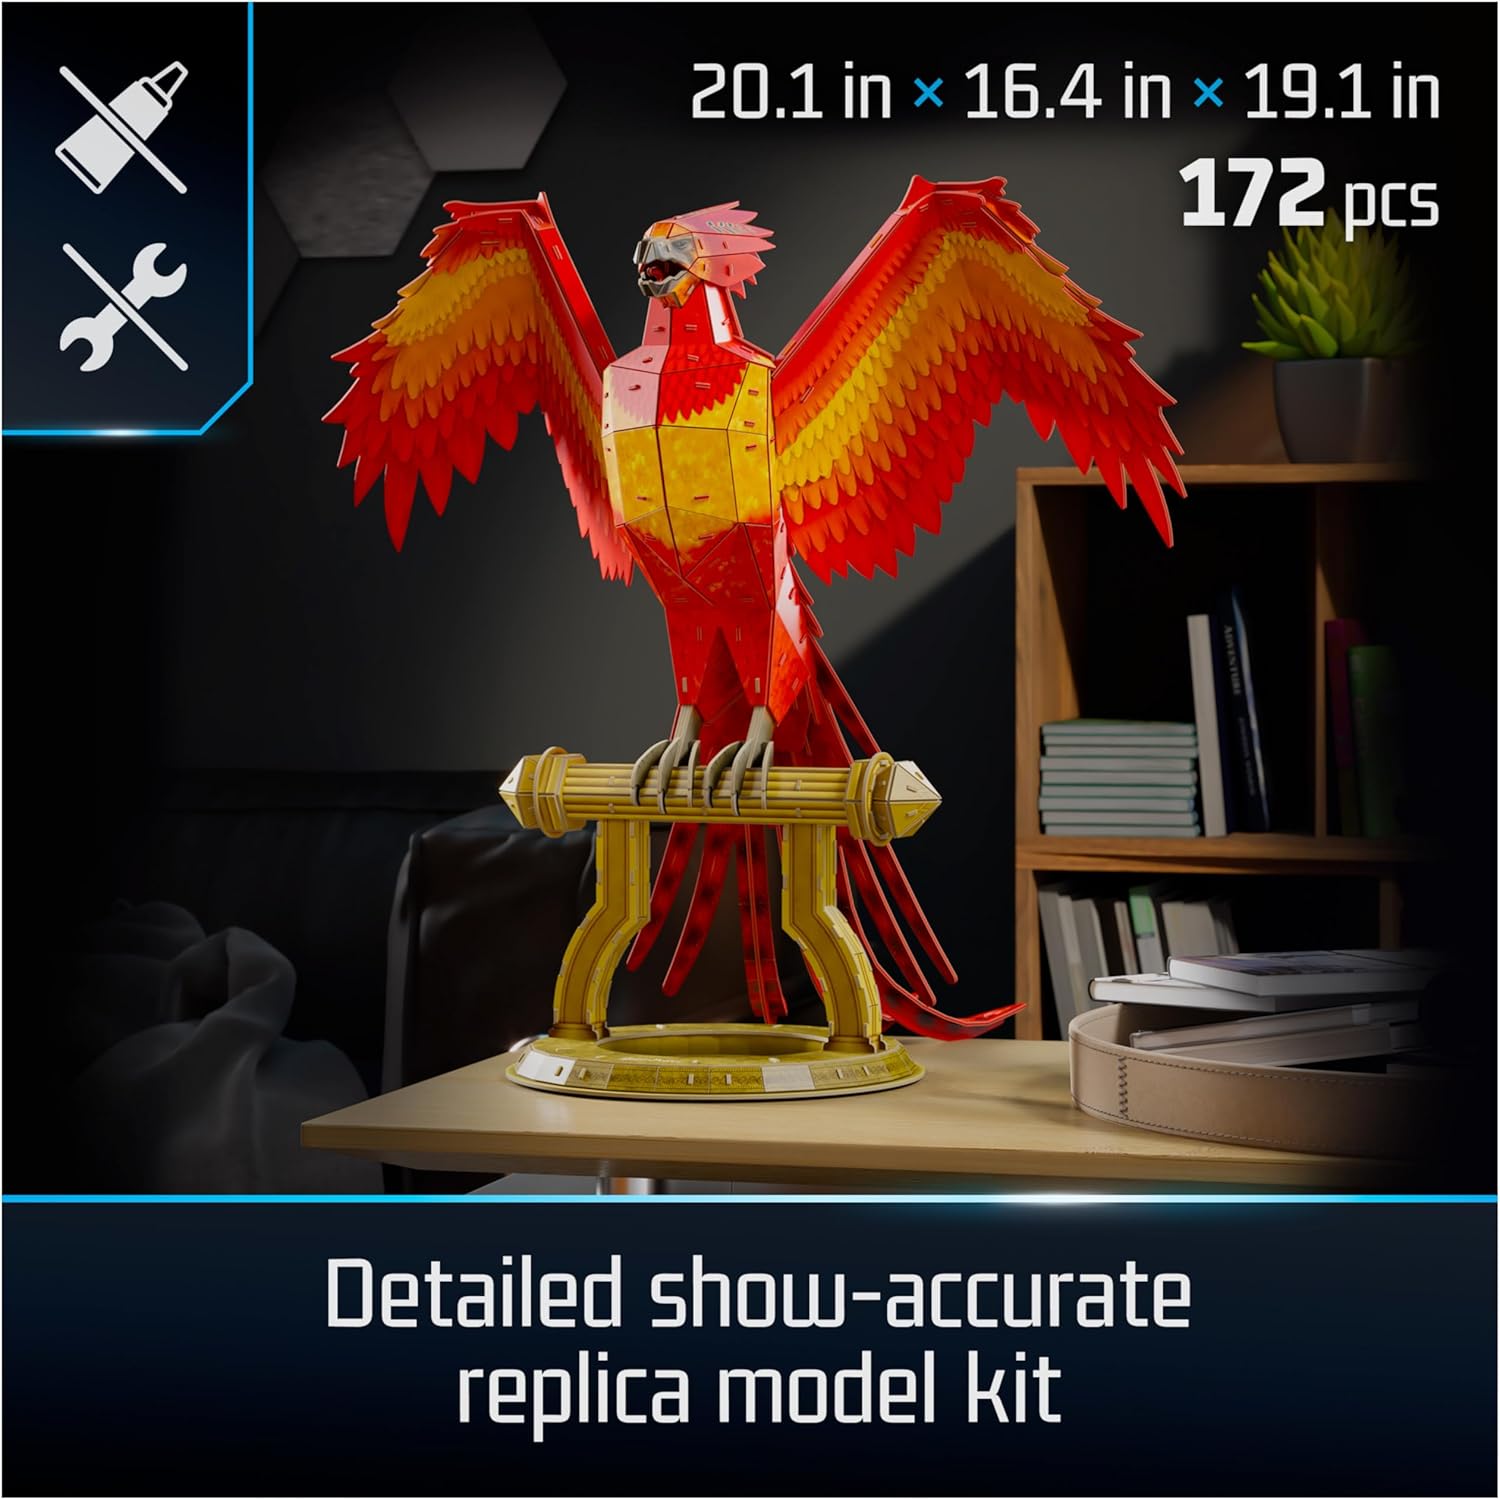
Image: The fully assembled Fawkes Phoenix model, showcasing its dimensions and detailed design.
Assembly Demonstration Video:
Video: An official demonstration of the Fawkes Phoenix 3D Model Kit assembly process, provided by Spin Master, Inc.
Maintenance
To maintain the appearance and integrity of your Fawkes Phoenix 3D model, follow these guidelines:
- Cleaning: Gently dust the model with a soft, dry cloth. Avoid using liquid cleaners or abrasive materials, as these may damage the foam and printed surfaces.
- Storage/Display: Display the model in a stable location away from direct sunlight, extreme temperatures, and high humidity to prevent warping or fading.
- Handling: Handle the model with care, especially when moving it, to avoid bending or detaching pieces.
Troubleshooting
Common Issues and Solutions:
- Pieces do not fit: Ensure you are using the correct pieces for the current step as indicated in the instruction manual. Verify that the tabs are aligned correctly with the slots. Do not force pieces, as this may cause damage.
- Model is unstable: Recheck all connections to ensure pieces are fully inserted and locked into place. Ensure the display stand is assembled correctly and placed on a flat, stable surface.
- Missing pieces: Double-check all foam sheets and packaging. If a piece is genuinely missing, refer to the warranty and support section for contact information.
Product Specifications
| Product Dimensions | 12 x 2.38 x 10.5 inches (packaged) |
| Assembled Dimensions | 20.1 x 16.4 x 19.1 inches (51 x 41.7 x 48.6 cm) |
| Item Weight | 1.2 pounds |
| Model Number | 6072459 |
| Manufacturer | Spin Master |
| Recommended Age | 12 years and up |
| Number of Pieces | 172 |
Warranty and Support
This product is covered by the Spin Master Care Commitment. For detailed warranty information, product support, or assistance with missing/damaged parts, please visit the official Spin Master website or contact their customer service department. Contact information can typically be found on the product packaging or the manufacturer's website.


