1. Introduction
Thank you for purchasing the GarveeHome Rattan 6-Drawer Dresser. This manual provides essential information for the safe assembly, operation, and maintenance of your new furniture. Please read these instructions carefully before beginning assembly and retain them for future reference.
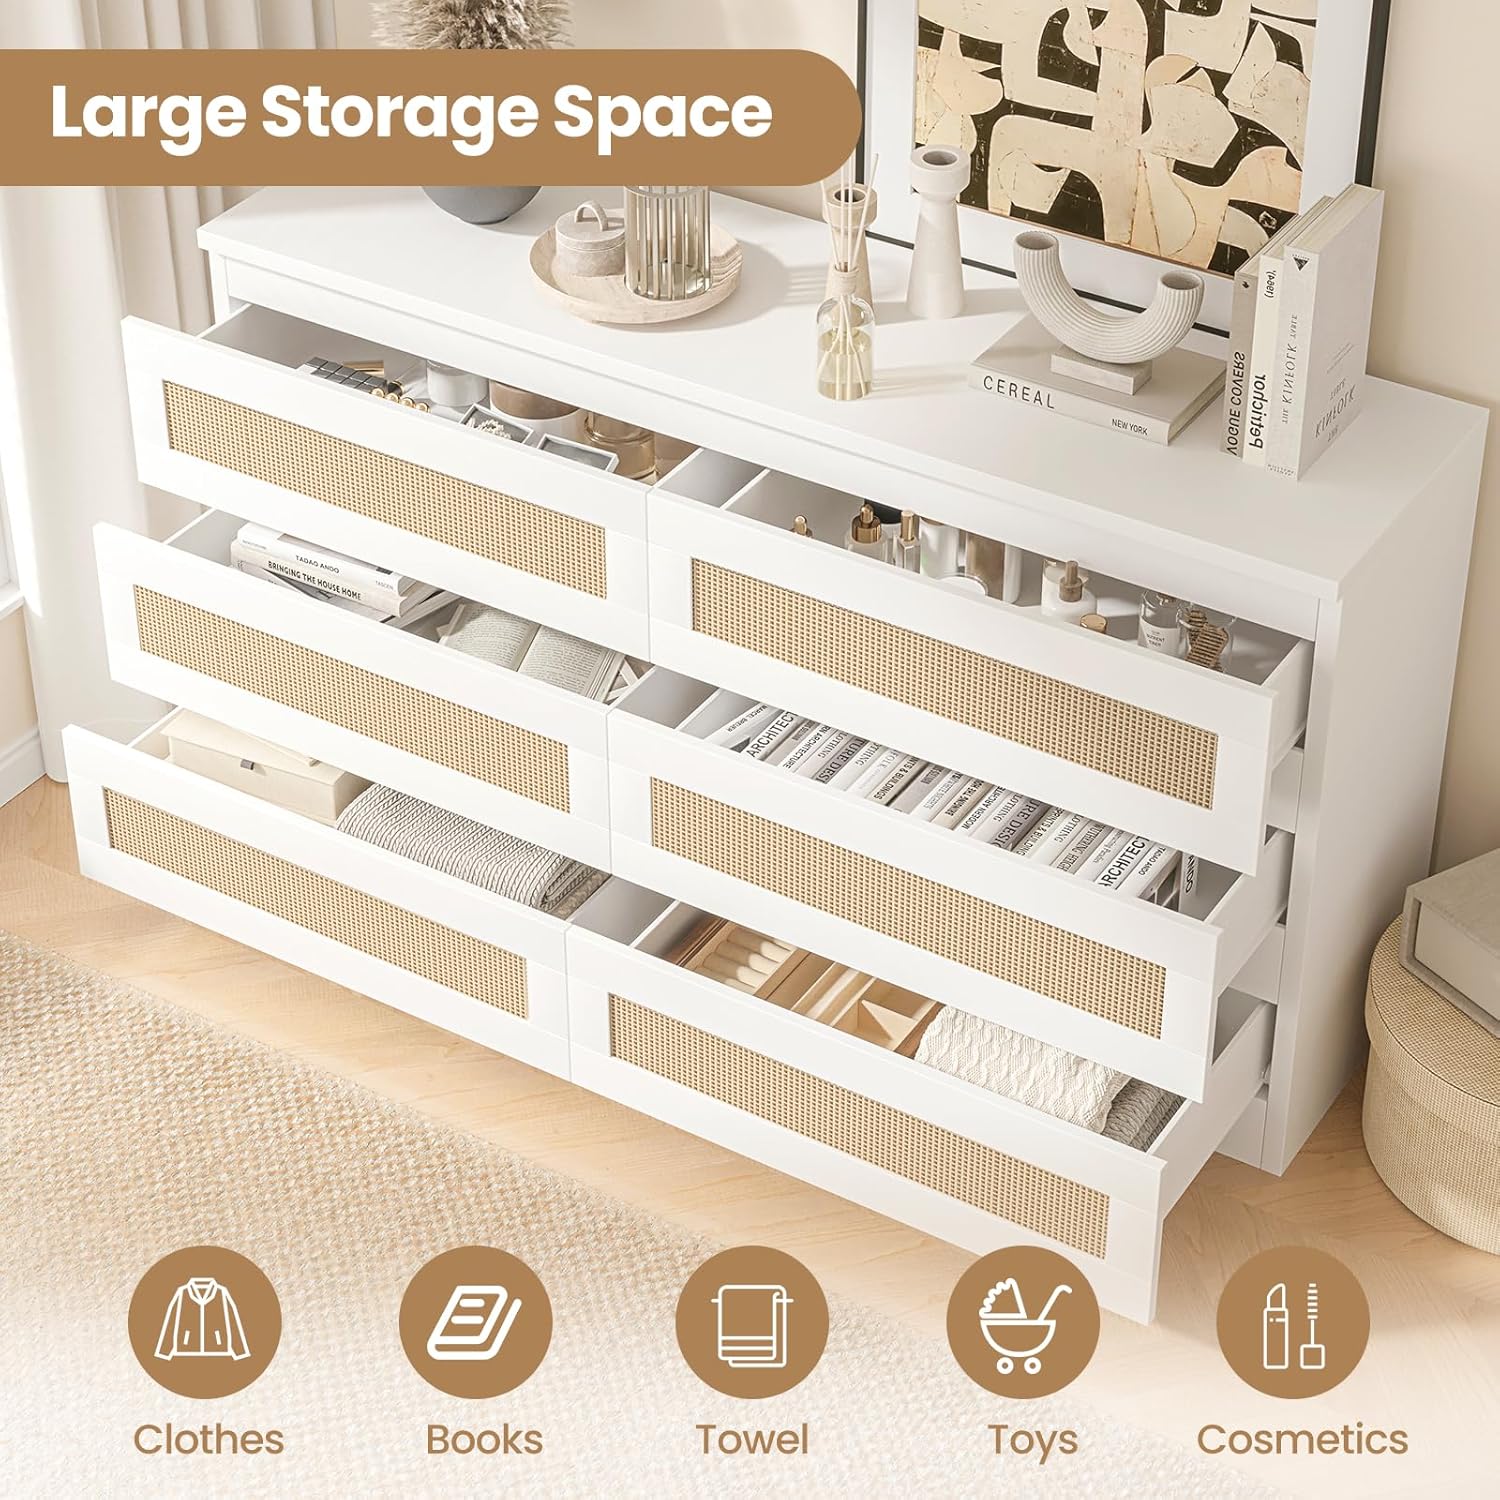
Figure 1: GarveeHome Rattan 6-Drawer Dresser (White)
This modern dresser features six spacious drawers with a unique rattan design, offering practical storage for various items in your bedroom, living room, or hallway. Its sturdy construction and anti-tip safety features ensure reliable use.
2. Safety Information
WARNING: Furniture Tip-Over Hazard. Serious or fatal crushing injuries can occur from furniture tip-overs. To prevent this, the anti-tip kit provided with this dresser MUST be installed. Always secure the dresser to a wall using the provided hardware.
- Do not allow children to climb on drawers or shelves.
- Do not open more than one drawer at a time.
- Place heavier items in the lowest drawers.
- Ensure all screws and fasteners are securely tightened before use. Periodically check and re-tighten as necessary.
- Keep small parts away from children during assembly.

Figure 2: Anti-tip kit for securing the dresser to a wall.
The anti-tip kit is designed to prevent accidental tipping. Follow the installation instructions carefully to ensure maximum safety.
3. Parts List
Before assembly, please verify that all parts listed in the packaging's detailed parts diagram are present and undamaged. Each part is typically labeled with a serial number for easy identification. If any parts are missing or damaged, please contact GarveeHome customer support immediately.
Common components include:
- Top Panel
- Side Panels
- Bottom Panel
- Back Panel
- Drawer Fronts (with rattan design)
- Drawer Sides, Backs, and Bottoms
- Drawer Slides (metal rails)
- Hardware (screws, dowels, cam locks, anti-tip kit)
- Legs/Base (if applicable)
4. Assembly Instructions
Assembly typically requires two people and basic hand tools (e.g., screwdriver, hammer). Follow the step-by-step instructions provided in your product packaging. Each part is labeled to simplify the process.
- Unpack and Organize: Carefully unpack all components and lay them out on a clean, soft surface to prevent scratches. Group similar parts and hardware together.
- Assemble the Main Frame: Attach the side panels to the top and bottom panels using the provided hardware. Ensure all connections are secure.
- Install Back Panel: Secure the back panel to the main frame. This adds stability to the dresser.
- Assemble Drawers: Construct each of the six drawers by attaching the sides, back, and bottom to the drawer front. Install the metal drawer slides onto the drawer boxes.
- Install Drawer Slides to Frame: Attach the corresponding metal drawer slides to the interior of the dresser frame. Ensure they are level and aligned.
- Insert Drawers: Carefully slide the assembled drawers into their respective slots in the dresser frame. Test each drawer for smooth operation.
- Install Anti-Tip Kit: This is a critical safety step. Follow the specific instructions in your package to securely attach the anti-tip kit to the dresser and to a wall stud.
Assembly is estimated to take approximately 1 hour for two individuals using basic hand tools. Do not overtighten screws to avoid damaging the wood.
5. Operating Instructions
5.1 Drawer Operation
The dresser features smooth metal rails for easy drawer access. To open a drawer, gently pull the handle. To close, push the drawer firmly until it is fully seated. Avoid forcing drawers open or closed.
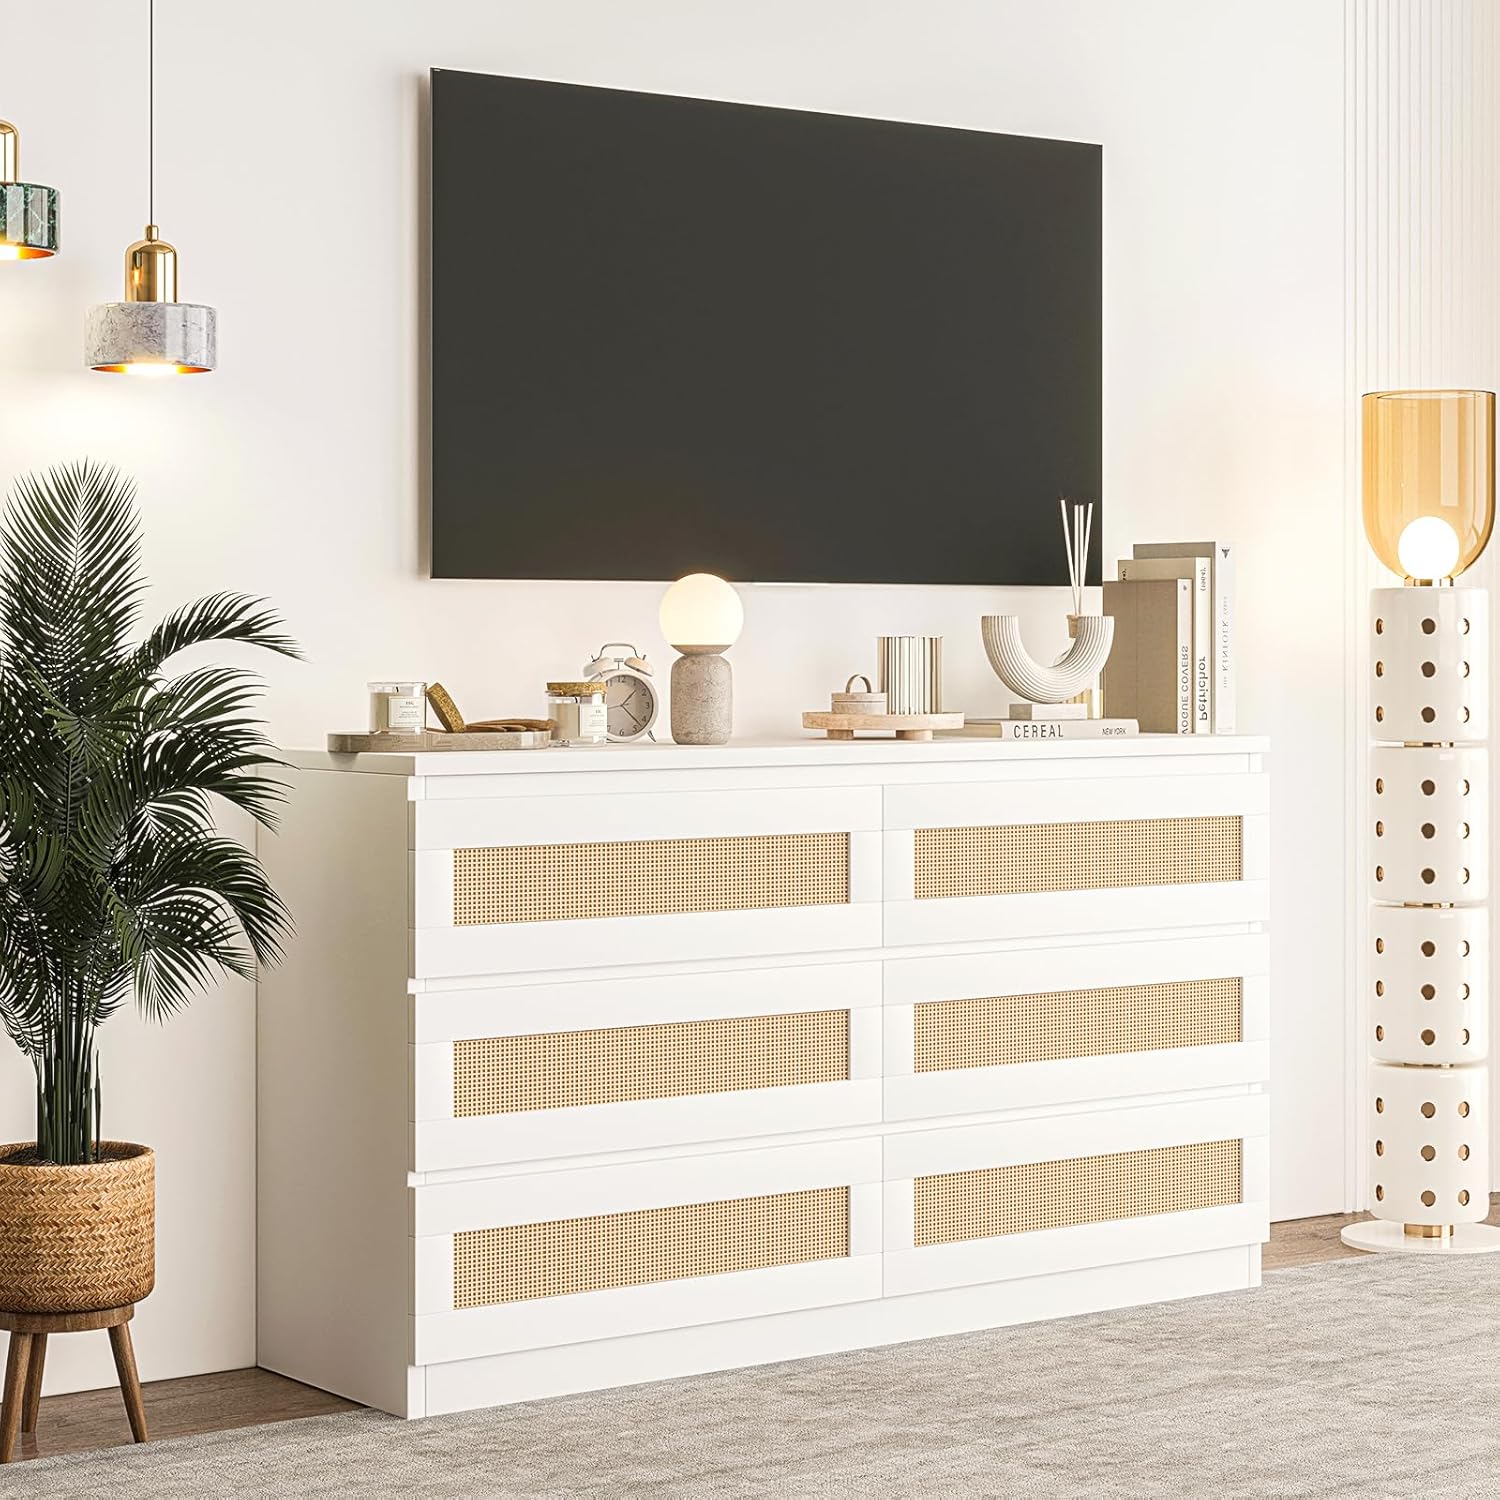
Figure 3: Dresser with drawers open, illustrating storage space.
5.2 Storage Capacity
The six widened and enlarged drawers provide ample storage for clothing, books, towels, toys, cosmetics, and other personal items. The wide tabletop can accommodate decorative items such as lamps, plants, or picture frames.
5.3 Weight Distribution
For optimal stability and safety, distribute weight evenly across the drawers. Place heavier items in the lower drawers. Do not exceed the maximum weight capacity for each drawer (consult your product packaging for specific limits, if available) or the top surface.
6. Maintenance
6.1 Cleaning
To clean the dresser, wipe surfaces with a dry, soft cloth. Avoid using abrasive cleaners, harsh chemicals, or excessive moisture, as these can damage the finish and rattan material.
6.2 General Care
- Periodically check all fasteners and re-tighten them to ensure the dresser remains stable.
- Avoid exposing the dresser to direct sunlight or extreme temperature changes, which can cause warping or fading.
- Protect the top surface from spills and scratches by using coasters or protective mats.
7. Troubleshooting
| Problem | Possible Cause | Solution |
|---|---|---|
| Dresser is wobbly or unstable. | Loose fasteners; uneven floor; anti-tip kit not installed. | Ensure all screws are tightened. Adjust furniture levelers if present, or place shims under legs. Install the anti-tip kit as per instructions. |
| Drawers do not slide smoothly. | Drawer slides misaligned; debris in tracks; overtightened screws. | Remove the drawer and check for obstructions in the slides. Ensure drawer slides are correctly installed and aligned on both the drawer and the frame. Loosen any overtightened screws on the slides. |
| Missing parts during assembly. | Packaging error. | Do not proceed with assembly. Contact GarveeHome customer support with your model number and a description of the missing parts. |
8. Specifications

Figure 4: Product dimensions for the GarveeHome Rattan 6-Drawer Dresser.
| Feature | Detail |
|---|---|
| Model Name | Rattan Dresser for Bedroom |
| Model Number | PHO_13ADWSIK-XXL-7V3P |
| Brand | GarveeHome |
| Product Dimensions (Overall) | 13"D x 47.24"W x 26"H |
| Number of Drawers | 6 |
| Color | White |
| Material | MDF Wood |
| Item Weight | 66.5 Pounds |
| Assembly Required | Yes |
| UPC | 198723055398 |
9. Warranty and Customer Support
For warranty information, missing parts, or any questions regarding your GarveeHome Rattan 6-Drawer Dresser, please contact GarveeHome customer support. Refer to your purchase documentation for specific warranty terms and contact details.
You can typically find support contact information on the GarveeHome website or through the retailer where the product was purchased.


