
1. Introduction
This manual provides comprehensive instructions for the installation, operation, and maintenance of your Uckazy 10.25" HD Touch Display System. This system is designed to upgrade your Mercedes Benz B Class (W245 W246 2015-2018) with NTG 5.0/5.1 system, enhancing your in-car multimedia experience while retaining original vehicle functionalities.
Key features include a high-definition 10.25" display, wireless Apple CarPlay and Android Auto support, built-in DSP for superior audio, and seamless integration with your original car system.

Image: The Uckazy 10.25-inch HD Touch Display System, showcasing its sleek design and user interface with navigation and music playback.
2. Setup and Installation
2.1. Compatibility Check
This device is compatible with Mercedes Benz B Class W245 W246 models from 2015-2018 equipped with the NTG 5.0/5.1 system. Please verify your original radio system matches the NTG 5.0/5.1 configuration as shown below. This unit is not compatible with NTG 4.0/4.5/4.7 systems.

Image: Visual guide for identifying compatible NTG 5.0/5.1 systems by checking the original radio unit's button layout.
2.2. What's in the Box
- 10.25-inch Display Screen
- Plug and play power cable
- Bracket frame
- USB/AUX Cable
- Installation tools

Image: All components included in the product package, laid out for easy identification.
2.3. Installation Overview
The Uckazy display system is designed for plug-and-play installation, integrating seamlessly with your vehicle's existing wiring. No software changes are required for the vehicle's control unit.

Image: A visual representation of the dashboard transformation after installing the new display, highlighting the enhanced screen size and interface.
2.4. Connecting Fiber Optic Cables (If Applicable)
For vehicles with fiber optic audio systems, it is crucial to correctly transfer the fiber optic cables from the original connector to the new power cable. This ensures proper audio functionality.
Video: Detailed instructions on how to transfer fiber optic cables to resolve "no sound" issues after installation. This step is critical for audio output.
Steps for Fiber Optic Cable Transfer:
- Carefully cock the snap on the original power connector and pull out the fiber optic cable.
- Locate the corresponding slot on the new power cable.
- Insert the fiber optic cable into the new power cable, ensuring it snaps securely into place.
- Finally, connect the new power cable to the original power cable, ensuring the correct interface is used.
3. Operating Instructions
3.1. Dual System Operation
The Uckazy display system features a dual-system design, allowing for one-click switching between the Linux system (for new features) and the original car system. This ensures all original functions, such as the car radio, amplifier, steering wheel controls, and original reverse camera, remain fully operational.

Image: The Linux system interface of the display, showcasing its modern design and application layout.

Image: The original car system interface displayed on the new screen, demonstrating seamless integration.
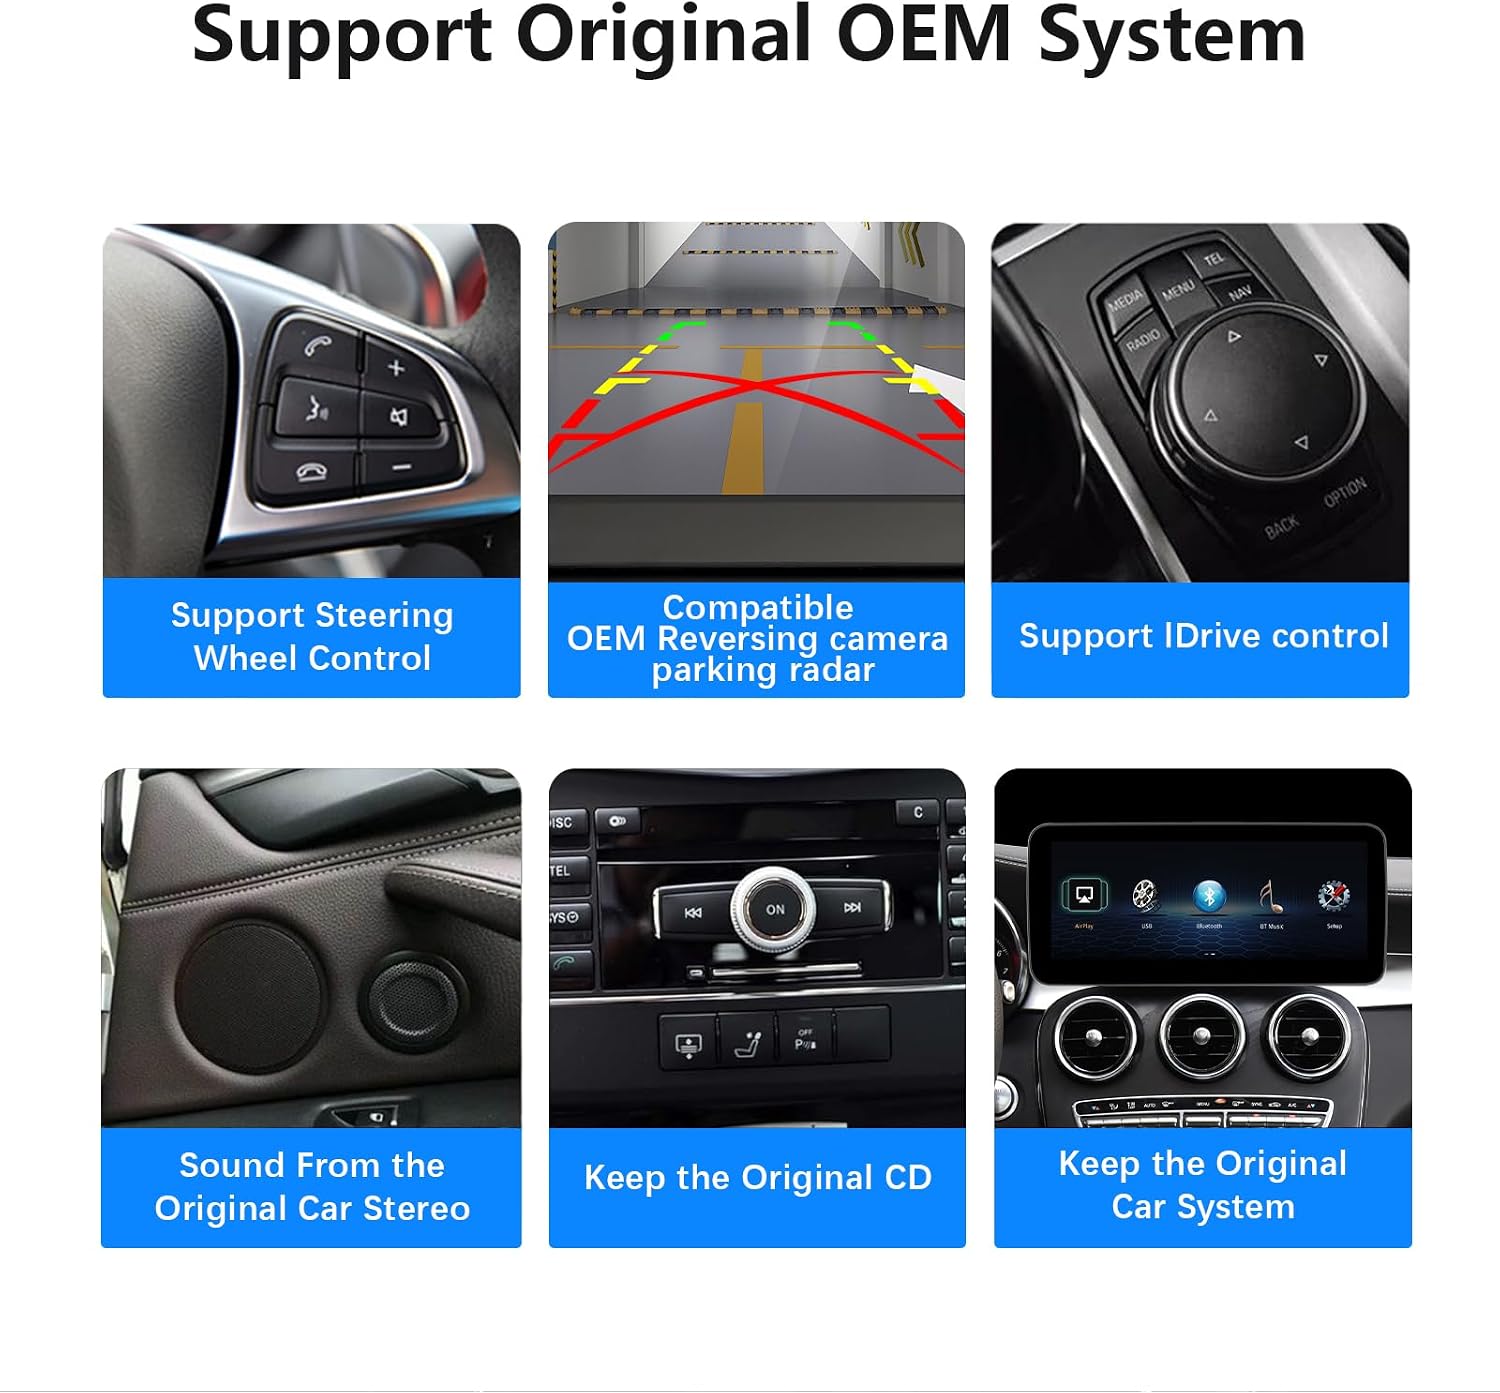
Image: Overview of original OEM system features that are fully supported, such as steering wheel controls and iDrive functionality.
3.2. Wireless Apple CarPlay & Android Auto
The system supports wireless (and wired) Apple CarPlay and Android Auto, allowing you to access navigation, phone contacts, email, notifications, music, and more directly from your smartphone. Voice assistants like Siri or Google Voice Assistant can be used for hands-free operation.

Image: The display showcasing both Wireless CarPlay and Wireless Android Auto in action, with connected smartphones.

Image: Demonstrating voice control capabilities for navigation and other functions, enhancing driving safety.
Connecting CarPlay/Android Auto (Method 1):
Video: Step-by-step guide on connecting to CarPlay and activating sound using the first method.
Connecting CarPlay/Android Auto (Method 2):
Video: Alternative method for connecting to CarPlay and ensuring sound activation.
3.3. Bluetooth Connectivity
The system supports Bluetooth for hands-free calling and audio streaming. To connect your phone:
- Enter the original car system interface.
- Navigate to the "Tel" or "Phone" menu.
- Select "Connect device" or "Search for phones".
- Initiate a search for Bluetooth devices.
- Select "BT-Transmitter" from the list and confirm the passkey on both devices.
- Once connected, navigate to the "Media" section and select "Bluetooth Audio" to activate audio streaming.
- Return to the CarPlay/Android Auto interface; audio will now play through the car's speakers.
Video: Demonstrates the process of connecting your phone via Bluetooth to the original car system to enable audio output for the new display.
3.4. Built-in DSP (Digital Signal Processor)
The system features a built-in DSP with 16 EQ segments, allowing for detailed audio customization. You can adjust the overall sound quality, speaker positioning (front, rear, left, right), and apply various tuning methods to suit your personal preferences, enhancing your music listening experience.

Image: The DSP interface, illustrating the extensive audio equalization options available.
4. Troubleshooting
4.1. No Sound After Installation
If you experience no sound after installation, it is often due to incorrect fiber optic cable transfer or Bluetooth audio activation. Please refer to the "Connecting Fiber Optic Cables" section (2.4) and the "Bluetooth Connectivity" section (3.3) for detailed steps. Ensure the fiber optic cables are correctly seated and that Bluetooth audio is activated in the original car system.
For a visual guide, please review the video:
Video: This video specifically addresses the "no sound" issue by demonstrating the correct fiber optic cable transfer and Bluetooth audio activation.
4.2. General Troubleshooting Tips
- Connectivity Issues: Ensure all cables are securely connected. Reboot the system if necessary.
- Display Problems: Check power connections. If the screen is blank or flickering, verify the display cable connection.
- Unresponsive Touchscreen: Try rebooting the system. Ensure the screen is clean and free of debris.
- Compatibility: Double-check that your vehicle's NTG system is indeed 5.0/5.1.
For further assistance, please refer to the FAQs provided by the manufacturer:
- Why choose us? Our company has been focusing on automotive electronic products for 15 years, with sales in over 150 countries and regions worldwide. Because of our focus, we are more professional!
- What should I do if there is a problem with the product? Based on our years of experience, 85% of our customers are due to incorrect link lines or settings. Please describe the problem and provide clear pictures as much as possible. We will provide guidance and solve the problem as soon as possible.
- Is it compatible with my car? Please carefully review the details page or contact Amazon.
5. Specifications
| Feature | Detail |
|---|---|
| Screen Size | 10.25 Inches |
| Display Type | LED |
| Resolution | 1920 x 720 (HD) |
| Connectivity Technology | Bluetooth, USB, WI-FI |
| Operating System | Linux System (Dual System with Original Car OS) |
| Product Weight | 4.2 pounds |
| Package Dimensions | 14.99 x 7.08 x 7.08 inches |
| Manufacturer | Uckazy |
6. Maintenance
To ensure the longevity and optimal performance of your Uckazy display system, follow these maintenance guidelines:
- Cleaning the Screen: Use a soft, lint-free cloth specifically designed for electronic screens. Dampen the cloth slightly with water or a screen cleaner if necessary. Avoid harsh chemicals, abrasive materials, or excessive moisture.
- Temperature: Avoid exposing the device to extreme temperatures, both hot and cold, for extended periods.
- Physical Damage: Protect the screen from direct impact or sharp objects.
- Software Updates: Periodically check for firmware updates from the manufacturer to ensure the system runs efficiently and has the latest features.
7. Warranty and Support
Uckazy products are manufactured with high standards of quality and durability. For information regarding warranty coverage and terms, please refer to the product's purchase documentation or contact the seller directly through Amazon.
If you encounter any issues or require technical assistance, please contact Uckazy customer support. Providing a detailed description of the problem and any relevant pictures or videos will help expedite the support process.
You can visit the Uckazy Store on Amazon for more information and support resources.