1. Introduction
This manual provides essential information for the installation and use of the AGJPXFR LED Backlight Bar, designed as a replacement component for specific LG 65-inch television models. It is crucial to review this document thoroughly before attempting any installation to ensure proper function and safety.
2. Safety Information
Warning: Television repair involves working with high voltage components. Improper handling can result in electric shock, personal injury, or damage to the television. It is highly recommended that installation be performed by a qualified technician. If you are not experienced with TV repair, please seek professional assistance.
- Always disconnect the television from the power outlet before beginning any repair work.
- Discharge any residual power in the television's capacitors before touching internal components.
- Wear appropriate personal protective equipment, including anti-static gloves, to prevent electrostatic discharge (ESD) damage to sensitive electronic components.
- Handle LED strips carefully to avoid bending or damaging the individual LEDs.
3. Package Contents
The package includes the following items:
- 1 set of LED Backlight Strips (2 pieces: 1x R-strip, 1x L-strip)

Image 3.1: Contents of the package, showing the two LED backlight strips.
4. Compatibility
This LED backlight bar is designed for specific LG 65-inch television models. To ensure compatibility, it is essential to match the part numbers and appearance of these strips with the original strips currently installed in your television.
Compatible LG TV Models:
- 65UK6500PLA
- 65UK6950PLB
- 65UJ6540
- 65UJ6580
Compatible Backlight Strip Part Numbers:
- V17 ART3 6916L-3051A
- V17 ART3 3052A
- 6922L-0220A
- LC650EGE F2 M2
Recommendation: Before ordering or installing, open your television and visually compare the existing LED strips with the product images and part numbers provided. If you are unsure about compatibility, consult a professional or contact the seller with photos of your original strips.
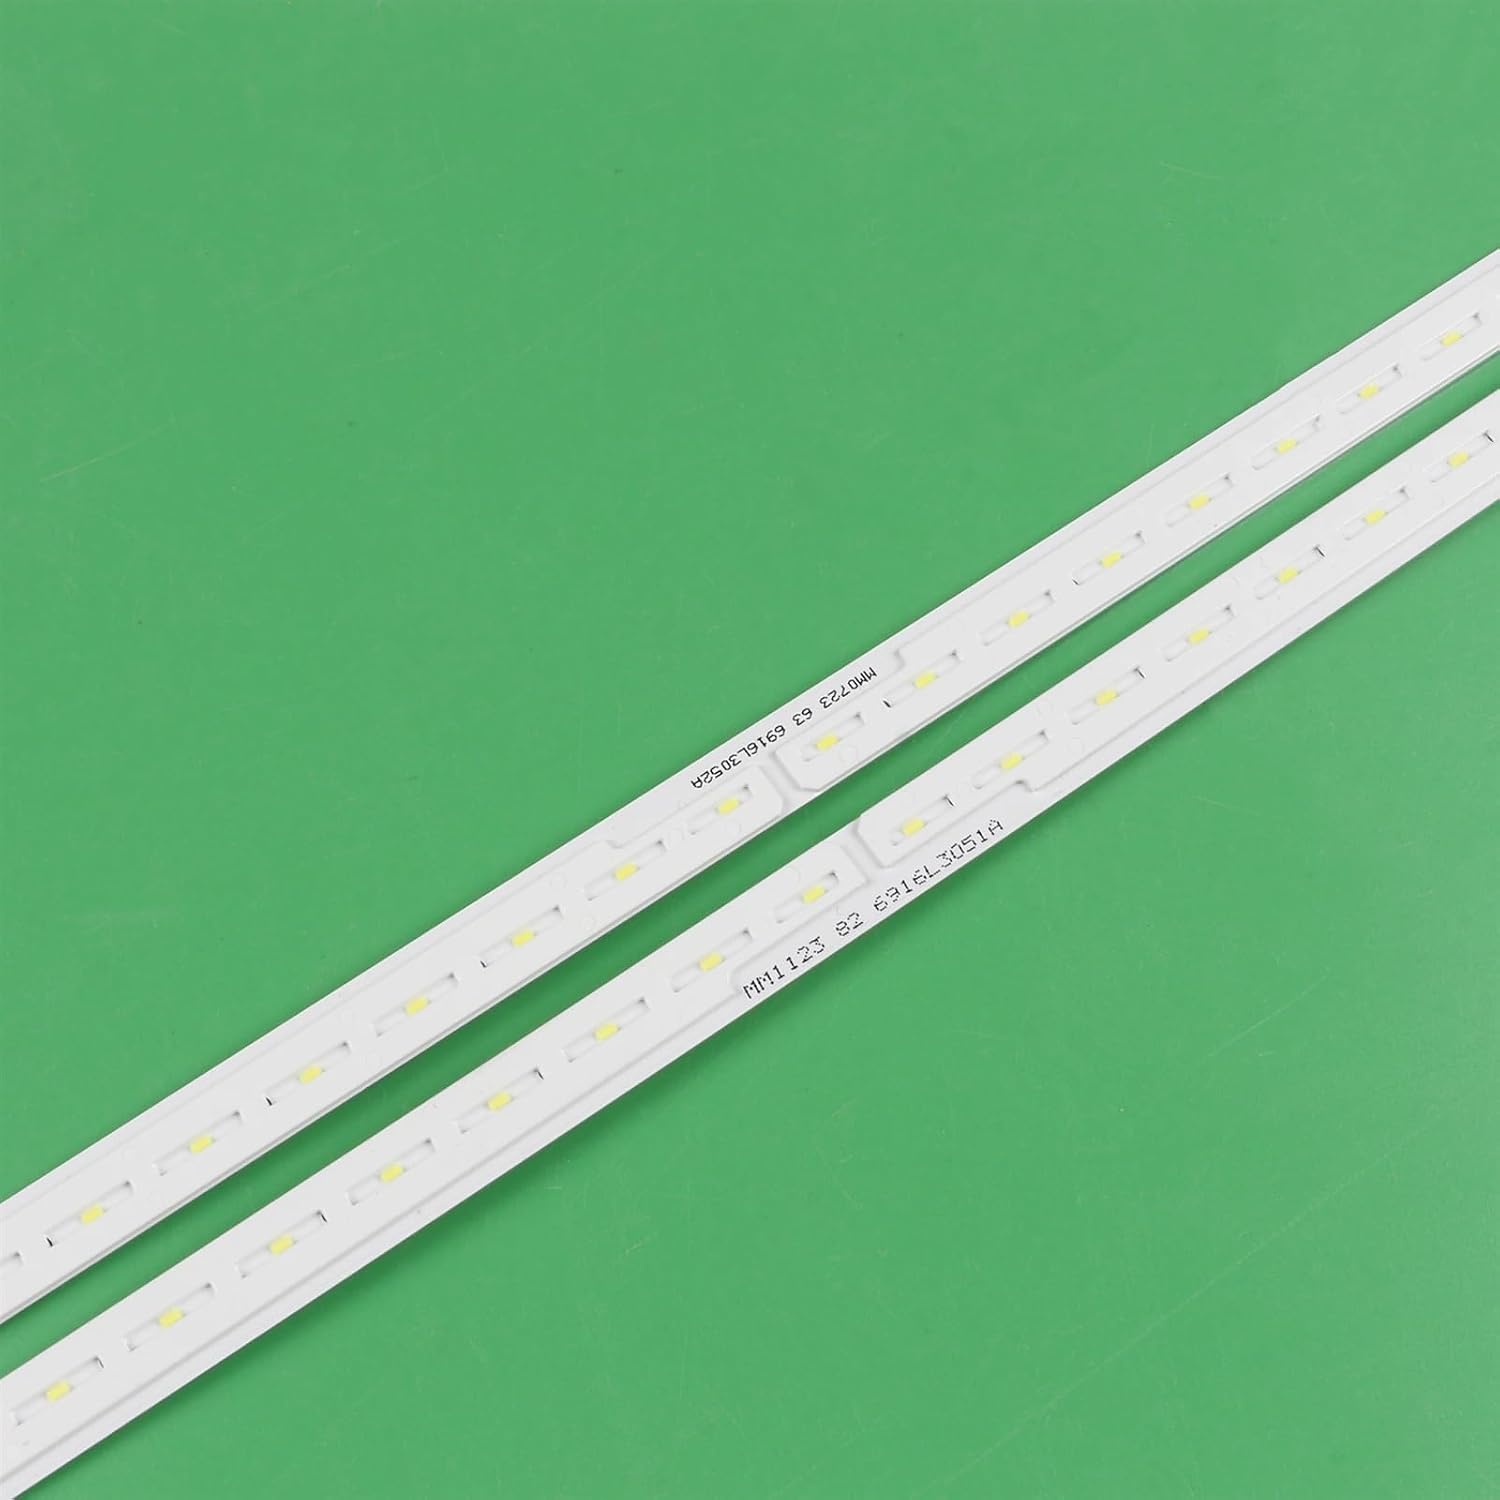
Image 4.1: Detail of the LED strip, highlighting the part number for verification.
5. Setup and Installation
This section outlines the general steps for replacing LED backlight strips. Specific disassembly and reassembly procedures for your TV model may vary. Refer to your television's service manual for detailed instructions.
- Preparation: Ensure the TV is unplugged and discharged. Lay the TV face down on a soft, clean surface to protect the screen.
- Disassembly: Carefully remove the TV's back cover, internal shields, and the LCD panel to access the backlight assembly. This process typically involves removing numerous screws and disconnecting various cables.
- Remove Old Strips: Gently detach the old LED backlight strips. They are often secured with adhesive.
- Install New Strips: The AGJPXFR LED backlight bars feature an adhesive backing. Peel off the protective film and carefully align the new strips in their designated channels. Press firmly along the length of the strip to ensure secure adhesion. The design includes a corner-friendly power cord, simplifying installation without requiring additional connectors or breaks when navigating corners.
- Connectors: Ensure all electrical connectors are securely reattached.
- Test (Optional but Recommended): Before fully reassembling the TV, you may perform a preliminary test by temporarily connecting the power and checking if the new backlights illuminate correctly. Disconnect power again before proceeding with full reassembly.
- Reassembly: Carefully reassemble the TV in reverse order of disassembly, ensuring all components are correctly seated and all screws are tightened appropriately.

Image 5.1: Detail of the strip's connector, which should match your TV's existing wiring.

Image 5.2: Side profile of the LED strip, illustrating its structure and adhesive area.
6. Operation
Once correctly installed, the LED backlight bar operates automatically with your television. The backlights will illuminate when the TV is powered on and turn off when the TV is powered off or in standby mode, functioning identically to the original factory-installed backlights.
7. Maintenance
The LED backlight strips are designed for long-term, maintenance-free operation. No regular cleaning or servicing is required for the strips themselves. Ensure the television's internal environment remains free from excessive dust and moisture to prolong the lifespan of all internal components, including the backlights.
8. Troubleshooting
If you encounter issues after installing the new LED backlight strips, consider the following troubleshooting steps:
- No Backlight / Dim Screen:
- Verify all connectors are securely seated.
- Ensure the TV's power supply unit (PSU) is functioning correctly and providing power to the backlight driver board.
- Confirm that the new strips are fully compatible with your TV model and part numbers.
- Uneven Brightness / Dark Spots:
- Check for any damaged LEDs on the strips.
- Ensure the strips are properly aligned and adhered, and that no light guides or diffusers are misplaced during reassembly.
- Flickering Backlight:
- This could indicate an issue with the backlight driver board or a loose connection. Recheck connections.
If these steps do not resolve the issue, professional diagnosis and repair may be necessary.
9. Specifications
| Attribute | Specification |
| Product Type | LED Backlight Bar |
| Brand | AGJPXFR |
| Model Numbers | 6916L-3051A, 3052A, 6922L-0220A |
| Length | 713mm |
| Number of LED Beads | 66 per strip (R+L) |
| LED Lamp Voltage | 3V per LED |
| Package Includes | 1 set = 2 pieces (R+L) LED Strip |

Image 9.1: Full view of the AGJPXFR LED backlight strips.
10. Warranty and Support
Specific warranty details are not provided in this manual. For information regarding warranty coverage, returns, or technical support, please contact the seller directly through your purchase platform. Ensure you have your order details and product information readily available when contacting support.


