Introduction
Thank you for choosing the ROBOTIME 3D Wooden Lily Flower Puzzle. This kit provides a relaxing and rewarding crafting experience, allowing you to assemble a beautiful wooden lily flower. Please read this manual carefully before beginning assembly to ensure a smooth and enjoyable process.
Safety Warnings
- Not for children under 3 years: This product contains small parts which may pose a choking hazard.
- Handle wooden pieces with care to avoid splinters.
- Keep away from open flames and excessive moisture.
Package Contents
Your ROBOTIME 3D Wooden Lily Flower Puzzle kit includes the following items:
- Laser-cut wooden pieces
- Instruction book
- Greeting card (for gifting)

Assembly Instructions
Follow these steps to assemble your 3D Wooden Lily Flower Puzzle. Refer to the included instruction book for detailed diagrams.
- Prepare the Pieces: Carefully detach all laser-cut wooden pieces from their sheets. Use a small tool or your fingers to gently push them out. Be cautious not to apply excessive force to prevent breakage.
- Identify Components: Sort the pieces according to the diagrams in your instruction book. Each piece is typically numbered or shaped uniquely for specific parts of the lily.
- Assemble the Flower Head: Begin by connecting the petals and stamens to form the lily's bloom. Ensure each tab fits securely into its corresponding slot.
- Construct the Stem and Leaves: Attach the leaf pieces to the stem components. The stem may consist of multiple interlocking parts to achieve the desired height and structure.
- Integrate Flower Head with Stem: Once the flower head and stem are complete, carefully join them together.
- Assemble the Base/Pot: Construct the paper flower pot or wooden base as instructed. This will provide stability for your finished lily.
- Final Placement: Insert the assembled lily into its base. Your wooden lily flower is now complete.


Assembly Video Guide
For a visual guide on the assembly process, please watch the official ROBOTIME video below:
Operating and Display
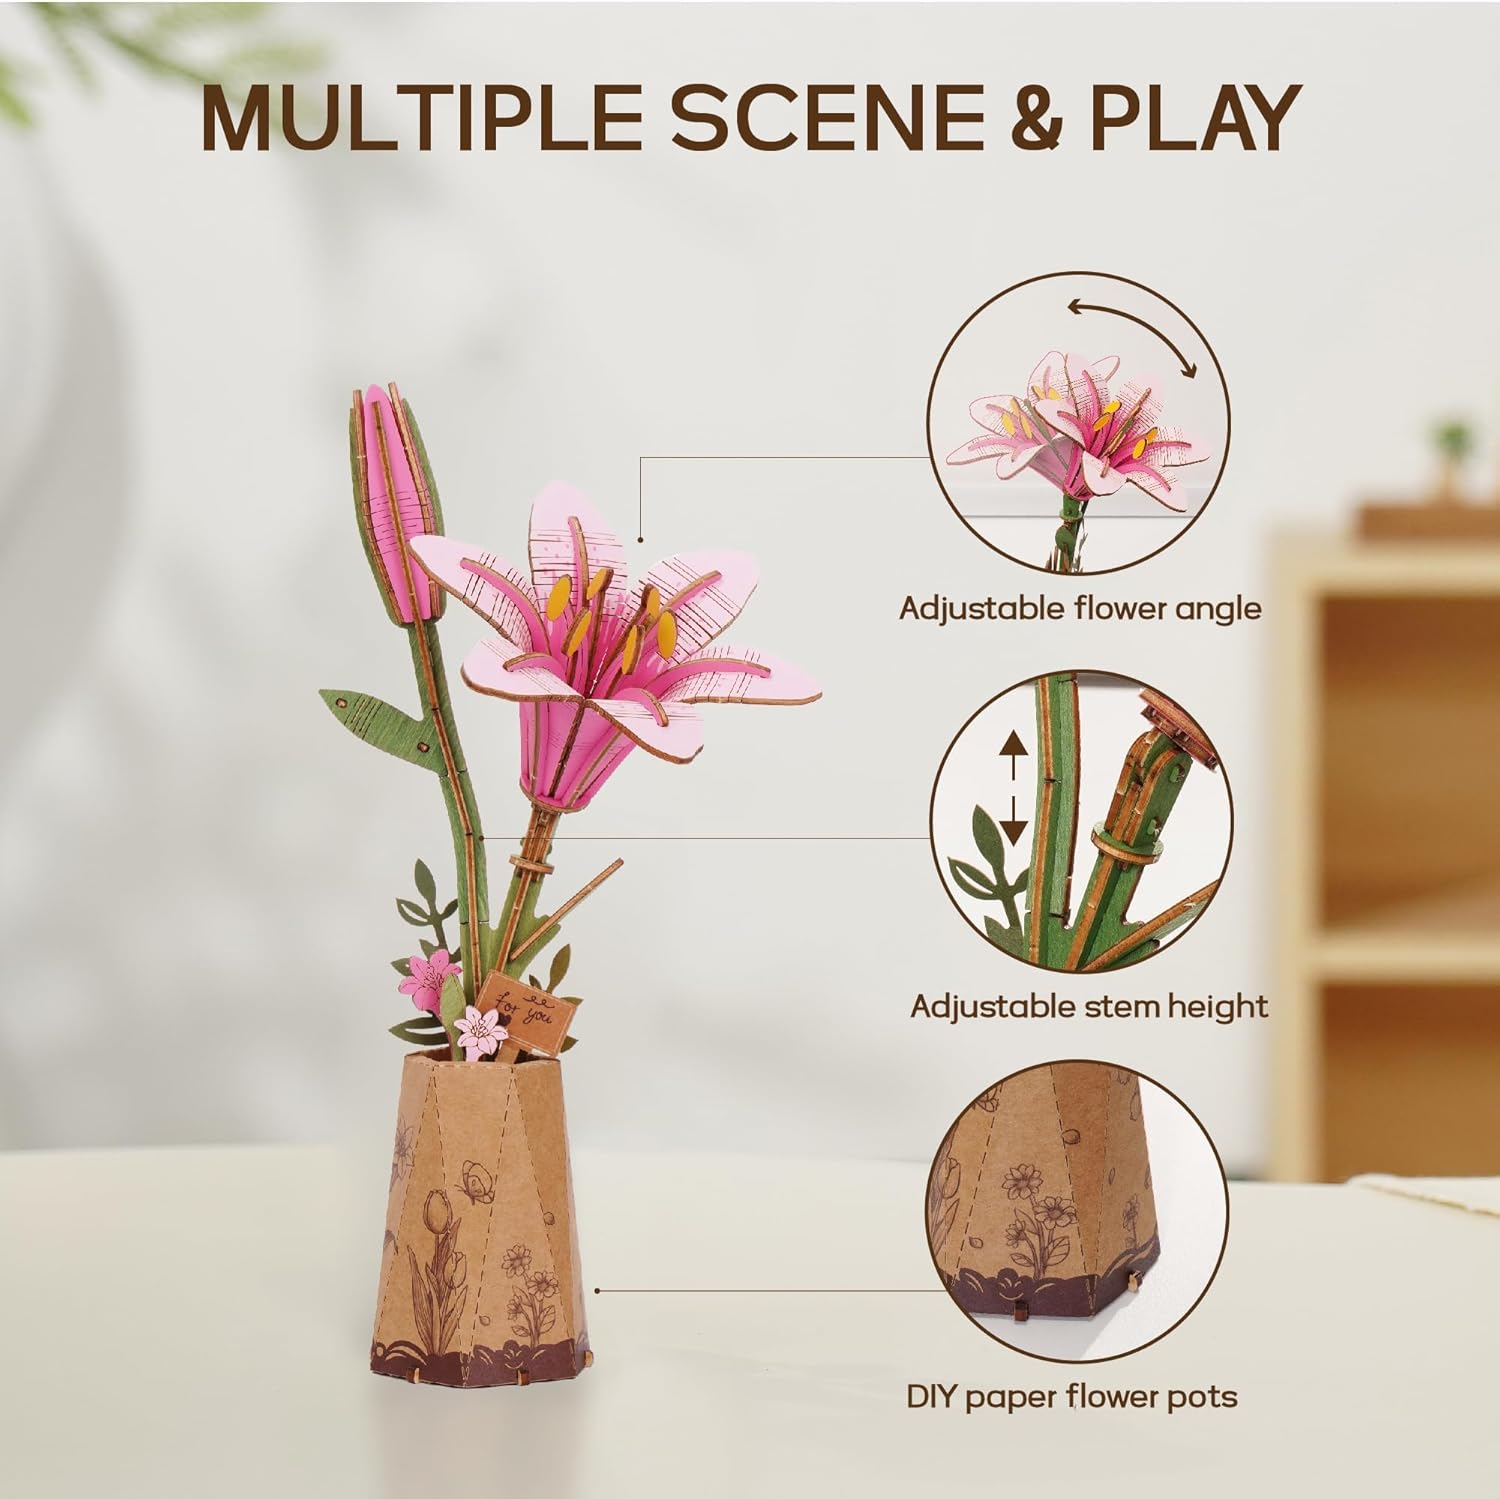
Once assembled, your ROBOTIME 3D Wooden Lily Flower Puzzle can be displayed as a decorative item. The design allows for some adjustability:
- Adjustable Flower Angle: Gently pivot the flower head to achieve your desired angle.
- Adjustable Stem Height: The stem components may allow for minor adjustments in height, depending on the specific design.
Place your finished lily on a flat, stable surface in your home or office for decoration.
Maintenance
To ensure the longevity of your wooden lily flower, follow these simple maintenance guidelines:
- Cleaning: Dust regularly with a soft, dry cloth. Avoid using abrasive cleaners or excessive moisture.
- Environment: Keep the puzzle in a dry environment, away from direct sunlight and extreme temperature changes, which can cause the wood to warp or fade.
- Handling: Handle with care to prevent accidental breakage of delicate pieces.
Troubleshooting
| Problem | Solution |
|---|---|
| A wooden piece broke during assembly. | Some kits include extra pieces for common break points. If not, contact ROBOTIME customer support for free spare parts. Apply gentle pressure during assembly to prevent breakage. |
| Pieces do not fit together. | Ensure you are using the correct pieces for the step. Refer to the instruction manual's diagrams carefully. Sometimes a slight rotation or gentle wiggling can help align pieces. Do not force pieces. |
| Missing pieces. | Double-check all packaging and sheets. If pieces are genuinely missing, contact ROBOTIME customer support for free spare parts. |
Specifications
- Brand: ROBOTIME
- Model Name: RBT-TW071
- Item Model Number: RBT-TW-P
- Color: Pink Lily
- Material: Wood
- Product Dimensions: 5.1 x 9.8 x 0.1 inches (L x W x H)
- Item Weight: 4.6 ounces (0.13 Kilograms)
- Recommended Age: 14 years and up
- Included Components: Laser Cut Wood Pieces, Instruction Book
Warranty and Support
ROBOTIME is committed to your satisfaction. If any piece is missing or damaged during assembly, please contact our customer support for free spare parts and dedicated assistance. Your enjoyment is our priority.
For support, please visit the official ROBOTIME store or contact the seller directly through your purchase platform.


