1. Introduction
This manual provides detailed instructions for the installation, operation, and maintenance of your hygger Aquarium Filter HG121. This internal submersible filter is designed to provide multi-stage filtration, circulation, and oxygenation for small aquariums ranging from 2 to 13 gallons.

Image: Hygger aquarium filter installed in a tank, demonstrating its compact design and integration.
2. Product Features
- Multi-stage Filtration: Incorporates biochemical sponge, activated carbon, and bio-balls for physical, chemical, and biological filtration.
- Quiet Operation: Designed for ultra-quiet performance, minimizing noise disturbance.
- Multiple Function Modes: Supports rain shower, aeration, wave-making, fountain, and water exchange functions.
- Adjustable Flow: Allows adjustment of water flow, air flow, and wave direction.
- Safe Power Supply: Operates on DC 5V with a USB port and adapter for safety and energy efficiency.
- Fish-Friendly Design: Water inlet designed to prevent small fish and shrimp from being drawn into the filter.
- Easy Installation: Equipped with strong suction cups for secure attachment.
- Detachable Design: Filter media chambers are detachable for easy cleaning and replacement.
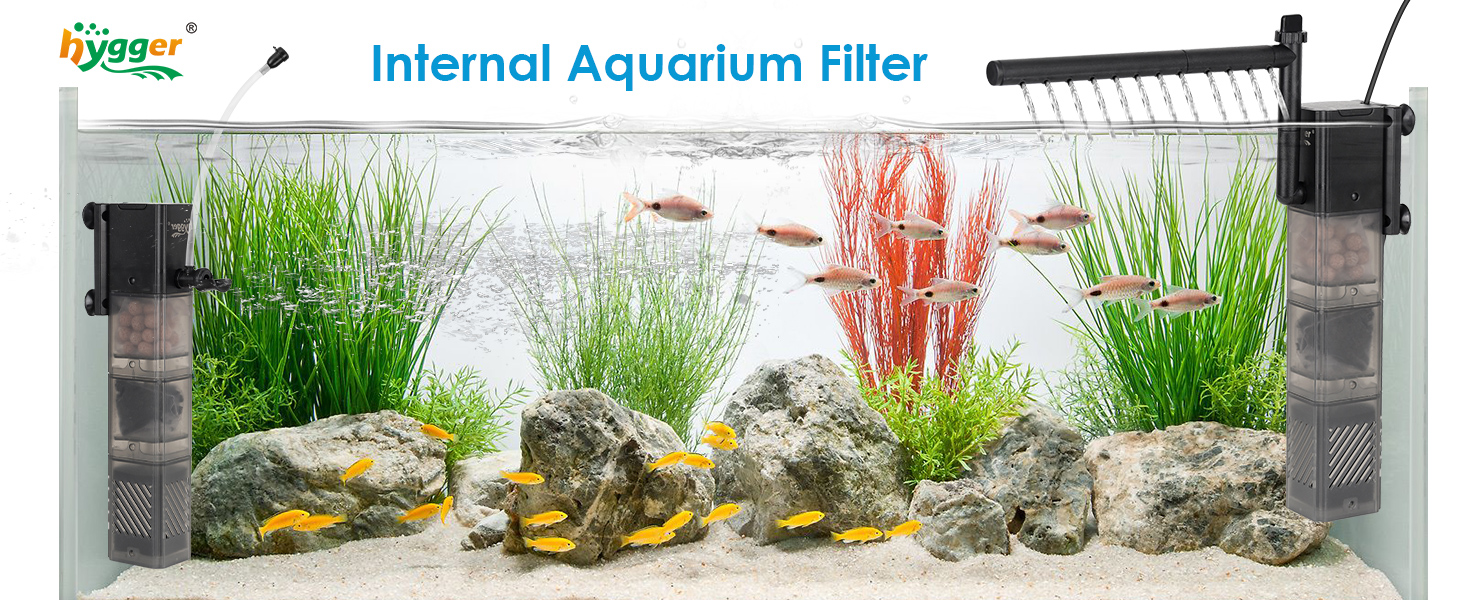
Image: Diagram illustrating the filter's comprehensive water purification process, including filtration, circulation, and oxygenation.

Image: Illustration of the filter's ultra-quiet operation, measured at 28 dB, ensuring minimal disturbance.
3. Package Contents
The hygger Aquarium Filter HG121 package includes:
- Submersible Aquarium Filter Unit
- Biochemical Sponge
- Activated Carbon
- Biochemical Balls
- Full Set of Accessories (e.g., rainfall bar, aeration tube, fountain nozzle)
- DC 5V Adapter with USB port
4. Setup and Installation
Follow these steps to properly set up and install your hygger Aquarium Filter:
- Assemble Filter Media: Ensure the biochemical sponge, activated carbon (placed in a filter bag), and bio-balls are correctly loaded into their respective chambers.
- Attach Accessories: Depending on your desired function, attach the appropriate accessories (e.g., rainfall bar, aeration tube, fountain nozzle) to the filter outlet.
- Position in Tank: Submerge the filter completely in the aquarium water. Use the four strong suction cups to firmly attach the filter to the inner wall of the aquarium.
- Water Level: Ensure the filter is immersed at or above the minimum water level indicated on the unit. This is crucial for proper motor operation and longevity.
- Connect Power: Connect the USB cable to the DC 5V adapter, then plug the adapter into a power outlet.

Image: Various correct installation methods for the filter, highlighting the importance of maintaining the minimum water level.
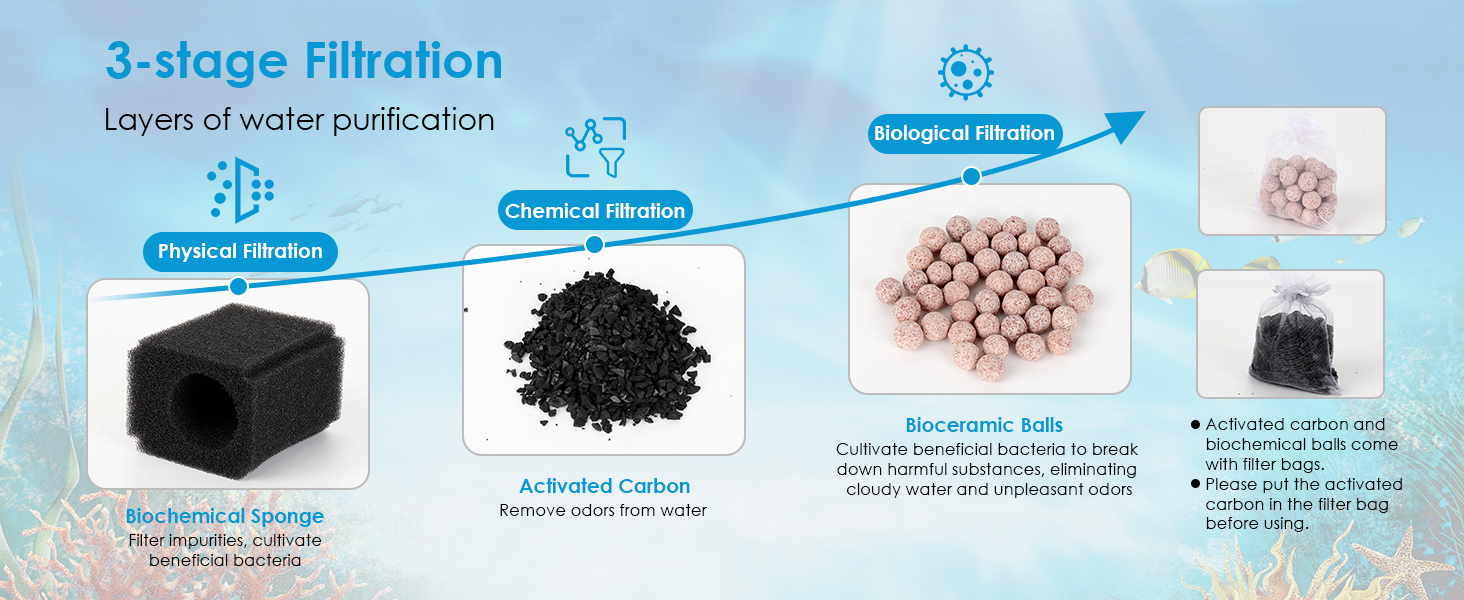
Image: Installation guide for the rain mode, showing assembly of the rainfall bar and adjustment of water flow.

Image: Installation guide for the aeration mode, demonstrating assembly of the aeration tube and air flow adjustment.
5. Operating Instructions
The hygger Aquarium Filter offers multiple operational modes:
- Rain Shower Mode: Attach the rainfall bar to the outlet. Adjust the flow knob on the filter head to control the intensity of the rainfall effect.
- Aeration Mode: Attach the aeration tube and air stone (if included) to the outlet. Adjust the air flow regulator on the tube to control bubble production.
- Wave-Making Mode: Install the filter without the rainfall bar or aeration tube, allowing direct water output to create gentle currents.
- Fountain Mode: Attach the fountain nozzle to the outlet for an upward water spray effect.
- Water Exchange: The filter can be used as a submersible pump for water changes. Connect a suitable hose (not included) to the outlet and direct water out of the tank.

Image: Visual representation of the filter operating in Rain Mode, Aeration Mode, Wave-making Mode, and Fountain Mode.

Image: Diagram illustrating the filter's use for water exchange, pumping water from the aquarium into a bucket. Note: Hoses are not included.
6. Maintenance
Regular maintenance ensures optimal performance and longevity of your filter:
- Cleaning Frequency: It is recommended to clean the filter every 1-2 weeks.
- Disassembly: Unplug the filter from the power source. Carefully remove the filter from the aquarium. The filter chambers can be disassembled by gently pulling them apart.
- Clean Filter Media:
- Biochemical Sponge: Rinse the sponge in old aquarium water (not tap water) to preserve beneficial bacteria. Replace every 2-3 months.
- Activated Carbon: Replace activated carbon every 2-4 weeks, as its adsorptive capacity diminishes over time.
- Bio-balls: Rinse bio-balls gently in old aquarium water if they appear clogged.
- Clean Impeller: Access the impeller chamber and clean any debris or buildup from the impeller and its housing.
- Reassembly: Reassemble the filter chambers and media, ensuring all parts are securely fitted.
- Reinstallation: Reinstall the filter in the aquarium as described in the Setup section.
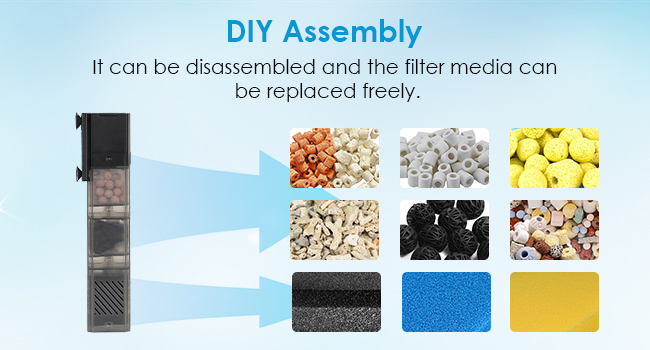
Image: Step-by-step guide on disassembling and reassembling the filter chambers, illustrating how the filter height can be adjusted.

Image: Detailed view of the three-stage filtration media: biochemical sponge, activated carbon, and bioceramic balls, with replacement guidelines.
7. Troubleshooting
If you encounter issues with your hygger Aquarium Filter, consider the following:
- Reduced Water Flow: Check if the filter media is clogged. Clean or replace media as necessary. Ensure the impeller is free of debris. Verify the water level is above the minimum mark.
- Unusual Noise/Vibration: Ensure the filter is fully submerged and securely attached. Check the impeller for any foreign objects or damage. Air trapped in the pump can also cause noise; try tilting the filter to release air.
- Filter Not Starting: Confirm the power adapter is securely plugged into both the filter and the power outlet. Check for any power interruptions. Inspect the impeller for blockages.
- Poor Water Clarity: Ensure all filter media are correctly installed and not expired (especially activated carbon). Increase cleaning frequency if the tank is heavily stocked.
8. Specifications
| Specification | Detail (HG121-8W) |
|---|---|
| Model Number | HG121 |
| Power | 8 Watt |
| Voltage Input | AC 110-240V |
| Voltage Output | DC 5V |
| Maximum Water Flow Rate | 61 GPH (230 L/H) |
| Maximum Head | 2.6 ft (0.8 m) |
| Recommended Tank Size | 2-13 Gallons (8-50 L) |
| Dimensions (L x W x H) | 2.0" L x 1.6" W x 8.7" H |
| Power Cord Length | 4.92 ft |
| Item Weight | 13.7 ounces |

Image: Product specification table for different HG121 models, including power, flow rate, and recommended tank sizes.
9. Warranty and Support
This hygger product comes with a 2-year warranty from the date of purchase. This warranty covers manufacturing defects and malfunctions under normal use.
For any questions, technical support, or warranty claims, please contact hygger customer service. Contact information can typically be found on the product packaging or the official hygger website.

Image: Hygger customer support message, encouraging contact for questions and highlighting warranty information.


