1. Introduction and Overview
This manual provides essential information for the safe and efficient operation of your MechMaxx P4205 Wood Chipper Shredder Mulcher. This robust machine is designed to process wood and organic material up to 5 inches in diameter, converting it into mulch. Please read this manual thoroughly before assembly, operation, or maintenance to ensure proper use and to prevent injury or damage.
2. Safety Information
Operating power equipment requires strict adherence to safety guidelines. Failure to follow these instructions may result in serious injury or death.
- Personal Protective Equipment (PPE): Always wear appropriate PPE, including safety glasses or goggles, hearing protection, heavy-duty gloves, and sturdy, closed-toe footwear. Avoid loose clothing that could get caught in moving parts.
- Work Area: Operate the chipper on a level, stable surface. Keep the work area clear of bystanders, children, and pets. Maintain a safe distance from the discharge chute.
- Material Handling: Only feed wood and organic material into the chipper. Do not attempt to chip metal, rocks, plastic, or other non-organic debris. Ensure material is free of nails or foreign objects.
- Emergency Stop: Familiarize yourself with the location and operation of the emergency stop button. In case of an emergency or malfunction, press it immediately to shut down the machine.
- Engine Safety: Refer to the separate engine manual for specific safety instructions related to fuel handling, engine starting, and maintenance. Always ensure adequate ventilation when operating the engine.
- Maintenance Safety: Disconnect the spark plug wire and ensure the engine is off and cooled before performing any maintenance, cleaning, or inspection.
3. Product Features and Components
The MechMaxx P4205 is equipped with several features designed for performance and user convenience.

Figure 3.1: Overall view of the MechMaxx P4205 Wood Chipper Shredder Mulcher, showcasing its robust design and yellow finish.

Figure 3.2: Key features of the P4205 model, including the 420cc 15HP gas engine, E-Start system with 12V 20Ah battery, 5-inch chipping diameter, 360-degree rotating discharge chute, emergency stop button, double-edge blade, Kevlar belts, and safety tail light.

Figure 3.3: Detailed diagram identifying major components such as the adjustable deflector, emergency stop button, manual tube, 360-degree discharge chute, lifting lever, plug, warning signs, tail lights, 19x7.00-8 tubeless tires, and tow bar.
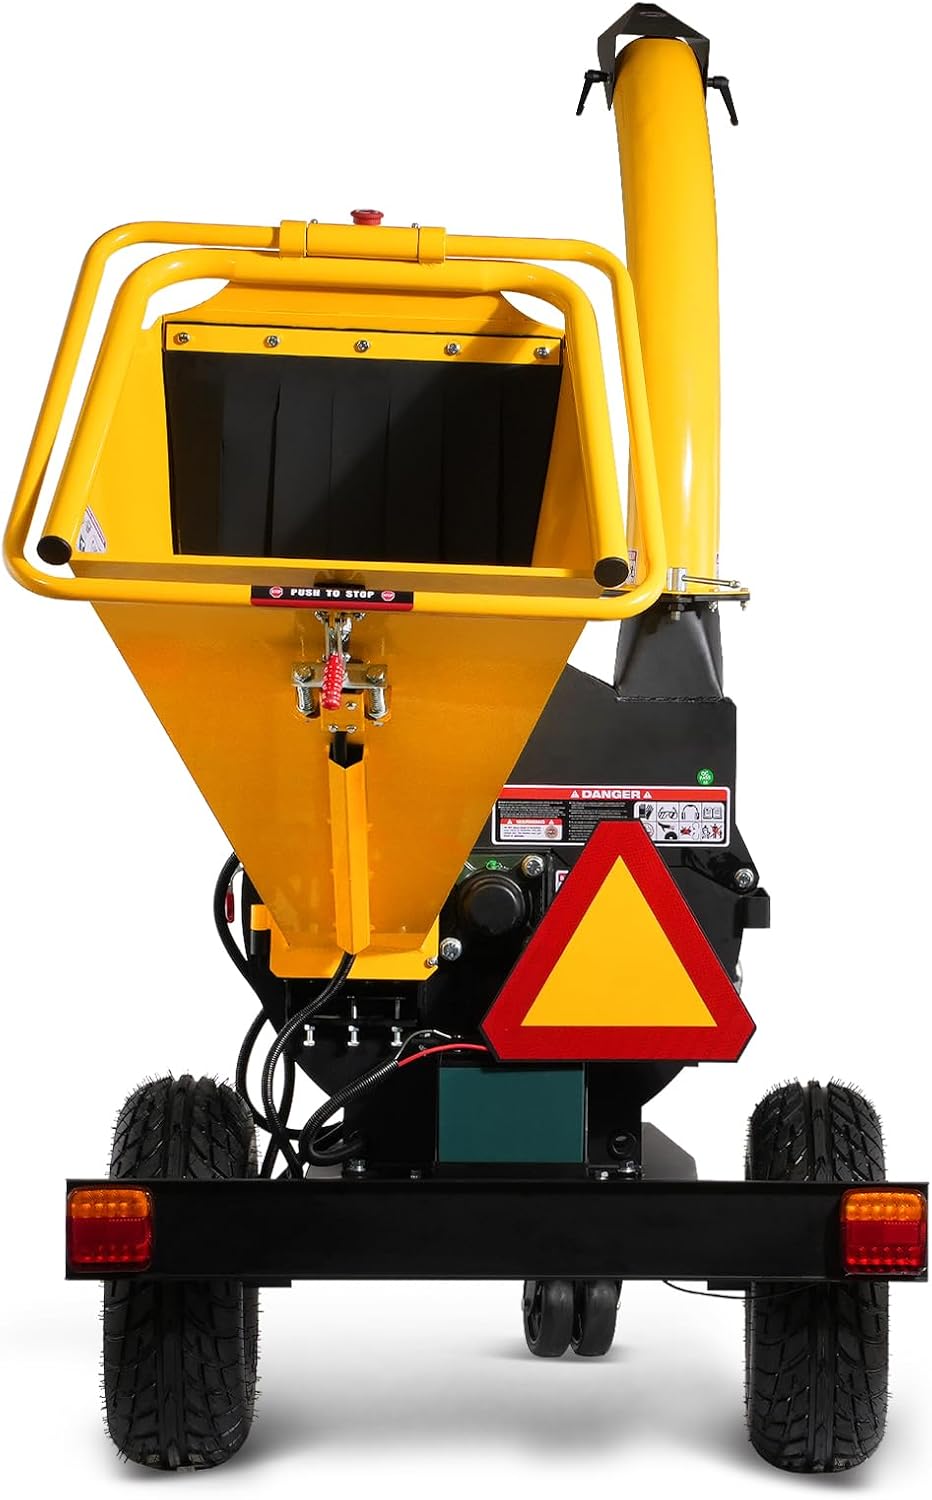
Figure 3.4: Close-up of the emergency stop bar and button, designed for quick shutdown in hazardous situations.

Figure 3.5: The 360-degree rotating discharge chute, allowing for directional control of chipped material.

Figure 3.6: Adjustable tow bar with swivel caster wheel for easy transport and maneuverability.

Figure 3.7: The powerful 420cc 15HP gas engine, providing reliable performance for chipping operations.

Figure 3.8: Illustration of the double-edge blades and Kevlar belts, highlighting the cutting mechanism and drive system.
4. Setup and Assembly
Follow these steps to properly set up your wood chipper:
- Unpacking: Carefully remove all components from the packaging. Verify that all parts listed in the packing list are present and undamaged.
- Wheel and Tow Bar Assembly: Attach the wheels and tow bar assembly to the main frame using the provided hardware. Ensure all bolts are securely tightened. Refer to Figure 3.3 and 3.6 for visual guidance.
- Discharge Chute Installation: Secure the discharge chute to the chipper body. Ensure it can rotate freely and the locking mechanism (if present) functions correctly.
- Fluid Levels: Fill the engine with the recommended type and amount of engine oil. Fill the fuel tank with fresh, unleaded gasoline. Refer to the engine manufacturer's manual for specific instructions and recommendations.
- Battery Connection: Connect the 12V battery for the E-Start system. Ensure positive (+) and negative (-) terminals are connected correctly and securely.
- Pre-Operation Check: Before starting, double-check all fasteners for tightness. Ensure all guards and safety features are in place and functional.
5. Operating Instructions
Proper operation ensures safety and extends the life of your chipper.
5.1 Pre-Operation Checklist
- Verify engine oil and fuel levels.
- Check air filter for cleanliness.
- Inspect blades for sharpness and damage.
- Ensure all safety guards are securely in place.
- Confirm the emergency stop button is accessible and functional.
- Clear the work area of debris and ensure adequate space for discharge.
5.2 Starting the Engine
- Ensure the fuel valve is open.
- Set the choke to the 'START' position (if applicable, refer to engine manual).
- Turn the ignition key to the 'START' position for the E-Start system.
- Once the engine starts, gradually move the choke to the 'RUN' position as the engine warms up.
- Allow the engine to warm up for a few minutes before beginning chipping operations.
5.3 Feeding Material
- Always feed material into the hopper from the side, not directly in front, to avoid kickback.
- Feed branches and brush slowly and steadily. Do not force material into the chipper.
- Maintain a firm grip on the material until the chipper blades engage it.
- Do not overload the chipper. If the engine bogs down, reduce the feeding rate.
- Use the provided push stick (if applicable) for smaller pieces, never your hands or feet.
5.4 Emergency Stop
In any situation requiring immediate shutdown, press the red emergency stop button located on the machine. This will instantly cut power to the engine.
5.5 Shutting Down
- Allow the chipper to run for a few minutes without feeding material to clear the chamber.
- Turn the ignition key to the 'OFF' position.
- Close the fuel valve.
- Allow the engine and chipper components to cool completely before storage or maintenance.
6. Maintenance
Regular maintenance is crucial for the longevity and safe operation of your MechMaxx P4205.
- After Each Use: Clean the chipper thoroughly, removing any accumulated debris from the hopper, discharge chute, and engine area. Inspect blades for damage or dullness.
- Blade Inspection and Replacement: Regularly inspect the double-edge blades. Sharpen or replace them as needed to maintain optimal chipping performance. Refer to Figure 3.8 for blade location. Always use genuine MechMaxx replacement parts.
- Belt Inspection: Check the Kevlar belts for wear, cracks, or proper tension. Adjust or replace belts if necessary.
- Engine Maintenance: Follow the maintenance schedule outlined in the separate engine manual for oil changes, air filter cleaning/replacement, spark plug inspection/replacement, and fuel system checks.
- Lubrication: Lubricate all moving parts and pivot points as recommended in the engine manual or product diagrams.
- Tire Pressure: Check and maintain proper tire pressure for the 19x7.00-8 tubeless tires.
- General Inspection: Periodically check all nuts, bolts, and fasteners for tightness. Inspect the tow bar and hitch for any signs of wear or damage.
7. Troubleshooting
This section addresses common issues you might encounter.
| Problem | Possible Cause | Solution |
|---|---|---|
| Engine won't start | No fuel; old fuel; low oil; spark plug issue; battery dead (E-Start) | Add fresh fuel; check oil level; inspect/replace spark plug; charge/replace battery. Refer to engine manual. |
| Poor chipping performance | Dull/damaged blades; engine RPM too low; material too large/hard | Sharpen or replace blades; ensure engine runs at full throttle; reduce material size. |
| Excessive vibration | Unbalanced blades; loose components; bent shaft | Inspect blades for damage/balance; tighten all fasteners; contact service if shaft is bent. |
| Chipper clogs frequently | Feeding too fast; material too wet/fibrous; dull blades | Reduce feeding rate; allow wet material to dry; sharpen/replace blades. |
| Engine stalls during operation | Overloading; low fuel/oil; clogged air filter | Reduce load; check fuel/oil; clean/replace air filter. |
8. Specifications
- Brand: MechMaxx
- Model: P4205
- Engine: 420cc, 15hp Gas Powered
- Chipping Capacity: Up to 5 inches (diameter)
- Start System: E-Start (Electric Start) with 12V 20Ah battery
- Discharge Chute: 360-degree rotating
- Tires: 19x7.00-8 Tubeless
- Item Weight: 547 pounds
- Product Dimensions (LxWxH): 99" x 41" x 72"
9. Warranty and Support
For warranty information, technical assistance, or to order replacement parts, please contact MechMaxx customer service. Refer to your purchase documentation or the MechMaxx official website for current contact details and warranty terms.


