
1. Introduction
This manual provides detailed instructions for the safe and effective operation of your BSIDE HX1 Thermal Imaging Camera. The HX1 is a high-resolution infrared imager designed for various applications, offering precise temperature measurements and clear thermal visualization.
The BSIDE HX1 features a 240x240 pixel infrared resolution, a wide temperature measurement range, and multiple color palettes for diverse inspection needs. It is equipped with a rechargeable battery and a laser pointer for enhanced usability.

Figure 1.1: Front and side view of the BSIDE HX1 Thermal Imaging Camera, showcasing its ergonomic design and display.
2. Package Contents
Verify that all items listed below are present in your package:
- Infrared thermal imager (BSIDE HX1)
- EVA storage bag
- USB charging cable
- Instruction manual (this document)
- Silicone lanyard

Figure 2.1: The BSIDE HX1 Thermal Imaging Camera along with its storage bag, USB cable, and lanyard.
3. Setup
3.1 Initial Charging
Before first use, fully charge the device. Connect the provided USB charging cable to the camera's charging port and a compatible USB power adapter (not included). The charging indicator will show the charging status. A full charge typically takes several hours.
3.2 Powering On/Off
To power on the device, press and hold the power button located below the display until the screen illuminates. To power off, press and hold the power button again until the screen shuts down.
3.3 Lanyard Attachment
Attach the silicone lanyard to the designated loop on the camera to prevent accidental drops during use.
4. Operating Instructions
4.1 Display Overview
The 2.4-inch TFT LCD displays real-time thermal images. It automatically identifies and displays the maximum, minimum, and center temperatures on the screen, providing three key data points simultaneously.

Figure 4.1: The display interface showing automatic tracking of hot, cold, and central temperature spots.
4.2 Temperature Measurement
The camera measures temperatures within a range of -20°C to 550°C (-4°F to 1022°F) with an accuracy of ±2°C. You can select the desired temperature unit (°C, °F, or Kelvin) through the device settings.
For accurate measurements, adjust the distance to the object and fine-tune the emissivity setting for specific materials. This ensures reliable temperature readings across various surfaces like cement or bricks.
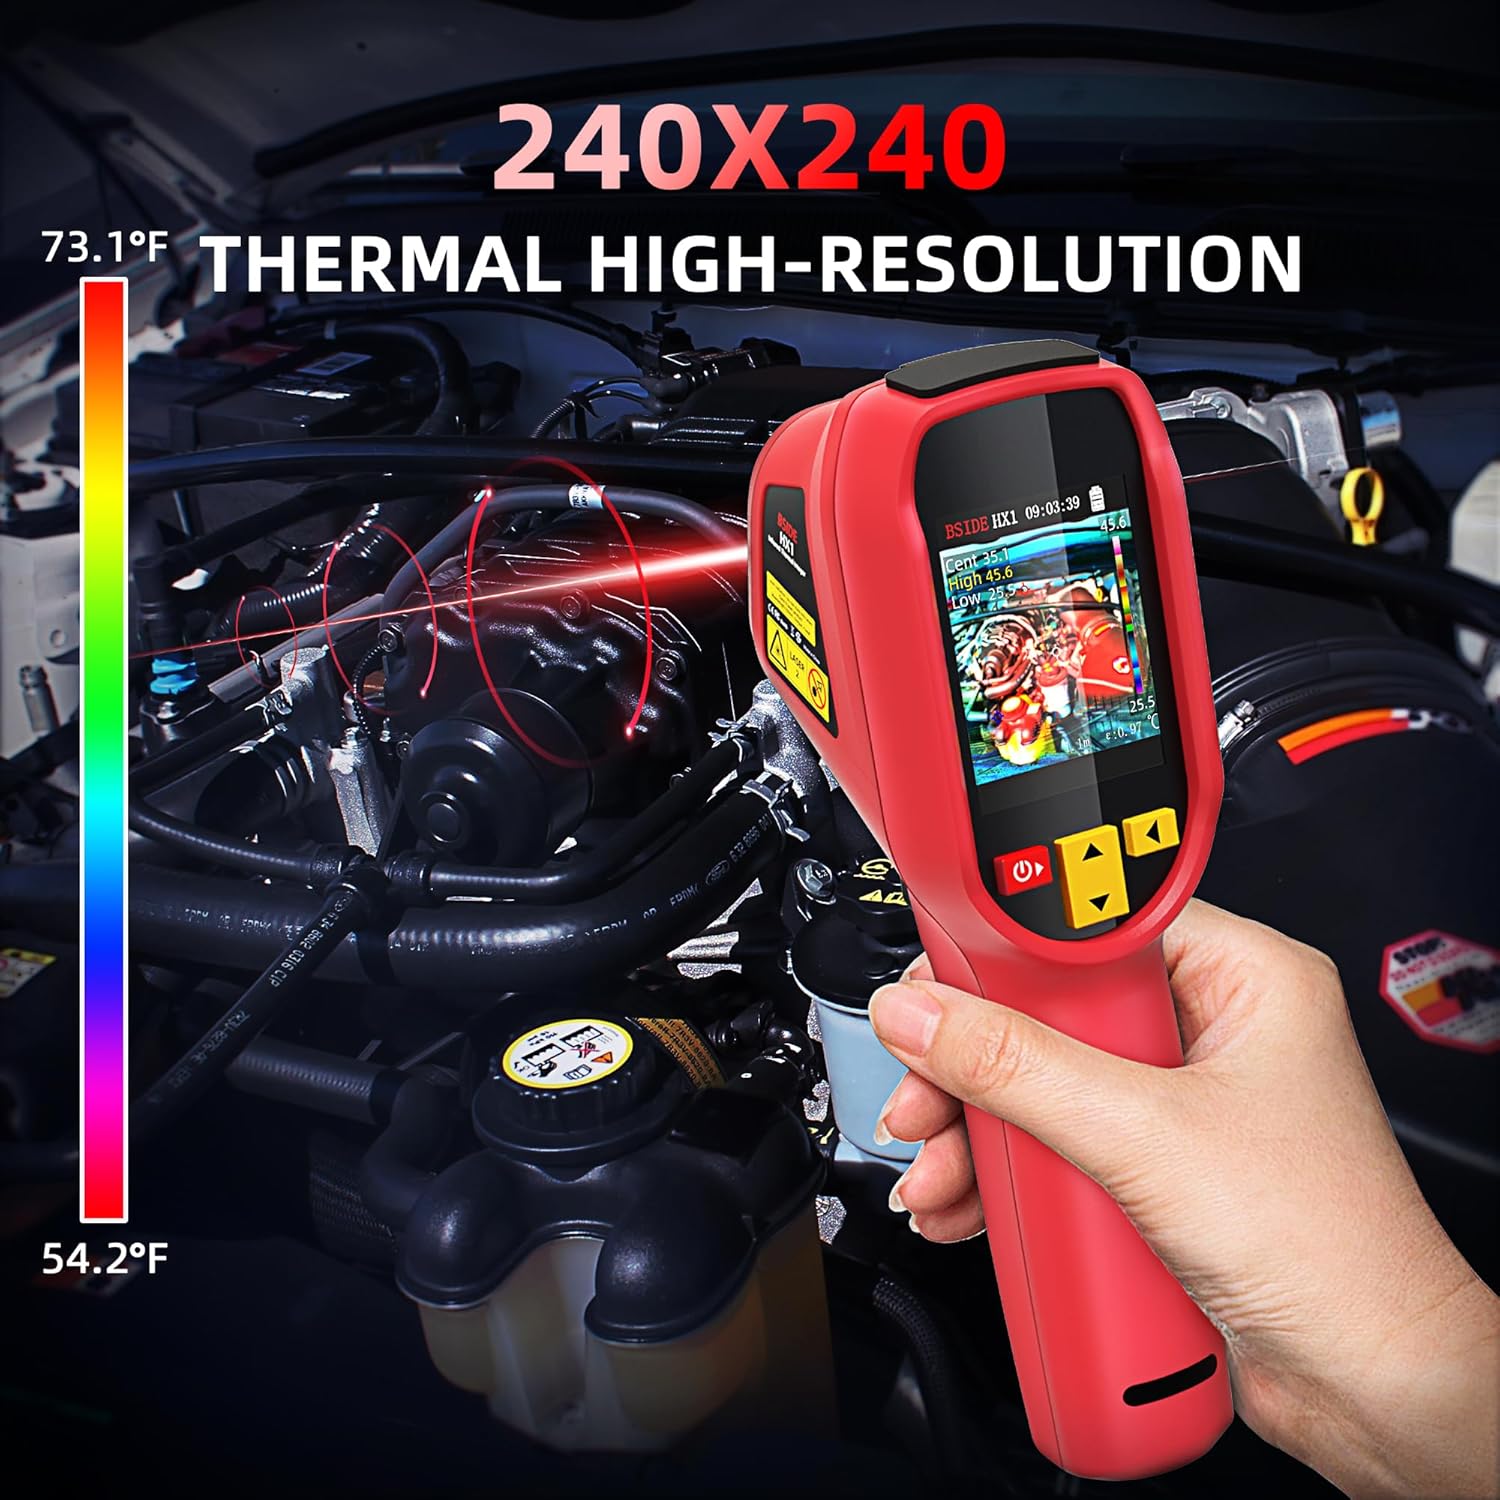
Figure 4.2: Using the thermal imager to detect temperature variations in an engine compartment.
4.3 Color Palettes
The HX1 offers 15 distinct color palettes to visualize thermal data. Select the palette that best highlights temperature differences for your specific application. Available palettes include:
- White heat
- Black heat
- Fusion 1
- Rainbow
- Iron red 1
- Iron red 2
- Sepia
- Color 1
- Color 2
- Ice and fire
- Rain
- Green heat
- Red heat
- Dark blue

Figure 4.3: Examples of the 15 available thermal color palettes for diverse visualization.
4.4 Laser Pointer
The integrated laser pointer assists in precisely identifying the target area for temperature measurement. Activate the laser by pressing the trigger button.

Figure 4.4: Detail of the laser pointer on the BSIDE HX1, used for precise targeting.
4.5 Image Storage and Export
The device includes a 4GB built-in TF card capable of storing up to 30,000 images. Connect the camera to a computer using the USB cable to export stored thermal images for analysis and reporting.

Figure 4.5: Connecting the thermal imager to a laptop to transfer and manage captured thermal images.
4.6 High/Low Temperature Alarm
The camera features an audible alarm that activates when detected temperatures exceed or fall below user-defined thresholds. This function assists in quickly identifying anomalies.
4.7 Auto Power-Off and Brightness
The device offers adjustable auto power-off settings (10/20/30/40/50/60 minutes) to conserve battery life. Screen brightness can also be adjusted for optimal viewing in various lighting conditions.
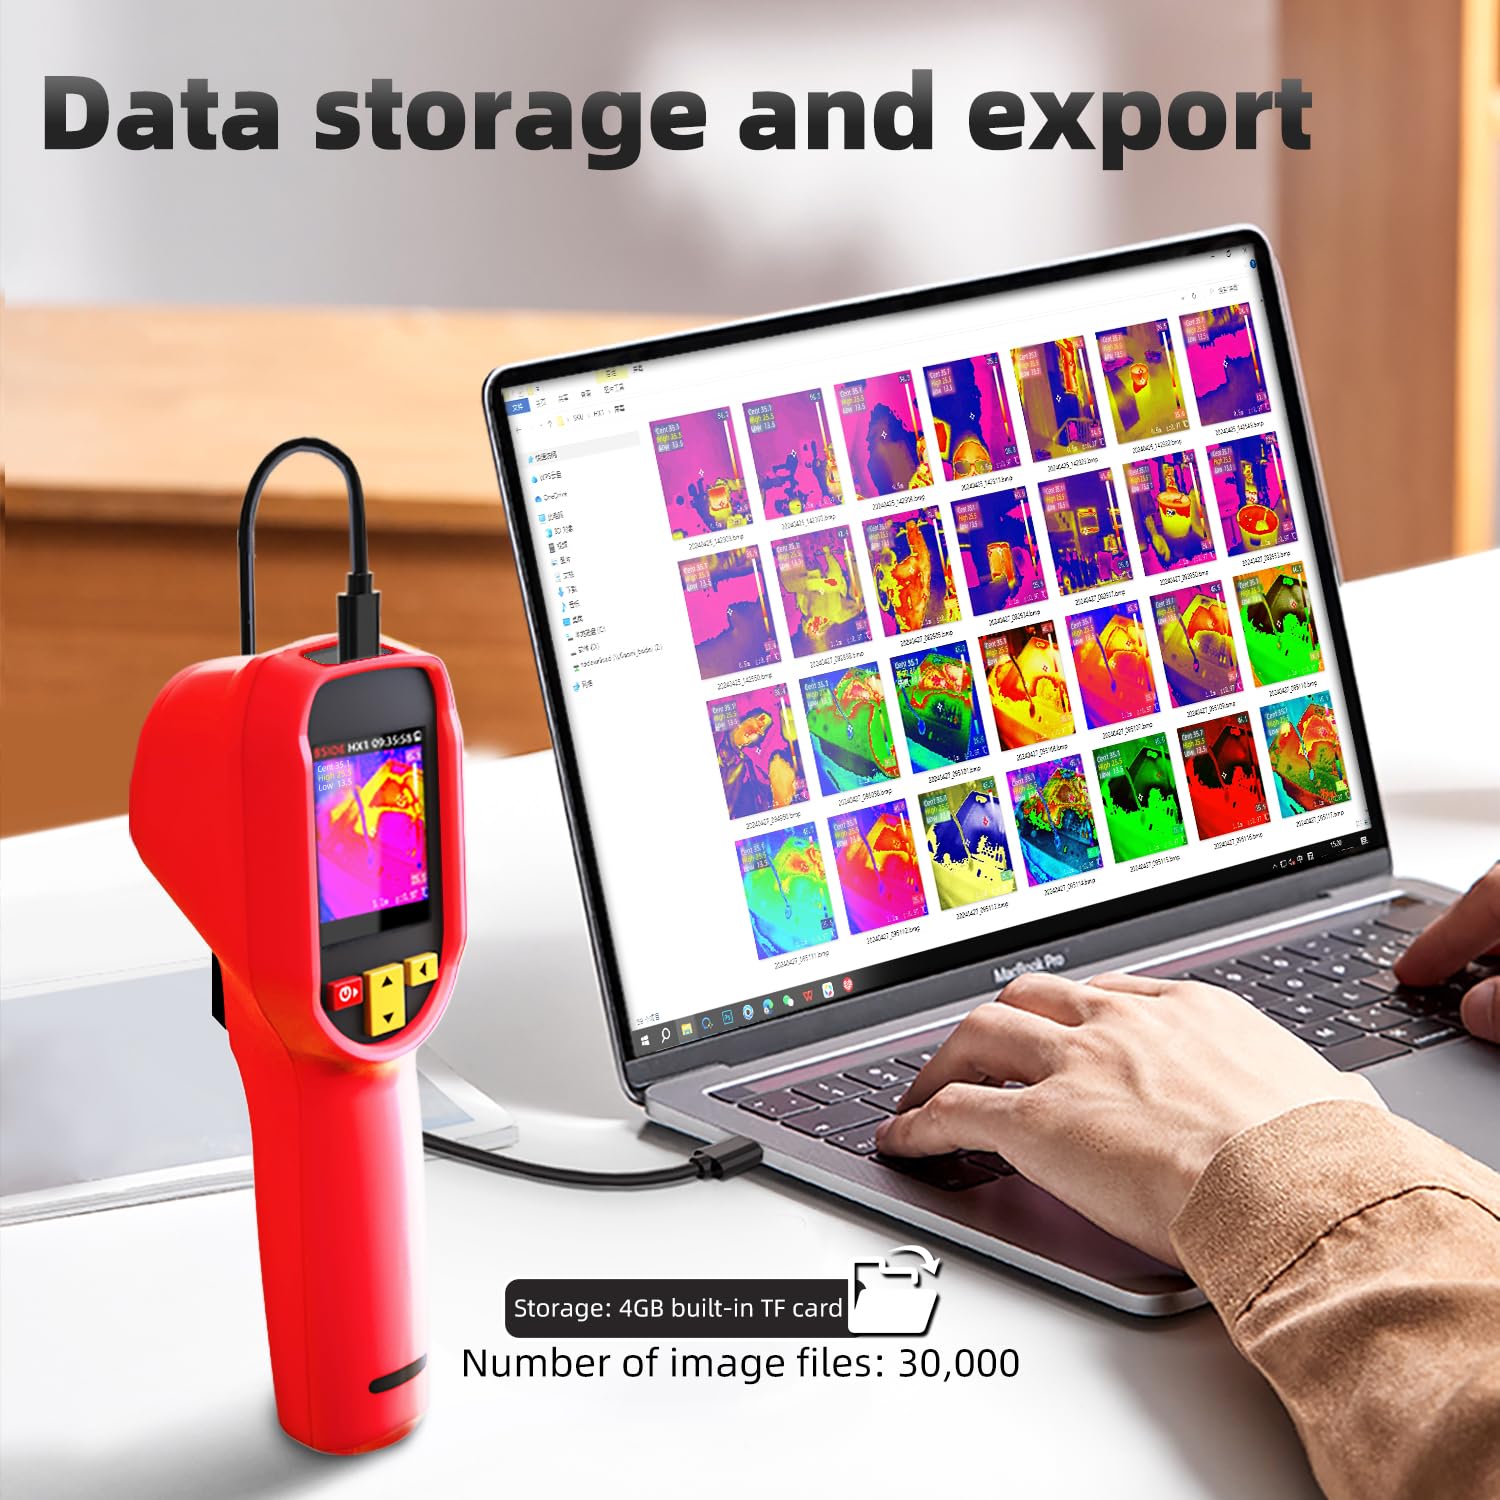
Figure 4.6: Display indicating battery status, auto power-off settings, and adjustable screen brightness.
5. Maintenance
5.1 Cleaning
Regularly clean the camera body with a soft, dry cloth. For the lens, use a specialized lens cleaning cloth and solution to avoid scratches. Do not use abrasive cleaners or solvents.
5.2 Storage
When not in use, store the thermal imager in its EVA storage bag in a cool, dry place, away from direct sunlight and extreme temperatures. Ensure the battery is partially charged (around 50%) for long-term storage to maintain battery health.
5.3 Battery Care
The device is powered by a rechargeable Li-ion battery. To prolong battery life, avoid fully discharging the battery frequently and recharge it regularly. If the device will not be used for an extended period, charge it every few months.
6. Troubleshooting
This section addresses common issues you might encounter with your BSIDE HX1 Thermal Imaging Camera.
6.1 Device Not Powering On
- Ensure the battery is sufficiently charged. Connect the device to a power source and attempt to power on after a few minutes.
- Verify that the power button is pressed and held correctly.
6.2 Inaccurate Temperature Readings
- Check the emissivity setting. Different materials have different emissivities, which can affect accuracy. Adjust the emissivity value in the settings to match the target material.
- Ensure the measurement distance is within the recommended range (0.3m-3m adjustable focal length).
- Allow the camera to stabilize in the environment for a few minutes before taking critical measurements.
6.3 Screen Freezing or Unresponsive
- Perform a soft reset by pressing and holding the power button until the device powers off, then restart it.
- If the issue persists, ensure the device firmware is up to date (check manufacturer's website for updates).
6.4 High/Low Temperature Alarm Not Functioning
The BSIDE HX1 Thermal Imaging Camera is equipped with a high/low temperature alarm that sounds when temperatures exceed or fall below set thresholds. If this feature is not working as expected, please:
- Verify that the alarm function is enabled in the device settings.
- Check that the high and low temperature thresholds are set correctly for your application.
- Ensure the device's volume is not muted or set too low.
7. Specifications
| Feature | Specification |
|---|---|
| Display | 2.4 inch TFT LCD, 320*240 resolution |
| Sensor Type | Vanadium Oxide (VOx) Microbolometer |
| Response Band | 8-14µm |
| Thermal Image Resolution | 240*240 pixels |
| Noise Equivalent Temperature Difference (NETD) | ≤60mK (@25℃, F#1.0) |
| Spatial Resolution (IFOV) | 8.89mrad |
| Frame Rate | 25Hz |
| Imaging Lens Focal Length | 1.35mm |
| Temperature Measurement Resolution | 0.1℃ |
| Temperature Measurement Focal Length | 0.3m-3m adjustable |
| Temperature Range | -20℃ to 550℃ (-4°F to 1022°F) |
| Temperature Measurement Accuracy | ±2℃ |
| Temperature Measurement Units | Celsius, Fahrenheit, Kelvin |
| Pseudo-colors | 15 palettes (White heat, Black heat, Fusion 1, Rainbow, Fusion 2, Iron red 1, Iron red 2, Sepia, Color 1, Color 2, Ice and fire, Rain, Green heat, Red heat, Dark blue) |
| Image Storage | 30,000 images (4GB built-in TF card) |
| Battery | 1 Lithium Ion battery (included), 2500mAh, approx. 8-hour battery life |
| Product Dimensions | 7.61 x 2.34 x 3.05 inches |
| Weight | 277g (0.63 ounces) |
| Manufacturer | BSIDE |
8. Warranty and Support
8.1 Warranty Information
For warranty details, please refer to the documentation provided with your purchase or visit the official BSIDE website. Warranty terms typically cover manufacturing defects for a specified period from the date of purchase.
8.2 Technical Support
If you encounter any issues not covered in this manual or require further assistance, please contact the retailer where you purchased the product or refer to the manufacturer's official support channels. Keep your purchase receipt and product serial number handy when seeking support.


