
Introduction
This manual provides detailed instructions for the installation, operation, and maintenance of your PPOZYLPC 16mm Metal Knob Rotary Switch with LED Light. Please read this manual thoroughly before installation and use to ensure proper function and safety.
Safety Information
- Always disconnect power before installing or servicing the switch to prevent electrical shock.
- Ensure that the voltage and current ratings of the switch match your application requirements.
- Installation should be performed by a qualified electrician or technician familiar with electrical wiring practices.
- Do not expose the switch to excessive moisture or extreme temperatures beyond its specified operating range.
- Verify all connections are secure before restoring power.
Product Overview
The PPOZYLPC 16mm Metal Knob Rotary Switch is a durable control component designed for various industrial and commercial applications. It features a robust metal construction, a rotary knob for selecting positions, and an integrated LED light for status indication. This model is a self-locking/latching type, meaning it maintains its selected position until manually changed. It is available in 2-position and 3-position configurations and supports various LED voltages including 3V, 6V, 12V, 24V, and 220V.
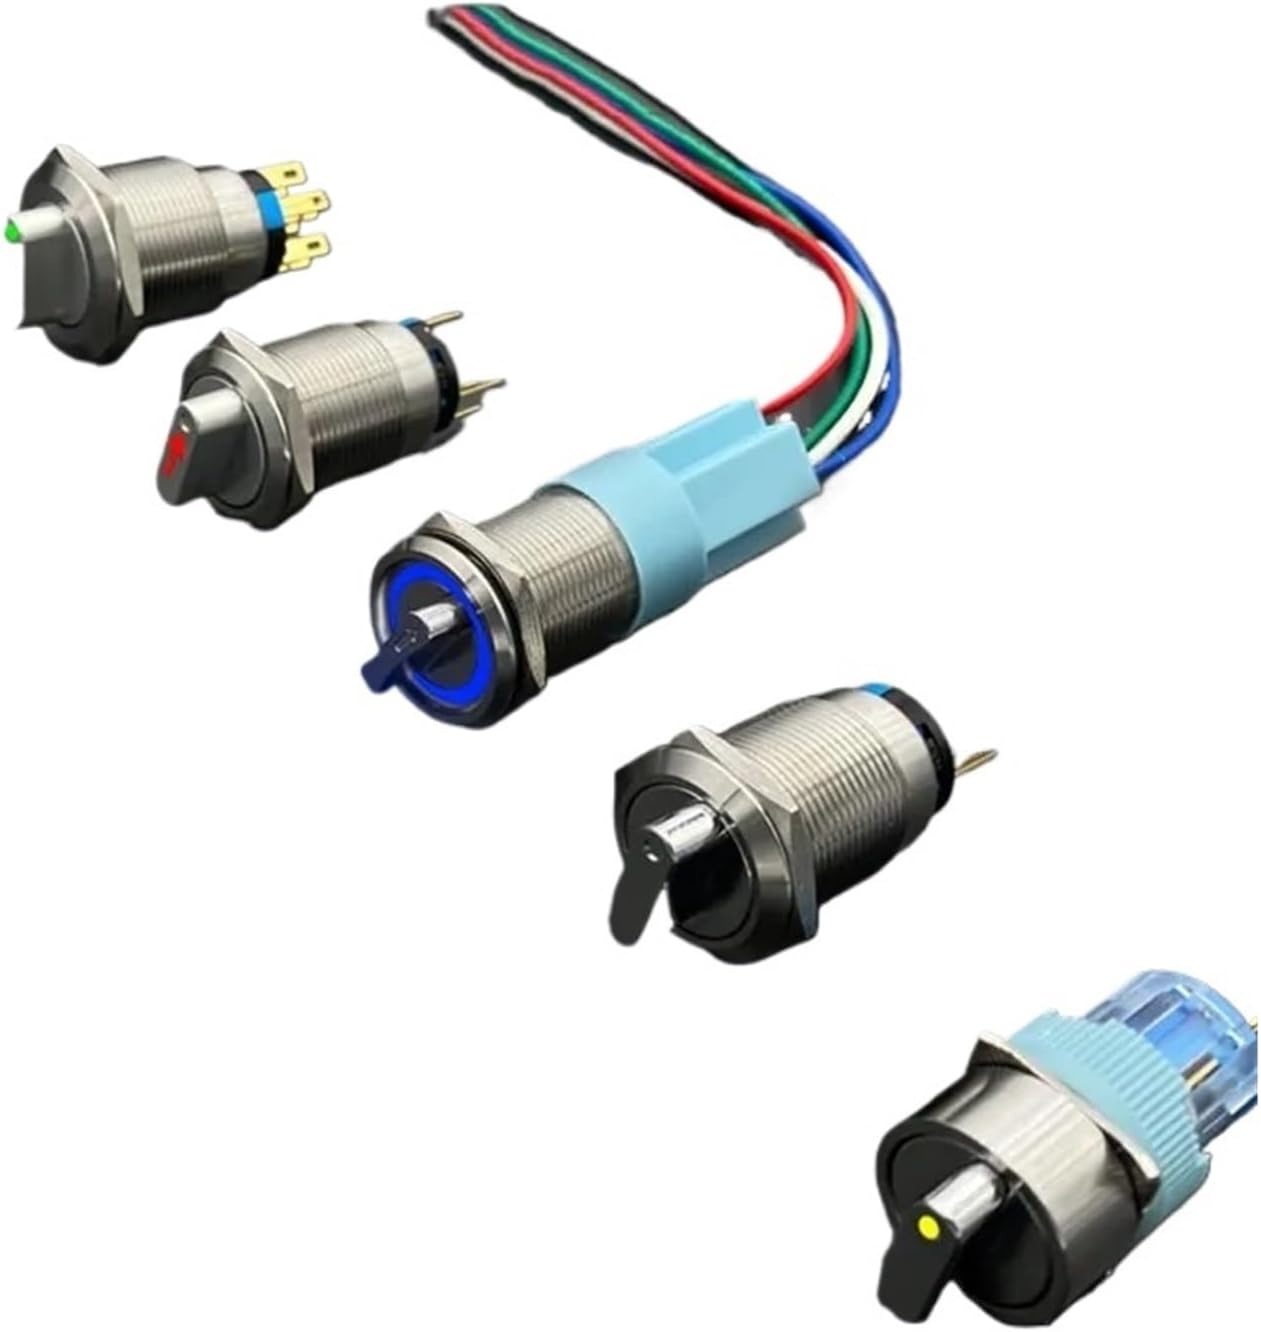
Figure 1: Various PPOZYLPC 16mm metal knob rotary switches, showcasing different LED colors and wiring configurations.

Figure 2: Detailed view of a single PPOZYLPC rotary switch, highlighting the metal knob, mounting threads, and electrical terminals.

Figure 3: A PPOZYLPC rotary switch with its knob rotated to a position, showing a green arrow LED indicator.
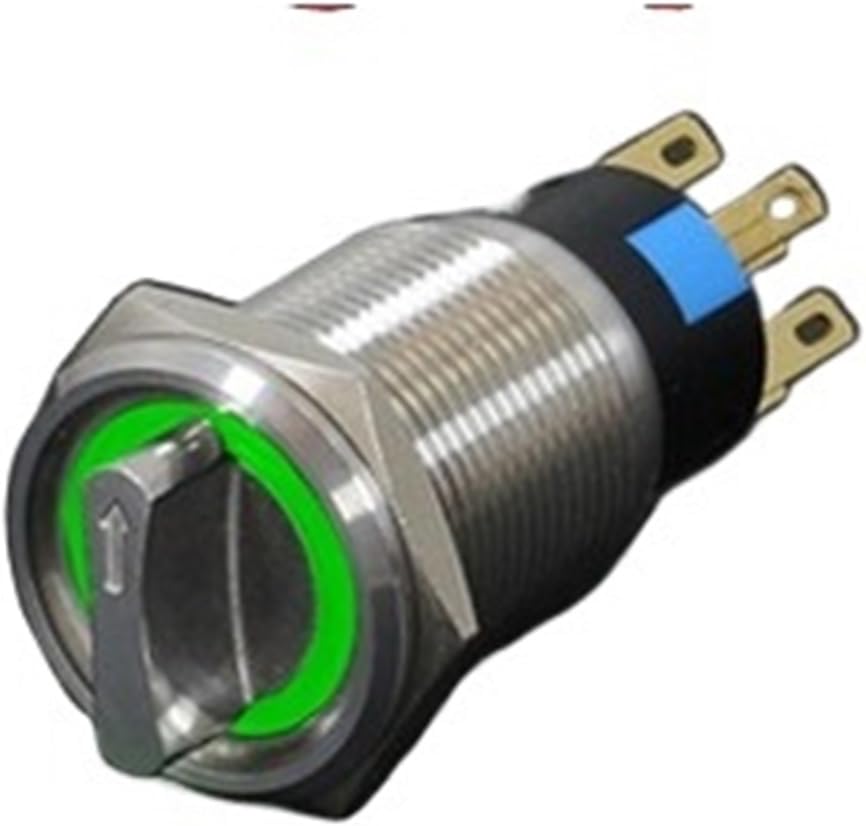
Figure 4: A PPOZYLPC rotary switch with its LED ring illuminated in green, indicating an active state.
Specifications
| Feature | Detail |
|---|---|
| Brand | PPOZYLPC |
| Model | 16mm Metal Knob Rotary Switch |
| Mounting Hole Size | 16mm |
| Switch Type | Self-Locking/Latching Rotary |
| Positions | 2-Position, 3-Position (variant dependent) |
| LED Voltage Options | 3V, 6V, 12V, 24V, 220V (variant dependent) |
| LED Color (Current Model) | Yellow |
| Item Weight | 50 Grams |
Setup and Installation
Mounting the Switch
- Ensure the mounting surface is clean and flat.
- Drill a 16mm diameter hole at the desired installation location.
- Insert the switch body through the drilled hole.
- Secure the switch using the provided nut and washer on the backside of the panel. Tighten firmly but do not overtighten.
Wiring Connections
The switch typically has multiple terminals for power, load, and LED illumination. Refer to the specific wiring diagram provided with your switch variant or consult a qualified electrician for proper connection. General wiring principles are as follows:
- Common Terminal: Connect to the main power source (e.g., positive or line).
- Output Terminals: Connect to the respective loads that need to be controlled.
- LED Terminals: Connect to the appropriate voltage source for the LED (e.g., 110-220V for this model). Ensure correct polarity if applicable.
Important: Incorrect wiring can damage the switch or connected devices. Always verify the voltage requirements for the LED and the switch contacts.
Operating Instructions
This rotary switch operates by turning the knob to select different positions. The self-locking/latching mechanism ensures the switch remains in the selected position until manually rotated to another.
- 2-Position Switch: Rotate the knob between two distinct positions (e.g., ON/OFF or Position A/Position B).
- 3-Position Switch: Rotate the knob between three distinct positions (e.g., OFF/Position A/Position B or Position 1/Position 2/Position 3).
- LED Indicator: The integrated LED light will illuminate when the switch is in a specific active position, as determined by its wiring. For the YELLOW LED_110-220V Arrow Light model, the yellow LED will light up when the switch is in the designated active state.
Maintenance
- Cleaning: Use a soft, dry cloth to wipe the exterior of the switch. Avoid abrasive cleaners or solvents that could damage the metal finish or plastic components.
- Inspection: Periodically inspect the switch for any signs of physical damage, loose connections, or excessive wear. Ensure the knob rotates smoothly and latches securely into each position.
- Environmental Protection: Keep the switch free from dust, dirt, and moisture to ensure optimal performance and longevity.
Troubleshooting
| Problem | Possible Cause | Solution |
|---|---|---|
| LED does not light up. | Incorrect LED voltage, reversed polarity, loose connection, faulty LED. | Verify LED voltage matches power supply. Check LED wiring for correct polarity. Ensure all connections are secure. Test with a known good power source. |
| Switch does not activate load. | Incorrect wiring, loose connections, faulty switch contacts, insufficient power to load. | Review wiring diagram and ensure correct connections. Tighten all terminals. Test continuity of switch contacts. Verify power supply to the load. |
| Knob is stiff or does not latch. | Debris in mechanism, physical damage, overtightened mounting nut. | Clean around the knob and shaft. Inspect for damage. Loosen mounting nut slightly if overtightened. If damage is present, replace the switch. |
Warranty and Support
For warranty information or technical support, please refer to the documentation provided at the time of purchase or contact your vendor. Keep your purchase receipt as proof of purchase.