1. Introduction
This user manual provides comprehensive instructions for setting up, operating, and maintaining your THOMSON 10.1-inch WiFi Digital Photo Frame. Please read this manual carefully before using the device to ensure proper functionality and longevity.
2. Product Overview
The THOMSON Digital Photo Frame is designed to display your cherished memories with ease. It features a high-definition IPS touchscreen and WiFi connectivity for convenient photo sharing.
Key Features:
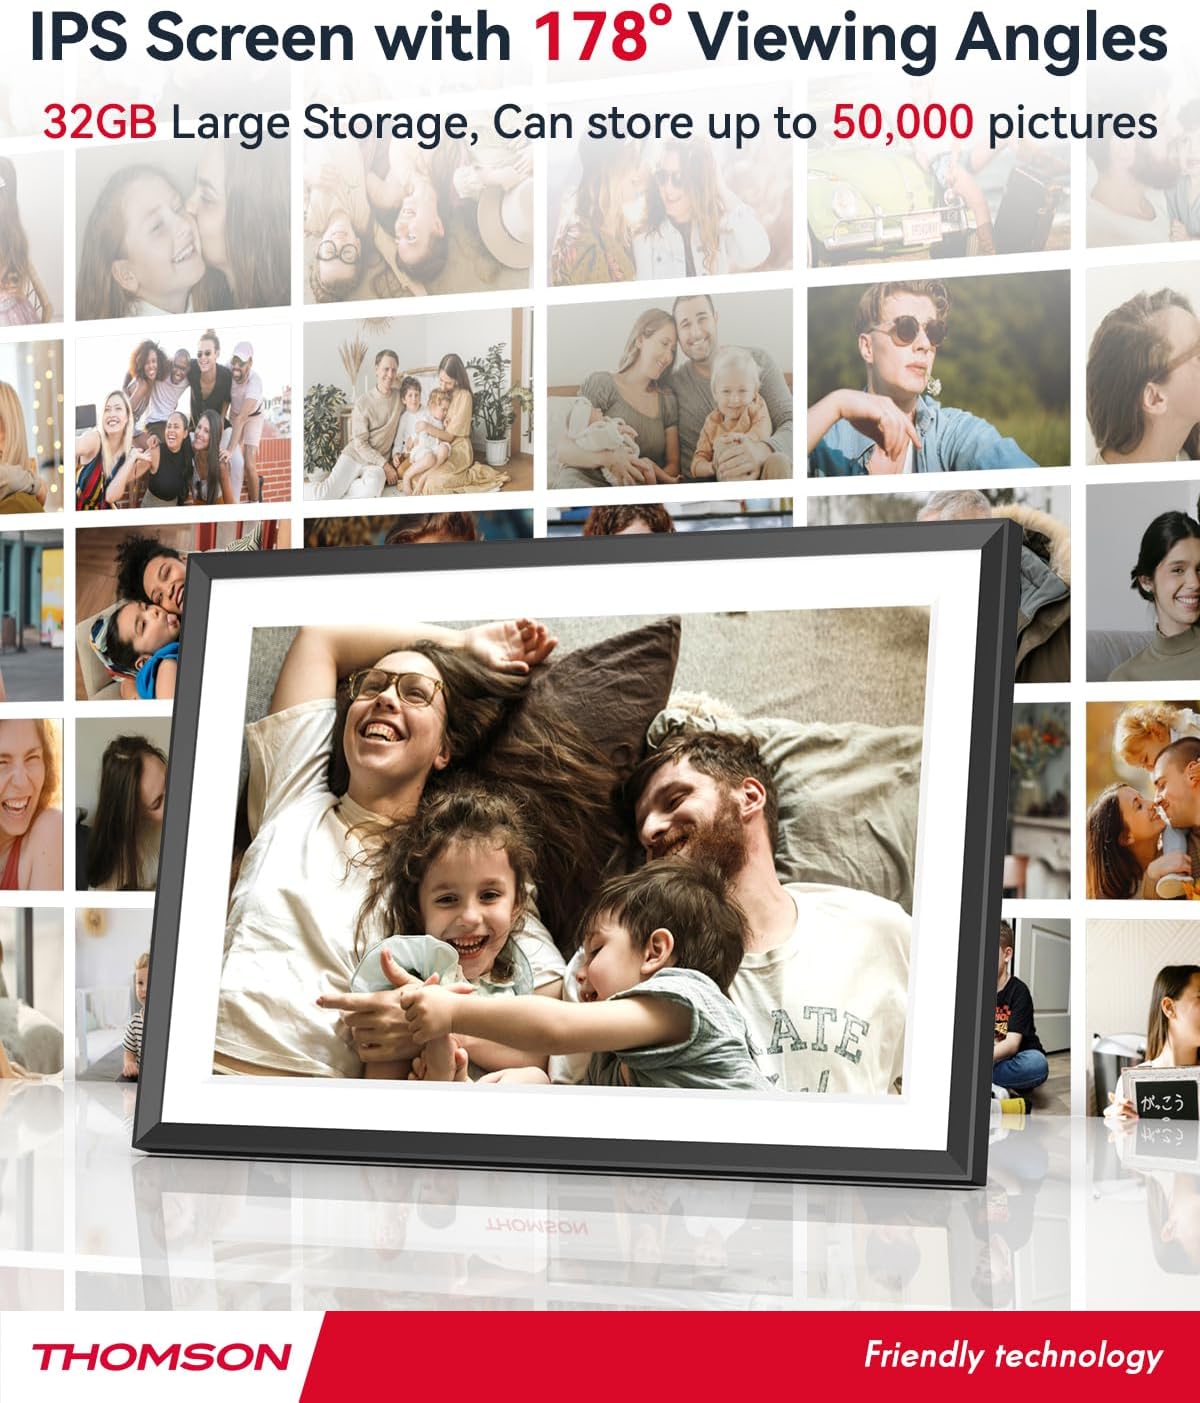
- 32GB Internal Memory: Stores approximately 50,000 photos. Supports SD Card/SDHC Card/MMC Card/USB Drive expansion up to 256GB.
- Simple Setup: Connects to WiFi, automatically sets local date and time.
- 10.1-inch 1280x800 HD IPS Screen: Provides clear image viewing with a 180° viewing angle.
- Multiple Interfaces: Supports DC-4.0, Type-C, SD, 3.5mm Jack, and USB.
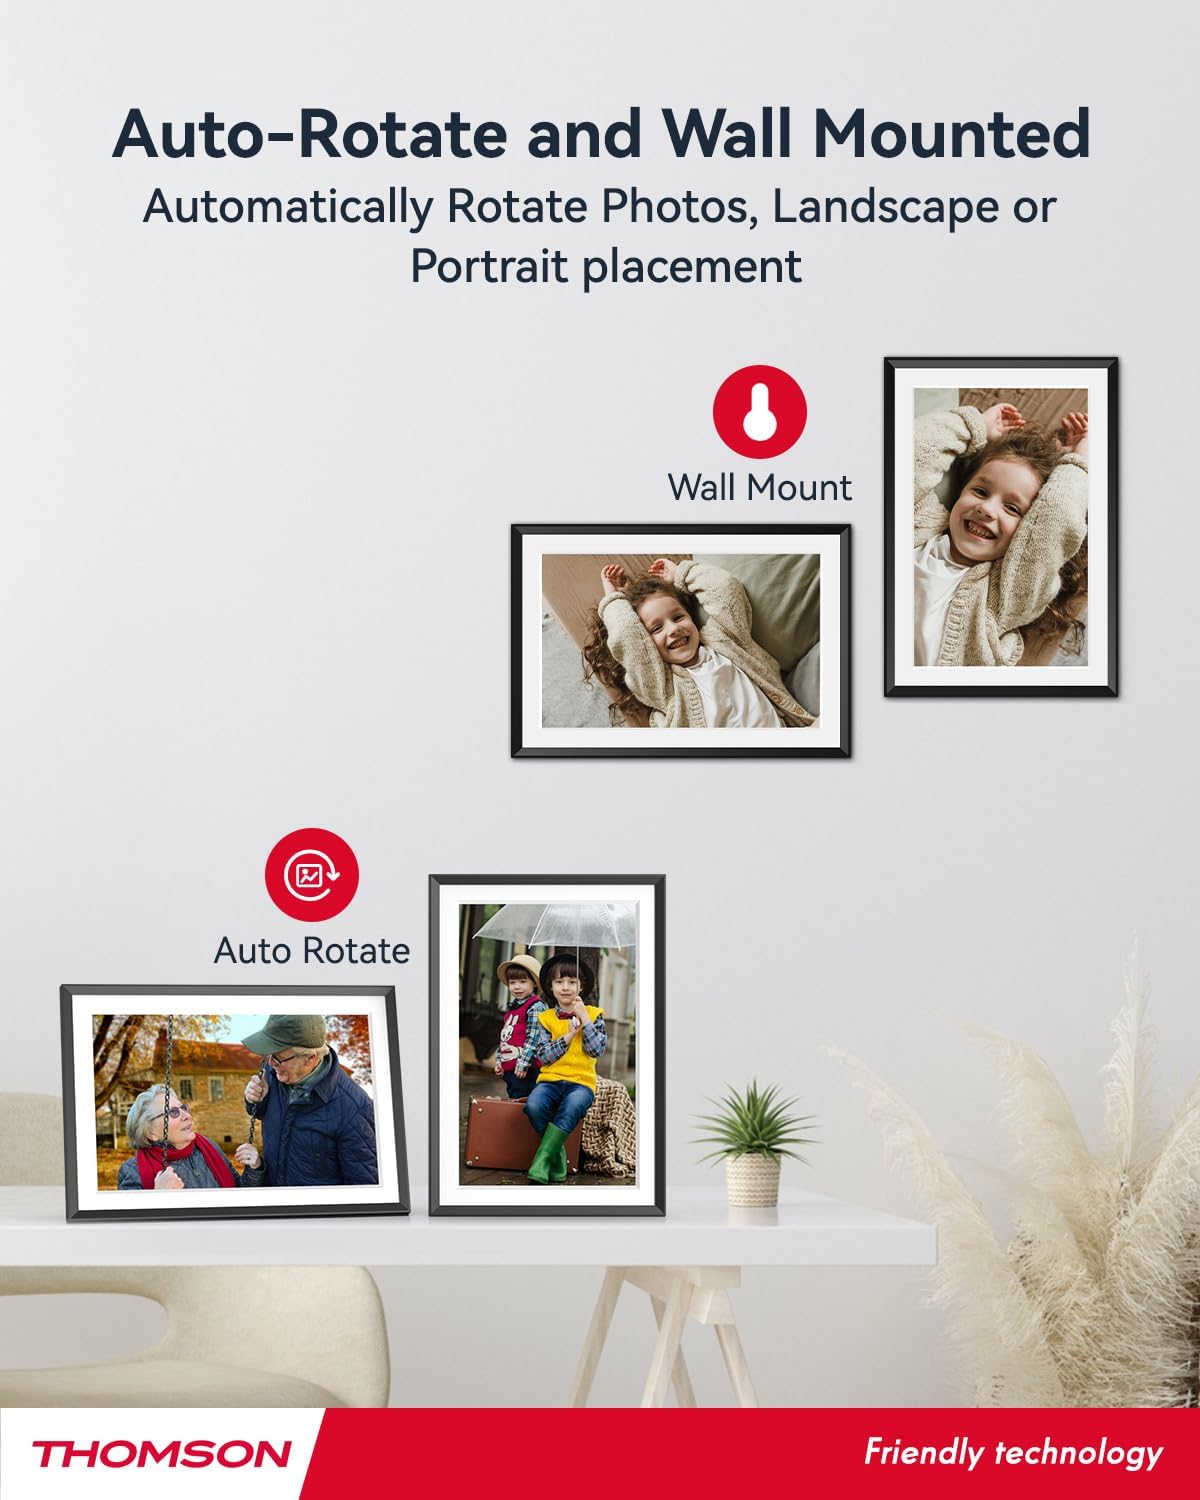
- Automatic Rotation: Displays photos correctly in any orientation.
- Background Music: Play music during slideshows.
- Google Photo Support: Send photos directly from Google Photos.


3. Setup
3.1 Unpacking and Initial Inspection
- Carefully remove all components from the packaging.
- Verify that all items listed in the 'Product Overview' section are present.
- Inspect the frame for any signs of damage. If damaged, do not proceed and contact customer support.
3.2 Power Connection
- Connect the power adapter to the DC-4.0 port on the back of the photo frame.
- Plug the power adapter into a standard electrical outlet.
- The frame will power on automatically.
3.3 Network Connection (Wi-Fi)
- On the frame's touchscreen, navigate to 'Settings' or 'Wi-Fi Settings'.
- Select your desired Wi-Fi network from the list of available networks.
- Enter the Wi-Fi password using the on-screen keyboard.
- Confirm the connection. Once connected, the frame will automatically synchronize the date and time.
3.4 App Installation (Thomson Smart Frame)
To share photos wirelessly from your smartphone, download the 'Thomson Smart Frame' app:
- For Android devices, search for 'Thomson Smart Frame' on the Google Play Store.
- For iOS devices, search for 'Thomson Smart Frame' on the Apple App Store.
- Follow the on-screen instructions within the app to pair it with your digital photo frame.
4. Operating Instructions
4.1 Adding Photos and Videos
- Via Thomson Smart Frame App: Use the paired smartphone app to wirelessly send photos and videos to the frame.
- Via SD Card/USB Drive: Insert a compatible SD card or USB drive into the respective slot. The frame will detect the media, and you can import files to the internal memory or play directly.
- Via Google Photos: The frame supports integration with Google Photos for direct photo sharing. Refer to the frame's on-screen instructions for linking your Google Photos account.
4.2 Touchscreen Navigation
The frame features an intuitive touchscreen interface. Tap to select, swipe to scroll, and pinch to zoom (if supported by the specific function).
4.3 Slideshow Settings
Customize your photo slideshow experience:
- Slideshow Speed: Adjust the duration each photo is displayed.
- Transition Effects: Choose from various transition styles between photos.
- Background Music: Select audio files to play during the slideshow.
4.4 Automatic Rotation
The frame automatically detects its orientation (landscape or portrait) and adjusts the displayed photos accordingly. Ensure the auto-rotate function is enabled in the settings if you wish to utilize this feature.
4.5 Multi-User Connection
Multiple users can connect to the same frame via the Thomson Smart Frame app, allowing family and friends to share their photos to your frame from different locations.
5. Maintenance
5.1 Cleaning the Screen
- Turn off the photo frame and unplug it from the power source.
- Use a soft, lint-free cloth (e.g., microfiber cloth) to gently wipe the screen.
- For stubborn smudges, slightly dampen the cloth with water or a screen-cleaning solution specifically designed for electronic displays. Do not spray liquid directly onto the screen.
5.2 General Care
- Avoid exposing the frame to extreme temperatures, direct sunlight, or high humidity.
- Keep the frame away from water and other liquids.
- Do not block the ventilation openings on the frame.
- Handle the frame with care to prevent drops or impacts.
6. Troubleshooting
| Problem | Possible Cause | Solution |
|---|---|---|
| Frame does not power on. | Power adapter not connected or faulty outlet. | Ensure power adapter is securely connected to the frame and a working electrical outlet. Try a different outlet. |
| Cannot connect to Wi-Fi. | Incorrect password, weak signal, or network issue. | Double-check Wi-Fi password. Move frame closer to router. Restart router and frame. |
| Photos not displaying. | Unsupported file format, no photos loaded, or storage issue. | Ensure photos are in supported formats (e.g., JPEG, PNG). Verify photos are loaded onto the frame's internal memory or connected storage. Check storage space. |
| Touchscreen unresponsive. | Temporary software glitch. | Restart the frame by unplugging and re-plugging the power adapter. |
7. Specifications
| Feature | Detail |
|---|---|
| Brand | Thomson |
| Model Number | TDF-1001P |
| Screen Size | 10.1 inches |
| Display Resolution | 1280 x 800 HD |
| Display Type | IPS Touchscreen |
| Internal Memory | 32 GB |
| Expandable Memory | SD Card/SDHC Card/MMC Card/USB Drive (up to 256GB) |
| Connectivity Technology | Wi-Fi |
| Compatible Devices | Android and iOS Smartphones |
| Power Source | Corded Electric |
| Aspect Ratio | 16:10 |
| Frame Material | Plastic |
| Product Dimensions (L x W x H) | 26.5 x 18.4 x 2.51 cm |
| Product Weight | 530 grams |
8. Warranty and Support
For warranty information or technical support, please refer to the documentation included with your purchase or visit the official Thomson website. You may also contact Thomson customer service directly for assistance with product issues or inquiries.


