
1. Introduction
This manual provides comprehensive instructions for the installation, operation, and maintenance of your MekedeTech M6 Pro Android Car Radio. This advanced head unit is specifically designed for Toyota Camry 7 XV 50 55 models manufactured between 2014 and 2017, offering an enhanced in-car entertainment and navigation experience. Key features include an Android 13 operating system, a 10-inch 1280x720 QLED touch screen, wireless CarPlay and Android Auto compatibility, Bluetooth 5.1, and advanced audio processing with DSP and DTS surround sound.

This image shows the MekedeTech M6 Pro Android Car Radio installed in a Toyota Camry dashboard. The top panel displays the unit after installation, featuring the 10-inch touch screen with navigation and media apps. The bottom left panel shows the original car radio before installation, and the bottom right panel provides another view of the unit after installation, highlighting its integrated appearance.
2. Safety Information
- Professional installation is highly recommended to ensure correct wiring, functionality, and to prevent damage to the vehicle or the unit.
- Do not operate the device in a manner that distracts you from driving. Always prioritize road safety.
- Ensure all electrical connections are secure and properly insulated before operating the vehicle to prevent short circuits or electrical hazards.
- Avoid exposing the unit to extreme temperatures, direct sunlight for prolonged periods, or excessive moisture.
- Do not attempt to disassemble or modify the unit. This may void the warranty and could lead to malfunction or injury.
3. Package Contents
Before beginning installation, please verify that all components listed below are present in your package:
- MekedeTech M6 Pro Head Unit
- Vehicle-Specific Power Harness
- GPS Antenna
- 4G Antenna
- USB Cables
- External Microphone
- Installation Brackets and Screws (if applicable)
- User Manual (this document)
4. Setup: Installation Guide
4.1 Vehicle Compatibility
This unit is specifically designed for Toyota Camry 7 XV 50 55 models manufactured between 2014 and 2017. Ensure your vehicle falls within this range for proper fitment and functionality.
4.2 Pre-Installation Checklist
- Disconnect Battery: Always disconnect the vehicle's negative battery terminal before starting any electrical work.
- Gather Tools: Have appropriate tools ready, including trim removal tools, screwdrivers, and wire strippers/crimpers if needed.
- Review Vehicle-Specific Instructions: Consult your vehicle's service manual or online resources for detailed instructions on how to safely remove the factory radio and dashboard trim.
4.3 Wiring and Connections
Connect the provided vehicle-specific power harness to the corresponding connectors in your car. Ensure all accessory cables, including USB, camera inputs, external microphone, GPS antenna, and 4G antenna, are properly routed and securely connected to their designated ports on the back of the head unit. Refer to the wiring diagram provided with your specific unit for detailed connections.

This image displays the custom GPS and 4G antennas designed for the MekedeTech M6 Pro. These antennas enhance signal reception for navigation and cellular connectivity, ensuring stable performance. Proper connection of these antennas to the head unit is crucial for optimal performance.
4.4 Physical Installation
Carefully remove the factory radio and any necessary dashboard trim. Mount the MekedeTech M6 Pro head unit using the provided brackets and secure it firmly in place. Once all connections are made and tested, carefully reassemble the dashboard trim, ensuring no wires are pinched.
5. Operating Instructions
5.1 Power On/Off and Basic Interface
To power on the unit, turn your vehicle's ignition to the ACC or ON position. The unit will boot automatically. To power off, turn off the vehicle's ignition. The 10-inch QLED touch screen provides intuitive access to all functions and applications. You can customize the interface to your preference.
This image showcases various user interface (UI) themes available on the MekedeTech M6 Pro Android Car Radio, including UI08, UI22, UI29, and UI34. Users can select their preferred interface style to customize the display.
5.2 Wireless CarPlay & Android Auto
Connect your compatible smartphone wirelessly via Bluetooth and Wi-Fi to activate CarPlay or Android Auto. This feature allows seamless integration of your phone's navigation, music, calls, and messaging apps directly onto the head unit's screen, minimizing distractions while driving.
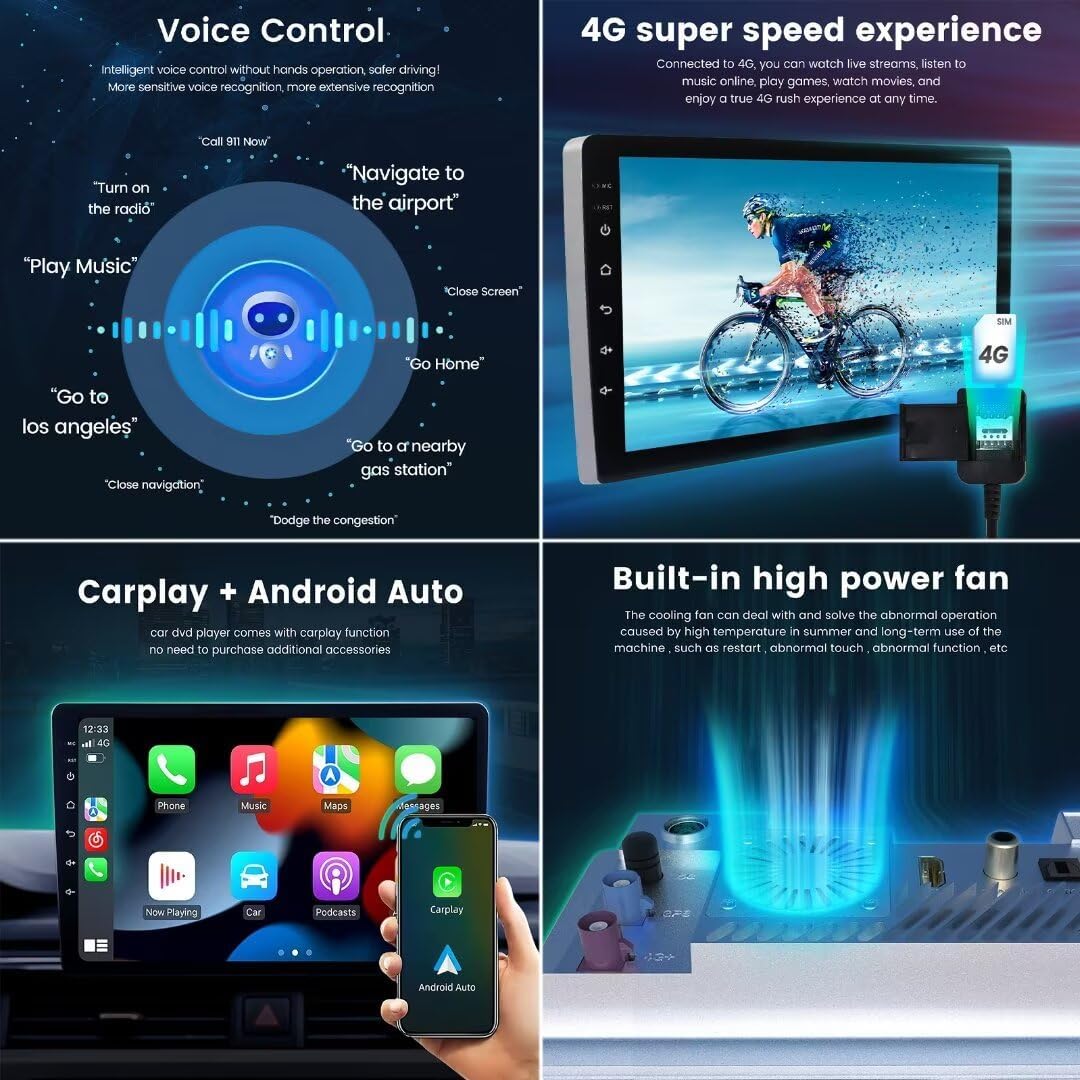
This image demonstrates the Wireless CarPlay and Android Auto functionality on the MekedeTech M6 Pro. It shows a smartphone screen mirrored on the head unit, displaying common applications like Phone, Music, Maps, and Messages, allowing for seamless integration and control.
5.3 Bluetooth 5.1 Connectivity
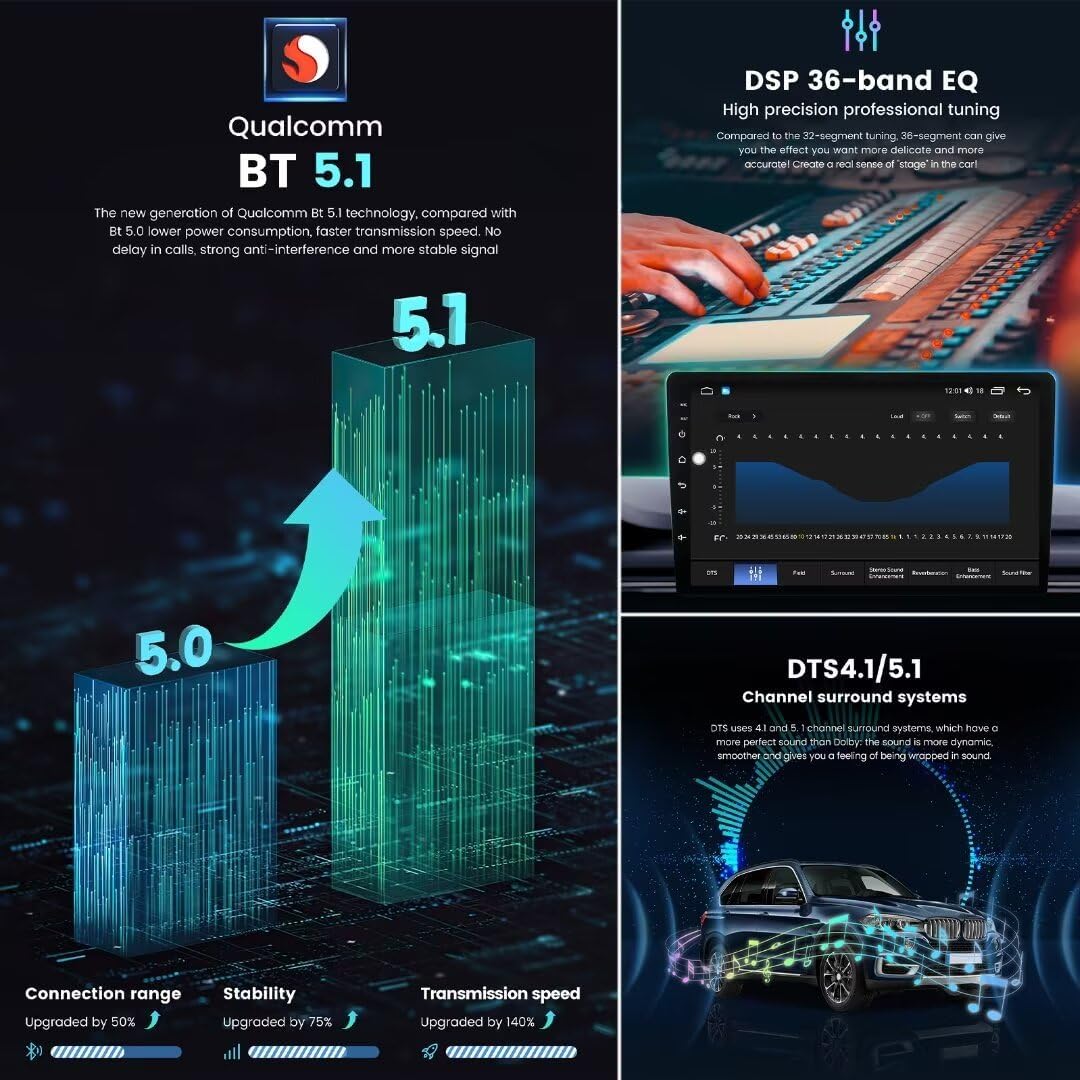
Pair your mobile device with the unit via Bluetooth 5.1 for hands-free calling and high-quality audio streaming. Navigate to the Bluetooth settings on the head unit, enable Bluetooth, and search for your device. Select your device from the list to pair.

This image highlights the Qualcomm Bluetooth 5.1 technology integrated into the MekedeTech M6 Pro. It visually compares Bluetooth 5.1 to 5.0, emphasizing improvements in connection range, stability, and transmission speed for enhanced wireless audio and call quality.
5.4 Voice Control
Utilize the intelligent voice control feature for hands-free operation of various functions, such as navigation, music playback, and calling. Activate voice control through the designated button or by saying a specific wake-up command (if configured).
This image illustrates the voice control capabilities of the MekedeTech M6 Pro, showing various commands such as 'Call 911 Now', 'Navigate to the airport', 'Play Music', and 'Go Home'. This feature allows for hands-free operation, enhancing driving safety and convenience.
5.5 Radio (FM/AM/RDS)
Access the built-in FM/AM radio tuner to listen to your favorite stations. The RDS (Radio Data System) feature provides station information, such as station name and program type, where available. You can scan for stations or manually tune to specific frequencies.

This image shows the FM/AM RDS Radio interface of the MekedeTech M6 Pro, demonstrating how to tune into stations and display RDS information. It also highlights the power amplifier TDA7850 and radio IC TDA7708.
5.6 DSP 36-Band EQ & DTS 4.1/5.1 Surround Sound
Fine-tune your audio experience using the advanced Digital Signal Processor (DSP) with a 36-band equalizer. This allows for precise adjustment of sound frequencies. The integrated DTS 4.1/5.1 channel surround sound system provides a dynamic and immersive audio environment, creating a 'stage' effect within your vehicle.
This image illustrates the advanced audio features of the MekedeTech M6 Pro, including the DSP 36-band equalizer for precise sound tuning and the DTS 4.1/5.1 channel surround sound system for an immersive audio experience.
5.7 4G LTE & WiFi Connectivity
The unit supports 4G LTE connectivity (requires a compatible SIM card) and 5GHz Wi-Fi. Insert a 4G SIM card for mobile data access or connect to a Wi-Fi hotspot. This enables online navigation, streaming services, app downloads, and real-time traffic updates directly on the head unit.
This image demonstrates the 4G LTE connectivity feature of the MekedeTech M6 Pro, showing how a SIM card can be inserted to enable mobile data for streaming, online gaming, and other internet-dependent applications directly on the head unit.
5.8 Split Screen Function
Utilize the split-screen feature to run two applications simultaneously. For example, you can have navigation displayed on one side of the screen while controlling music playback or another app on the other side, enhancing multitasking convenience.
This image shows the split-screen functionality of the MekedeTech M6 Pro, allowing two applications, such as navigation and music, to be displayed simultaneously for enhanced multitasking.
5.9 GPS Navigation
The unit features accurate GPS positioning with support for GPS, GLONASS, and BDS satellite systems. Access pre-installed maps or download your preferred navigation applications from the app store. Enjoy real-time traffic updates and precise route guidance.
This image illustrates the GPS accurate positioning feature of the MekedeTech M6 Pro, showing a navigation map with real-time traffic conditions and support for GPS, GLONASS, and BDS satellite systems.
6. Maintenance
6.1 Cleaning the Screen
To clean the QLED touch screen, use a soft, lint-free cloth. For stubborn smudges, slightly dampen the cloth with water or a screen-safe cleaning solution. Avoid using abrasive cleaners, alcohol, or harsh chemicals, as these can damage the screen coating.
6.2 Software Updates
Periodically check for available software updates to ensure your unit operates with the latest features, performance enhancements, and security patches. Updates can typically be found in the system settings menu. Follow the on-screen instructions carefully during the update process.
6.3 Cooling System
The MekedeTech M6 Pro includes a built-in high-power cooling fan designed to dissipate heat and maintain optimal operating temperatures. Ensure that the fan vents are not obstructed by debris or other objects to allow for proper airflow and prevent overheating.
This image highlights the built-in high-power cooling fan of the MekedeTech M6 Pro, designed to manage heat and ensure stable operation of the unit, especially during prolonged use or in high temperatures.
7. Troubleshooting
If you encounter issues with your MekedeTech M6 Pro, refer to the table below for common problems and their solutions. If the problem persists, contact customer support.
| Problem | Possible Solution |
|---|---|
| Unit does not power on | Check all power connections, ensure the vehicle's ignition is on, and inspect the vehicle's fuse box for blown fuses. |
| No sound output | Verify speaker connections, check volume settings on the unit and vehicle, and ensure the correct audio source is selected. |
| GPS signal lost or inaccurate | Ensure the GPS antenna is properly installed, has a clear view of the sky, and is not obstructed by metallic objects. |
| Bluetooth connection issues | Ensure Bluetooth is enabled on both the head unit and your mobile device. Try unpairing and re-pairing the device. Restart both devices if necessary. |
| Touch screen unresponsive | Perform a soft reset by pressing and holding the power button (if available) or by turning the vehicle's ignition off and on. If the issue persists, contact support. |
| CarPlay/Android Auto not connecting | Ensure your smartphone is compatible and has the latest operating system updates. Verify that Bluetooth and Wi-Fi are enabled on your phone and the head unit. |
8. Specifications
Below are the detailed specifications for the MekedeTech M6 Pro Android Car Radio:
| Feature | Detail |
|---|---|
| Model | M6Pro-10inch-8+128GB-1280*720 |
| Operating System | Android 13 |
| CPU | UIS7862S 2.0GHz 8-core (2 cores ARM Cortex A75 + 6 cores ARM Cortex A55) |
| Display | 10-inch QLED Touch Screen |
| Resolution | 1280x720 |
| Memory | 8GB RAM + 128GB ROM |
| Bluetooth | BT 5.1 (Qualcomm 3031 chip) |
| Wi-Fi | 5GHz |
| Connectivity | 4G LTE |
| Audio Processor | DSP, DTS 4.1/5.1, 36-band EQ |
| Radio IC | TDA7708 |
| Power Amplifier | TDA7850/7851 |
| Special Features | Wireless CarPlay, Android Auto, Voice Control, Split Screen, ADAS DVR support, AHD rear camera support, Built-in cooling fan. |

This image details the core specifications of the MekedeTech M6 Pro, including its 12NM 8-core UIS7862S processor, 1280x720 QLED full-fit screen, and memory configurations (4GB/6GB/8GB RAM, 64GB/128GB/256GB ROM). It also highlights performance, heat dissipation, and productivity improvements.
This image provides a detailed view of the MekedeTech M6 Pro motherboard, showcasing key components such as the UNISOC UIS7862S 8-core processor, TDA 7850 sound amplifier chips, and various connectors for radio, fiber optic, GPS, and 4G antennas. It illustrates the internal hardware design.
9. Warranty Information
The MekedeTech M6 Pro Android Car Radio comes with a 1 Year Warranty from the date of purchase. This warranty covers manufacturing defects and malfunctions under normal use.
Please retain your proof of purchase (receipt or order confirmation) for any warranty claims. The warranty does not cover damage caused by improper installation, misuse, accidents, unauthorized repairs, or normal wear and tear.
10. Customer Support
For technical assistance, troubleshooting, or warranty inquiries regarding your MekedeTech M6 Pro, please contact MekedeTech customer support. Refer to your purchase documentation for specific contact details or visit the official MekedeTech website for the most up-to-date support information.
