1. Introduction
Thank you for choosing the Retevis RT15 FRS Two-Way Radios. This manual provides essential information for the safe and efficient operation of your device. Please read it thoroughly before use and retain it for future reference.
2. Package Contents
Upon unpacking, please ensure all items listed below are present and in good condition:
- 3 x RT15 Mini Walkie Talkie
- 3 x USB Cable (Length: 39 inches)
- 3 x Belt Clip
- 3 x USB Adapter
- 3 x 1000mAh Li-on Battery
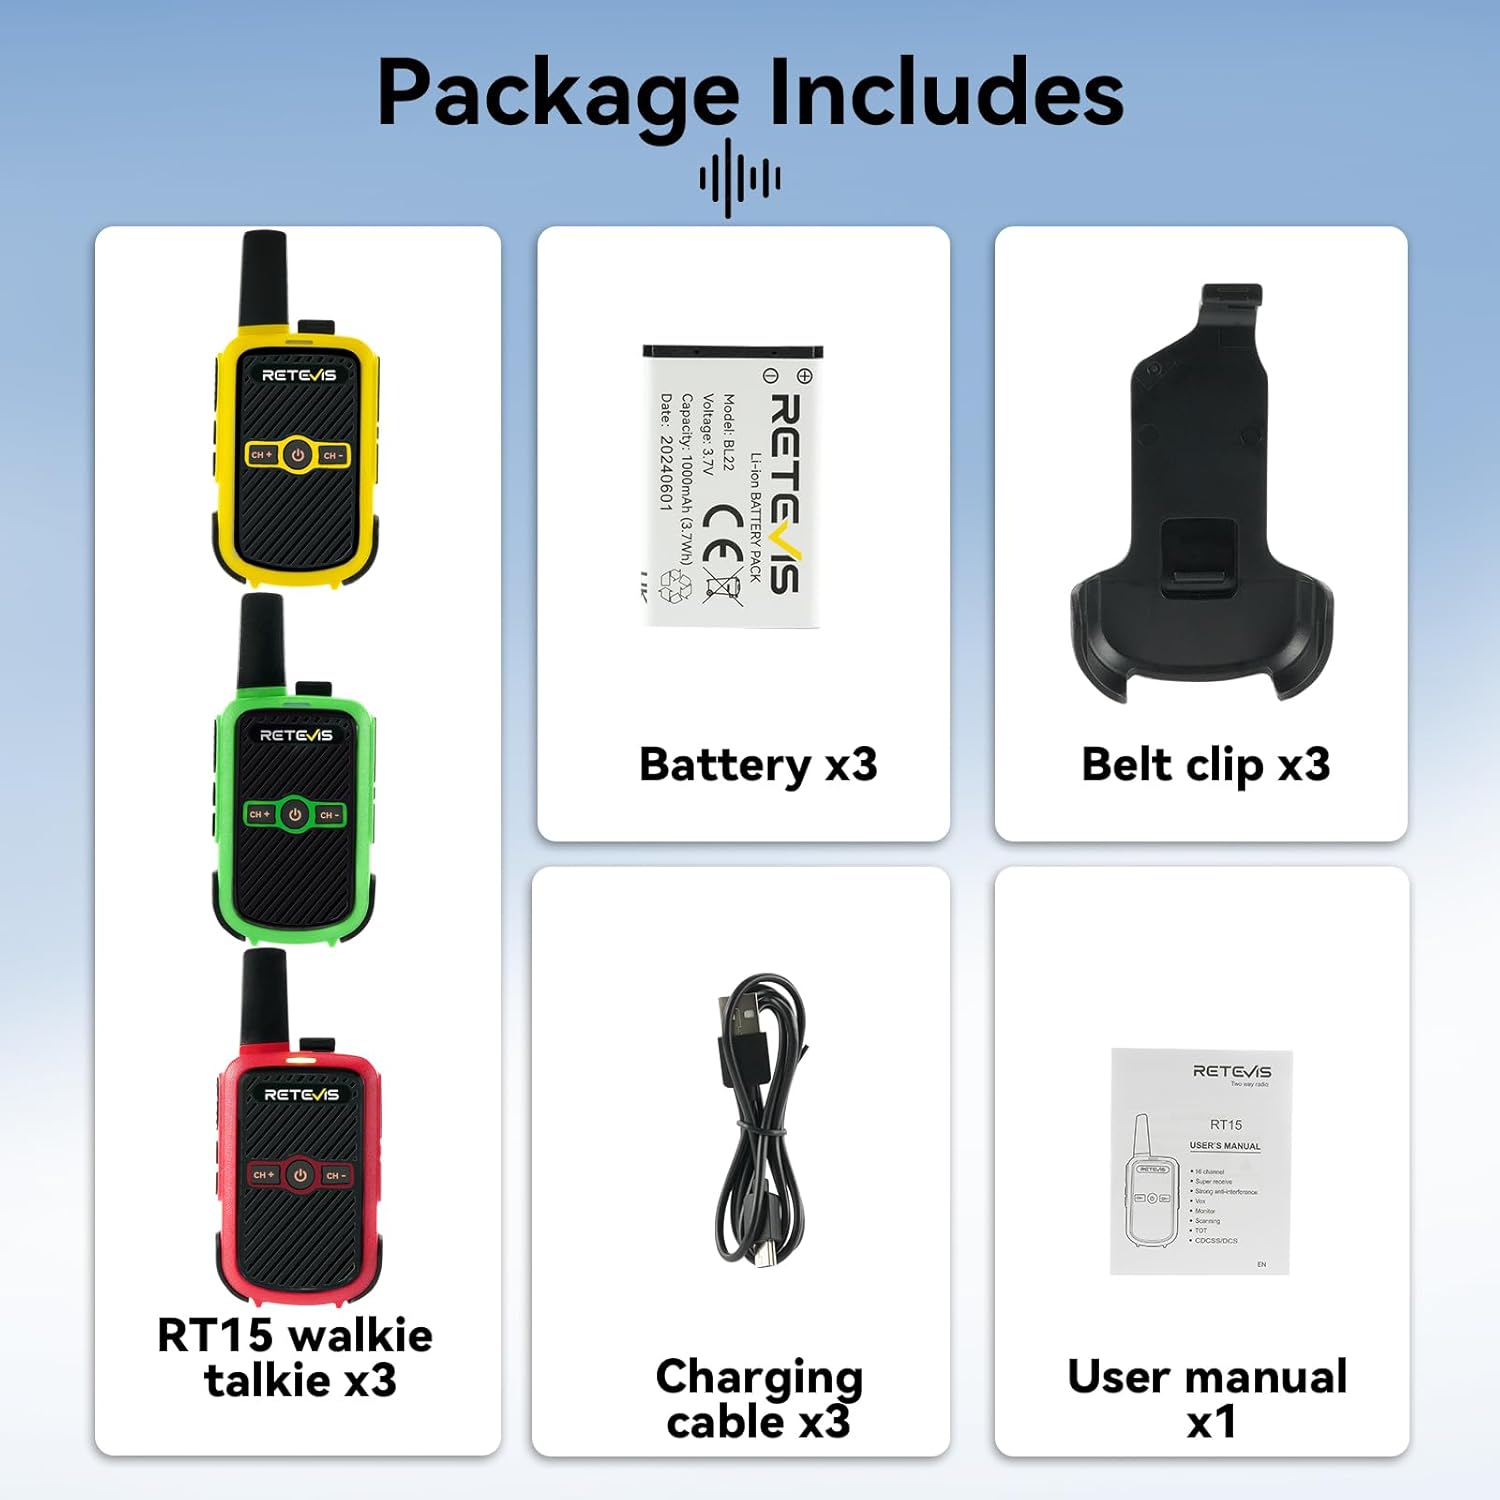
Image: All components included in the Retevis RT15 package.
3. Product Features
- Compact Body Design: 21mm/0.83inch thickness for easy handling and portability.
- Rechargeable: 1000mAh Li-ion battery provides 8-12 hours of operation.
- Easy to Use: Simple setup with intuitive controls, suitable for all users.
- Durable Construction: Made of sturdy ABS material for long-term use.
- Clear Sound Quality: Squelch function filters out background noise for clear communication.
- VOX Function: Voice-operated transmission for hands-free communication.
- Key Lock: Prevents accidental changes to settings.
- 16 Channels: Offers multiple channels for communication.
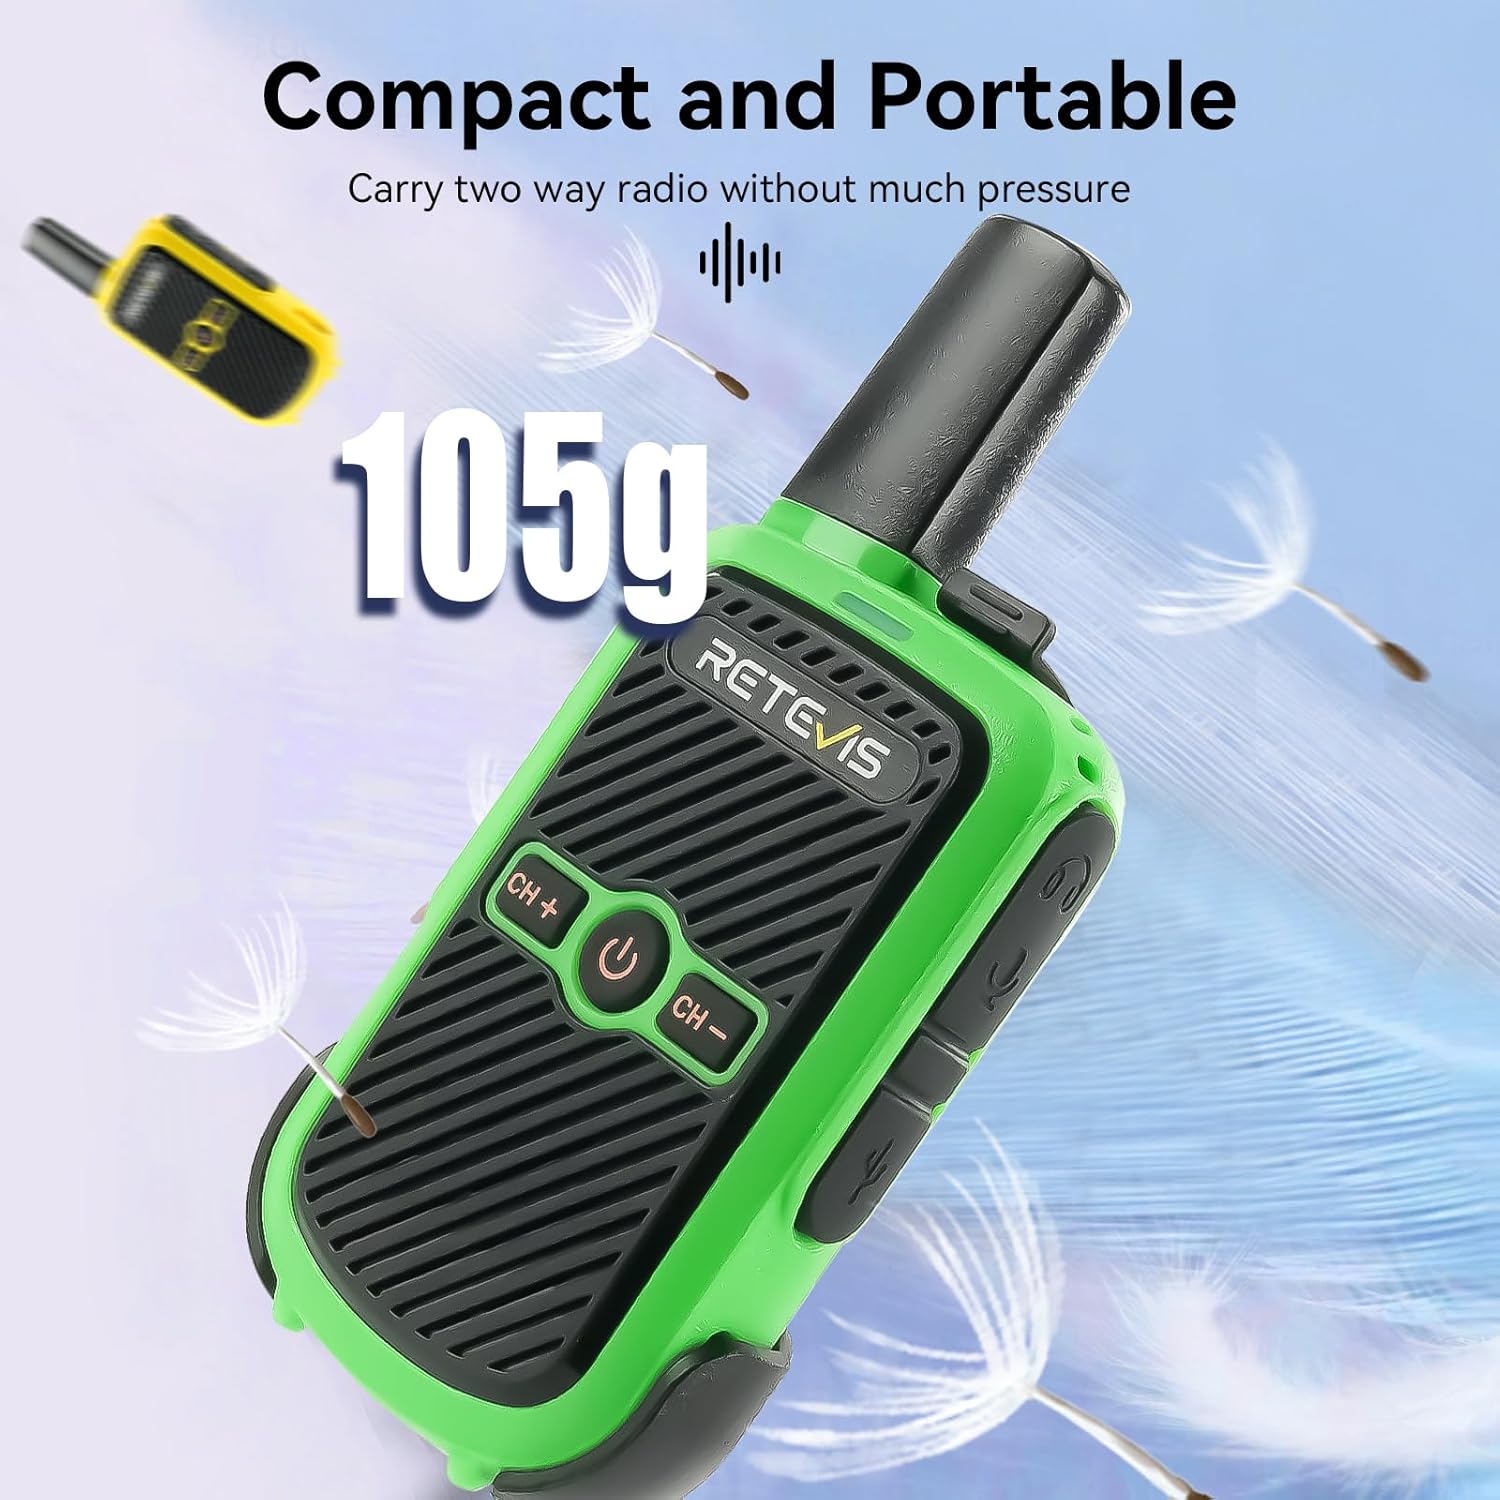
Image: The compact and portable design of the Retevis RT15.
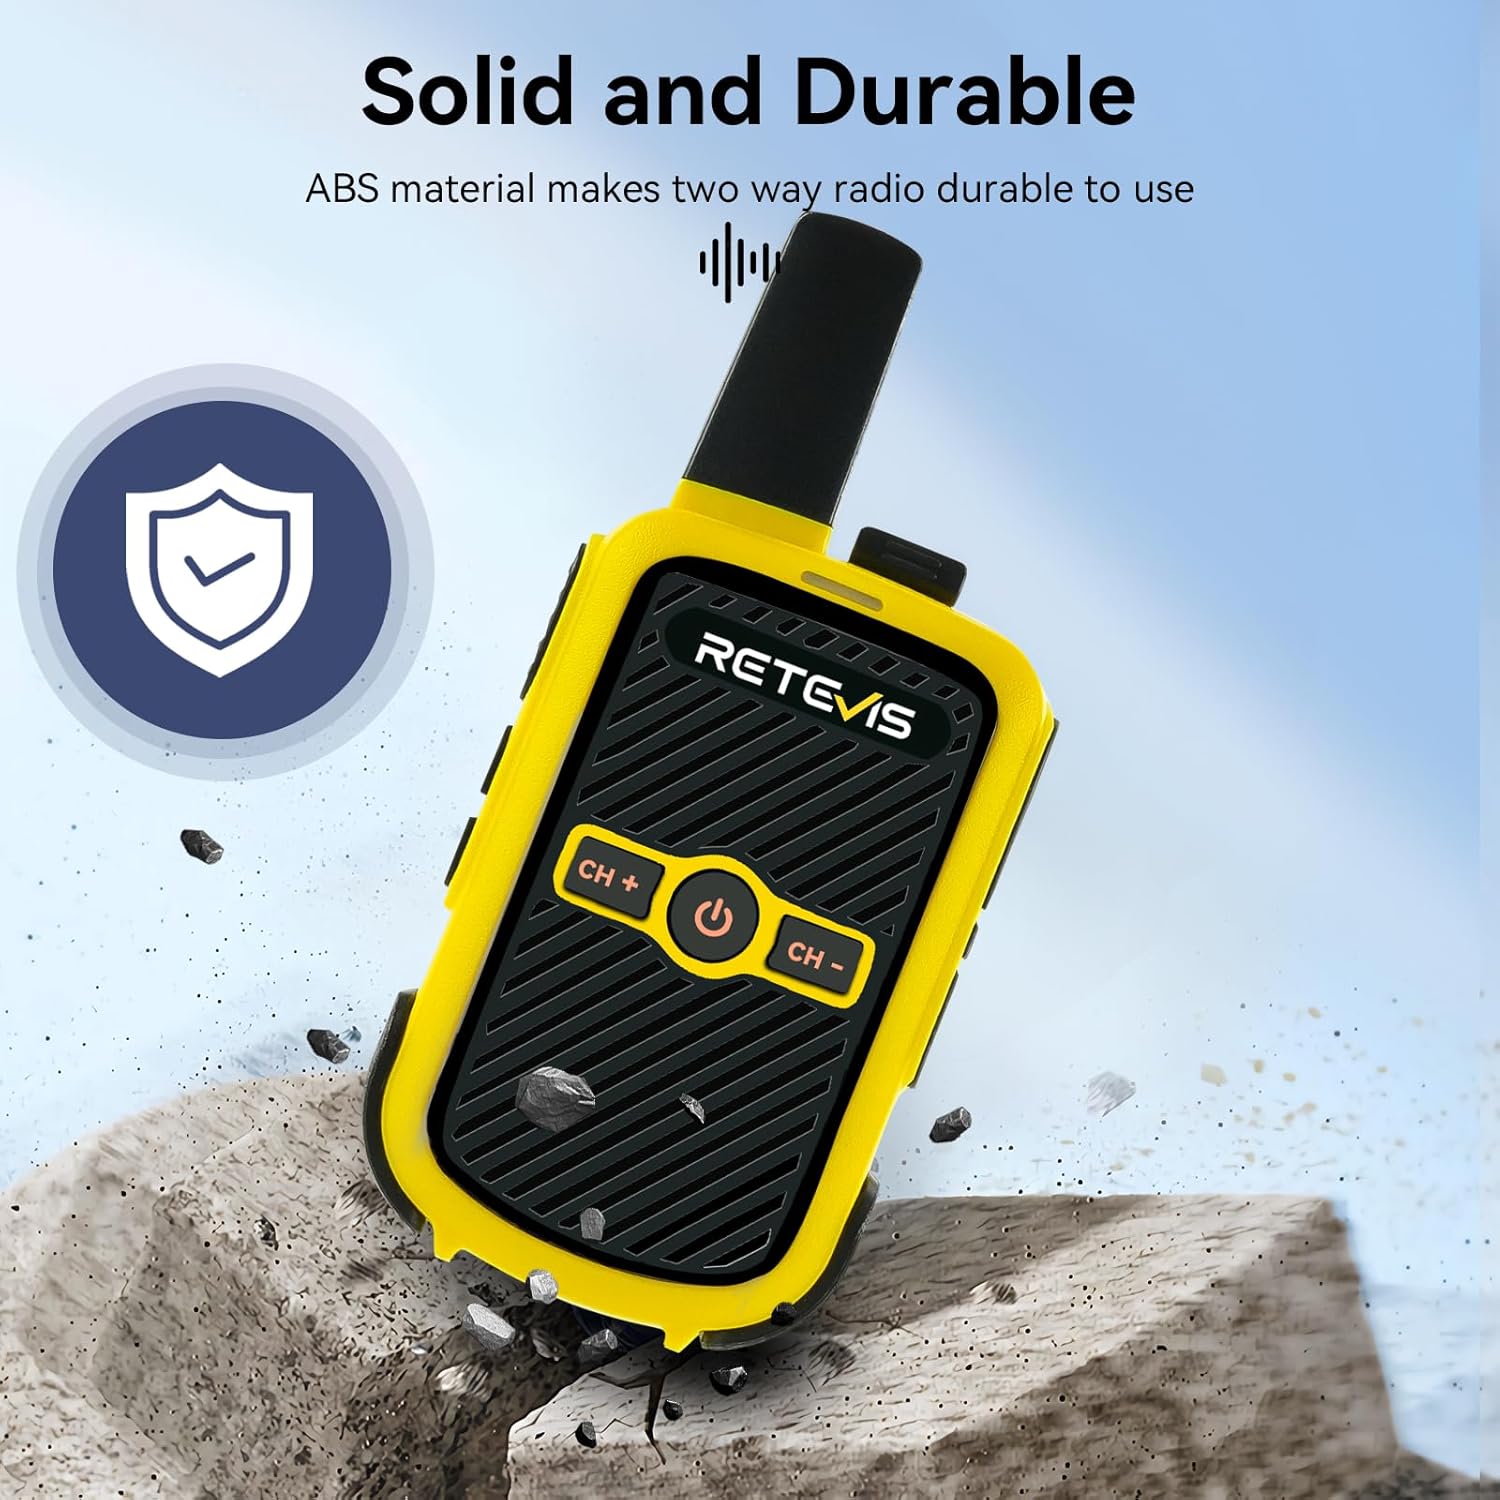
Image: The robust and durable construction of the Retevis RT15.
4. Setup
4.1 Battery Installation
- Locate the battery compartment cover on the back of the radio.
- Gently pry open the cover using a fingernail or small tool.
- Insert the 1000mAh Li-ion battery into the compartment, ensuring the contacts align correctly.
- Replace the battery compartment cover until it clicks securely into place.
Video: This video provides a general overview of the Retevis RT15 walkie talkies, showcasing their use in family outdoor activities, including a brief view of battery installation.
4.2 Charging the Battery
- Connect the USB cable to the radio's charging port.
- Plug the USB adapter into a standard wall outlet.
- The indicator light on the radio will show charging status (typically red for charging, green for fully charged).
- A full charge takes approximately 3-4 hours.

Image: The Retevis RT15 walkie talkie connected to a USB charger.
5. Operating Instructions
5.1 Controls Overview

Image: Labeled diagram of the Retevis RT15 controls.
5.2 Power On/Off
To power on the radio, press and hold the Power button (labeled with a circle and vertical line) located on the front panel until you hear a voice prompt. To power off, press and hold the same button until the radio shuts down.
5.3 Channel Selection
Use the CH+ and CH- buttons on the front panel to cycle through the available 16 channels. The radio will announce the current channel number.
5.4 Push-to-Talk (PTT)
To transmit, press and hold the PTT button (usually on the side of the radio). Speak clearly into the microphone. Release the PTT button to receive.
5.5 VOX Function (Hands-Free Operation)
The VOX function allows for voice-activated transmission without pressing the PTT button. This feature requires computer settings for initial activation. Once activated, it can be toggled on/off via a hotkey combination (refer to the video below for specific steps).
Video: Learn how to enable and use the VOX (Voice Operated Exchange) function for hands-free communication with your Retevis RT15 walkie talkie.
5.6 Key Lock
To prevent accidental changes to settings, you can lock the keypad. Press and hold the CH+ and CH- buttons simultaneously for a few seconds to activate the key lock. Repeat the same action to unlock the keypad.
Video: This video illustrates how to activate and deactivate the keypad lock feature on the Retevis RT15 to prevent accidental button presses.
5.7 Changing Language
To change the voice prompt language:
- Turn the radio to Channel 16.
- Turn the radio off.
- Press and hold the CH+ button and the Power button at the same time.
- Turn on the walkie talkie while still holding the buttons.
- The language will change.
Video: A short tutorial demonstrating the steps to change the language settings on the Retevis RT15 walkie talkie.
6. Maintenance
- Clean the radio's surface with a soft, damp cloth. Avoid using harsh chemicals or abrasive cleaners.
- Do not immerse the radio in water, as it is not water-resistant.
- Store the radio in a cool, dry place when not in use.
- Charge the battery regularly, even if the radio is not used frequently, to maintain battery health.
7. Troubleshooting
- No Power: Ensure the battery is correctly installed and fully charged.
- Cannot Transmit/Receive: Check if the radio is on the same channel as the other device. Ensure the PTT button is pressed correctly for transmission.
- Poor Sound Quality: Adjust the volume. Ensure there are no obstructions between radios and that they are within range. The squelch function helps reduce noise.
- Keypad Unresponsive: Check if the Key Lock function is activated. Deactivate it as per section 5.6.
8. Specifications
| Feature | Detail |
|---|---|
| Model Number | RT15 |
| Item Weight | 3.84 ounces |
| Product Dimensions | 5.3 x 2.3 x 0.8 inches |
| Batteries | 3 Lithium Ion batteries required (included) |
| Number of Channels | 16 |
| Frequency Range | 462-467 MHz |
| Talking Range Maximum | 1.5 Miles |
| Voltage | 3.7 Volts |
| Water Resistance Level | Not Water Resistant |
| FCC ID | 2ASNSRT15 |
9. Warranty and Support
Retevis provides a 2-year warranty for the radio body and a 1-year warranty for accessories. Additionally, a 30-day no-reason return policy is offered. For any issues beyond the warranty period, maintenance services are available, with buyers responsible for associated costs.
For support or warranty claims, please contact Retevis customer service on Amazon. They aim to reply within 12 hours.