1. Introduction
Thank you for choosing the Hangrui Kids Instant Print Digital Camera. This camera is designed to provide children with a fun and creative way to explore photography, offering instant printing, 1080P video recording, and various creative features. Please read this manual carefully to ensure proper use and to maximize your child's enjoyment of the camera.
2. What's in the Box
Upon unpacking, please verify that all the following items are included:
- Hangrui Kids Instant Print Digital Camera Body
- 32GB SD Card
- Lanyard
- Printing Paper Rolls (Quantity may vary, typically 3 rolls)
- USB Type-C Charging Cable
- Color Pens (for DIY coloring)
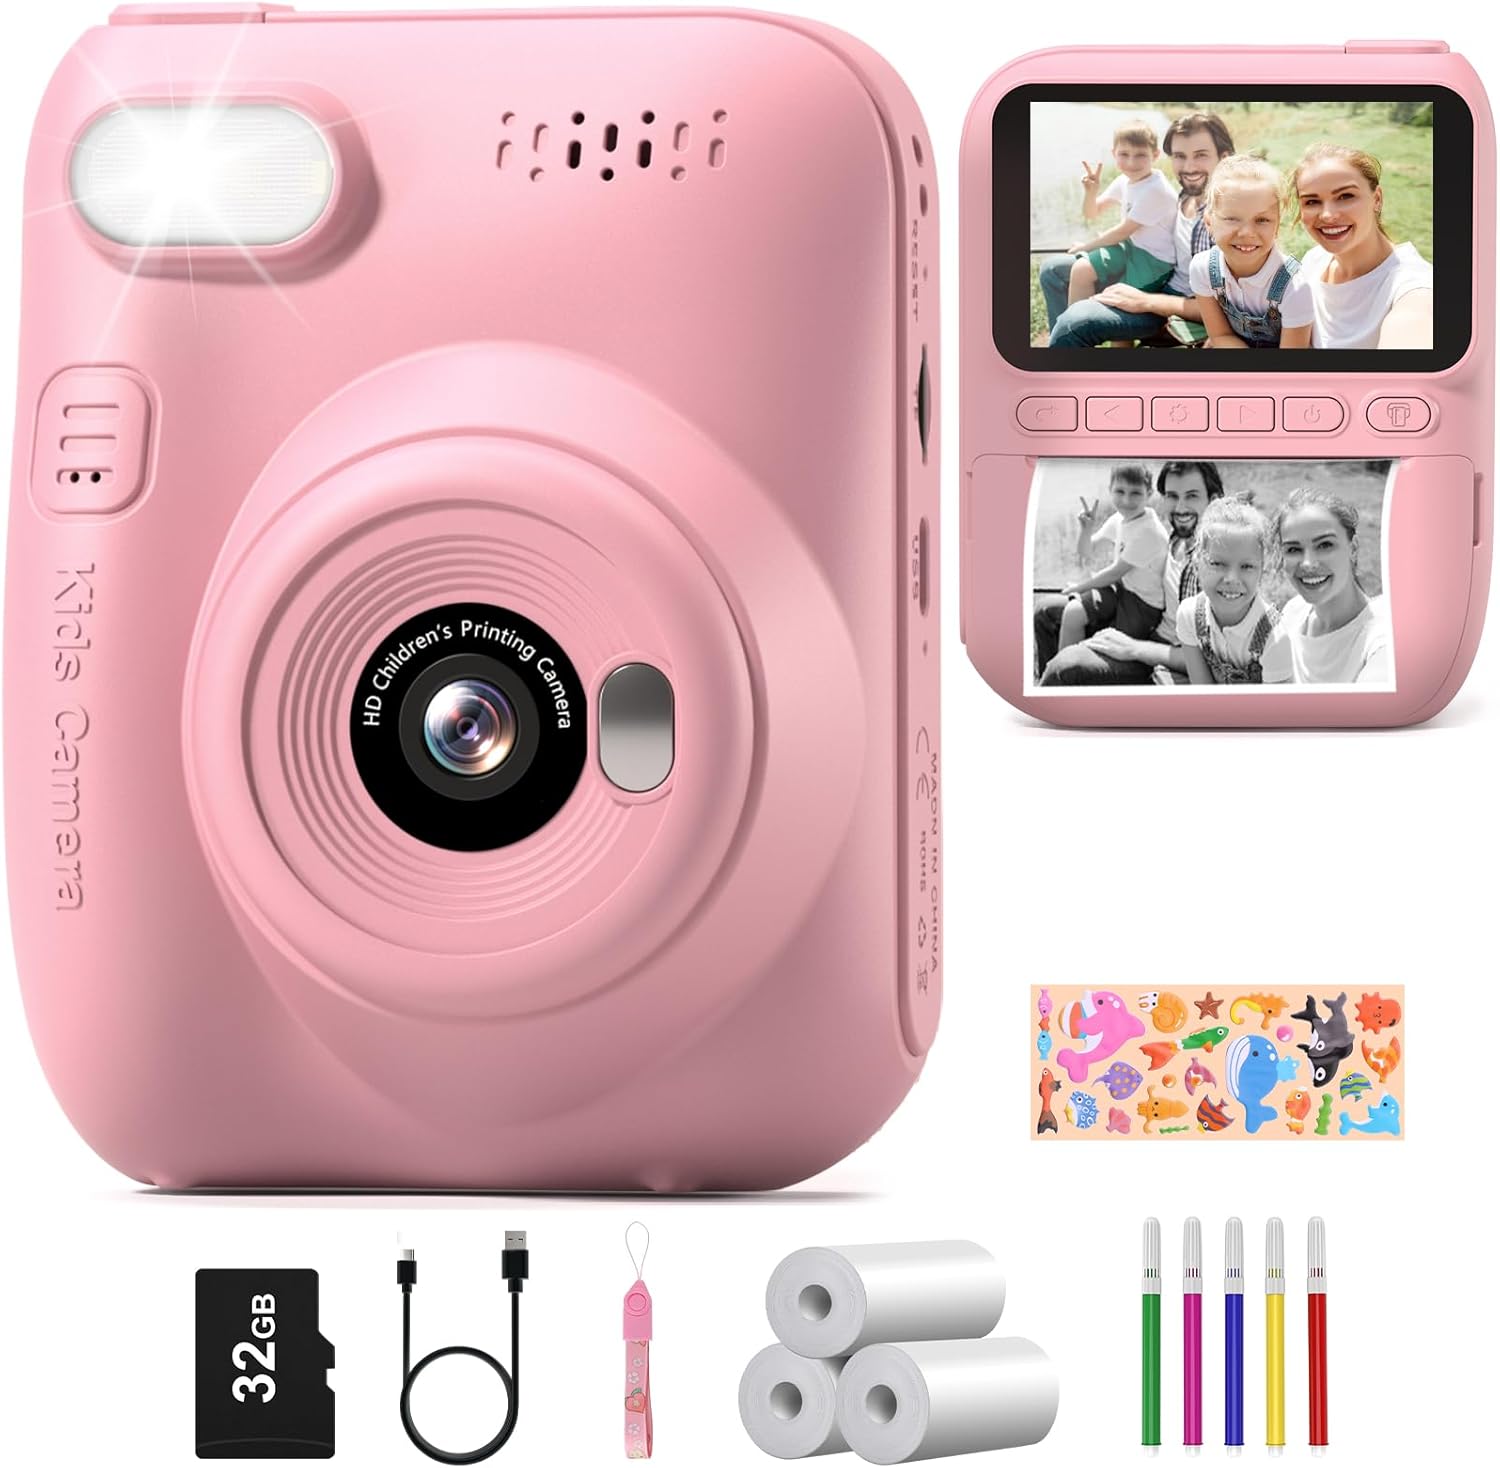
Image: All components included in the Hangrui Kids Instant Print Digital Camera package.
3. Product Overview
The Hangrui Kids Instant Print Digital Camera features a compact design with a 3.0-inch HD screen and intuitive controls suitable for children. Key components include the lens, flash, power button, navigation buttons, shutter button, and paper output slot.
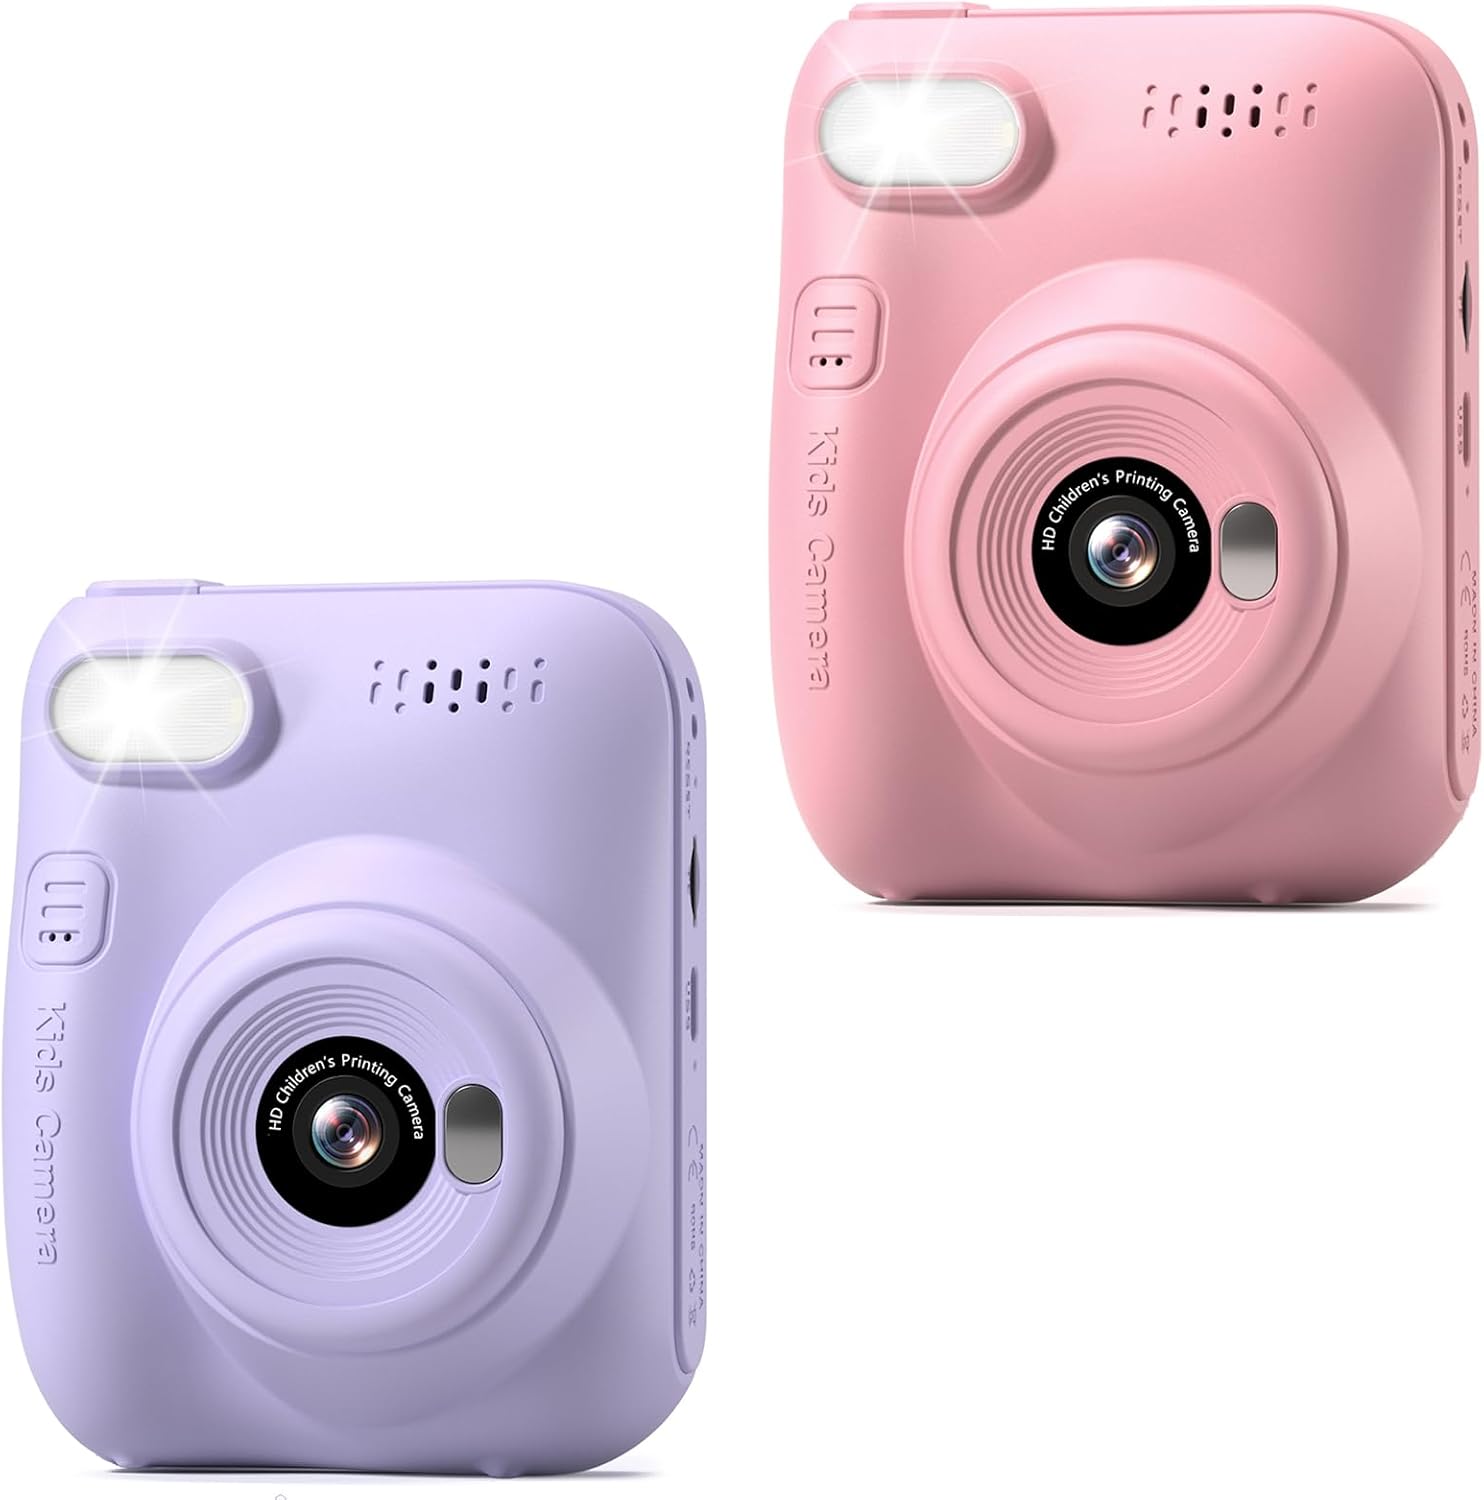
Image: Front view of the Hangrui Kids Instant Print Digital Camera.

Image: Overview of camera features and functions.
4. Setup
4.1 Charging the Camera
- Locate the Type-C USB charging port on the camera.
- Connect the provided USB Type-C cable to the camera and a compatible USB power adapter (not included) or computer USB port.
- The charging indicator light will illuminate. Once fully charged, the light may change color or turn off.
- A full charge typically provides up to 3 hours of continuous use.
4.2 Inserting the SD Card
- Ensure the camera is powered off.
- Locate the SD card slot, usually on the side of the camera.
- Insert the provided 32GB SD card into the slot with the metal contacts facing the correct direction (refer to the diagram on the camera if available).
- Push the card gently until it clicks into place. To remove, push it again until it springs out.
4.3 Loading Printing Paper
The camera uses ink-free thermal printing paper.
- Locate the paper compartment door, typically on the back or bottom of the camera.
- Open the compartment door.
- Insert a roll of printing paper into the compartment, ensuring the paper feeds out from the top of the roll and is aligned correctly.
- Pull a small length of paper out of the compartment and close the door, making sure the paper protrudes slightly from the output slot.
5. Operating Instructions
5.1 Power On/Off
- To Power On: Press and hold the Power button for a few seconds until the screen illuminates.
- To Power Off: Press and hold the Power button again until the screen turns off.
5.2 Taking Photos
- Ensure the camera is in photo mode (indicated by an icon on the screen). Use navigation buttons to switch modes if necessary.
- Frame your shot using the 3.0-inch HD screen.
- Press the Shutter button to capture a 12MP photo. The photo will be saved to the SD card.
5.3 Recording Videos
- Switch the camera to video recording mode.
- Press the Shutter button once to start recording 1080P video. A recording indicator will appear on the screen.
- Press the Shutter button again to stop recording. The video will be saved to the SD card.
5.4 Instant Printing
After taking a photo, you can instantly print it in black and white.
- In photo review mode, select the image you wish to print.
- Press the dedicated Print button (if available) or navigate through the menu to find the print option.
- The camera will print a black and white version of the photo from the loaded paper roll.
5.5 Using Digital Frames and Stickers
The camera offers 16 photo frame effects to add creativity to your pictures.
- Before taking a photo, navigate to the frames/stickers menu.
- Select your desired frame or sticker using the navigation buttons.
- Take the photo as usual; the selected effect will be applied.

Image: Examples of digital frames available on the camera.
5.6 DIY Coloring
After printing black and white photos, children can use the included color pens to personalize their prints.
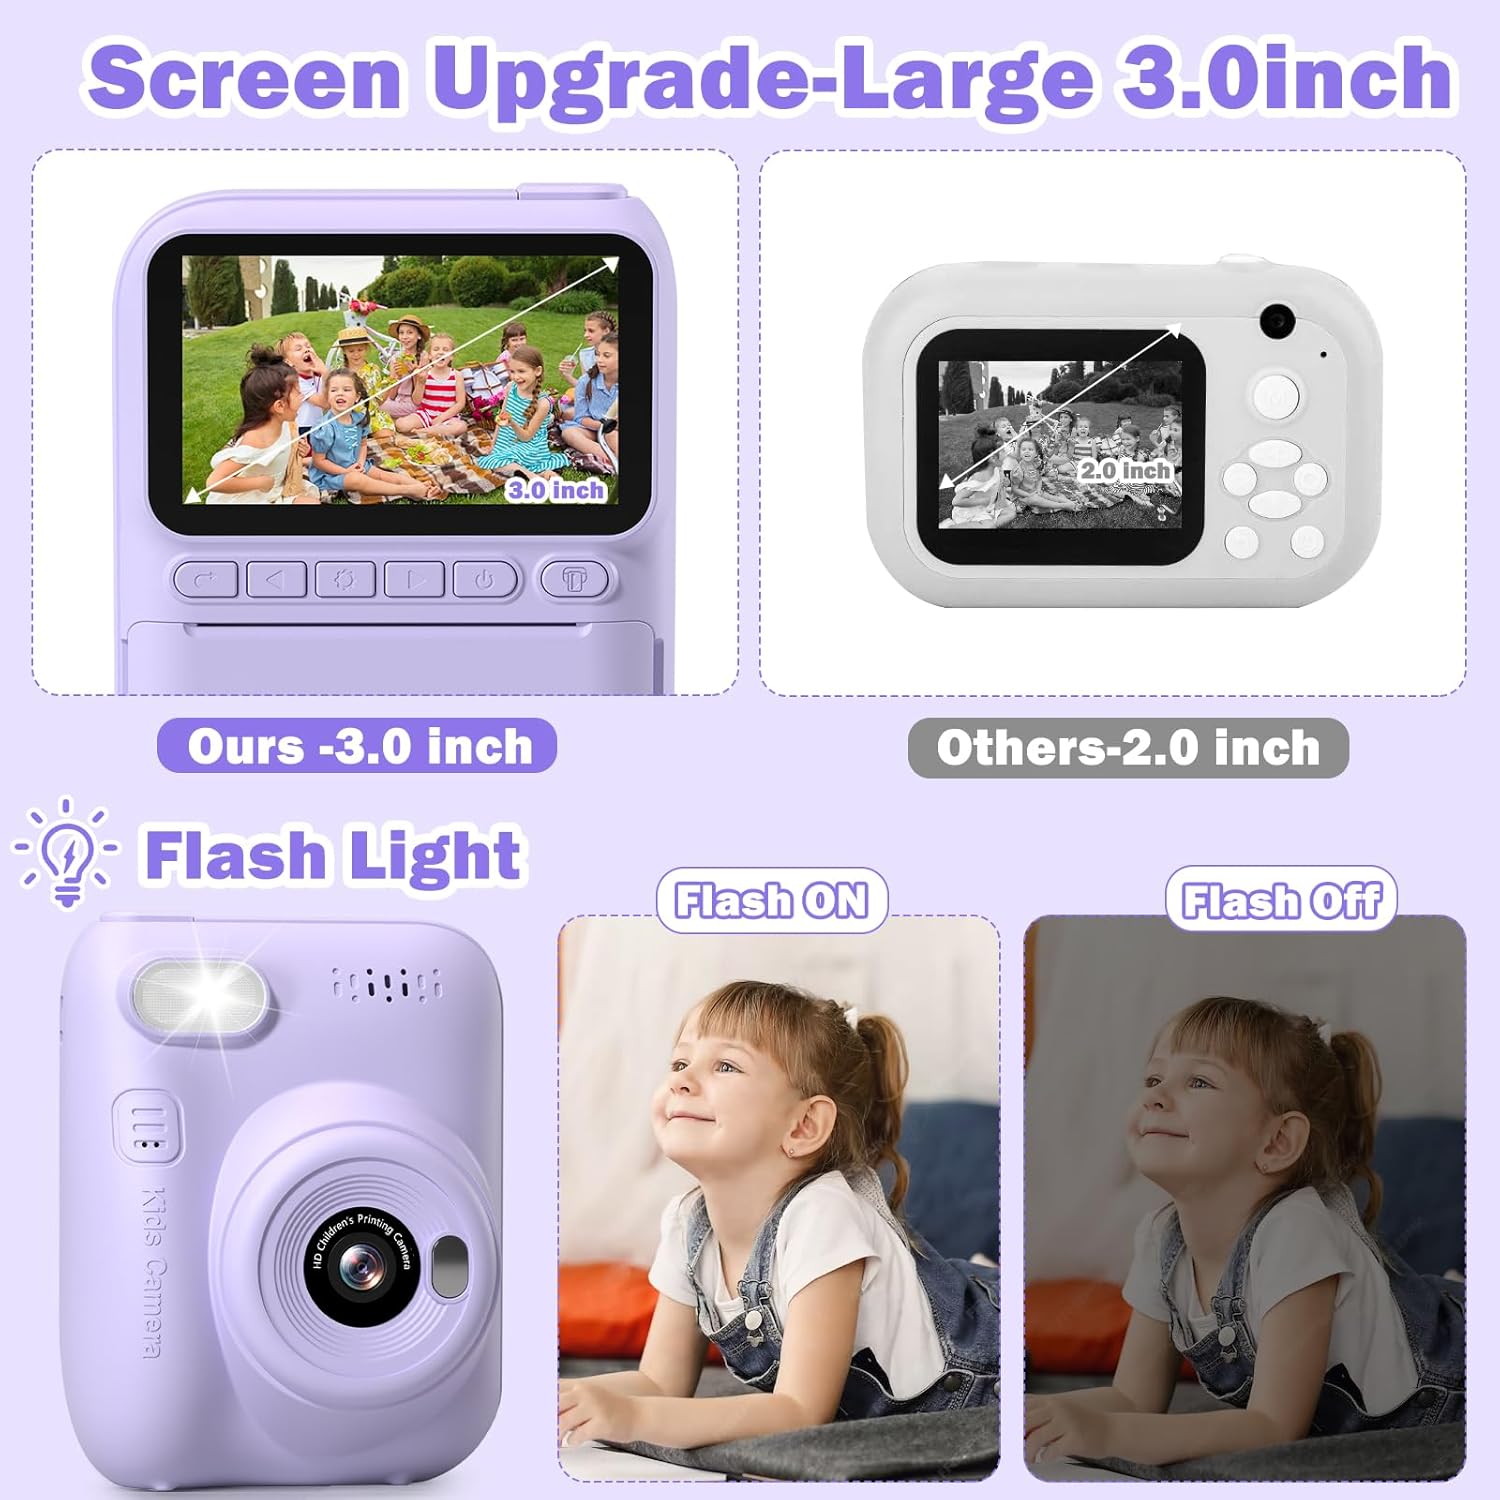
Image: A child engaging in DIY coloring of an instant print photo.
5.7 MP3 Function
The camera supports MP3 playback. To use this feature, ensure MP3 files are loaded onto the SD card in a designated folder (refer to on-screen menu for folder structure). Navigate to the MP3 player mode to select and play music.
5.8 Time-Lapse Photography
The time-lapse function allows the camera to take photos at set intervals over a period, creating a sequence of images.
- Navigate to the time-lapse setting in the camera menu.
- Select the desired interval (e.g., 5 seconds).
- Start the time-lapse sequence. The camera will automatically capture photos.
5.9 Continuous Shooting (Burst Mode)
Capture a rapid sequence of photos with the continuous shooting mode.
- Activate continuous shooting mode in the camera settings.
- Press and hold the Shutter button to take multiple photos in quick succession.
5.10 Flash Light
The built-in flash provides additional illumination in low-light conditions.
- Access the flash settings in the camera menu.
- Choose between On, Off, or Auto modes as needed.
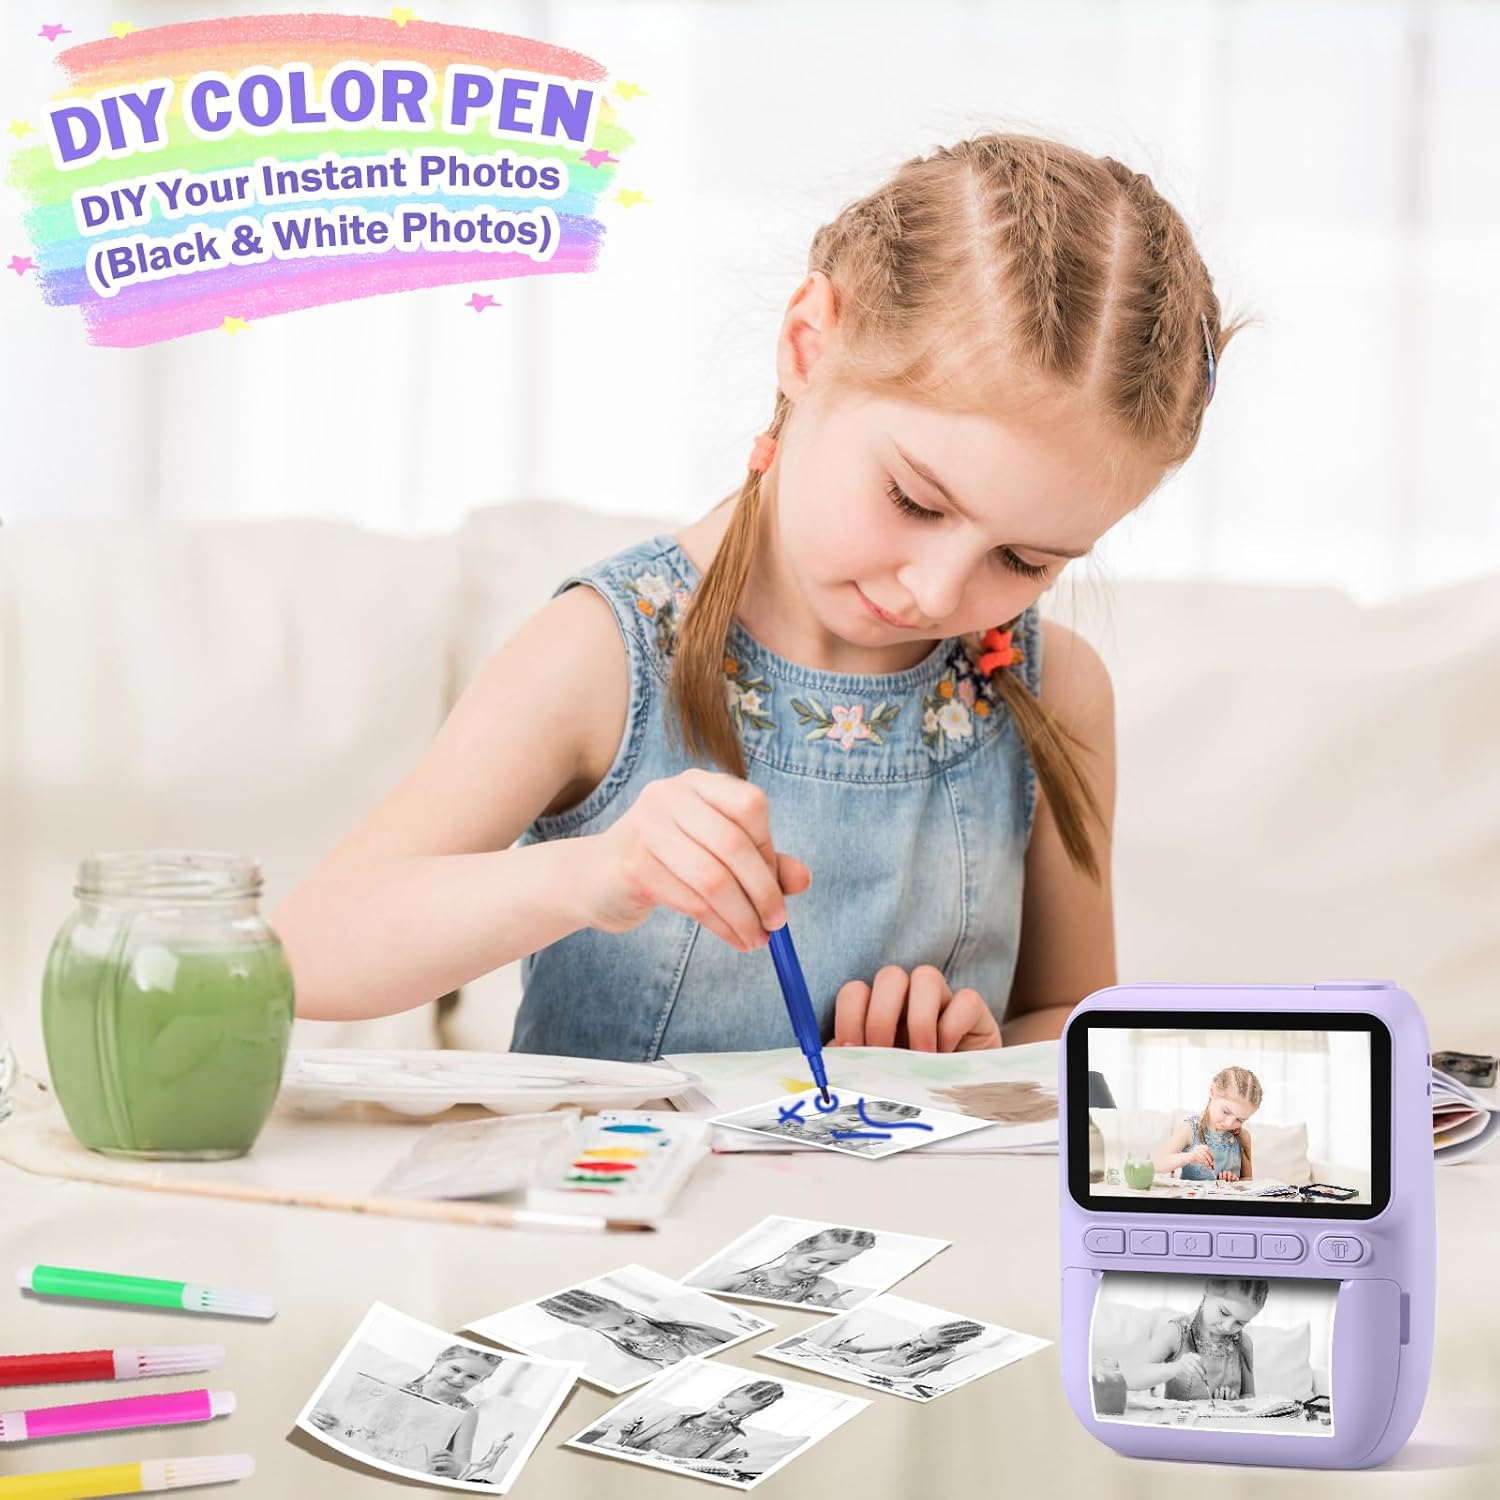
Image: Demonstration of the camera's flash light function.
6. Maintenance
6.1 Cleaning
- Use a soft, dry cloth to clean the camera body.
- For the lens and screen, use a specialized lens cleaning cloth to avoid scratches.
- Do not use liquid cleaners or solvents.
6.2 Battery Care
- Charge the camera regularly, even if not in frequent use, to maintain battery health.
- Avoid exposing the camera to extreme temperatures.
6.3 Storage
- Store the camera in a cool, dry place away from direct sunlight.
- When storing for extended periods, ensure the battery is partially charged (around 50%).
7. Troubleshooting
- Camera not turning on: Ensure the battery is charged. Connect to a power source and try again.
- Cannot take photos/videos: Check if the SD card is inserted correctly and has sufficient free space.
- Printing issues: Verify that printing paper is loaded correctly and that there is enough paper. Ensure the paper is not jammed.
- Poor image quality: Ensure the lens is clean. Check lighting conditions.
- Camera frozen: Press and hold the Power button for 10-15 seconds to force a restart.
8. Specifications
| Feature | Description |
|---|---|
| Brand | Hangrui |
| Model | Instant Print Digital Camera B0DB2CJZ4G |
| Screen Size | 3.0 inch HD |
| Video Resolution | 1080P |
| Digital Zoom | 16X |
| Battery Capacity | 1000mAh (Rechargeable) |
| Charging Type | Type-C USB |
| Memory Card | 32GB SD Card (Included) |
| Printing Type | Ink-free Thermal Printing (Black and White) |
| Special Features | Instant Print, Flash, Time-Lapse, Continuous Shooting, Fun Stickers, MP3, Auto Exposure |
| Included Components | Camera Body, 32GB SD Card, Lanyard, Printing Paper, Color Pens |
9. Warranty and Support
Hangrui products are designed for quality and reliability. For specific warranty information, please refer to the product packaging or contact the retailer where the product was purchased. For technical support or inquiries, please visit the official Hangrui website or contact their customer service department.


