
1. Introduction
Thank you for choosing the OKELI 4 Pack Hallway Light Flush Mount LED Ceiling Light Fixtures. This manual provides essential information for the safe installation, operation, and maintenance of your new lighting fixtures. Please read these instructions thoroughly before installation and retain them for future reference.

Image 1.1: OKELI 4 Pack Hallway Light Flush Mount LED Ceiling Light Fixtures in a modern setting.
2. Safety Information
To ensure safe installation and operation, please observe the following precautions:
- Electrical Safety: Always turn off the power at the circuit breaker or fuse box before beginning installation or performing any maintenance.
- Qualified Electrician: If you are unsure about electrical wiring, consult a qualified electrician.
- Indoor Use Only: These fixtures are designed for indoor use only. Do not expose to moisture or outdoor elements.
- Proper Mounting: Ensure the mounting surface can support the weight of the fixture.
- Wiring: Connect wiring according to local electrical codes. Ensure all connections are secure.
- Dimmable Feature: Use only compatible dimmer switches for the dimmable function. Refer to the specifications for details.
3. Package Contents
Verify that all components are present before installation:
- 4 x OKELI LED Ceiling Light Fixtures
- Mounting Hardware (screws, wire nuts, etc.)
- Instruction Manual
4. Specifications
| Feature | Detail |
|---|---|
| Brand | OKELI |
| Model Number | c2fde2c4-436a-4c18-890c-3b93a3c390eb |
| Material | Aluminum |
| Color | Black |
| Light Source Type | LED |
| Wattage | 20 Watts per fixture |
| Brightness | 2100 Lumens per fixture |
| Color Temperature | 4000K (Natural Light) |
| Dimmable | Yes (10%-100% with compatible dimmer) |
| Beam Angle | 100° |
| CRI | 80+ |
| Lifespan | Up to 50,000 hours |
| Dimensions | 4.6" W x 4.3" H (Cylindrical) |
| Installation Type | Flush Mount |
| Power Source | Hardwired |
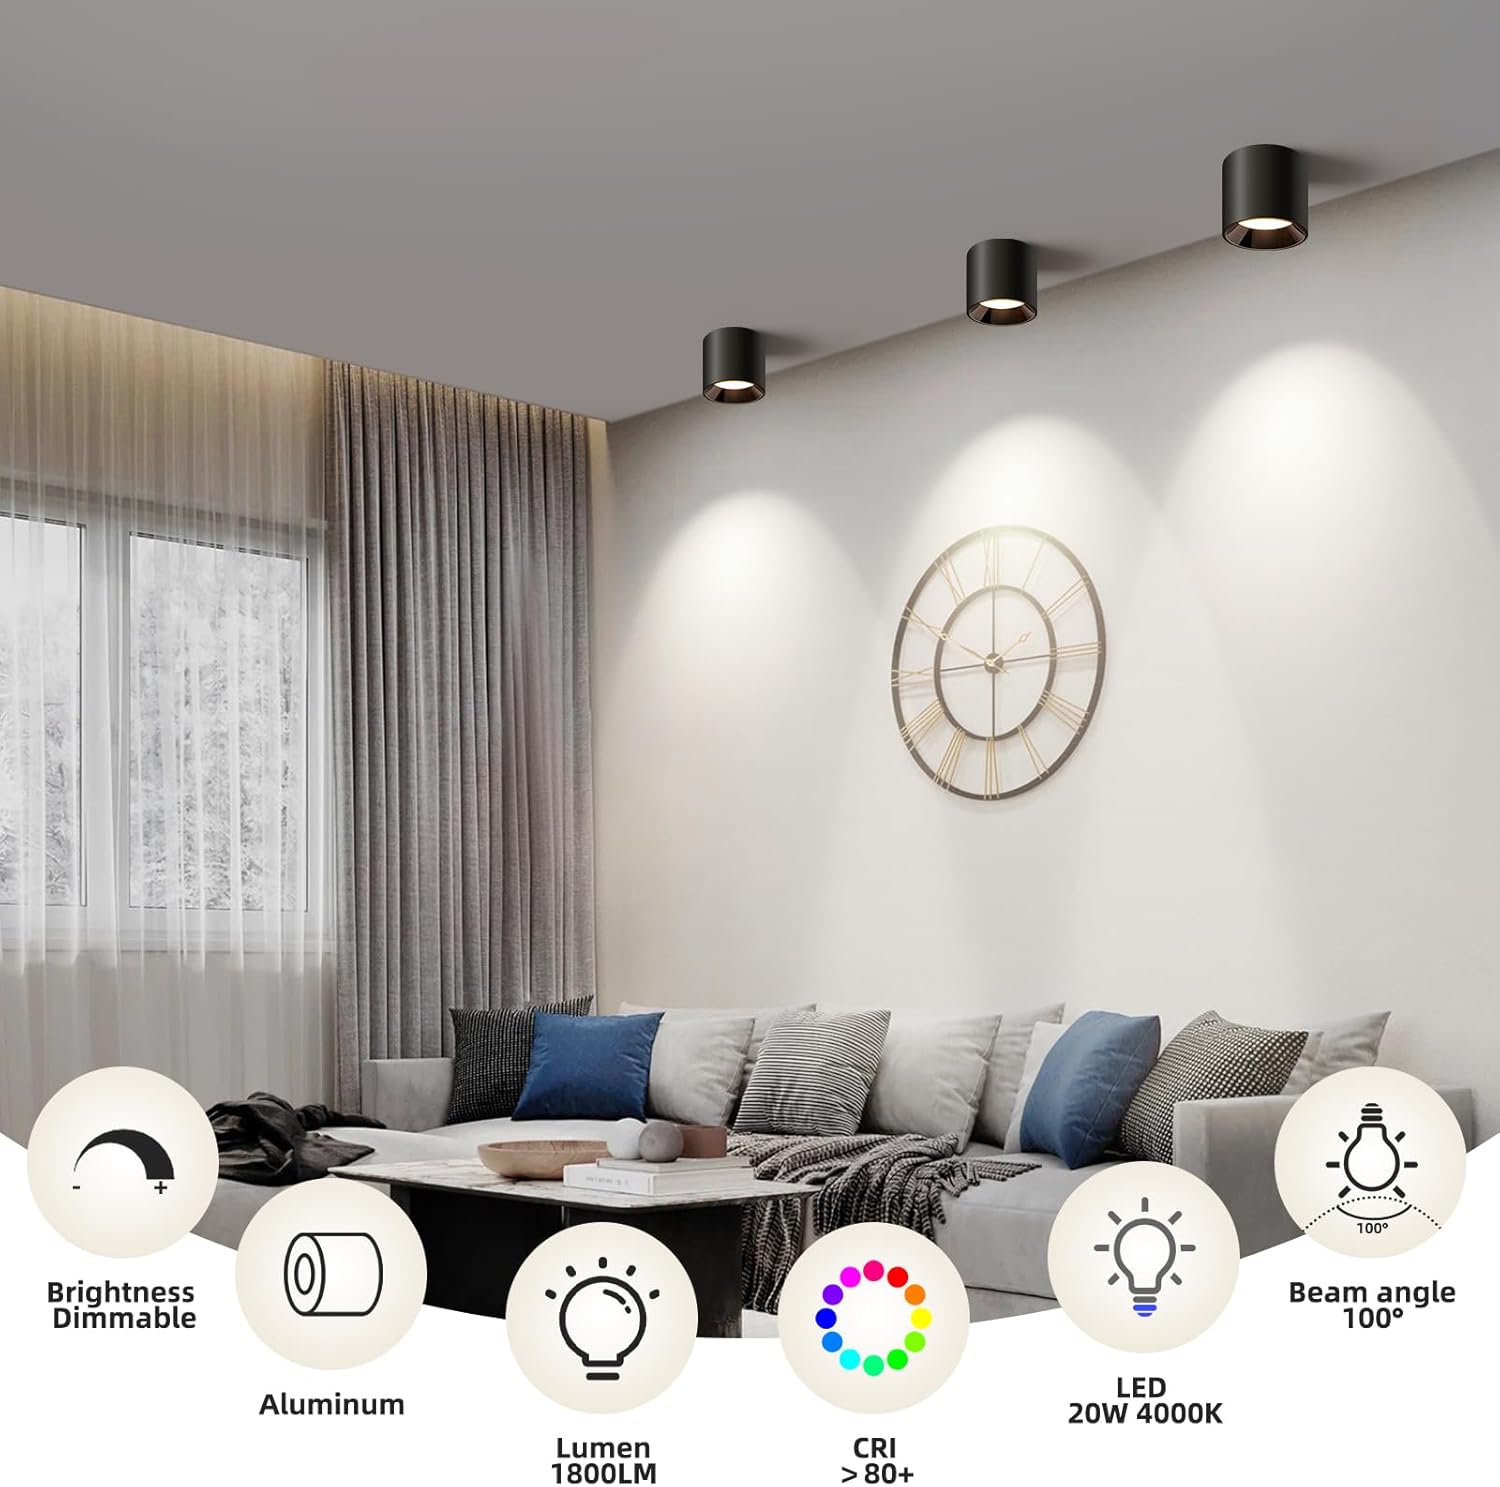
Image 4.1: Technical details and dimensions of the light fixture.
5. Setup and Installation
Follow these steps for safe and proper installation:
- Prepare for Installation:
- Turn off power at the circuit breaker before starting.
- Gather necessary tools (screwdriver, wire strippers, electrical tape, etc.).
- Mounting Bracket Installation:
- Attach the mounting bracket to the junction box in the ceiling using the provided screws. Ensure it is securely fastened.
- Wiring Connections:
- Connect the fixture's wires to the corresponding house wires: black to black (live), white to white (neutral), and green/bare copper to green/bare copper (ground).
- Secure connections with wire nuts and electrical tape.
- Attach the Fixture:
- Carefully push the wired fixture up to the mounting bracket, aligning the screw holes.
- Secure the fixture to the mounting bracket with the provided screws.
- Restore Power:
- Once the fixture is securely installed, turn the power back on at the circuit breaker.
- Test the light fixture to ensure it functions correctly.

Image 5.1: Example installation of the ceiling lights in a hallway.
6. Operating Instructions
These LED ceiling lights are designed for simple operation and offer dimmable functionality.
- Turning On/Off: Use your standard wall switch to turn the lights on or off.
- Dimming Function: If a compatible dimmer switch is installed, you can adjust the brightness from 10% to 100%. Ensure your dimmer switch is designed for LED lighting.
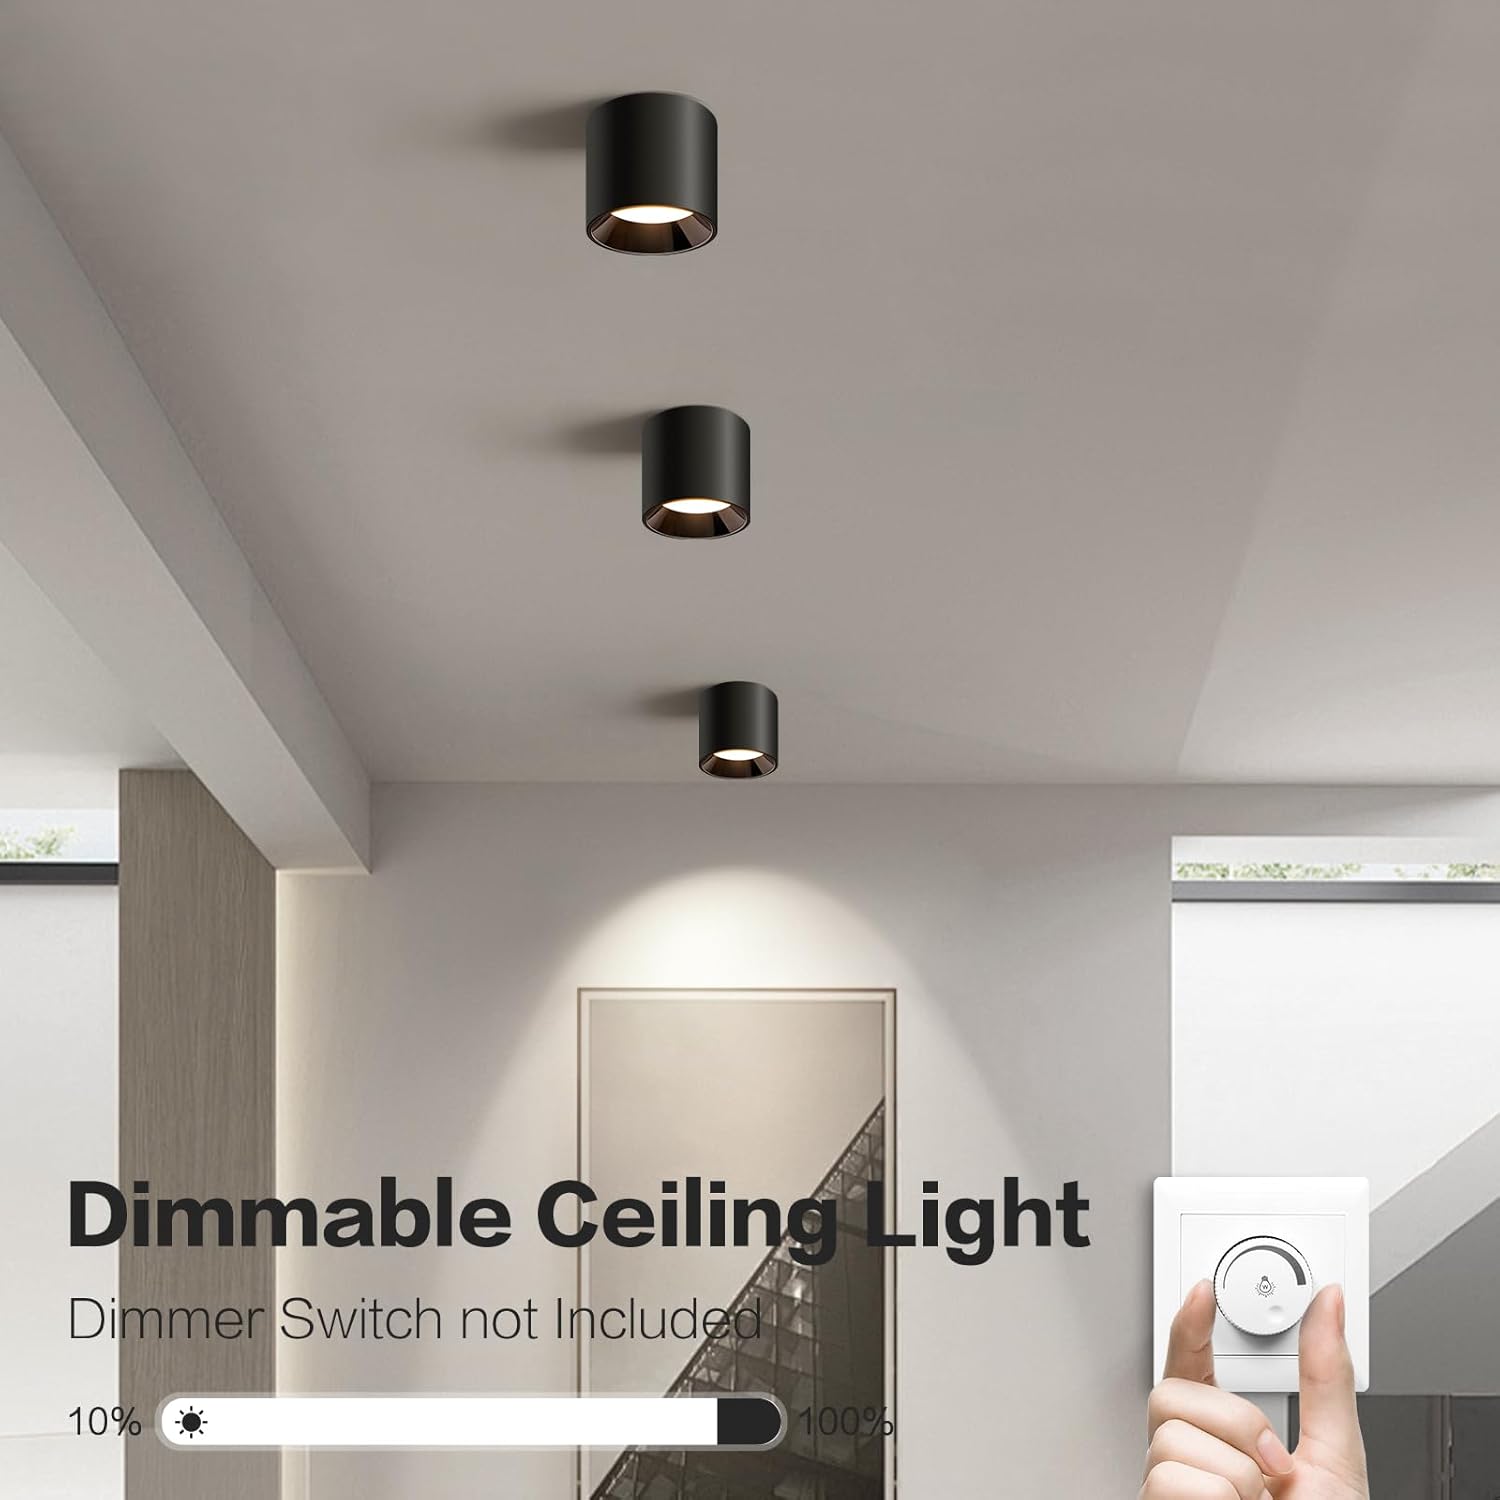
Image 6.1: Demonstrating the dimmable functionality with a dimmer switch (not included).
Compatible Dimmers
For optimal dimming performance, use one of the following compatible dimmer switches:
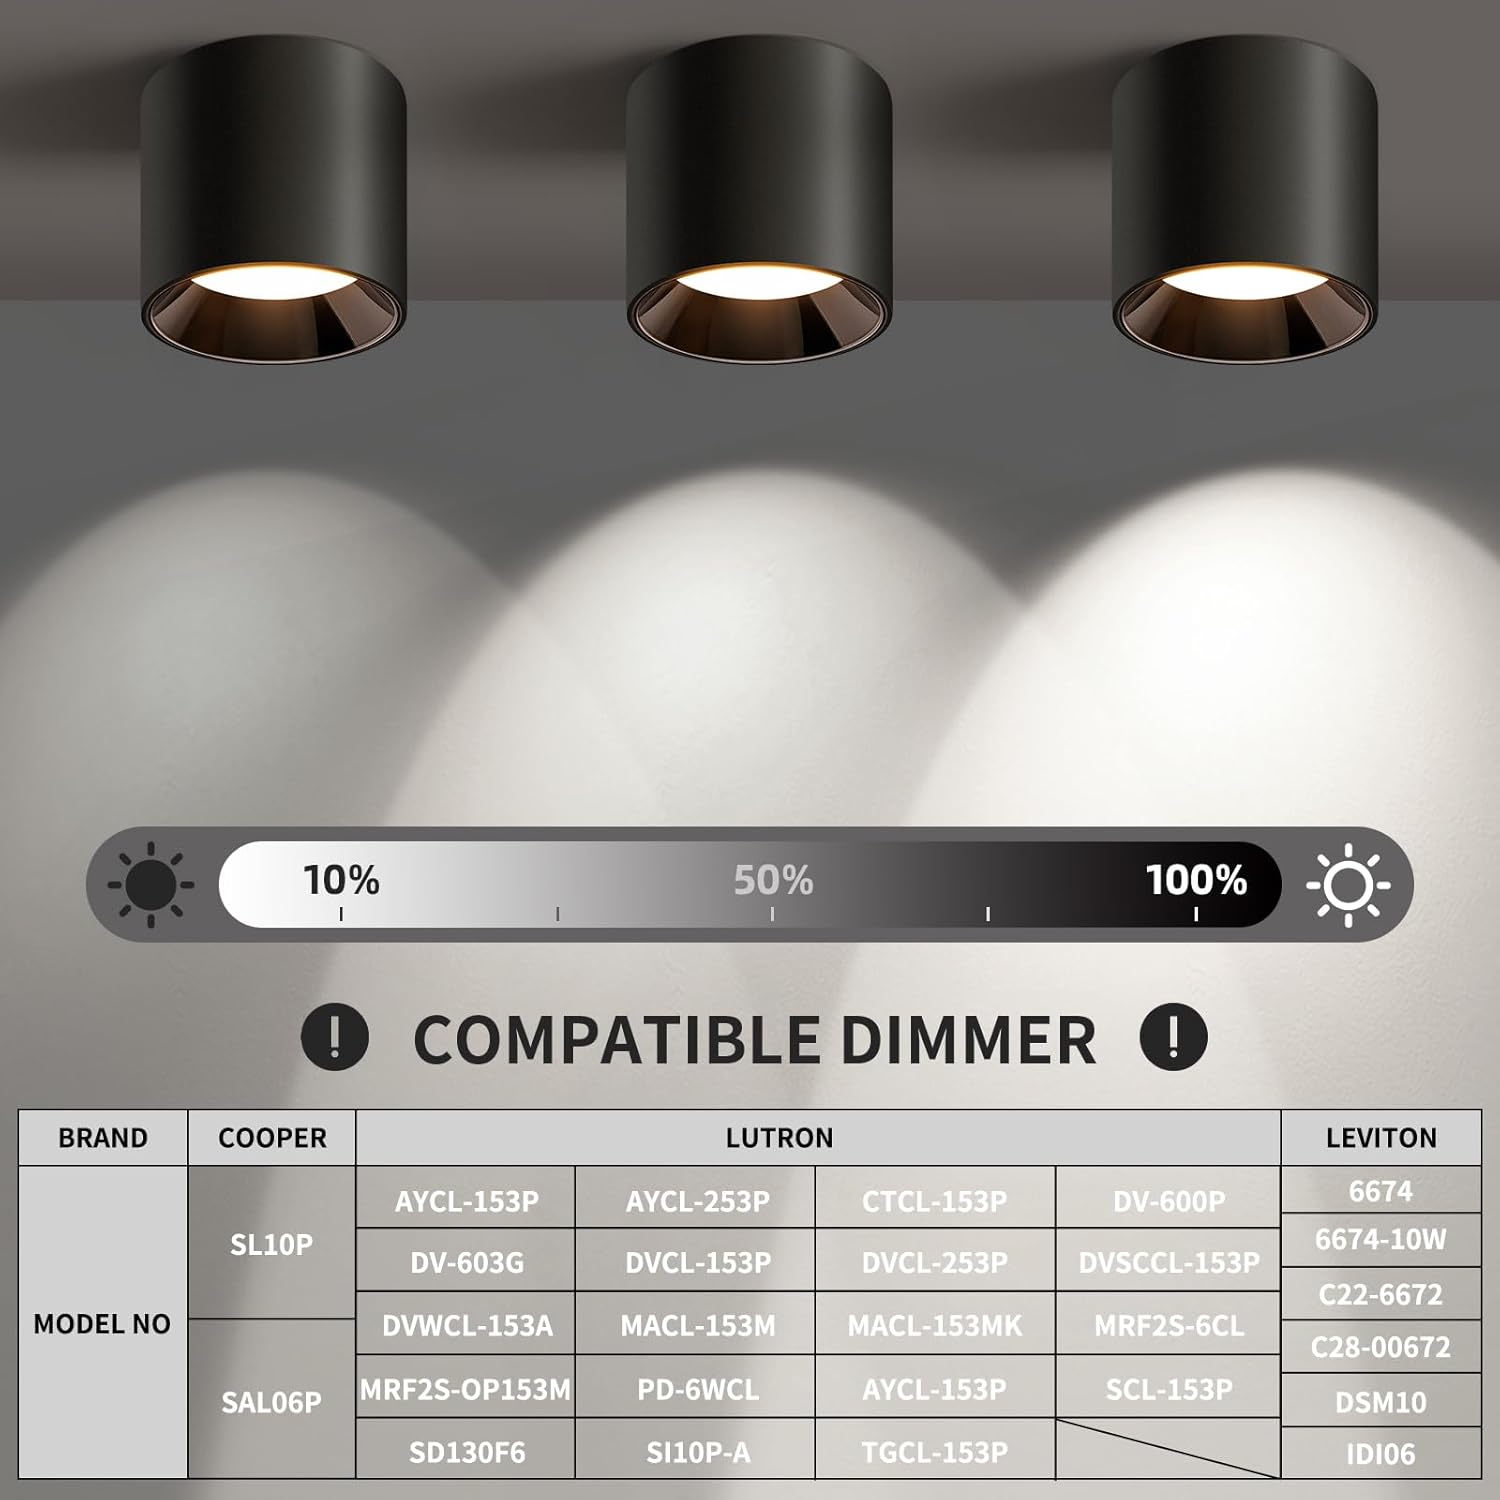
Image 6.2: Recommended compatible dimmer switches.
7. Maintenance
These LED fixtures require minimal maintenance.
- Cleaning: Ensure power is off before cleaning. Wipe the fixture with a soft, dry cloth. Do not use abrasive cleaners or solvents, as they may damage the finish.
- No Bulb Replacement: The integrated LED chips have a long lifespan and do not require bulb replacement.
8. Troubleshooting
If you encounter issues, refer to the following common problems and solutions:
| Problem | Possible Cause | Solution |
|---|---|---|
| Light does not turn on | No power, loose wiring, faulty switch. | Check circuit breaker. Verify all wire connections are secure. Test the wall switch. |
| Light flickers | Incompatible dimmer, loose wiring, power fluctuations. | Ensure a compatible LED dimmer is used. Check wiring connections. Consult an electrician if power fluctuations are suspected. |
| Dimming not working correctly | Incompatible dimmer, dimmer not properly installed. | Verify the dimmer is compatible with LED fixtures (refer to Section 6). Ensure the dimmer is correctly wired. |

Image 8.1: Visual representation of flicker-free lighting.
9. Warranty and Support
OKELI products are manufactured with quality and reliability in mind. For warranty information or technical support, please contact OKELI customer service through the retailer where the product was purchased or visit the official OKELI website. Please have your model number (c2fde2c4-436a-4c18-890c-3b93a3c390eb) and purchase details ready.
