1. Introduction
Thank you for choosing the Tefal Inicio Classic Contact Grill and Panini Maker. This 2-in-1 appliance is designed for versatile and easy meal preparation, allowing you to create delicious paninis and grilled dishes. Its compact design, powerful 2000W heating element, and non-stick plates ensure efficient cooking and simple cleanup. This manual provides essential information for safe and effective use of your appliance.
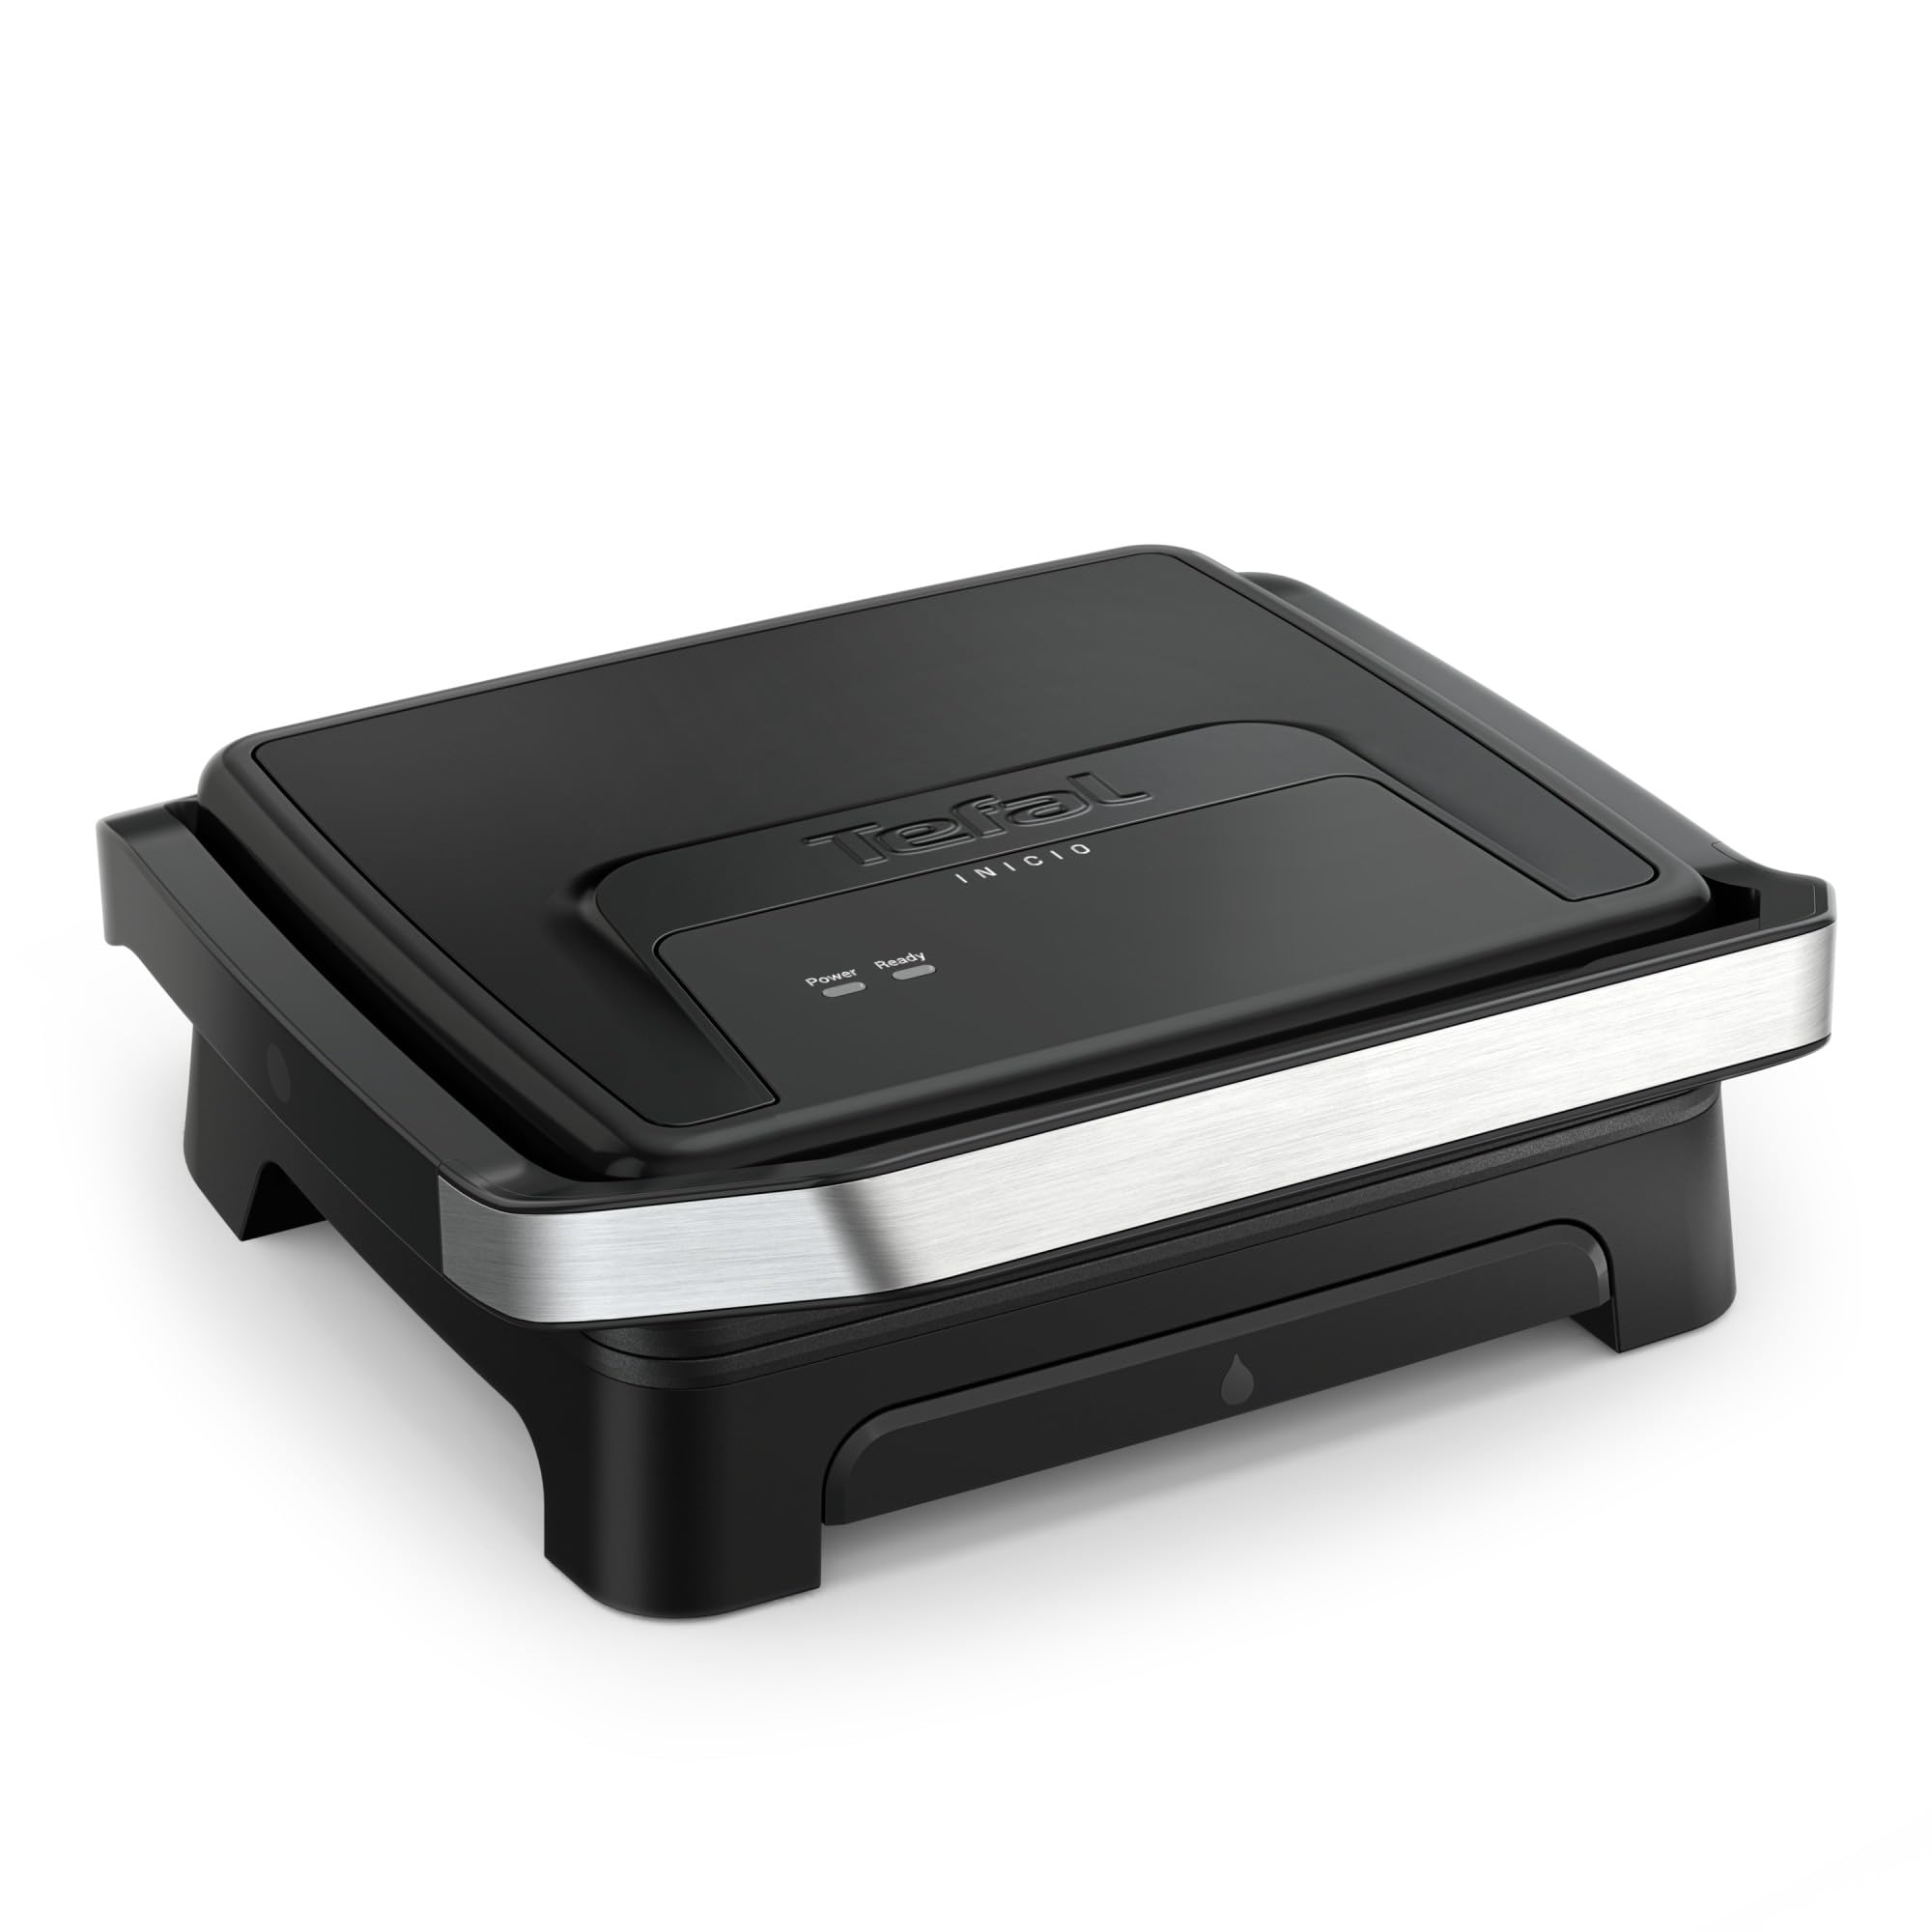
The Tefal Inicio Classic Contact Grill and Panini Maker in its closed position, showing the 'Power' and 'Ready' indicator lights.
2. Safety Instructions
- Read all instructions before using the appliance.
- Do not touch hot surfaces. Use handles or knobs.
- To protect against electrical shock, do not immerse the cord, plugs, or appliance in water or other liquid.
- Close supervision is necessary when any appliance is used by or near children.
- Unplug from outlet when not in use and before cleaning. Allow to cool before putting on or taking off parts, and before cleaning the appliance.
- Do not operate any appliance with a damaged cord or plug, or after the appliance malfunctions or has been damaged in any manner.
- The use of accessory attachments not recommended by the appliance manufacturer may cause injuries.
- Do not use outdoors.
- Do not let the cord hang over the edge of a table or counter, or touch hot surfaces.
- Do not place on or near a hot gas or electric burner, or in a heated oven.
- Extreme caution must be used when moving an appliance containing hot oil or other hot liquids.
- Always attach plug to appliance first, then plug cord into the wall outlet. To disconnect, turn any control to 'off', then remove plug from wall outlet.
- Do not use the appliance for other than intended use.
3. Product Overview
The Tefal Inicio Classic Contact Grill and Panini Maker is designed for ease of use and efficient cooking. Key components include:
- Non-stick Cooking Plates: For easy food release and cleaning.
- Large Handle: For comfortable opening, closing, and pressing.
- Drip Tray: Collects excess fat and juices for healthier cooking and easy disposal.
- Power Indicator Light: Illuminates when the appliance is powered on.
- Ready Indicator Light: Illuminates when the appliance has reached the optimal cooking temperature.
- Locking System: Secures the plates for vertical storage.
- Stainless Steel Housing: Durable and modern design.
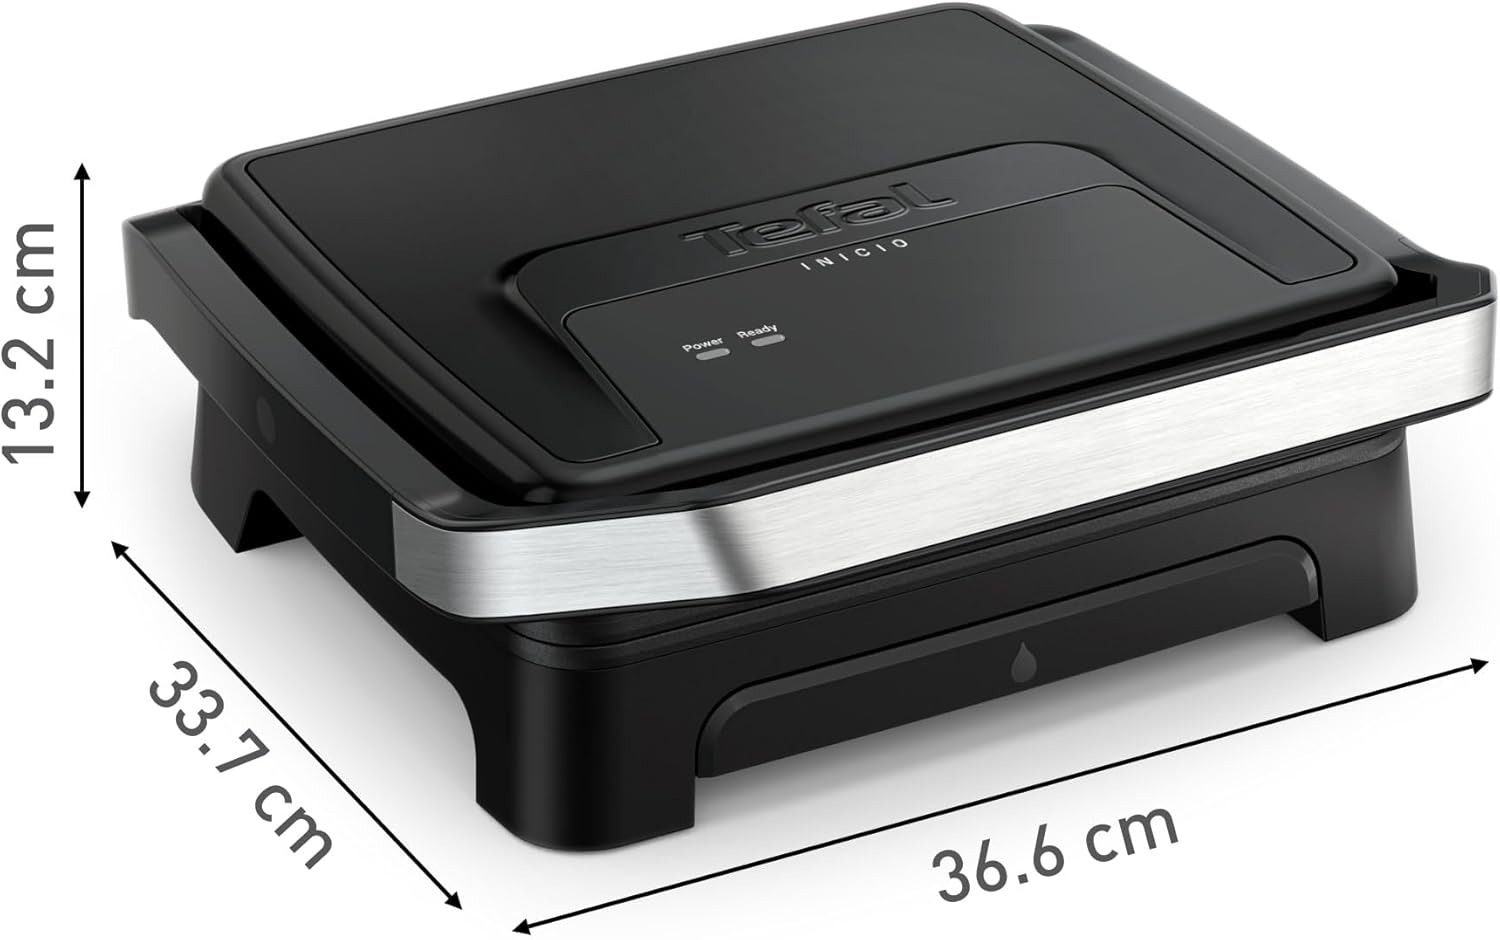
A diagram illustrating the length, width, and height of the Tefal Inicio Classic Contact Grill.
4. Setup
- Unpacking: Carefully remove the appliance from its packaging. Remove all packaging materials, stickers, and labels.
- First Use Cleaning: Wipe the cooking plates with a damp cloth or sponge. Dry thoroughly. The drip tray should also be washed with warm, soapy water and dried.
- Placement: Place the grill on a stable, flat, heat-resistant surface, away from walls and curtains to ensure proper ventilation.
- Drip Tray Installation: Ensure the drip tray is correctly inserted into its designated slot at the front of the appliance.
5. Operating Instructions
5.1 Preheating
- Plug the appliance into a suitable electrical outlet. The 'Power' indicator light will illuminate.
- Allow the grill to preheat with the lid closed. The 'Ready' indicator light will illuminate when the grill has reached its optimal cooking temperature. This usually takes a few minutes.
5.2 Grilling Meat and Vegetables

The grill in use, cooking various meats and vegetables, highlighting its versatility.
- Once preheated, carefully open the lid using the handle.
- Place your meat or vegetables directly onto the bottom cooking plate. Avoid overcrowding the grill.
- Close the lid. The floating hinge system allows the top plate to adjust to the thickness of your food, ensuring even cooking.
- Cook for the desired time, checking periodically. Cooking times will vary based on food type and thickness.
- Use heat-resistant plastic or wooden utensils to remove food to avoid damaging the non-stick coating.

The grill cooking six burger patties, showcasing its large cooking surface suitable for multiple servings.
5.3 Making Paninis and Sandwiches
The grill open, cooking four paninis, demonstrating its dual functionality for sandwiches.
- Preheat the grill as described in section 5.1.
- Place your panini or sandwich onto the bottom cooking plate.
- Gently close the lid, pressing down lightly on the handle to achieve desired crispness. The large handle is designed for effective pressing.
- Cook until the bread is golden brown and the filling is heated through.
- Carefully remove the panini or sandwich using heat-resistant utensils.
6. Maintenance and Cleaning
Regular cleaning ensures the longevity and optimal performance of your grill.
- Cool Down: Always unplug the appliance and allow it to cool completely before cleaning.
- Drip Tray: Remove the drip tray and empty any collected fat or juices. The drip tray is dishwasher-safe for convenient cleaning.
- Cooking Plates: Wipe the non-stick cooking plates with a damp cloth or sponge. For stubborn residue, you may use a small amount of mild dish soap. Avoid abrasive cleaners or metal scouring pads, as these can damage the non-stick coating.

A sponge cleaning the non-stick cooking plates of the grill, illustrating the ease of maintenance.
- Exterior: Wipe the exterior of the appliance with a damp cloth. Do not immerse the appliance in water or any other liquid.
- Storage: Once clean and dry, the grill can be stored vertically thanks to its locking system, saving valuable kitchen space.
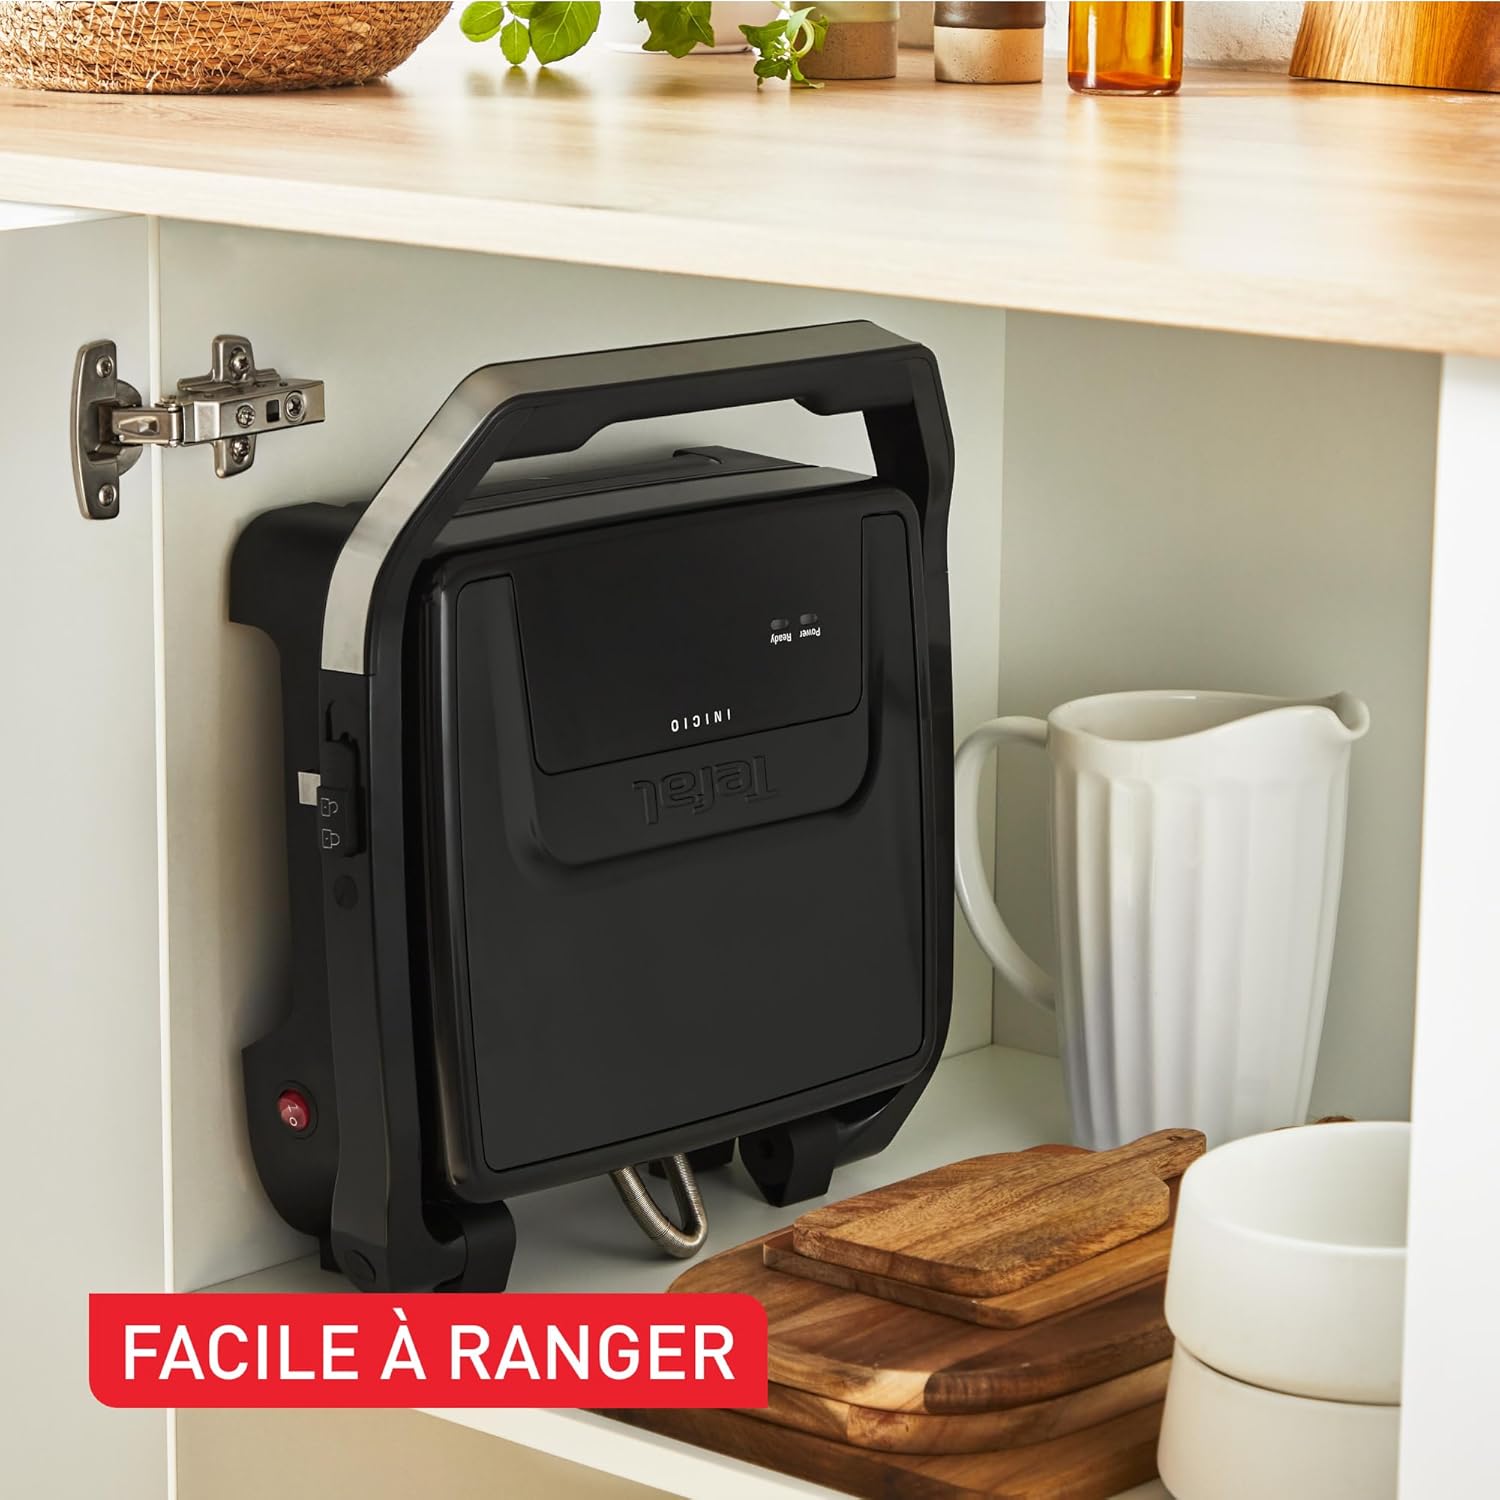
The grill stored vertically in a kitchen cabinet, demonstrating its compact design and easy storage feature.
7. Troubleshooting
| Problem | Possible Cause | Solution |
|---|---|---|
| Appliance does not turn on. | Not plugged in; power outlet malfunction. | Ensure the power cord is securely plugged into a working electrical outlet. |
| Appliance does not heat up. | Power issue; internal fault. | Check power connection. If the issue persists, contact customer support. |
| Food sticks to the plates. | Plates not clean; insufficient preheating; no oil/butter. | Ensure plates are clean before use. Allow sufficient preheating time. Lightly brush plates with cooking oil or butter if desired. |
| Uneven cooking. | Overcrowding; food not evenly distributed. | Avoid placing too much food on the grill at once. Distribute food evenly across the cooking surface. |
8. Specifications
| Feature | Detail |
|---|---|
| Brand | Tefal |
| Model Number | GC271810 |
| Color | Stainless Steel/Black |
| Product Dimensions (L x W x H) | 37.4 x 19 x 43.6 cm |
| Power | 2000 Watts |
| Voltage | 230.0 V |
| Material | Stainless Steel |
| Special Features | 2-in-1 Appliance, Stainless Steel Housing, Compact Design, Non-stick Cooking Plates, Locking System |
| Item Weight | 3.87 Kilograms |
| Spare Parts Availability | 15 Years |
9. Warranty and Support
Tefal products are designed for durability and performance. This appliance comes with a commitment to spare parts availability for 15 years, ensuring long-term support for your product.
For warranty claims, technical assistance, or to inquire about spare parts, please refer to the official Tefal website or contact their customer service department in your region. Keep your proof of purchase for warranty validation.
You can visit the official Tefal store for more information: Tefal Store


