
1. Important Safety Instructions
When using electrical appliances, basic safety precautions should always be followed to reduce the risk of fire, electric shock, and injury to persons, including the following:
- Read all instructions before using the appliance.
- Do not touch hot surfaces. Use handles or knobs.
- To protect against electrical shock, do not immerse cord, plugs, or appliance in water or other liquid.
- Close supervision is necessary when any appliance is used by or near children.
- Unplug from outlet when not in use and before cleaning. Allow to cool before putting on or taking off parts.
- Do not operate any appliance with a damaged cord or plug, or after the appliance malfunctions or has been damaged in any manner. Contact customer service for examination, repair, or adjustment.
- The use of accessory attachments not recommended by the appliance manufacturer may cause injuries.
- Do not use outdoors.
- Do not let cord hang over edge of table or counter, or touch hot surfaces.
- Do not place on or near a hot gas or electric burner, or in a heated oven.
- Extreme caution must be used when moving an appliance containing hot oil or other hot liquids.
- Always attach plug to appliance first, then plug cord into the wall outlet. To disconnect, turn any control to "off", then remove plug from wall outlet.
- Do not use appliance for other than intended use.
- Oversize foods or metal utensils must not be inserted in a toaster oven as they may create a fire or risk of electric shock.
- A fire may occur if the oven is covered or touching flammable material, including curtains, drapes, walls, and the like, when in operation.
- Do not place any of the following materials in the oven: paper, cardboard, plastic, and the like.
- Do not store any materials, other than manufacturer's recommended accessories, in this oven when not in use.
- Do not place cooking utensils or baking dishes on the glass door.
- Always wear protective, insulated oven mitts when inserting or removing items from the hot oven.
2. Product Overview
The HOMCOM 20L Mini Convection Oven is a versatile 3-in-1 appliance designed for various cooking needs, including toasting, baking, grilling, and air frying. It features a compact design with a digital display and intuitive controls.
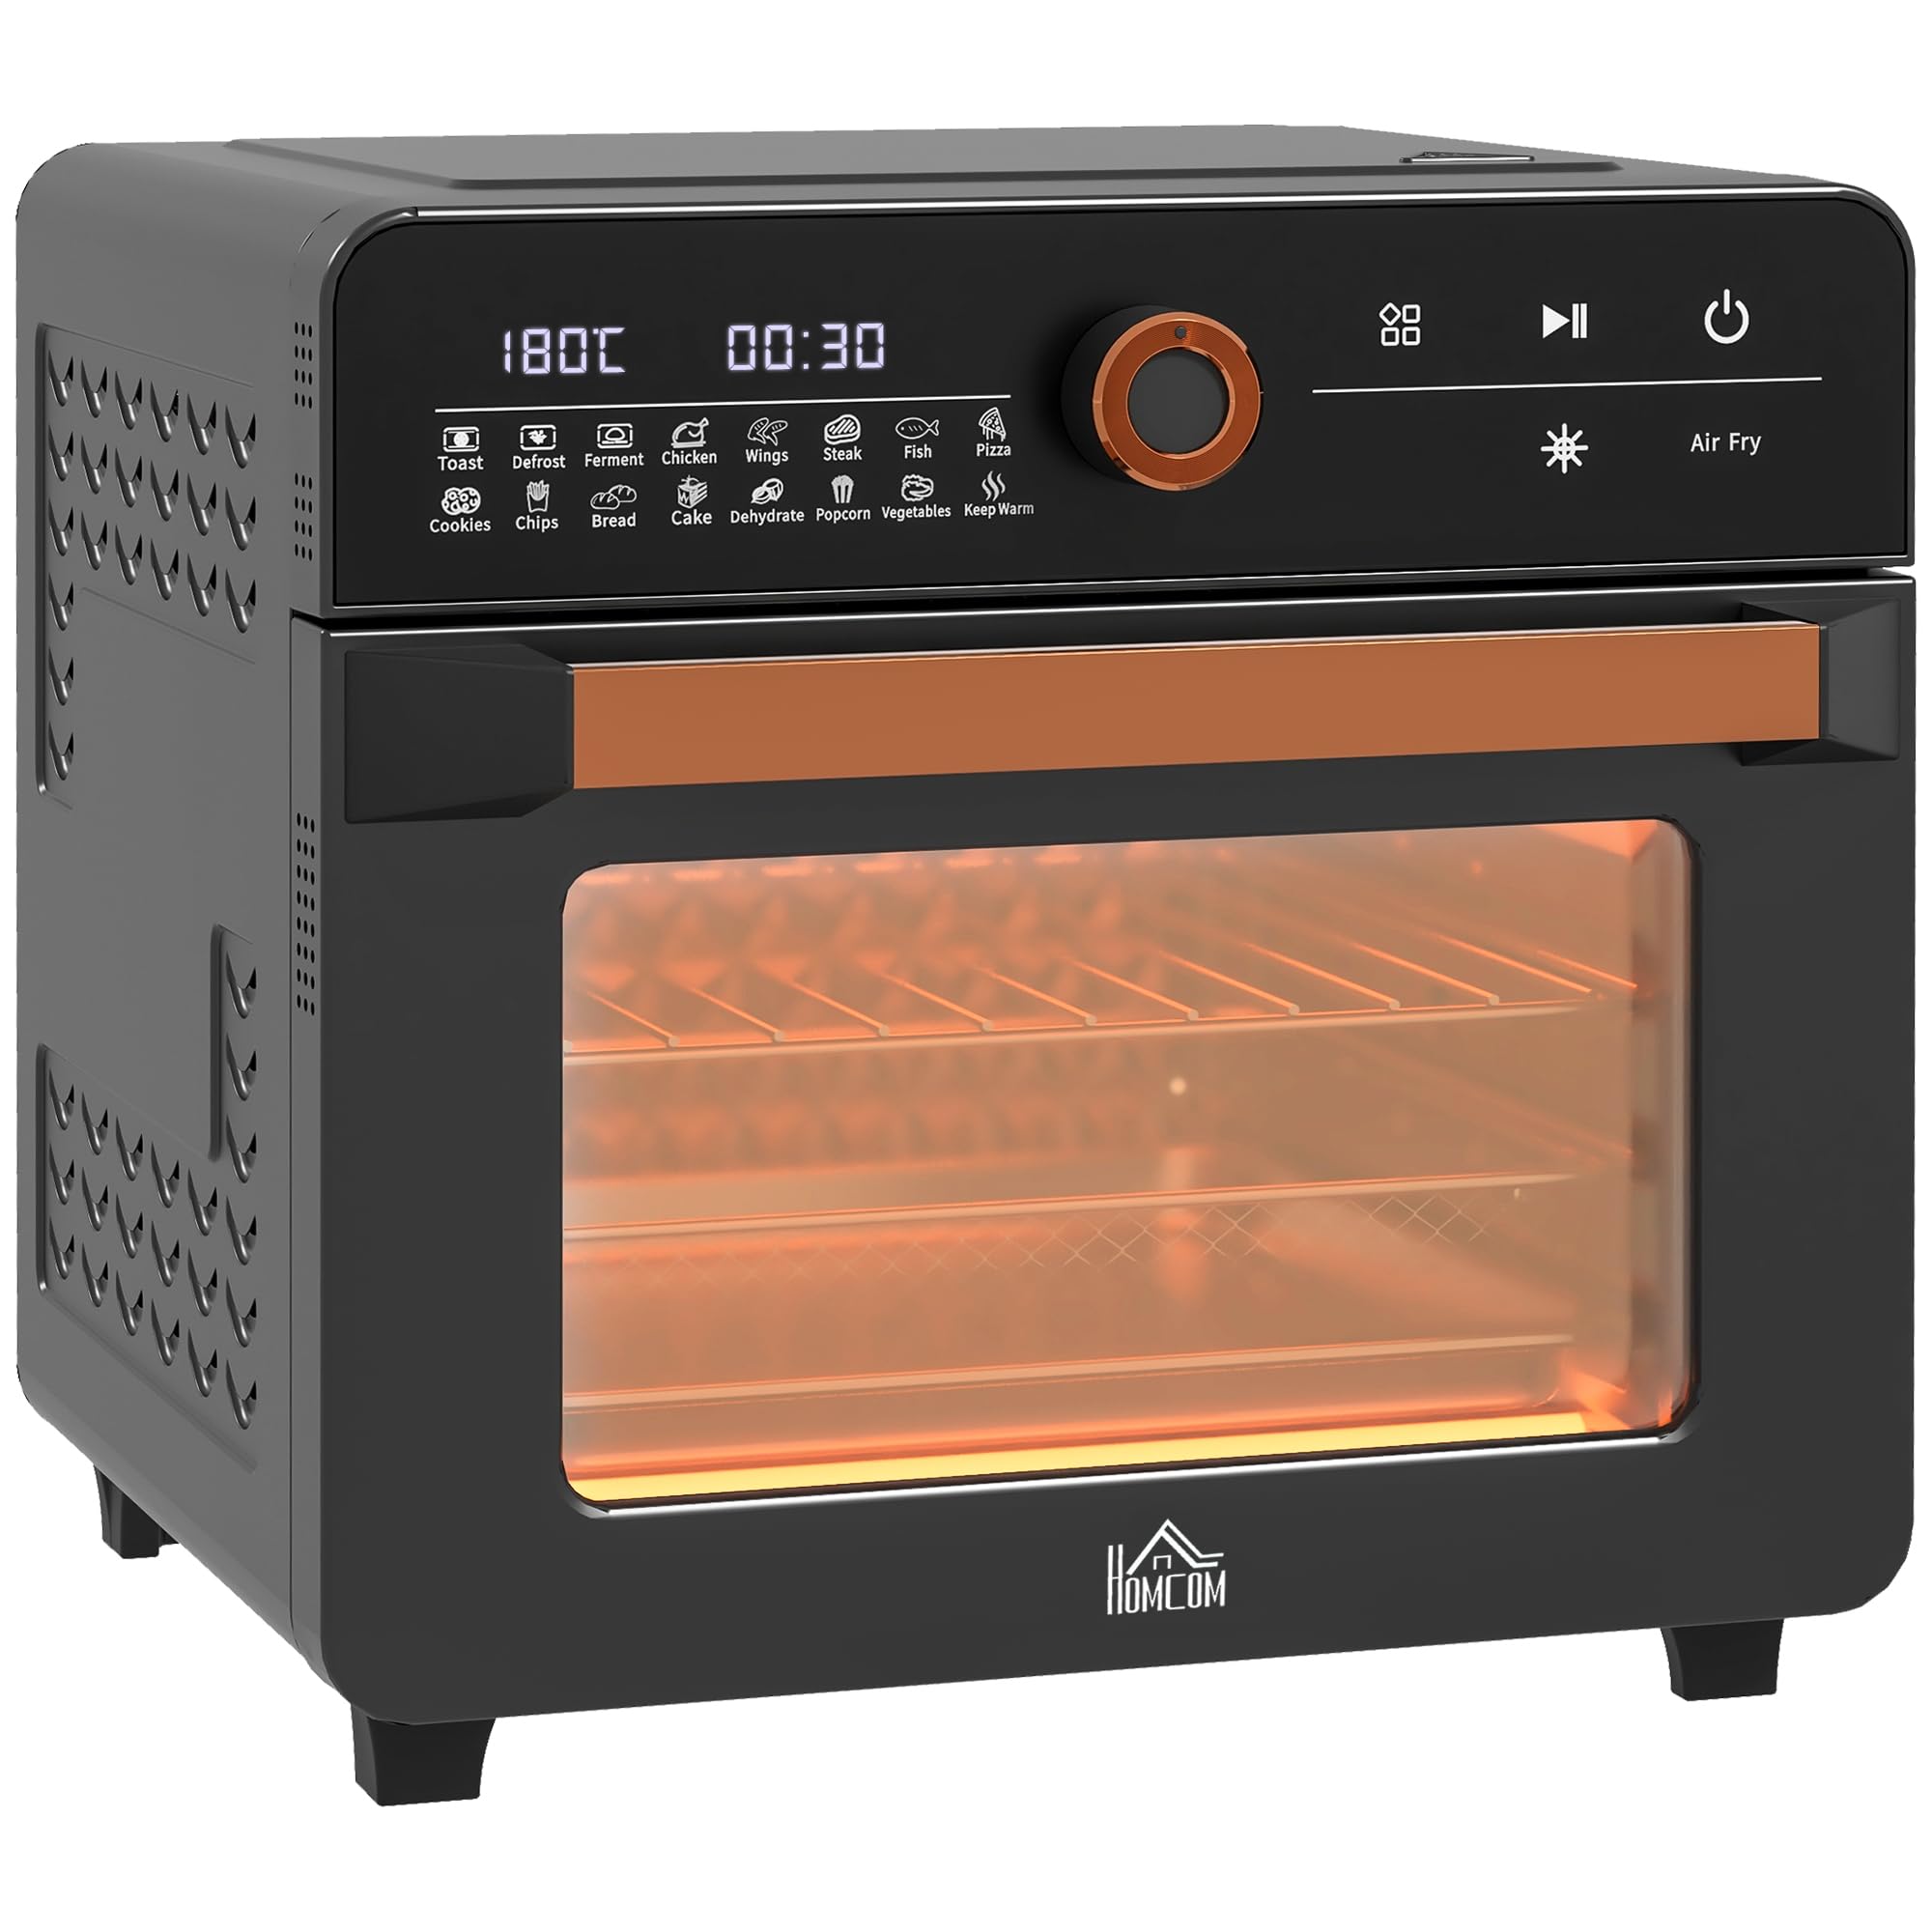
Image: The HOMCOM 20L Mini Convection Oven in a modern kitchen setting, showcasing its compact design and digital interface.
Key Features:
- 20-Liter Capacity: Suitable for 4 slices of toast, an 11-inch pizza, or 1.5 kg of chicken.
- Versatile Cooking: 17 preset programs for toast, defrost, bake, chicken, wings, steak, fish, pizza, cookies, chips, bread, cake, dehydrate, popcorn, vegetables, and keep warm.
- Adjustable Temperature: Ranges from 40°C to 220°C.
- Timer Function: Up to 60 minutes for manual settings, up to 12 hours for certain preset programs.
- Convection Technology: Advanced recirculation system for fast and energy-efficient cooking.
- Interior Light: For easy monitoring of food during cooking.
- Double-Glazed Door: Enhances safety and heat retention.
- Crumb Tray: Removable for easy cleaning.
Dimensions:
Understanding the dimensions of your oven is crucial for proper placement and use.

Image: External dimensions of the HOMCOM Mini Convection Oven are approximately 36 cm (width), 37 cm (depth), and 34.5 cm (height).
Capacity:
The 20-liter capacity allows for various cooking tasks.

Image: Visual representation of the oven's 20-liter capacity, showing it can accommodate items like 4 slices of toast or 8 chicken wings.
3. Included Accessories
Your HOMCOM Mini Convection Oven comes with the following accessories to enhance your cooking experience:
- 1 x Frying Basket: Ideal for air frying foods like fries and chicken wings.
- 1 x Grill Rack: For grilling, toasting, and supporting baking dishes.
- 1 x Baking Tray: For baking, roasting, and collecting drips.
- 1 x Crumb Tray: Collects crumbs and food debris for easy cleaning.
- 1 x Handle: For safely inserting and removing hot trays and racks.

Image: A visual display of the included accessories: crumb tray, handle, baking tray, wire rack, and air fry basket.
Flexible Shelf Positions:
The oven features three flexible shelf positions to accommodate different cooking needs and food sizes.

Image: The interior of the oven highlighting three distinct rack levels, labeled 1, 2, and 3, for versatile placement of cooking accessories.
4. Setup
Unpacking:
- Carefully remove the oven and all accessories from the packaging.
- Remove any packing materials, stickers, or labels from the oven and accessories.
- Wipe the exterior of the oven with a damp cloth. Clean the interior and all accessories with warm, soapy water, then rinse and dry thoroughly.
Placement:
- Place the oven on a stable, level, heat-resistant surface.
- Ensure there is adequate ventilation around the oven (at least 10-15 cm clearance on all sides).
- Do not place the oven near flammable materials such as curtains or walls.
- Ensure the power cord is not kinked or trapped.
First Use (Burn-in):
Before cooking food for the first time, it is recommended to perform a burn-in cycle to eliminate any manufacturing odors.
- Plug the oven into a grounded electrical outlet.
- Set the temperature to 220°C and the timer to 15 minutes.
- Allow the oven to run for the set time. Some smoke or odor may be present; this is normal.
- Once complete, turn off the oven, unplug it, and allow it to cool completely.
5. Operating Instructions
Control Panel Overview:
The oven features an intuitive control panel for easy operation.

Image: A detailed view of the control panel, showing the digital display for temperature and time, preset menu icons, a rotary knob for adjustments, and buttons for power, start/pause, and interior light.
- Digital Display: Shows current temperature and remaining time.
- Preset Menu Icons: Select from 17 pre-programmed cooking functions.
- Rotary Knob: Used to adjust temperature, time, or select preset programs.
- Power Button: Turns the oven on/off.
- Start/Pause Button: Starts or pauses the cooking cycle.
- Light Button: Toggles the interior light on/off.
- Air Fry Indicator: Illuminates when the air fry function is active.
Basic Operation:
- Power On: Plug in the oven and press the Power button. The display will light up.
- Select Function: Use the rotary knob to scroll through the 17 preset programs or manually set temperature and time.
- Adjust Settings: If manually setting, rotate the knob to adjust temperature (40-220°C) and press the knob to switch to time adjustment (0-60 minutes). For presets, the oven will suggest default settings which can often be adjusted.
- Start Cooking: Press the Start/Pause button to begin the cooking cycle. The interior light can be turned on/off as needed.
- Monitor Progress: Use the interior light and transparent glass window to monitor food.
- Finish Cooking: The oven will beep when the timer expires and automatically shut off. Carefully remove food using the handle and oven mitts.
Using Preset Programs:
The oven offers 17 convenient preset programs for common dishes. Simply select the desired program using the rotary knob, and the oven will automatically set the optimal temperature and time. You can typically adjust these settings if desired before pressing Start.
Programs include: Toast, Defrost, Bake, Chicken, Wings, Steak, Fish, Pizza, Cookies, Chips, Bread, Cake, Dehydrate, Popcorn, Vegetables, Keep Warm, and Air Fry.
6. Maintenance and Cleaning
Regular cleaning and maintenance will ensure the longevity and optimal performance of your oven.
General Cleaning:
- Always unplug the oven from the power outlet and allow it to cool completely before cleaning.
- Do not immerse the oven body, cord, or plug in water or any other liquid.
- Wipe the exterior with a damp cloth and mild detergent. Dry thoroughly.
- Clean the interior walls with a damp cloth and mild, non-abrasive cleaner. Avoid harsh chemicals or abrasive sponges that could damage the non-stick coating.
- The glass door can be cleaned with a glass cleaner.
Cleaning Accessories:
The grill rack, baking tray, and air fry basket are dishwasher safe for convenient cleaning. The crumb tray should be removed and emptied regularly.
- Crumb Tray: Pull out the crumb tray from the bottom of the oven. Discard crumbs and wash the tray with warm, soapy water. Rinse and dry thoroughly before reinserting.
- Other Accessories: Wash with warm, soapy water or place in the dishwasher. Ensure they are completely dry before storing or reusing.
Product Details:
The oven is designed with user convenience and safety in mind.

Image: Close-up views highlighting key design elements such as the shatterproof interior lamp, the transparent glass viewing window, and the stable anti-slip feet on the base of the oven.
7. Troubleshooting
If you encounter any issues with your HOMCOM Mini Convection Oven, please refer to the following common problems and solutions:
| Problem | Possible Cause | Solution |
|---|---|---|
| Oven does not turn on. | Not plugged in; power outage; faulty outlet. | Ensure oven is securely plugged into a working outlet. Check circuit breaker. |
| Food not cooking evenly. | Incorrect temperature/time; overcrowding; improper rack position. | Adjust temperature/time. Do not overcrowd the oven. Use appropriate rack position for the food type. |
| Excessive smoke during cooking. | Food residue/grease buildup; high-fat foods. | Clean the oven interior and accessories thoroughly. Reduce fat content or use a drip tray. |
| Timer not working. | Timer not set correctly. | Ensure the timer is set for the desired duration and the Start button is pressed. |
| Oven light not working. | Light bulb failure; light button not pressed. | Press the light button. If still not working, contact customer support for bulb replacement. |
If the problem persists after trying these solutions, please contact HOMCOM customer support for further assistance.
8. Specifications
Detailed technical specifications for the HOMCOM 20L Mini Convection Oven (Model DE800-169V90BK):
| Feature | Detail |
|---|---|
| Model Number | DE800-169V90BK |
| Brand | HOMCOM |
| Color | Black |
| Capacity | 20 Liters |
| Power | 1400 Watts |
| Voltage | AC 230 V, 50 Hz |
| Temperature Range | 40°C to 220°C |
| Timer Range | 0-60 minutes (manual), up to 12 hours (presets) |
| Exterior Dimensions (L x W x H) | 37 x 36 x 34.5 cm |
| Interior Dimensions (L x W x H) | 28.3 x 28.5 x 21.8 cm |
| Weight | 7.6 Kilograms |
| Material | Alloy steel, Stainless steel, Tempered glass |
| Control Type | Button Control (Rotary Knob) |
| Special Features | Advanced recirculation system, 17 presets, Interior light, Crumb tray, Auto-off function |
9. Warranty and Support
For warranty information, product support, or to inquire about spare parts, please refer to the documentation provided at the time of purchase or visit the official HOMCOM website. Keep your purchase receipt as proof of purchase for any warranty claims.
If you require technical assistance or have questions not covered in this manual, please contact HOMCOM customer service.