1. Introduction
This manual provides detailed instructions for the installation, operation, and maintenance of your Autotek SM-1200.1 1200 Watt 1 Channel Car Audio Amplifier. Please read this manual thoroughly before attempting installation or operation to ensure proper use and to prevent damage to the unit or your vehicle's audio system.
The Autotek SM-1200.1 is a high-output Class D monoblock amplifier designed to deliver powerful and clear audio performance in a compact form factor. It features advanced sound control options and robust construction for reliable, long-lasting use.
Video Description: An official Autotek video showcasing the Street Machine amplifier series, highlighting its compact size, clean performance, and high sound quality. The video displays various models, including close-ups of the amplifier's exterior, RCA inputs, and internal components like the power supply and fuses, emphasizing minimal distortion and powerful delivery.
2. Safety Information
- Always disconnect the vehicle's battery negative terminal before beginning any electrical work.
- Ensure all wiring is properly routed and secured to prevent pinching, cutting, or short circuits.
- Use appropriate gauge wiring for power, ground, and speaker connections as specified in this manual.
- Mount the amplifier securely in a location that allows for adequate ventilation and is protected from moisture and excessive heat.
- Do not operate the amplifier if it is damaged or malfunctioning. Refer to the troubleshooting section or contact customer support.
- Professional installation is recommended for optimal performance and safety.
3. Package Contents
Verify that all items are present in the package:
- Autotek SM-1200.1 1200 Watt Monoblock Amplifier
- Mounting Hardware (screws)
- User Manual (this document)
- Remote Bass Control (if included with your model)
4. Features and Benefits
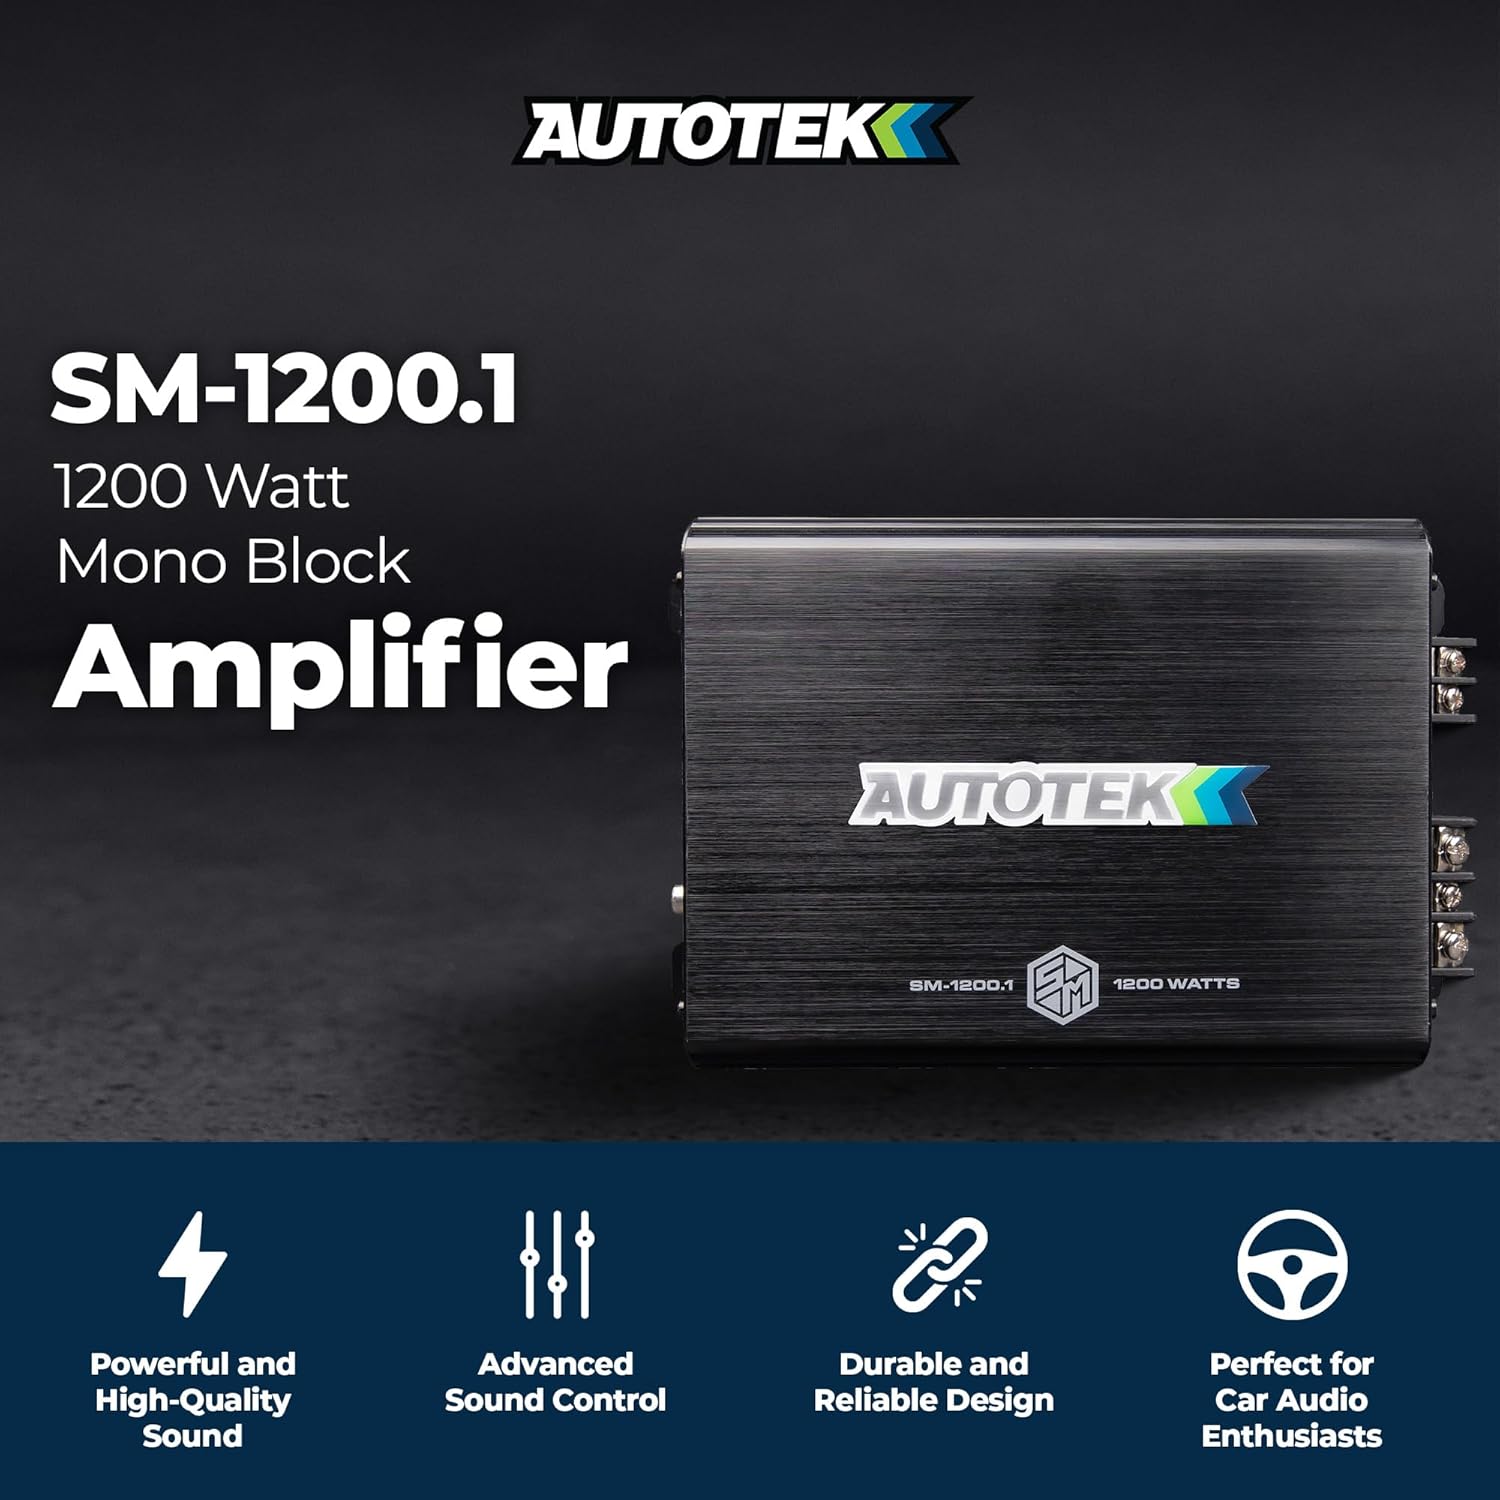
Image Description: The Autotek SM-1200.1 amplifier displayed with icons representing its key features: Powerful and High-Quality Sound, Advanced Sound Control, Durable and Reliable Design, and Perfect for Car Audio Enthusiasts.
- High Power Output: High-output 1-channel Class D design provides up to 1,200 watts peak power, supporting mono-bridged 4-Ohm configurations for robust audio delivery.
- Enhanced Sound Control: Adjustable 12dB electronic crossovers and an integrated equalizer allow for precise frequency optimization for both subwoofers and full-range speakers.
- Superior Audio Quality: A low-noise preamplifier circuit and RCA inputs are designed to minimize distortion and maintain signal integrity for clear audio reproduction.
- Advanced Heat Management: Quick Thermal Dispersion (QTD) technology, utilizing an aluminum heat sink, manages operating temperature to ensure consistent performance and product longevity.
- Secure Connections: Nickel-plated brass terminals with screw-down connectors facilitate secure and durable wiring connections for various car audio installations.

Image Description: A graphic detailing the features and benefits of the Autotek SM-1200.1 amplifier, including its high power output, Class D efficiency, adjustable crossovers, low-noise circuit, multi-mode configuration, QTD heat sink, and durable connections. It also shows the amplifier's dimensions and key specifications.
5. Specifications
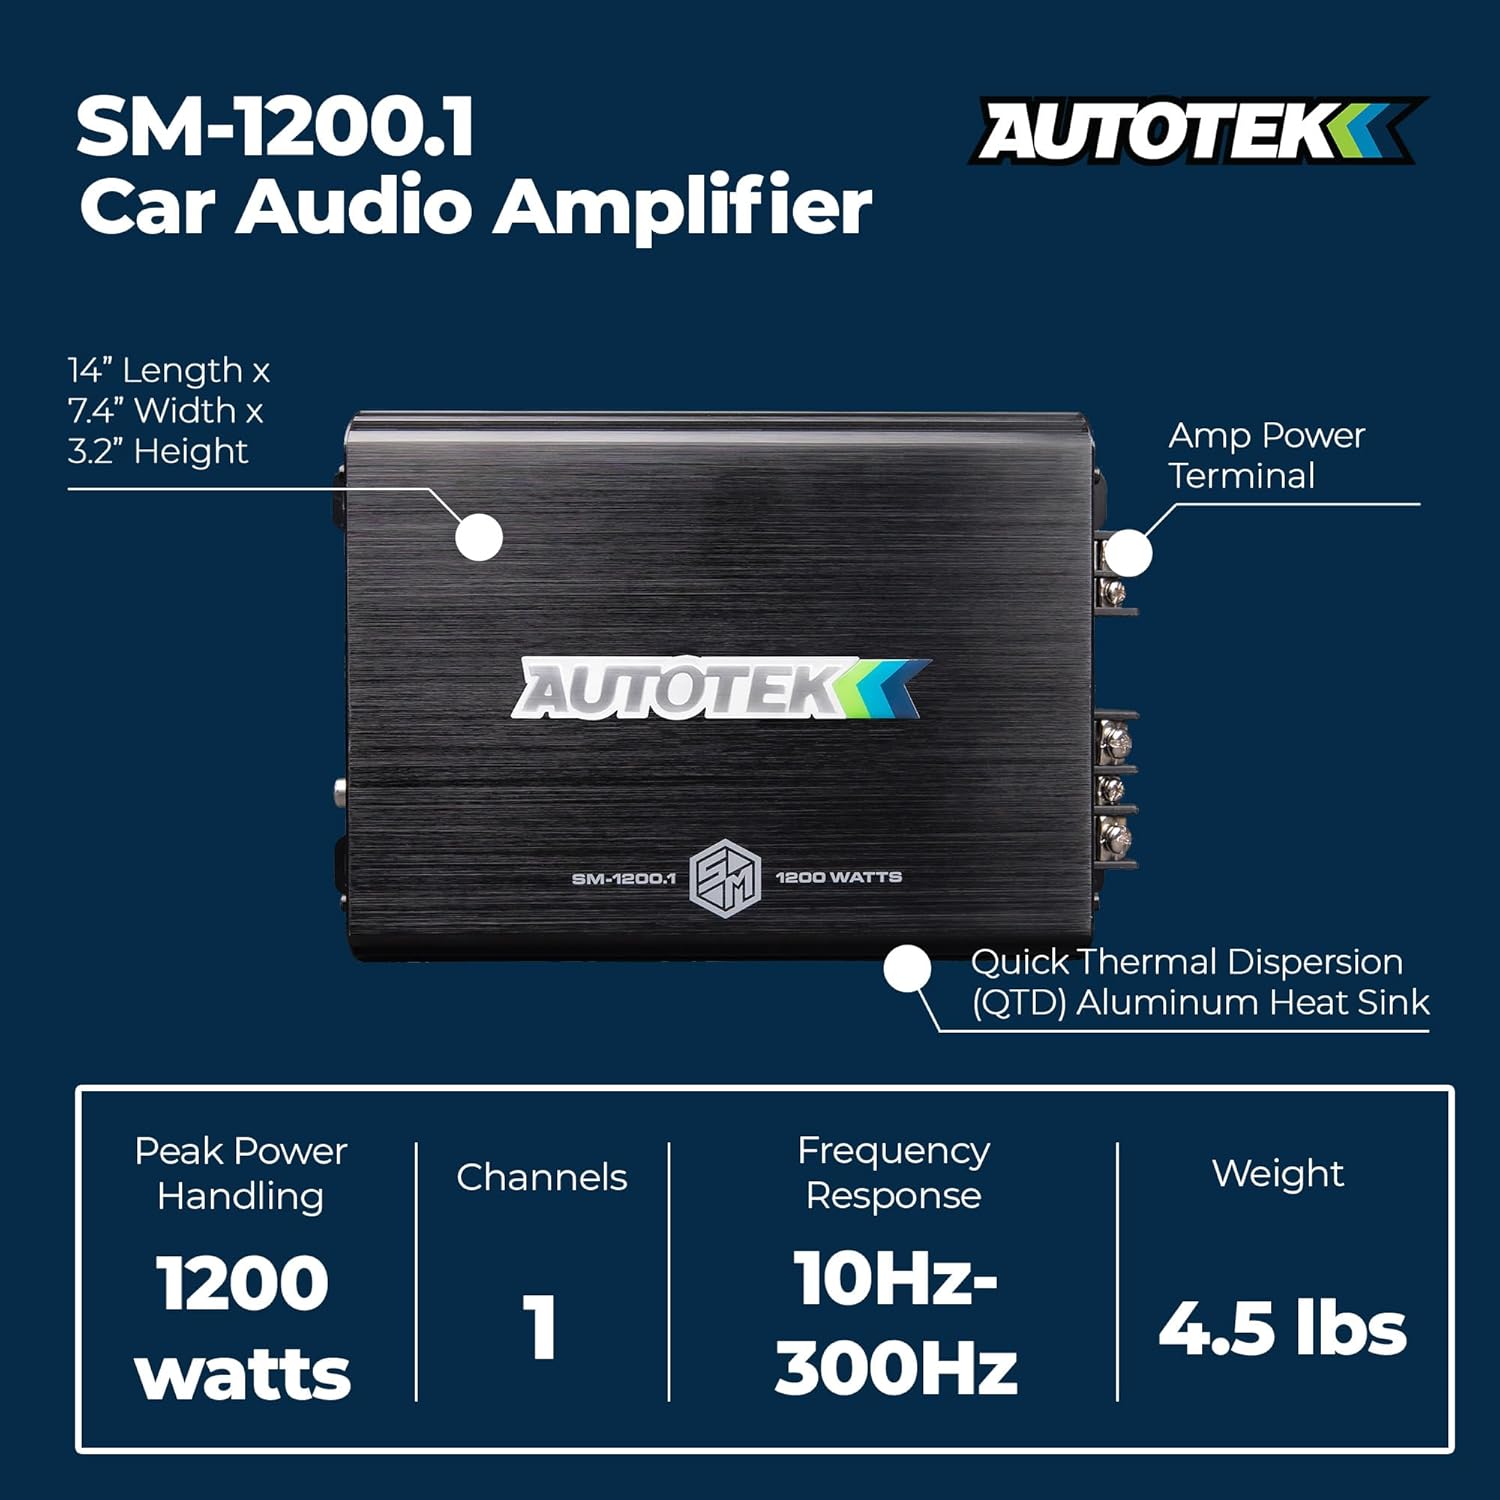
Image Description: A visual representation of the Autotek SM-1200.1 Car Audio Amplifier, highlighting its physical dimensions (14" Length x 7.4" Width x 3.2" Height) and key performance specifications such as Peak Power Handling (1200 watts), Channels (1), Frequency Response (10Hz-300Hz), and Weight (4.5 lbs).
| Specification | Value |
|---|---|
| Model Number | SM-1200.1 |
| Brand | Autotek |
| Number of Channels | 1 |
| Maximum Peak Power | 1200 Watts |
| Maximum Supply Voltage | 12 Volts (DC) |
| Frequency Response | 10Hz - 300Hz |
| Amp Variable Low Pass Crossover | 40Hz - 300Hz (12dB per Octave) |
| Mounting Type | Surface Mount |
| Dimensions (L x W x H) | 14" x 7.4" x 3.2" |
| Weight | 4.5 lbs |
6. Setup and Installation
Proper installation is crucial for the performance and longevity of your amplifier. If you are unsure about any steps, consult a professional car audio installer.
6.1 Mounting the Amplifier
- Choose a mounting location that is dry, well-ventilated, and secure. Avoid mounting on carpet or in enclosed spaces that restrict airflow.
- Ensure the mounting surface is strong enough to support the amplifier's weight.
- Use the provided mounting hardware to securely fasten the amplifier to the chosen surface.
6.2 Wiring Connections
Before making any connections, disconnect the vehicle's negative battery terminal.

Image Description: A close-up view of the RCA line inputs on the Autotek SM-1200.1 amplifier, labeled 'LINE-INPUT CH1' and 'CH2', demonstrating the secure nickel-plated brass terminals.
- Power Connection (+12V): Connect a heavy-gauge power cable (e.g., 4 AWG or larger, depending on total system power) directly from the positive terminal of the vehicle's battery to the +12V terminal on the amplifier. Install an inline fuse holder within 18 inches of the battery.
- Ground Connection (GND): Connect a heavy-gauge ground cable (same gauge as power cable) from the GND terminal on the amplifier to a clean, unpainted metal surface on the vehicle's chassis. Ensure a good electrical connection.
- Remote Turn-On (REM): Connect a remote turn-on wire (e.g., 18 AWG) from your head unit's remote output to the REM terminal on the amplifier. This wire turns the amplifier on and off with your head unit.
- RCA Input Connection: Connect RCA cables from your head unit's pre-amp output to the LINE-INPUT RCA jacks on the amplifier.
- Speaker Output Connection: Connect your subwoofer(s) to the speaker output terminals on the amplifier. Ensure correct polarity (+ to + and - to -) and that the speaker impedance matches the amplifier's capabilities (e.g., 4 Ohm stable).
After all connections are made, reconnect the vehicle's negative battery terminal.
7. Operating Instructions
7.1 Initial Power-Up and Gain Adjustment
- Turn on your head unit. The amplifier should power on (indicated by an LED).
- Set the amplifier's gain control to its minimum (lowest) setting.
- Play a familiar music track with a wide dynamic range.
- Slowly increase the head unit's volume until it reaches about 75-80% of its maximum level.
- Gradually increase the amplifier's gain control until you hear slight distortion, then back it off slightly until the sound is clear.
7.2 Crossover and Bass Boost Adjustment
- Low Pass Filter (LPF): For subwoofers, set the LPF to filter out high frequencies, typically between 80Hz and 120Hz. This ensures the subwoofer only plays bass frequencies.
- Bass Boost: Use the bass boost sparingly. Excessive bass boost can lead to distortion and potential damage to your speakers or amplifier. Adjust to your preference while monitoring for clarity.
- Remote Bass Control: If equipped, connect the remote bass control to the amplifier. This allows for convenient adjustment of the bass level from the driver's seat.
8. Maintenance
- Regularly inspect all wiring connections for tightness and corrosion.
- Keep the amplifier clean and free of dust and debris. Use a soft, dry cloth for cleaning.
- Ensure the amplifier's cooling fins are not obstructed to maintain proper heat dissipation.
- Avoid exposing the amplifier to extreme temperatures or moisture.
9. Troubleshooting
If you experience issues with your amplifier, refer to the following common problems and solutions:
| Problem | Possible Cause | Solution |
|---|---|---|
| No Power / Amplifier Not Turning On | Blown fuse (inline or internal) Loose power or ground connection No remote turn-on signal | Check and replace fuses Verify all power and ground connections are secure Check remote wire connection and head unit output |
| No Sound Output | Loose RCA or speaker connections Amplifier gain too low Head unit volume too low or muted | Check all RCA and speaker wiring Adjust amplifier gain setting Increase head unit volume and check mute function |
| Distorted Sound | Gain set too high Improper crossover settings Speaker impedance mismatch | Reduce amplifier gain Adjust LPF settings Verify speaker impedance is compatible with amplifier |
| Amplifier Overheating | Insufficient ventilation Speaker impedance too low Sustained high output | Ensure proper airflow around amplifier Check speaker impedance Reduce volume or allow amplifier to cool |
10. Warranty and Support
For specific warranty information, please refer to the warranty card included with your product or visit the official Autotek website. Autotek products are manufactured by Maxxsonics.
For technical support or further assistance, please contact Autotek customer service or visit their official brand store:


