
bitnovol 5MP Doorbell Camera Wireless with 8W Solar Panel
User Manual: 5MP Doorbell Camera Wireless with 8W Solar Panel
Model: 5MP Doorbell Camera Wireless with 8W Solar Panel
1. Introduction
This manual provides detailed instructions for the installation, operation, and maintenance of your bitnovol 5MP Doorbell Camera Wireless with 8W Solar Panel. Please read this manual thoroughly before using the product to ensure proper functionality and safety. Keep this manual for future reference.
2. Package Contents
Carefully unpack the box and ensure all items listed below are present and in good condition. If any items are missing or damaged, please contact customer support.
- 1 x 5MP Wireless Video Doorbell Pro
- 1 x Customized Ring Chime Pro
- 1 x 8W Solar Panel (may be sold separately, check product bundle)
- 2 x Rechargeable Batteries (pre-installed or included)
- 1 x 128GB Micro SD Card (pre-installed)
- Mounting Screws and Anchors
- User Manual (this document)

Image: The complete package contents including the doorbell, chime, solar panel, and SD card.
3. Product Overview
The bitnovol 5MP Doorbell Camera offers advanced features for home security and convenience.
Key Features:
- 5MP Crystal Clear Video: Provides high-resolution images and video, allowing for clear identification of visitors and packages.
- 8W Solar Panel Support: Designed for continuous power with an optional or included 8W solar panel, ensuring 365 days of non-stop operation.
- Smart AI Detection: Built-in PIR sensor and AI recognition distinguish between people, pets, packages, and vehicles, reducing false alarms.
- Two-Way Audio & Voice Changer: Communicate with visitors in real-time using the built-in microphone and speaker. Includes a voice changer for added privacy.
- 100% Wireless & Easy Installation: Cordless design for simple setup and installation in minutes.
- Local/Cloud Storage: Supports up to 128GB SD card (pre-installed) for local storage and offers optional cloud storage without monthly fees.
- Anti-Theft Alarm: Triggers an alarm if the doorbell is tampered with, notifying your phone.
- Chime Pro: Includes a customizable chime with 38 music options, mute mode, and 5 adjustable volume levels.
- Smart Home Integration: Works with Alexa Echo and Google Home for voice control and integration into your smart home ecosystem.
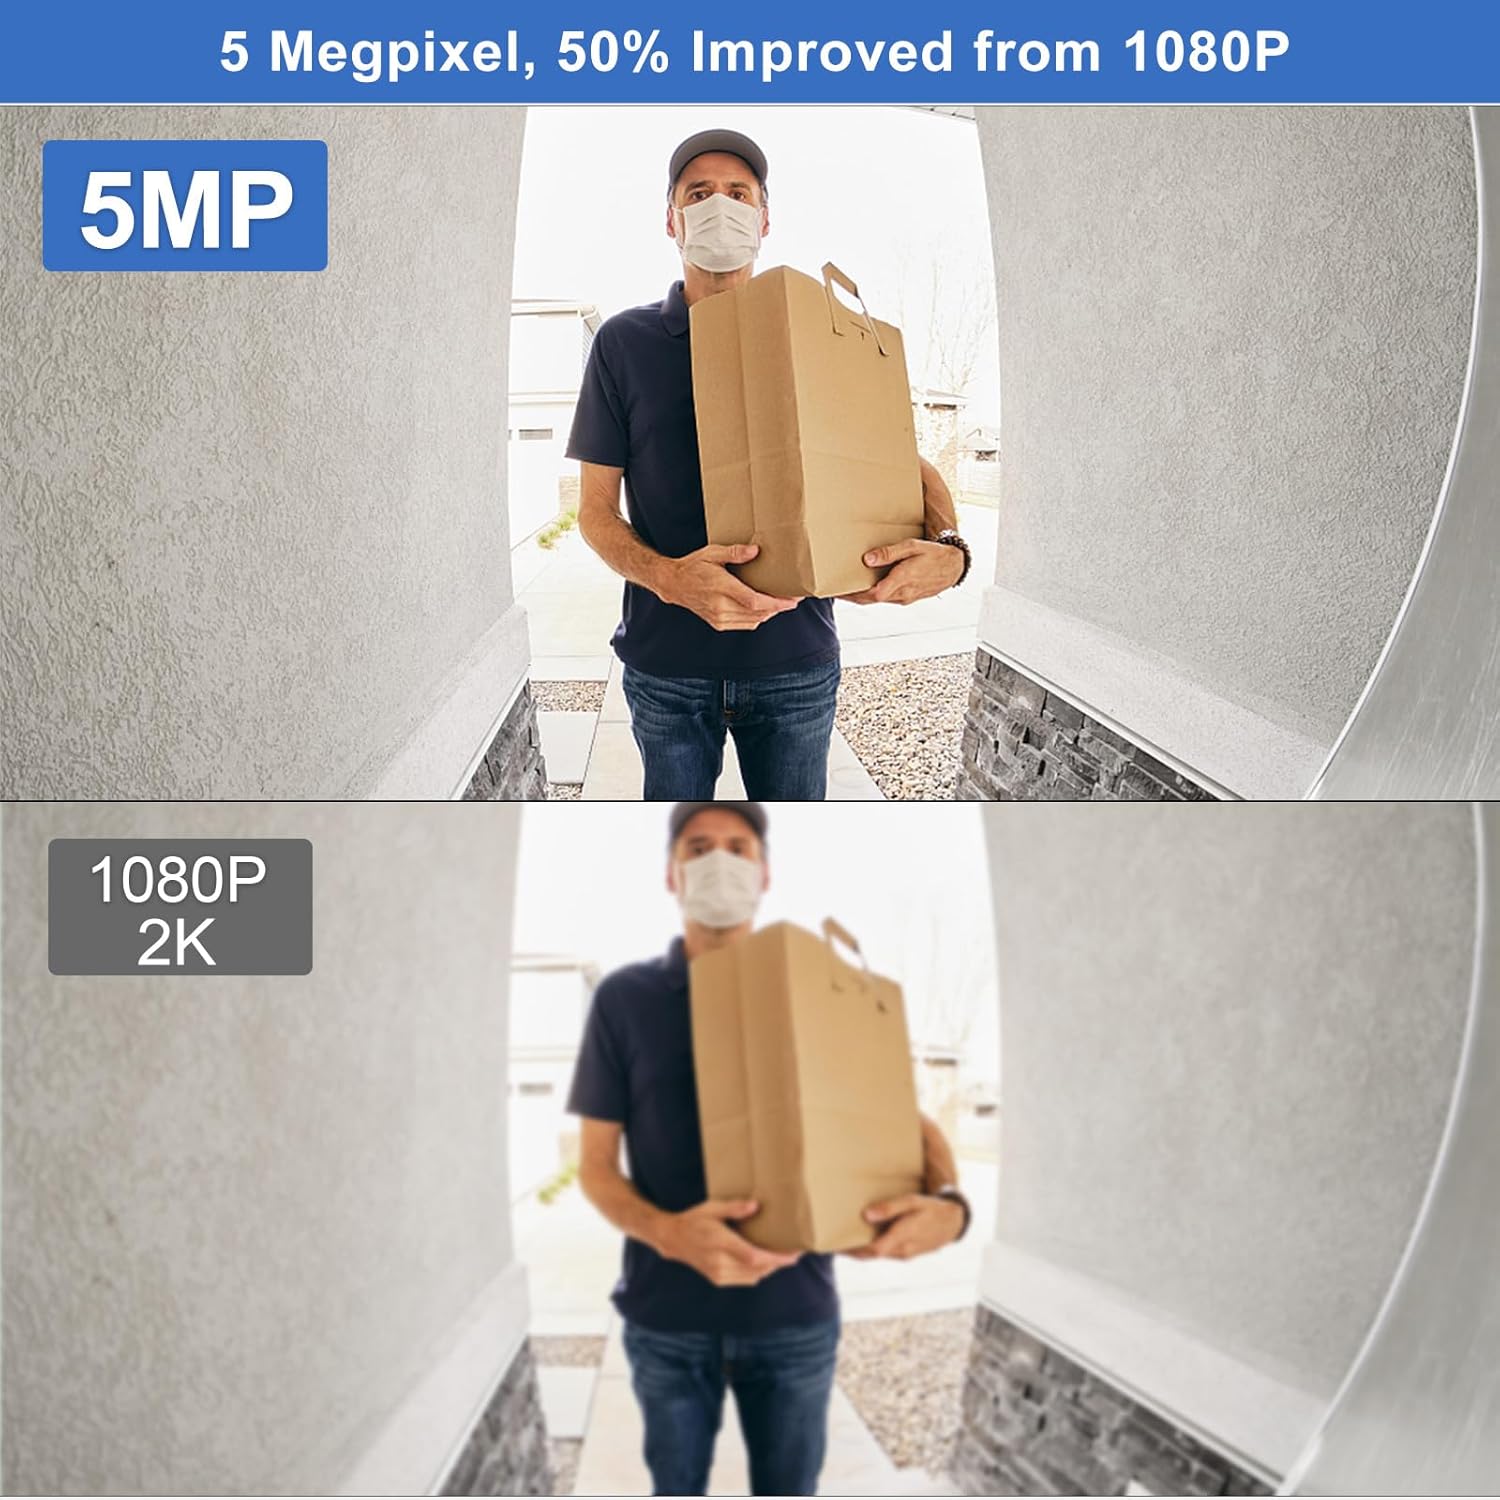
Image: Visual comparison demonstrating the superior clarity of 5MP resolution over 1080P.
4. Setup
Follow these steps to set up your bitnovol doorbell camera and solar panel.
4.1. Charging the Batteries
Before initial use, ensure the doorbell batteries are fully charged. The doorbell comes with rechargeable batteries. You can charge them by connecting the doorbell to a USB power source using a compatible cable (not always included, check package). A full charge typically takes several hours.
4.2. App Download and Account Creation
- Download the CloudEdge App from the App Store (iOS) or Google Play Store (Android).
- Open the app and create a new account, or log in if you already have one.
4.3. Pairing the Doorbell Camera
- In the CloudEdge App, tap the "+" icon to add a new device.
- Select "Doorbell Camera" from the list of device types.
- Follow the on-screen instructions to connect the doorbell to your 2.4Ghz WiFi 6 network. Ensure your phone is connected to the same 2.4Ghz network during setup.
- The app will guide you through scanning a QR code with the doorbell camera to complete the pairing process.
4.4. Pairing the Chime Pro
- Plug the Chime Pro into a power outlet near your doorbell camera.
- Refer to the Chime Pro's specific instructions (usually a button press sequence) to put it into pairing mode.
- Once paired, the chime will ring when the doorbell button is pressed.
4.5. Installation of Doorbell and Solar Panel
Choose a suitable location for your doorbell, typically at eye level next to your front door. For the solar panel, select a spot that receives maximum direct sunlight throughout the day.
- Doorbell Installation: Use the provided mounting bracket as a template to mark drill holes on your wall. Drill the holes, insert anchors, and secure the bracket with screws. Attach the doorbell to the bracket.
- Solar Panel Installation: Mount the solar panel in a location with optimal sunlight exposure using the provided bracket and screws. Ensure the panel is angled to capture the most sun.
- Connecting Solar Panel: Connect the solar panel's cable to the charging port on your doorbell camera. Ensure a secure connection to provide continuous power.

Image: Examples illustrating suitable locations for solar panel installation, such as gardens, backyards, entrances, and farms.
5. Operating the Doorbell Camera
Once installed and configured, your doorbell camera is ready for use.
5.1. Live View and Two-Way Talk
- Open the CloudEdge App. Tap on your doorbell camera to access the live view.
- To speak with a visitor, tap the microphone icon in the app. To hear them, ensure the speaker icon is enabled.
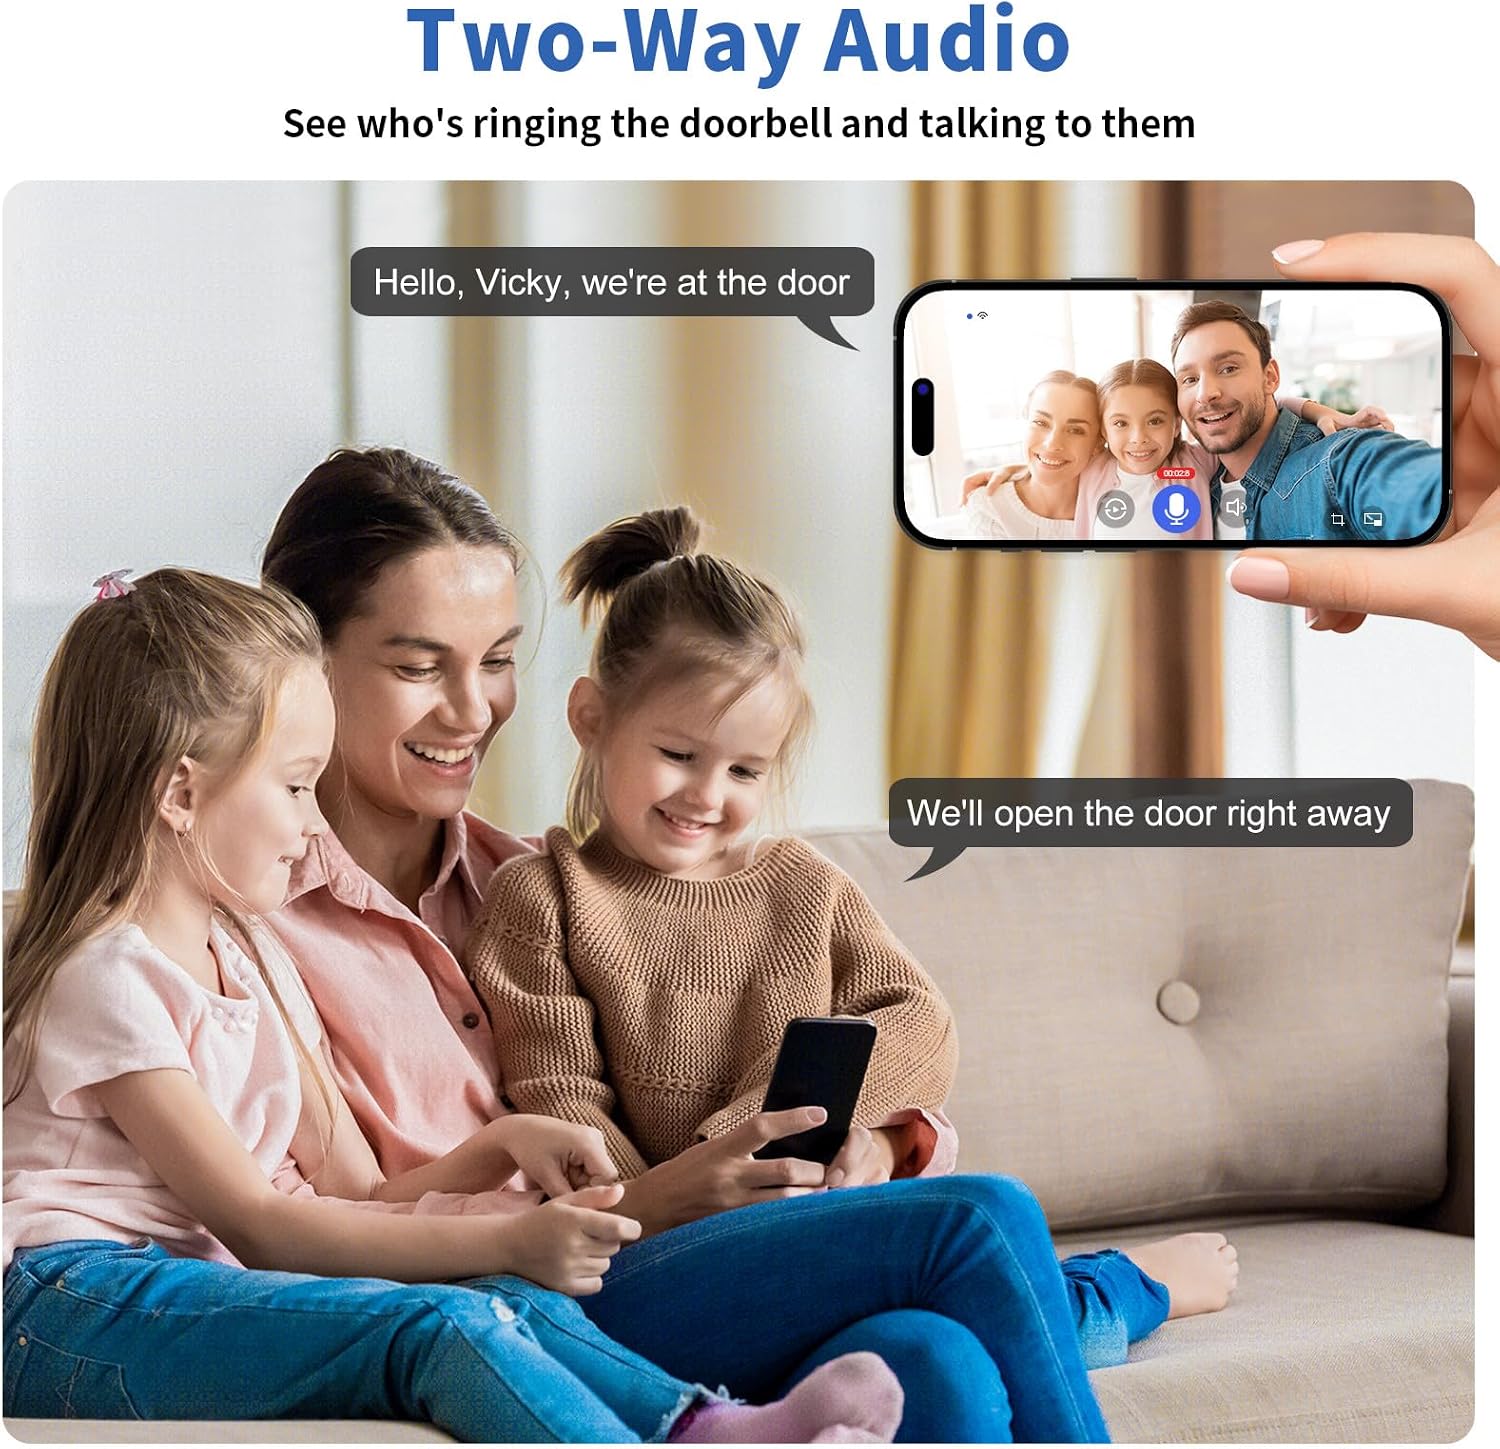
Image: A visual representation of the two-way audio feature, showing a user communicating with a visitor through the app.
5.2. Motion Detection and Alerts
- The doorbell camera uses PIR motion detection to sense activity.
- When motion is detected, you will receive an instant notification on your smartphone via the CloudEdge App.
- The AI detection feature helps filter out irrelevant motion from pets or vehicles, focusing on human activity.

Image: An illustration demonstrating the smart AI human detection feature, showing how it accurately identifies human presence while ignoring animals.
5.3. Video Recording and Storage
- All motion events and doorbell rings are recorded.
- Recordings are stored on the pre-installed 128GB Micro SD card. You can access these recordings via the CloudEdge App.
- Optional cloud storage is available, typically offering a free trial period (e.g., 7-day storage) before requiring a subscription.
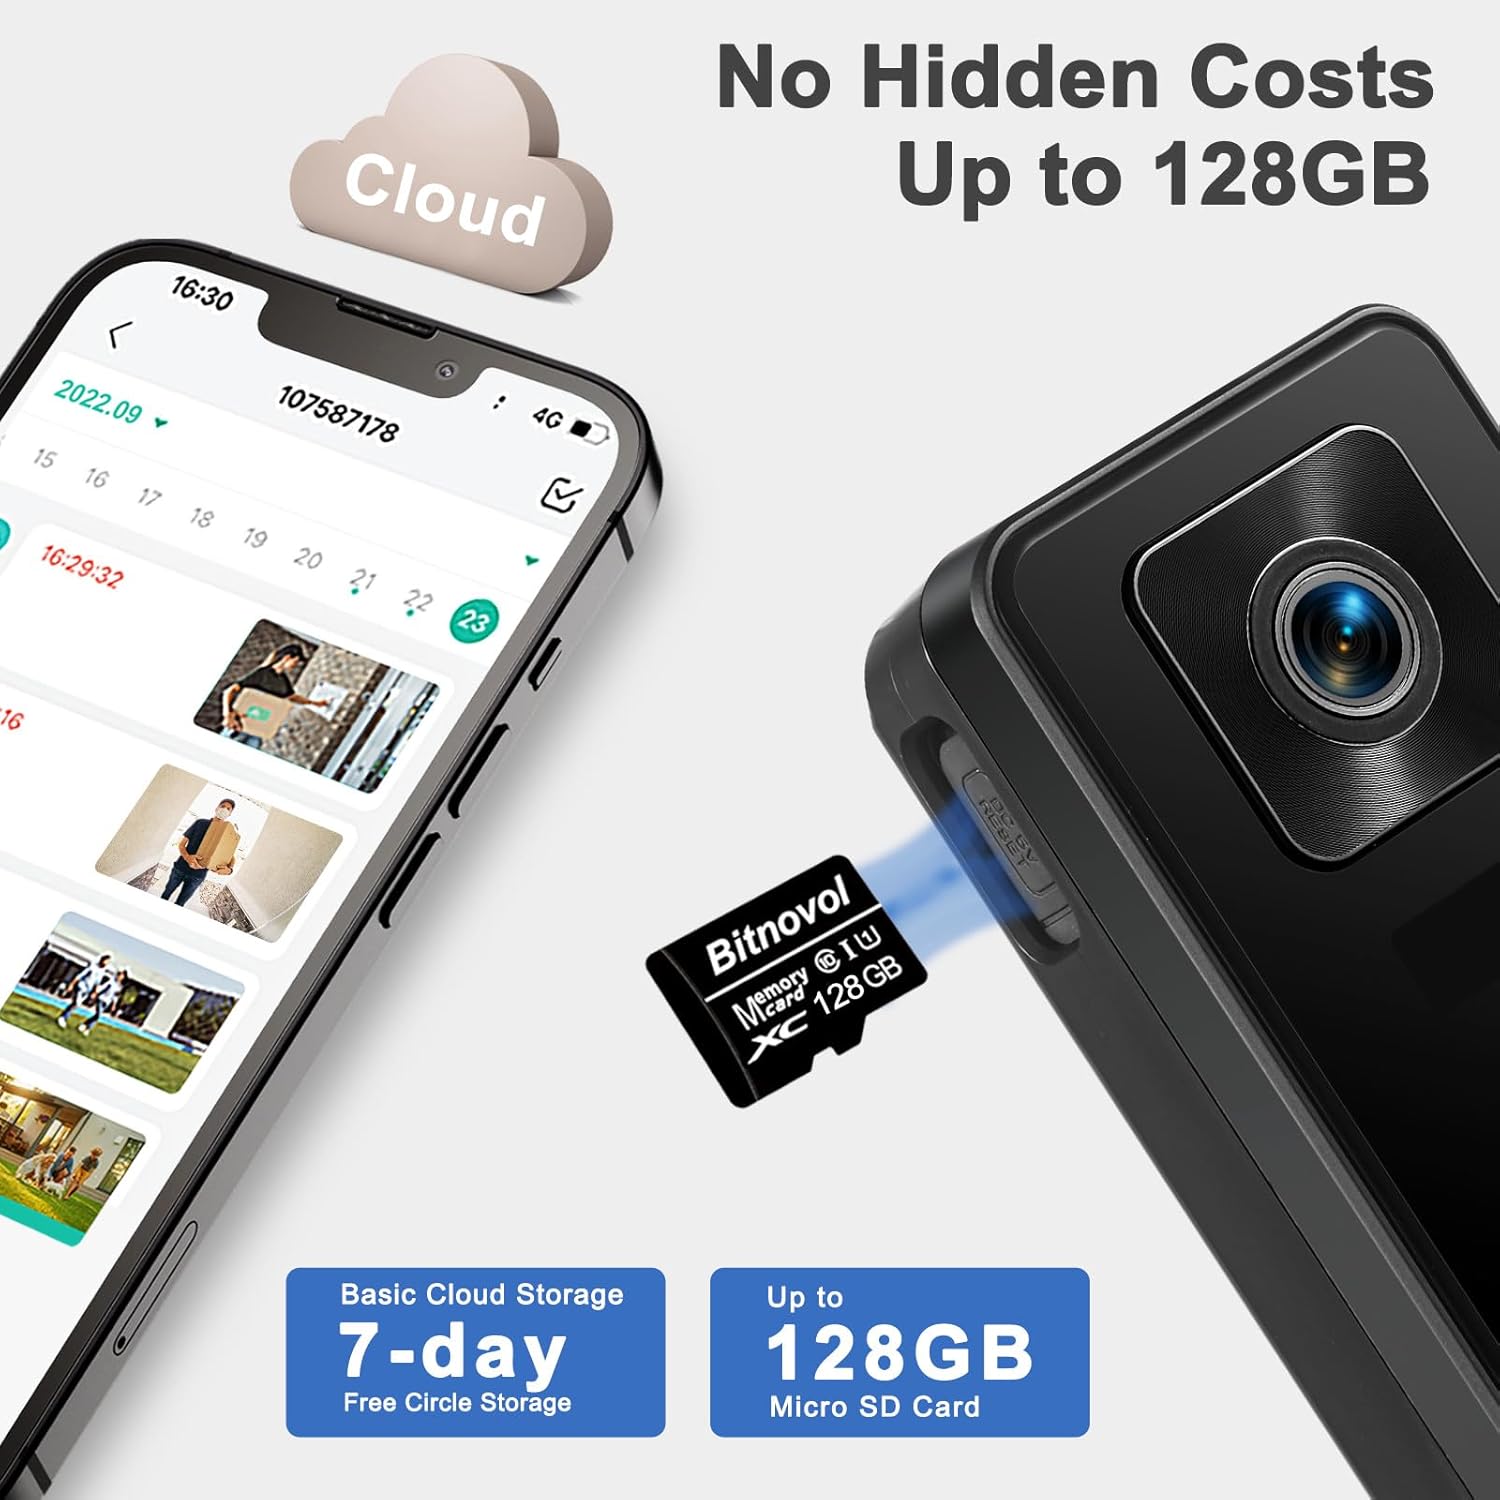
Image: A visual representation of the storage options, highlighting both cloud storage and the use of a 128GB Micro SD card for local recording.
5.4. Smart Home Integration
The doorbell camera is compatible with Alexa Echo and Google Home. Refer to the respective smart assistant's app for instructions on linking your CloudEdge account and enabling voice commands.
6. Maintenance
Regular maintenance ensures optimal performance and longevity of your doorbell camera and solar panel.
6.1. Cleaning
- Wipe the doorbell camera lens and body with a soft, damp cloth to remove dust and smudges. Do not use harsh chemicals.
- Clean the surface of the solar panel periodically to ensure maximum sunlight absorption. Dust, dirt, or debris can reduce charging efficiency.
6.2. Battery Management
- If not using the solar panel, monitor the battery level via the CloudEdge App and recharge the doorbell as needed.
- With the solar panel connected, ensure it is positioned to receive adequate sunlight to maintain battery charge.

Image: A solar panel depicted providing continuous power to a security camera, illustrating its efficiency in maintaining device operation.
7. Troubleshooting
If you encounter issues with your doorbell camera, refer to the following common problems and solutions.
| Problem | Possible Cause | Solution |
|---|---|---|
| Doorbell not connecting to Wi-Fi | Incorrect Wi-Fi password; 5Ghz network selected; too far from router. | Ensure correct 2.4Ghz Wi-Fi password. Move doorbell closer to router. Restart router and doorbell. |
| No motion detection alerts | PIR sensitivity too low; motion detection disabled in app; battery low. | Adjust PIR sensitivity in CloudEdge App. Enable motion detection. Charge batteries. |
| Poor video quality | Dirty lens; weak Wi-Fi signal; low light conditions. | Clean the camera lens. Improve Wi-Fi signal strength. Ensure adequate lighting for night vision. |
| Chime not ringing | Chime not paired; chime unplugged; volume too low. | Re-pair the chime. Ensure chime is plugged in. Increase chime volume. |
| Solar panel not charging | Insufficient sunlight; dirty panel; loose connection. | Relocate panel to receive more direct sunlight. Clean panel surface. Check cable connection. |
If the problem persists, please contact bitnovol customer support for further assistance.
8. Specifications
| Feature | Detail |
|---|---|
| Video Capture Resolution | 5 MP |
| Effective Still Resolution | 5 MP |
| Wireless Communication Technology | Wi-Fi (2.4Ghz) |
| Connectivity Protocol | Wi-Fi |
| Wattage (Solar Panel) | 8 watts |
| Alert Type | Motion Only (PIR & AI Detection) |
| Video Capture Format | MPEG-4 |
| Unit Count | 1.0 Count |
| Controller Type | Google Assistant, Alexa Echo |
| Mounting Type | Wall Mount |
| Storage | Pre-installed 128GB SD Card, Cloud Storage (optional) |
9. Warranty and Support
For warranty information and customer support, please refer to the documentation included with your product packaging or visit the official bitnovol website. Typically, warranty details cover manufacturing defects for a specified period from the date of purchase.
For technical assistance, troubleshooting beyond this manual, or to inquire about replacement parts, please contact bitnovol customer service directly. Contact information can usually be found on the product packaging or the manufacturer's website.
Ask a question about this manual
Ask about setup, troubleshooting, compatibility, parts, safety, or missing instructions. Manuals+ will review the question and use this page’s manual context to help answer it.