
ERAARK FFM5
ERAARK 650GPH Submersible Water Pump Instruction Manual
Model: FFM5
Introduction
This manual provides instructions for the safe and efficient operation and maintenance of your ERAARK 650GPH Submersible Water Pump, Model FFM5. This versatile pump is designed for use in aquariums, fish tanks, ponds, desktop fountains, water gardens, and hydroponic systems, offering adjustable water flow for various applications.
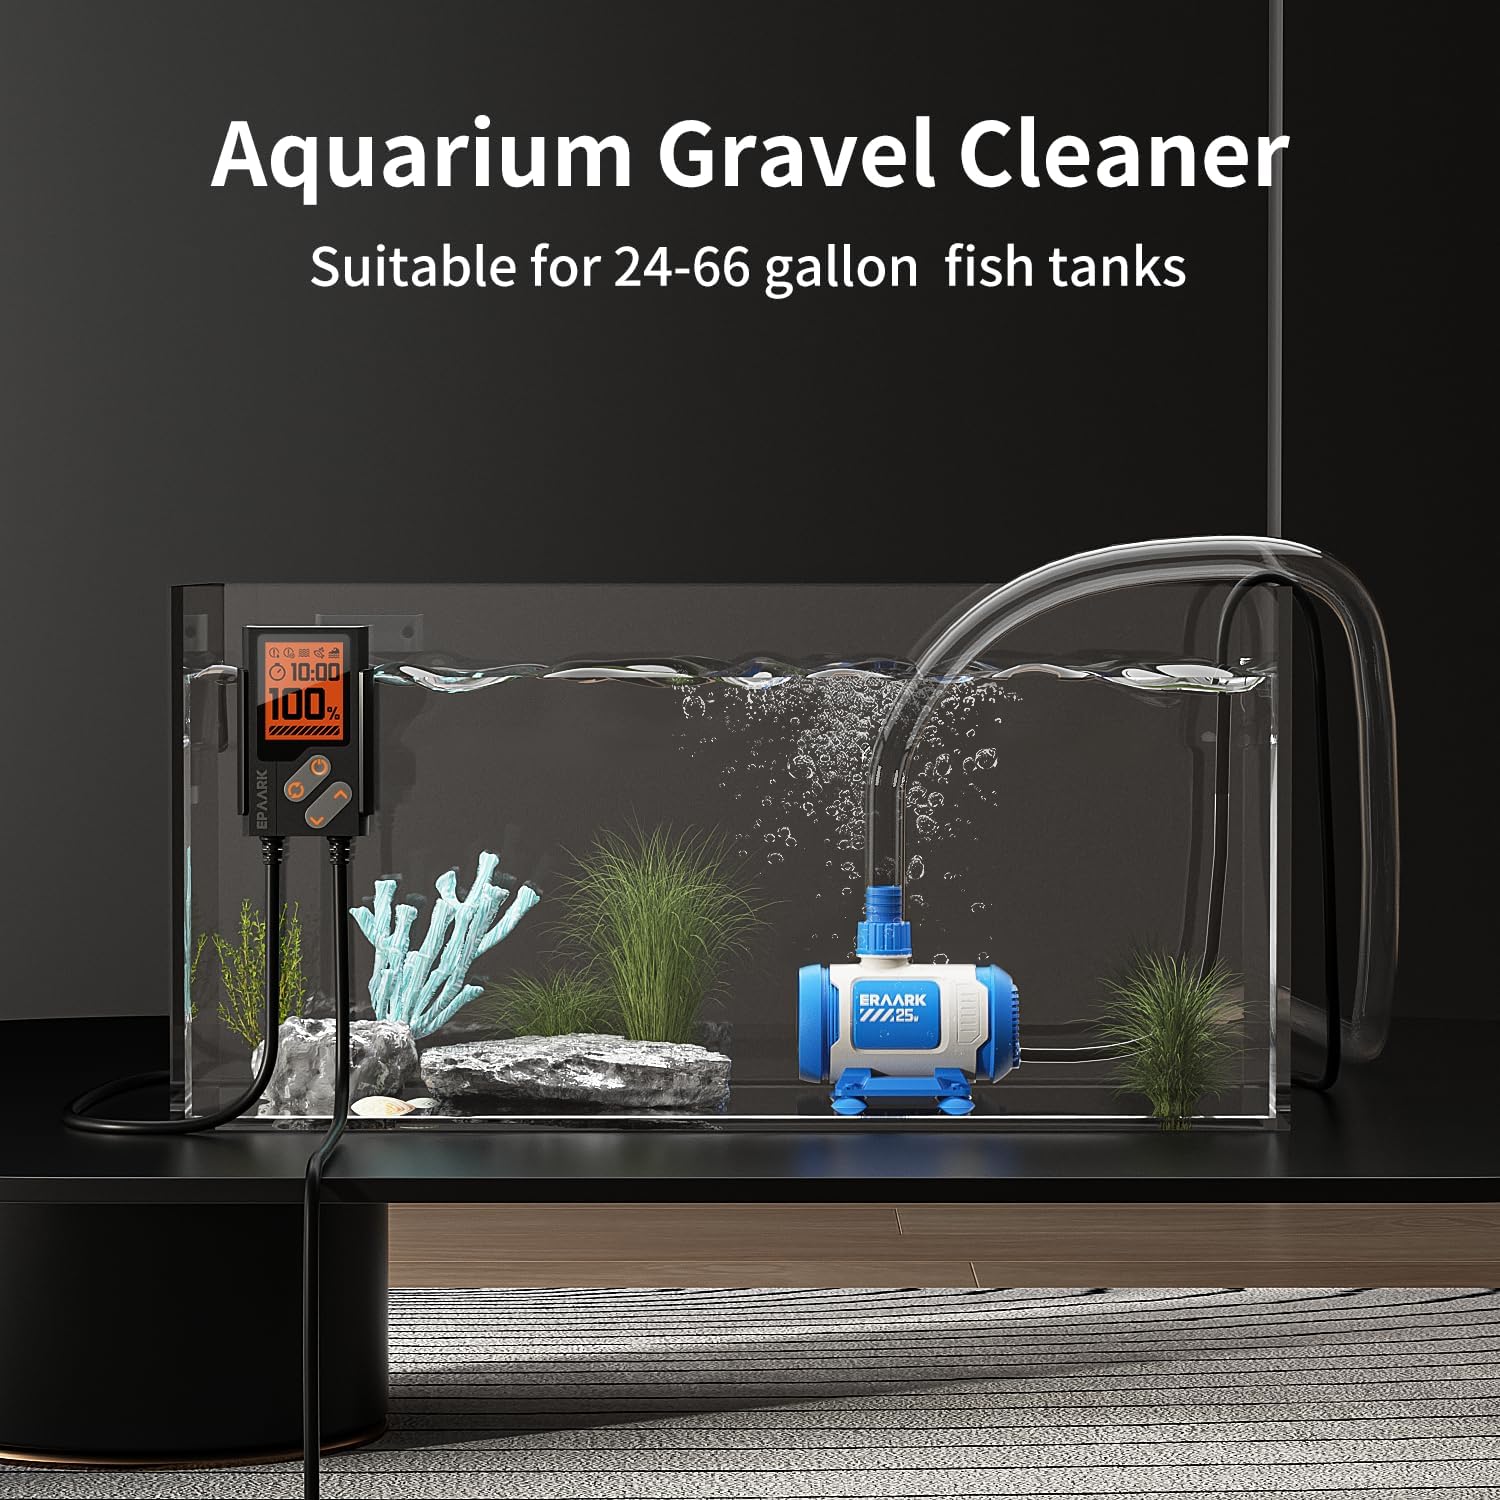
Image: The ERAARK water pump shown in an aquarium environment, illustrating its application in maintaining water circulation and clarity.
Safety Instructions
General Safety Guidelines
- Ensure the power supply matches the pump's voltage (DC 24V).
- Always disconnect power before performing any maintenance, cleaning, or installation.
- Do not operate the pump dry. Ensure it is fully submerged or properly primed if used as a land pump.
- Keep the power cord away from sharp objects and hot surfaces.
- Do not lift the pump by its power cord.
- The pump is designed for fresh and saltwater environments.
- The filter mesh prevents small fish and debris from entering the pump. Ensure it is clean and unobstructed.
- The resin sealing provides insulation; do not tamper with it.
Package Contents
Included Components
Please verify that all components are present:
- ERAARK 650GPH Submersible Water Pump
- Control Box
- Output Adapters (0.6" x2, 0.8" x2)
- Suction Cups (pre-attached or included)
Setup
Installation Steps
- Choose Location: Determine if the pump will be used as a submersible pump or a land pump.
- Attach Adapters: Select the appropriate output adapter (0.6" or 0.8") for your tubing and securely attach it to the pump's outlet.
- Positioning (Submersible): Place the pump fully submerged in the water. The strong suction cups on the base can be used to secure it to a smooth surface, such as the bottom or side of an aquarium or pond.
- Positioning (Land Pump): If using as a land pump, ensure the pump is placed below the water level to facilitate priming. Connect the inlet hose to the water source and the outlet hose to your desired destination. The pump may require manual priming if not fully submerged.
- Connect Control Box: Connect the pump's cable to the control box.
- Power Connection: Plug the power cord into a suitable DC 24V power outlet.

Image: The ERAARK water pump showing its components, including two sizes of output adapters (0.6" and 0.8"), strong suction cups for secure placement, and illustrating the easy assembly and disassembly process for maintenance.

Image: Illustration demonstrating the dual-use capability of the ERAARK pump, showing its setup as a submersible pump fully immersed in water and as a land pump with an external water intake.
Operating Instructions
Control Box Operation
The control box allows precise adjustment of water flow and operating modes.

Image: The ERAARK control box interface, highlighting the digital display with indicators for work status, feeding mode countdown, and current speed percentage. The control buttons for mode toggle and gear adjustment are also visible.
Control Box Features:
- Mode Toggle Button: Press this button to switch between different working modes (e.g., Constant Flow Mode, Wave Mode).
- Gear Adjustment Buttons (Up/Down Arrows): These buttons adjust the flow rate within the selected mode.
- Constant Flow Mode: Features 20 built-in gear positions. A long press allows for rapid adjustment. The gear adjustment does not cycle.
- Wave Mode: Features 4 built-in gear positions. Adjustments are made by short presses.
- Display Indicators: The screen displays work status, feeding mode countdown, and speed percentage.
- Safety Monitoring: The pump continuously monitors for locked-rotor and idling conditions in real-time to prevent damage.
Adjusting Water Flow
The flow rate can be adjusted from 80 GPH to 650 GPH using the control box to meet various application needs.
- Turn on the pump.
- Use the Mode Toggle button to select your desired operating mode.
- Use the Up/Down arrow buttons to increase or decrease the flow rate (gear position) according to the selected mode.
Maintenance
Cleaning and Care
Regular maintenance ensures optimal performance and extends the pump's lifespan.
- Disconnect Power: Always unplug the pump from the power source before any cleaning or maintenance.
- Disassembly: The pump is designed for easy disassembly. Carefully separate the pump components as shown in the assembly diagram (refer to Setup section image).
- Clean Filter Mesh: Remove any debris, algae, or sediment from the inlet filter mesh. This prevents blockages and maintains efficient water intake.
- Clean Impeller: Gently remove the impeller and clean it thoroughly. Remove any buildup that might hinder its rotation.
- Rinse Components: Rinse all components with clean water. Avoid using harsh chemicals or abrasive materials.
- Reassembly: Reassemble the pump components, ensuring all parts are securely fitted.
- Regular Checks: Periodically check the power cord for any damage and ensure all connections are secure.
Troubleshooting
Common Issues and Solutions
| Problem | Possible Cause | Solution |
|---|---|---|
| Pump does not start or operate. | No power; Power cord damaged; Impeller blocked; Pump not primed (land use). | Check power connection; Inspect power cord; Disassemble and clean impeller; Prime the pump manually if used as a land pump. |
| Reduced water flow. | Clogged filter mesh; Blocked impeller; Kinked tubing; Incorrect flow setting. | Clean filter mesh; Clean impeller; Check and straighten tubing; Adjust flow rate using the control box. |
| Pump makes unusual noise. | Debris in impeller; Impeller worn or damaged; Pump running dry. | Disconnect power, clean impeller; Inspect impeller for damage; Ensure pump is fully submerged or primed. |
| Error message on control box at low flow settings. | Specific operational characteristic at very low percentages. | Try increasing the flow percentage slightly. If the issue persists, ensure all connections are secure and the pump is free of obstructions. |
| Pump stops unexpectedly (auto-shutoff). | No water detected (idling); Locked rotor detected. | Ensure pump is fully submerged or water supply is consistent; Check for blockages preventing impeller rotation. |
Specifications
Technical Specifications

Image: Detailed specifications of the ERAARK water pump, outlining its physical dimensions (5.5"x 3.1"x 5"), maximum flow rate (650 GPH), maximum power consumption (25W), maximum lift height (9.6 ft), power cable length (6.5 ft), and operating voltage (DC 24V).
| Feature | Detail |
|---|---|
| Model Number | FFM5 |
| Max Flow Rate | 650 GPH (2400 L/H) |
| Adjustable Flow Rate | 80 GPH to 650 GPH |
| Max Lift Height | 9.6 ft |
| Max Power | 25W |
| Voltage | DC 24V |
| Power Cord Length | 6.5 ft |
| Dimensions (L x W x H) | 5.5" x 3.1" x 5" |
| Material | Plastic |
| Item Weight | 1.26 kg |
| Applications | Aquariums, Fish Tanks, Ponds, Desktop Fountains, Water Gardens, Hydroponic Systems |
| Operating Modes | Constant Flow (20 gears), Wave Mode (4 gears) |
| Safety Features | Locked-rotor monitoring, Idling monitoring, Filter mesh, Resin sealing |
Warranty and Support
Warranty Information
Please refer to the product packaging or the retailer's website for specific warranty terms and conditions. Keep your purchase receipt as proof of purchase.
Customer Support
For technical assistance, troubleshooting not covered in this manual, or warranty claims, please contact ERAARK customer support through the retailer's platform or the official ERAARK website.
Ask a question about this manual
Ask about setup, troubleshooting, compatibility, parts, safety, or missing instructions. Manuals+ will review the question and use this page’s manual context to help answer it.