
1. Introduction
This manual provides detailed instructions for the installation, operation, and maintenance of your VIVO MOUNT-VWKB2 Dual Monitor and Keyboard Wall Mount. This product is designed to create an ergonomic sit-stand workstation, supporting two monitors between 17 and 32 inches, each weighing up to 17.6 lbs, and a keyboard tray with a pneumatic arm. Please read these instructions thoroughly before installation and retain this manual for future reference.
2. Safety Information
WARNING: Failure to understand and follow these instructions may result in serious injury, property damage, or voiding of your warranty. If you do not understand these instructions or have any doubts about the safety of the installation, please contact VIVO Customer Support.
- Do not exceed the weight capacity of 17.6 lbs per monitor and 2.2 lbs for the keyboard tray.
- Ensure the mounting surface can safely support the combined weight of the equipment and the mount.
- Always use a stud finder to locate wood studs for secure mounting. For brick or concrete walls, use appropriate anchors (not always included).
- Tighten all screws firmly but do not overtighten. Overtightening can damage components.
- Keep children away from the product during installation. Small parts may be a choking hazard.
3. Package Contents
Verify that all components are present and undamaged before beginning installation. If any parts are missing or defective, contact VIVO customer support.
- Dual Monitor Wall Mounts (x2)
- Keyboard Tray with Pneumatic Arm (x1)
- Wall Plate (x1)
- Mounting Hardware Kit (screws, washers, spacers, wall anchors)
- Tools (Allen wrenches, etc.)
4. Setup and Installation
Proper installation is crucial for the stability and safety of your workstation. Follow these steps carefully.
4.1 Choose a Mounting Location
Select a wall location that can support the weight of the mount and your equipment. Ensure there are no hidden electrical wires or plumbing in the wall where you plan to drill.

Image: Illustration of compatible mounting surfaces for the VIVO wall mount, including drywall stud, brick, and concrete.
4.2 Install the Wall Plate
- Use a stud finder to locate a wood stud. Mark the drilling points for the wall plate.
- Drill pilot holes at the marked locations.
- Attach the wall plate to the wall using the provided lag bolts and washers. Ensure it is level and securely fastened.
4.3 Attach Monitors to Mounts
The monitor mounts are compatible with VESA patterns 75x75mm and 100x100mm.

Image: Diagram illustrating the dimensions, VESA compatibility (75x75mm, 100x100mm), and weight capacity (17.6 lbs per screen, 2.2 lbs for tray) of the VIVO wall mount components.
- Carefully attach the VESA plates to the back of your monitors using the appropriate screws and spacers.
- Slide the assembled monitors onto the wall-mounted brackets. Secure them with the locking screws.
4.4 Install Keyboard Tray Arm
- Attach the pneumatic arm to the wall plate according to the instructions provided in the hardware kit.
- Secure the keyboard tray to the end of the pneumatic arm.

Image: The VIVO wall mount supports two flat-panel monitors, compatible with 17 to 32 inch screens.
5. Operating Instructions and Adjustments
Your VIVO MOUNT-VWKB2 offers various adjustments for an optimal ergonomic experience.
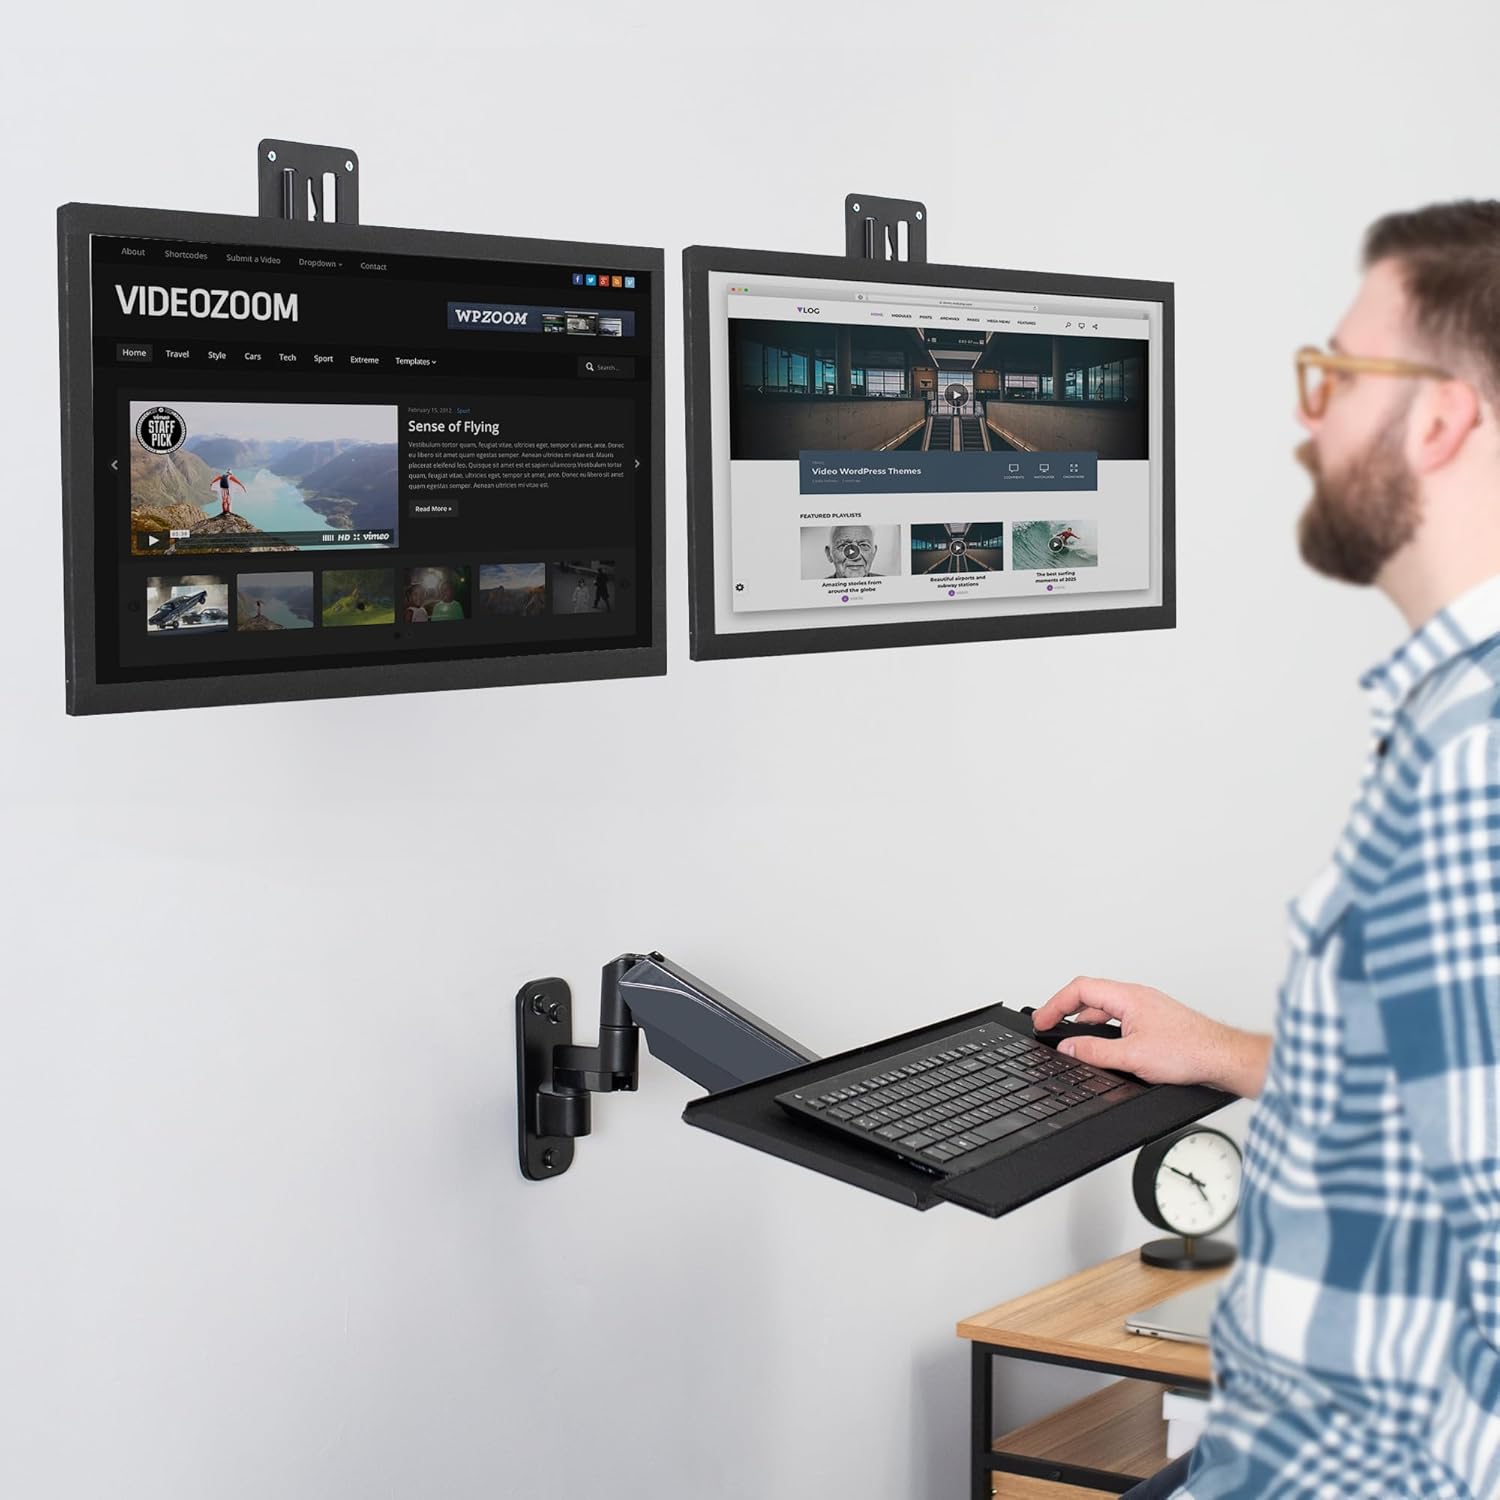
Image: A user interacting with the VIVO dual monitor and keyboard wall mount setup, demonstrating an ergonomic workstation.
5.1 Monitor Height Adjustment
The monitor mounts feature a sliding mechanism for vertical height adjustment. Loosen the adjustment screws, slide the monitors to the desired height, and then re-tighten the screws to secure their position.
5.2 Keyboard Tray Height Adjustment
The keyboard tray is equipped with a pneumatic spring arm, allowing for smooth and effortless height adjustments. Gently push or pull the tray to move it to your preferred standing or sitting position. Adjust the tension of the pneumatic arm if the tray does not hold its position (refer to the hardware kit for specific adjustment tools).
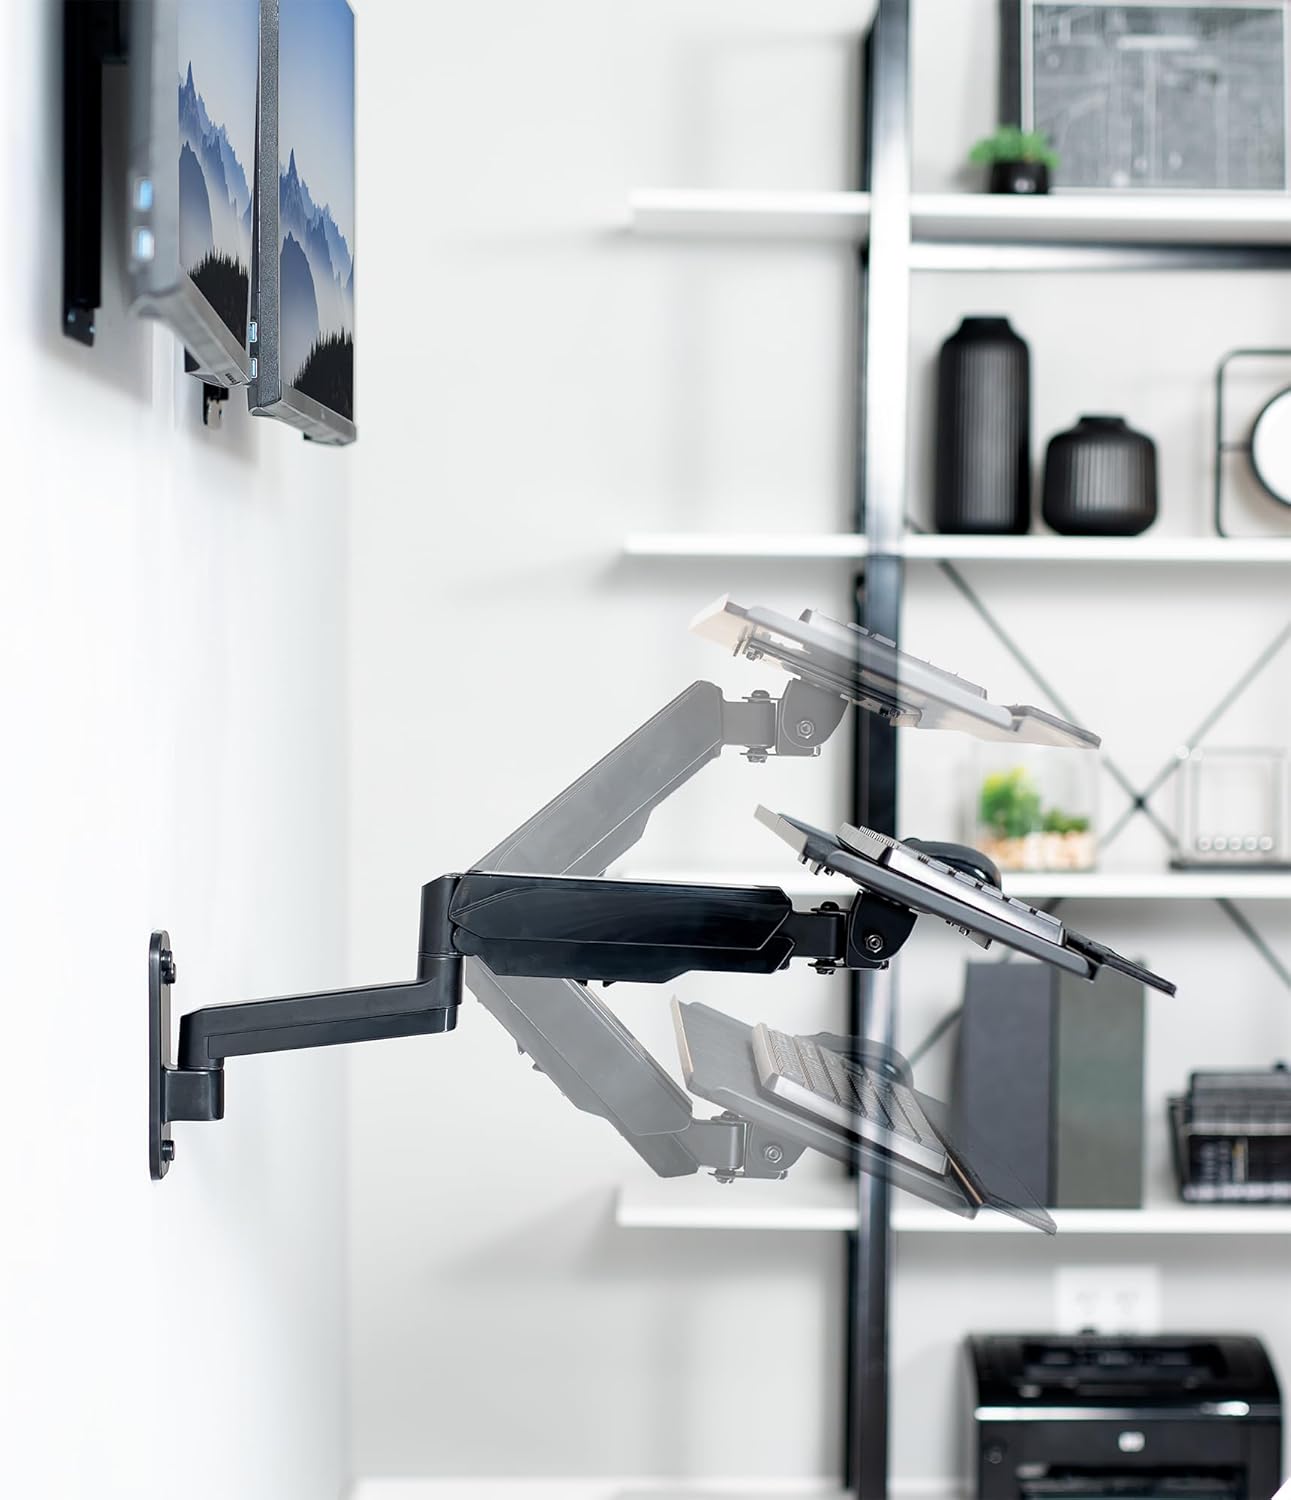
Image: Sequence of images showing the articulation range of the keyboard tray arm, demonstrating height and angle adjustments.
5.3 Tilt, Swivel, and Rotation
- Tilt: Monitors can be tilted +10° to -10° to reduce glare and optimize viewing angles.
- Swivel: The keyboard tray arm allows for 20° swivel, enabling flexible positioning.
- Rotation: Monitors can be rotated 360° for landscape or portrait orientation.

Image: The keyboard tray demonstrates 20 degrees of swivel and 360 degrees of rotation for custom placement.
5.4 Space-Saving Fold-Up
The keyboard tray can be folded up against the wall when not in use, providing a low-profile storage solution and saving space. When folded, the tray sits approximately 4.5 inches from the wall surface.
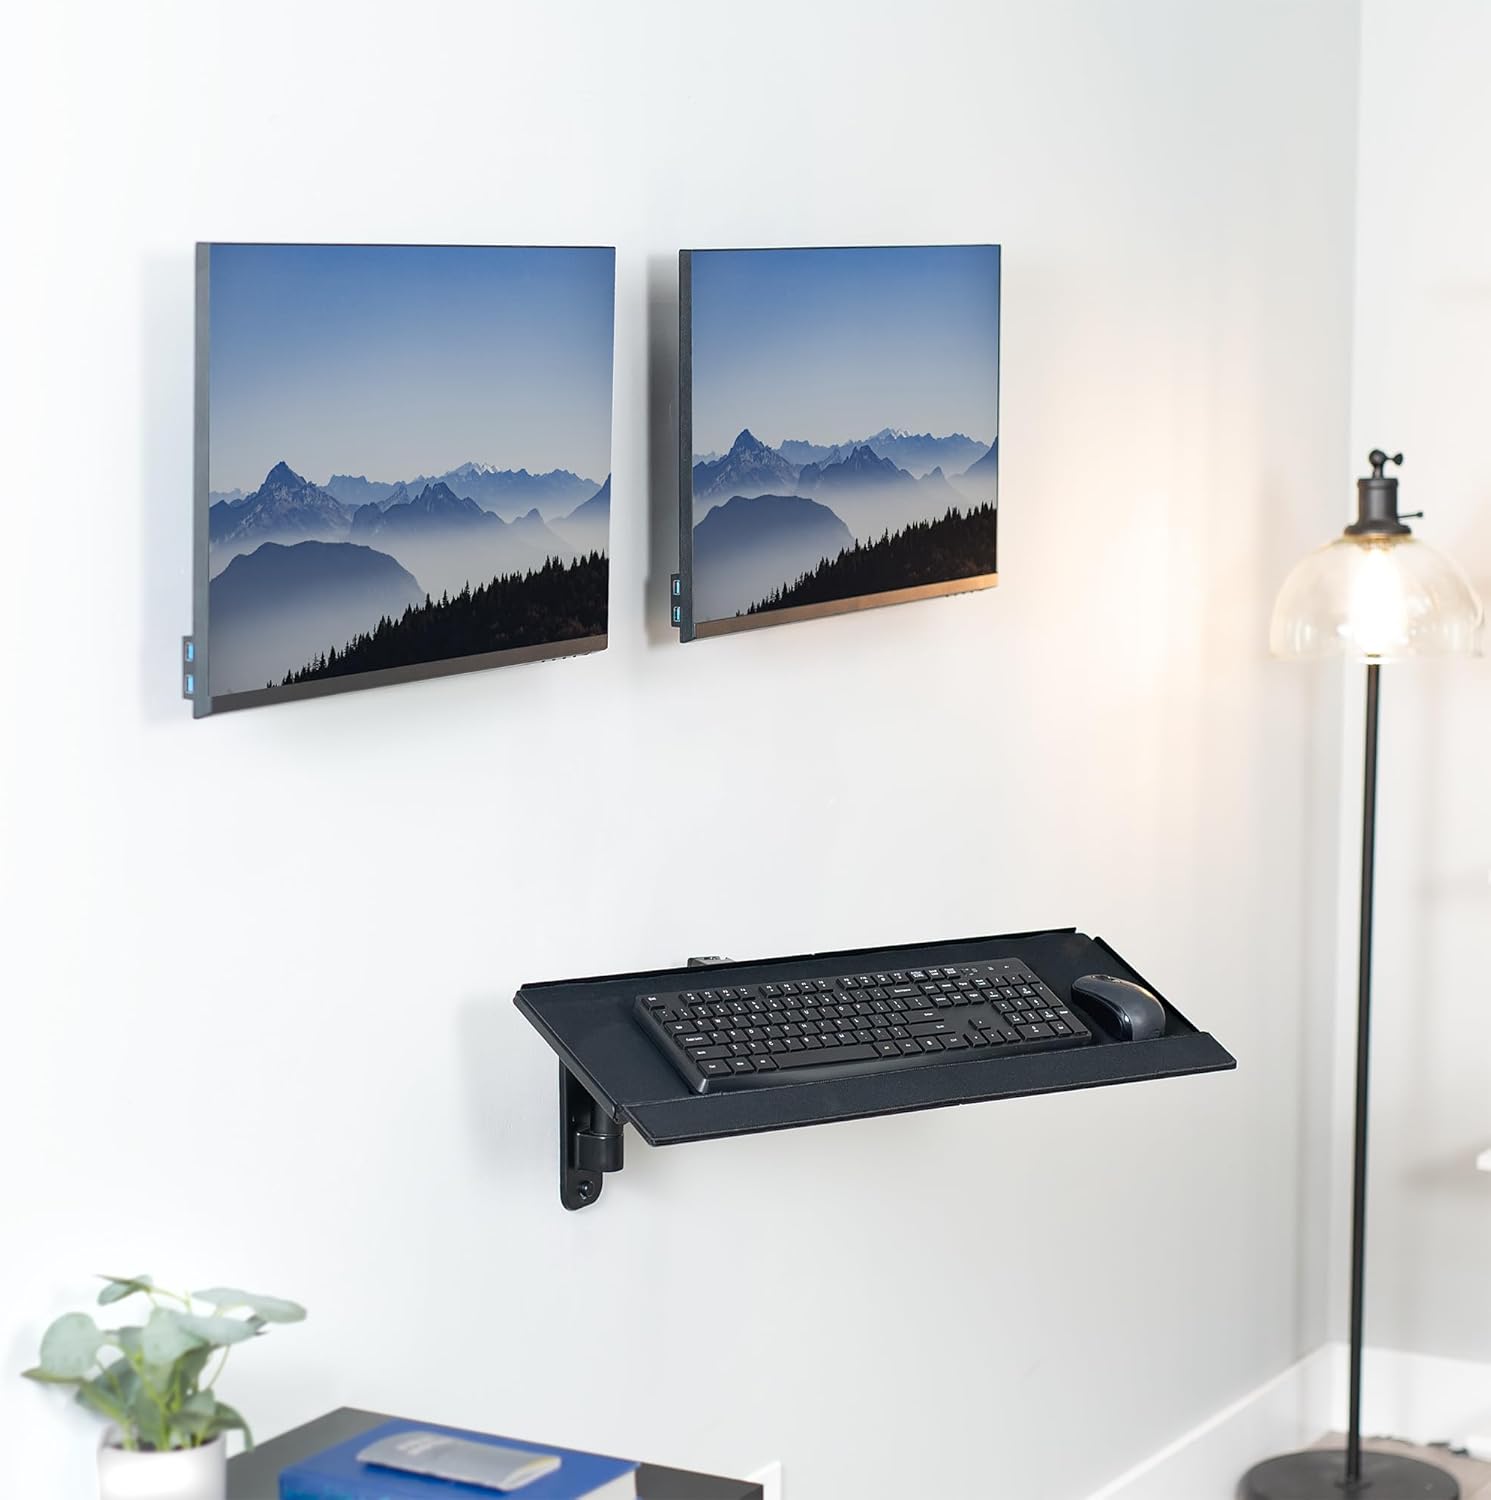
Image: The VIVO keyboard tray folded up against the wall, illustrating its low-profile design for space-saving.
6. Maintenance
Regular maintenance ensures the longevity and safe operation of your wall mount.
- Periodically check all screws and connections to ensure they remain tight. Re-tighten if necessary.
- Clean the surfaces of the mount with a soft, damp cloth. Avoid abrasive cleaners.
- Inspect the pneumatic arm for smooth operation. If it becomes stiff or noisy, consult the troubleshooting section or contact support.
7. Troubleshooting
If you encounter issues with your VIVO MOUNT-VWKB2, refer to the following common problems and solutions.
| Problem | Possible Cause | Solution |
|---|---|---|
| Keyboard tray does not hold position or sags. | Pneumatic arm tension is too low for the weight. | Adjust the tension screw on the pneumatic arm. Refer to the hardware kit for specific instructions. |
| Monitors are not level. | Mounting screws not tightened evenly or wall plate not level. | Ensure the wall plate is level during installation. Re-adjust monitor height and tighten screws evenly. |
| Mount feels unstable. | Improper installation or loose connections. | Verify that the wall plate is securely fastened to a stud or appropriate anchors. Check all connections and tighten any loose screws. Do not exceed weight capacity. |
8. Specifications
| Feature | Detail |
|---|---|
| Model Number | MOUNT-VWKB2 |
| Screen Size Compatibility | 17" to 32" (Flat & Curved Screens) |
| Monitor Weight Capacity | 17.6 lbs per monitor |
| Keyboard Tray Weight Capacity | 2.2 lbs |
| VESA Compatibility | 75x75mm, 100x100mm |
| Mounting Type | Wall Mount |
| Movement Type | Articulating |
| Tilt Angle | +10° to -10° |
| Swivel Angle | 20° |
| Rotation | 360° |
| Material | Alloy Steel |
| Color | Black |
| Product Dimensions | 9.6 x 25.7 x 9.5 inches |
| Item Weight | 15.7 pounds |
| UPC | 840408801379 |
9. Warranty and Support
VIVO is committed to providing quality products and excellent customer service. This product comes with a standard warranty. For specific warranty details, please refer to the product packaging or the official VIVO website.
Our U.S.-based Sales and Technical Support team members are available to assist with any questions or concerns regarding your VIVO MOUNT-VWKB2. If you require assistance with installation, troubleshooting, or have any product-related inquiries, please contact us directly.
For support, visit the official VIVO website or contact our customer service department. We aim for worry-free delivery and returns, ensuring a positive experience with your purchase.