
1. Product Overview
The Acer SB243Y G0bi is a 23.8-inch IPS Full HD (1920 x 1080) monitor designed for both gaming and office use. It features an ultra-thin, zero-frame design for maximum screen visibility. Key features include Adaptive-Sync support (FreeSync Compatible) for smooth visuals, a fast 1ms Visual Response Boost (VRB) for blur-free images, and a refresh rate of up to 120Hz. The monitor also incorporates IPS technology for accurate colors and wide viewing angles, along with Acer VisionCare™ technology for a comfortable viewing experience.
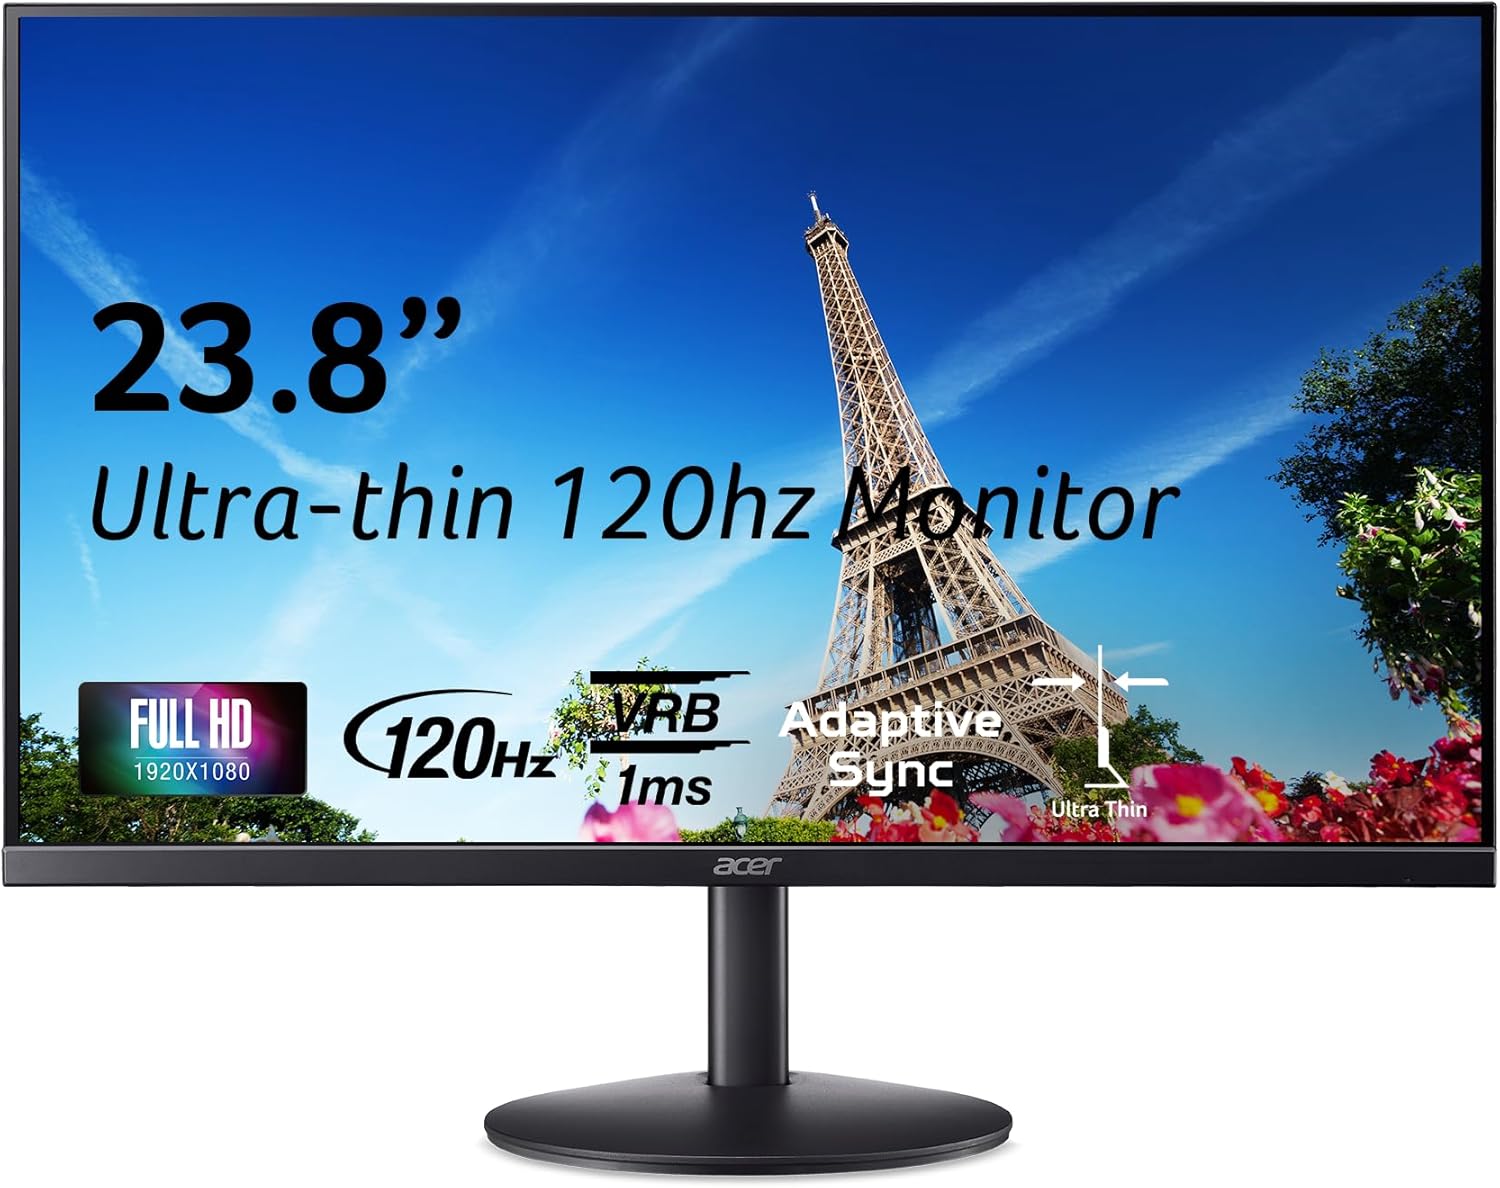
Figure 1.1: Front view of the Acer SB243Y G0bi monitor, showcasing its ultra-thin design and key features.
2. What's in the Box
Upon unpacking your Acer SB243Y G0bi monitor, please ensure all the following components are present:
- Display Unit
- Monitor Stand (Base and Neck)
- Power Cord
- HDMI Cable
If any items are missing or damaged, please contact Acer customer support.
3. Setup Instructions
3.1 Assembling the Stand
- Carefully remove the monitor from its packaging, placing it face down on a soft, clean surface to prevent scratches.
- Attach the stand neck to the back of the monitor until it clicks into place or is secured with screws (refer to the quick start guide for specific screw details if applicable).
- Attach the stand base to the stand neck and secure it with the captive screw located on the underside of the base.

Figure 3.1: Rear view of the monitor with the stand assembled.
Note: The monitor is VESA Mounting Compliant (100 x 100mm) if you wish to use an alternative mounting solution.
3.2 Connecting the Monitor
Connect the monitor to your computer using the provided cables.
- HDMI Connection: Connect one end of the HDMI cable to the HDMI port on your computer's graphics card and the other end to the HDMI 1.4 port on the monitor.
- VGA Connection: Alternatively, connect a VGA cable (not included) to the VGA port on your computer and the VGA port on the monitor.
- Power Connection: Connect the power cord to the monitor's power input and then to a power outlet.

Figure 3.2: Available ports on the rear of the monitor.
4. Operating Instructions
4.1 Powering On/Off
Press the power button, usually located on the bottom right side of the monitor, to turn the monitor on or off. The power indicator light will illuminate when the monitor is on.
4.2 Adjusting Settings (OSD Menu)
The On-Screen Display (OSD) menu allows you to adjust various monitor settings. Use the control buttons (typically located on the bottom right or rear of the monitor) to navigate the menu.
- Brightness/Contrast: Adjust the overall luminance and contrast of the display.
- Color Settings: Modify color temperature, gamma, and individual RGB levels.
- Input Select: Manually switch between HDMI and VGA inputs.
- Picture Mode: Select from preset display modes (e.g., Standard, Graphics, Movie, Game).
- OSD Settings: Adjust OSD timeout, language, and transparency.
4.3 Adaptive-Sync (FreeSync Compatible)
The monitor supports Adaptive-Sync technology, which is compatible with AMD FreeSync. This feature synchronizes the monitor's refresh rate with your graphics card's frame rate, eliminating screen tearing and stuttering for a smoother visual experience, especially in gaming.

Figure 4.1: Visual representation of Adaptive-Sync technology reducing screen tearing.
To enable Adaptive-Sync, ensure it is enabled in both the monitor's OSD menu and your graphics card's control panel.
4.4 Refresh Rate
This monitor supports a refresh rate of up to 120Hz, providing smoother motion and a more responsive experience compared to standard 60Hz monitors. This is particularly beneficial for fast-paced content like gaming.

Figure 4.2: Demonstrating the difference between 120Hz and 60Hz refresh rates.
To utilize the 120Hz refresh rate, ensure your graphics card and operating system display settings are configured accordingly.
4.5 Visual Response Boost (VRB)
The 1ms VRB feature reduces motion blur in fast-moving scenes by rapidly turning the backlight on and off. This creates the effect of a faster response time, resulting in clearer images during intense action.

Figure 4.3: Visual Response Boost (VRB) technology minimizing blur.
4.6 Eye Care Features (Acer VisionCare™)
Acer VisionCare™ technology includes several features designed to reduce eye strain during prolonged use:
- BlueLightShield™: Reduces the emission of harmful blue light.
- Flicker-less: Eliminates screen flickering, which can cause eye fatigue.
- Low Dimming: Allows for lower brightness levels in dimly lit environments.

Figure 4.4: Acer VisionCare™ technology for reduced eye strain.
5. Maintenance
- Cleaning the Screen: Gently wipe the screen with a soft, lint-free cloth. For stubborn marks, dampen the cloth slightly with water or a specialized screen cleaner. Avoid using harsh chemicals or abrasive materials.
- Cleaning the Casing: Use a soft, dry cloth to wipe the monitor casing.
- Ventilation: Ensure the monitor's ventilation openings are not blocked to prevent overheating.
- Power Off: Always power off the monitor and unplug it from the power outlet before cleaning or if it will be unused for an extended period.
6. Troubleshooting
| Problem | Possible Cause | Solution |
|---|---|---|
| No image on screen |
|
|
| Image is blurry or distorted |
|
|
| Screen flickering or tearing |
|
|
| No sound (if external speakers are connected to PC) |
|
|
7. Specifications
| Feature | Detail |
|---|---|
| Model Name | SB243Y G0bi |
| Item Model Number | UM.QS3AA.001 |
| Screen Size | 23.8 Inches |
| Panel Type | IPS (In-Plane Switching) |
| Resolution | Full HD (1920 x 1080) |
| Aspect Ratio | 16:9 |
| Refresh Rate | Up to 120Hz |
| Response Time | 1ms VRB (Visual Response Boost) |
| Brightness | 250 nits |
| Color Saturation | 99% sRGB |
| Viewing Angle | 178° (H), 178° (V) |
| Pixel Pitch | 0.275mm |
| Connectivity | 1 x HDMI 1.4, 1 x VGA |
| Ergonomic Tilt | -5° to 25° |
| VESA Mounting | 100 x 100mm |
| Dimensions (LxWxH) | 7.44 x 21.22 x 15.67 inches |
| Weight | 7.63 pounds |
| Color | Black |
8. Warranty and Support
For detailed warranty information, please refer to the warranty card included with your product or visit the official Acer support website.
If you encounter any issues not covered in the troubleshooting section, or require further assistance, please contact Acer customer support. You can find contact information and additional resources on the official Acer website: www.acer.com/support.