
Introduction
This manual provides comprehensive instructions for the installation, operation, and maintenance of your Fieety V7 Dust Cup Replacement. Please read this manual carefully before proceeding to ensure proper use and to maximize the lifespan of your vacuum cleaner component. This dust cup is designed specifically for the Fieety V7 vacuum cleaner model.
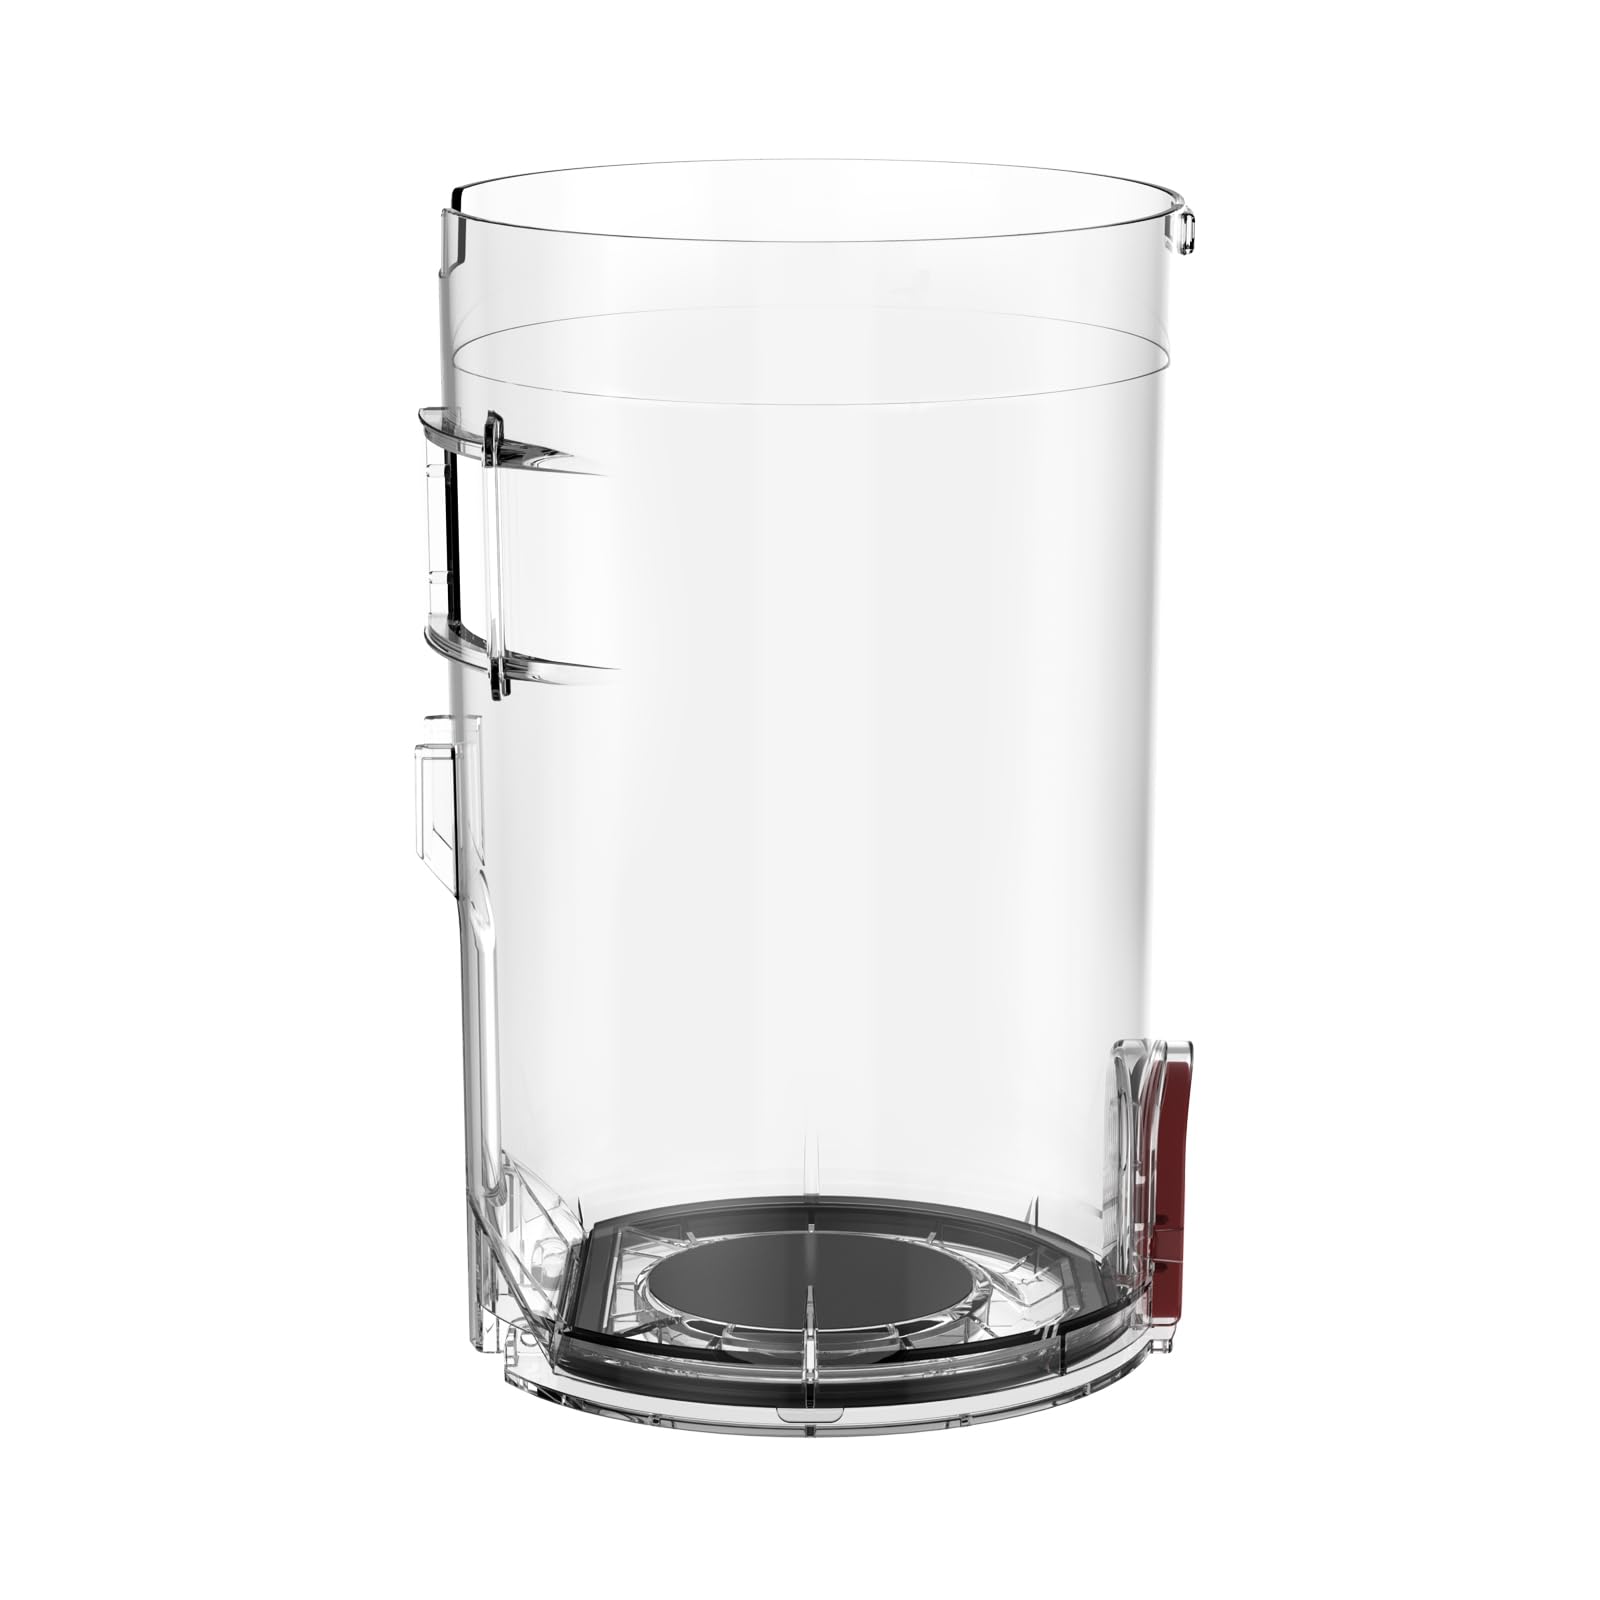
Figure 1: The Fieety V7 Dust Cup Replacement. This image shows the transparent plastic dust cup, highlighting its design and connection points, ready for installation into the vacuum cleaner.
Setup and Installation
Follow these steps to correctly install the replacement dust cup into your Fieety V7 vacuum cleaner.
- Safety First: Before beginning, ensure the vacuum cleaner is turned off and unplugged from the power source to prevent accidental activation.
- Remove Old Dust Cup: Locate the release button or latch on your Fieety V7 vacuum cleaner that secures the existing dust cup. Press or slide this mechanism and carefully detach the old dust cup from the main body of the vacuum.
- Prepare New Dust Cup: Inspect the new Fieety V7 Dust Cup Replacement for any damage or debris. Ensure all seals are properly seated.
- Align and Attach: Align the new dust cup with the corresponding connection points on the vacuum cleaner body. Gently push the dust cup into place until you hear a click, indicating it is securely latched. Verify that it is firmly attached and does not wobble.
- Test Functionality: Plug in the vacuum cleaner and turn it on briefly to ensure the dust cup is properly installed and there are no air leaks.
Note: If you encounter resistance or difficulty during installation, do not force the dust cup. Re-check alignment and ensure no obstructions are present.
Figure 2: Illustration of Dust Cup Installation. This image would typically show a sequence of steps: 1) unplugging the vacuum, 2) pressing the release button on the old dust cup, 3) removing the old dust cup, 4) aligning the new dust cup, and 5) securing the new dust cup in place. This visual guide helps ensure correct attachment.
Operating the Dust Cup
The dust cup is an integral part of your vacuum's filtration system. Proper operation involves regular emptying.
- When to Empty: Empty the dust cup when the debris reaches the "MAX" fill line indicated on the side of the cup. Overfilling can reduce suction power and strain the motor.
- Emptying Procedure:
- Turn off and unplug the vacuum cleaner.
- Hold the dust cup over a trash receptacle.
- Locate the dust cup release button (often at the bottom or side) and press it to open the bottom flap.
- Allow all debris to fall into the trash. Gently tap the dust cup to dislodge any stuck particles.
- Close the bottom flap securely until it clicks into place.
Figure 3: Emptying the Dust Cup. This image would demonstrate the process of holding the dust cup over a bin and pressing the release button to open the bottom flap, allowing collected dust and debris to fall out. It emphasizes cleanliness and ease of disposal.
Maintenance
Regular cleaning of the dust cup and its internal components is crucial for maintaining optimal vacuum performance.
- Disassembly for Cleaning:
- Ensure the vacuum is unplugged.
- Remove the dust cup from the vacuum cleaner as described in the "Setup" section.
- Depending on your Fieety V7 model, you may be able to further disassemble the dust cup to access the internal filter or cyclone assembly. Refer to your original vacuum cleaner manual for specific disassembly instructions for internal components.
- Washing the Dust Cup:
- Rinse the dust cup under cool tap water. Use a soft brush if necessary to remove stubborn dirt.
- Do not use harsh detergents or abrasive cleaners, as these can damage the plastic.
- Ensure all components are thoroughly dry before reassembling and reattaching to the vacuum. Air dry for at least 24 hours. Do not use heat to dry.
- Filter Maintenance: The dust cup often houses a filter. Clean or replace this filter according to your vacuum cleaner's original instructions. A clogged filter will significantly reduce suction.
Figure 4: Cleaning the Dust Cup. This image would illustrate rinsing the dust cup under running water, potentially showing a user gently scrubbing internal surfaces with a soft brush. It emphasizes the importance of complete drying before reassembly.
Troubleshooting
If you encounter issues after installing your replacement dust cup, refer to the following common problems and solutions.
| Problem | Possible Cause | Solution |
|---|---|---|
| Dust cup does not fit securely. | Incorrect alignment; debris obstructing connection; incompatible model. | Ensure correct alignment and clear any obstructions. Verify the dust cup is for Fieety V7. |
| Reduced suction power. | Dust cup overfilled; clogged filter; air leak. | Empty the dust cup. Clean or replace the filter. Re-seat the dust cup to ensure a tight seal. |
| Dust escaping from vacuum. | Dust cup not properly sealed; damaged dust cup or seals. | Ensure the dust cup is securely latched. Inspect the dust cup and its seals for cracks or damage. |
Specifications
Key specifications for the Fieety V7 Dust Cup Replacement:
- Brand: Fieety
- Model: V7
- Material: Plastic
- Color: Transparent
- Item Dimensions (L x W x H): 4.5 x 4.5 x 6.8 inches
- Item Weight: 7.3 ounces
- Included Components: Dust Cup
- Compatibility: Specifically designed for Fieety V7 Vacuum Cleaner
Warranty and Support
For warranty information regarding your Fieety V7 Dust Cup Replacement, please refer to the original purchase documentation or contact Fieety customer support directly. Specific warranty terms may vary.
If you require further assistance or have questions not covered in this manual, please visit the official Fieety website or contact their customer service department. Contact details can typically be found on the product packaging or the brand's official website.
Official Product Videos
No official product videos from the seller were found to be relevant for embedding in this instruction manual.
