Introduction
This manual provides detailed instructions for the assembly, painting, and detailing of your Italeri 1/32 scale Macchi MC.205 Veltro plastic model airplane kit. Please read all instructions carefully before beginning assembly. This kit is designed for adult modelers and requires precision and patience.
Important Safety Information
WARNING! Not suitable for young children. Contains small parts which may pose a choking hazard. Keep all parts and tools out of reach of children.
Always use appropriate ventilation when painting and using adhesives. Wear safety glasses to protect your eyes from small flying parts or chemical splashes. Dispose of waste materials responsibly.
Kit Contents
Your Italeri Macchi MC.205 Veltro kit includes:
- Unpainted plastic parts for one 1/32 scale aircraft model.
- Etched parts for enhanced detail.
- Decal sheets for various markings and camouflage patterns.
- Instruction manual (this document).
Please note that adhesives, paints, and modeling tools are not included and must be purchased separately.
Assembly Instructions
Follow the numbered steps in the included diagrammatic instructions for proper assembly. Dry-fit parts before applying adhesive to ensure a good fit. Use plastic cement for plastic parts and super glue for etched metal parts.
Step 1: Preparing Parts
Carefully remove all plastic parts from the sprues using a hobby knife or sprue cutters. Clean any flash or mold lines with a sanding stick or fine-grit sandpaper. Identify all parts according to the parts diagram.
Step 2: Cockpit Assembly
Assemble the cockpit interior components. Refer to the instrument panel decal sheet for applying details to the cockpit. Paint interior parts according to historical references or suggested colors.

Image: Cockpit instrument panel decals. This image displays the various instrument panel decals, numbered 1 through 6, which are to be applied to the cockpit components to add realistic detail.
Step 3: Engine and Fuselage Assembly
Assemble the engine components and integrate them into the fuselage halves. Ensure proper alignment before gluing the fuselage halves together. Allow sufficient drying time for all adhesive joints.

Image: Assembled model with open engine bay. This image shows a partially assembled Macchi MC.205 Veltro model with the engine cowling removed, revealing the detailed engine and internal structure.
Step 4: Wing and Tail Assembly
Attach the wing sections and tail stabilizers to the fuselage. Pay close attention to the dihedral angle of the wings. Use clamps or tape to hold parts in place while the adhesive cures.
Step 5: Landing Gear and External Details
Assemble and attach the landing gear, propeller, and any other external details such as antennas or armament. Use the etched parts for finer details where indicated in the instructions.

Image: Etched parts sheet. This image displays a sheet of photo-etched metal parts, numbered for various small details and enhancements to the model.
Finishing and Detailing
Once the main assembly is complete, prepare the model for painting. Clean the surface thoroughly to remove any dust or grease. Apply a primer coat before painting the main colors.
Painting
Refer to the painting guide for suggested colors and camouflage patterns. Use thin, even coats of paint to achieve a smooth finish. Allow each coat to dry completely before applying the next.
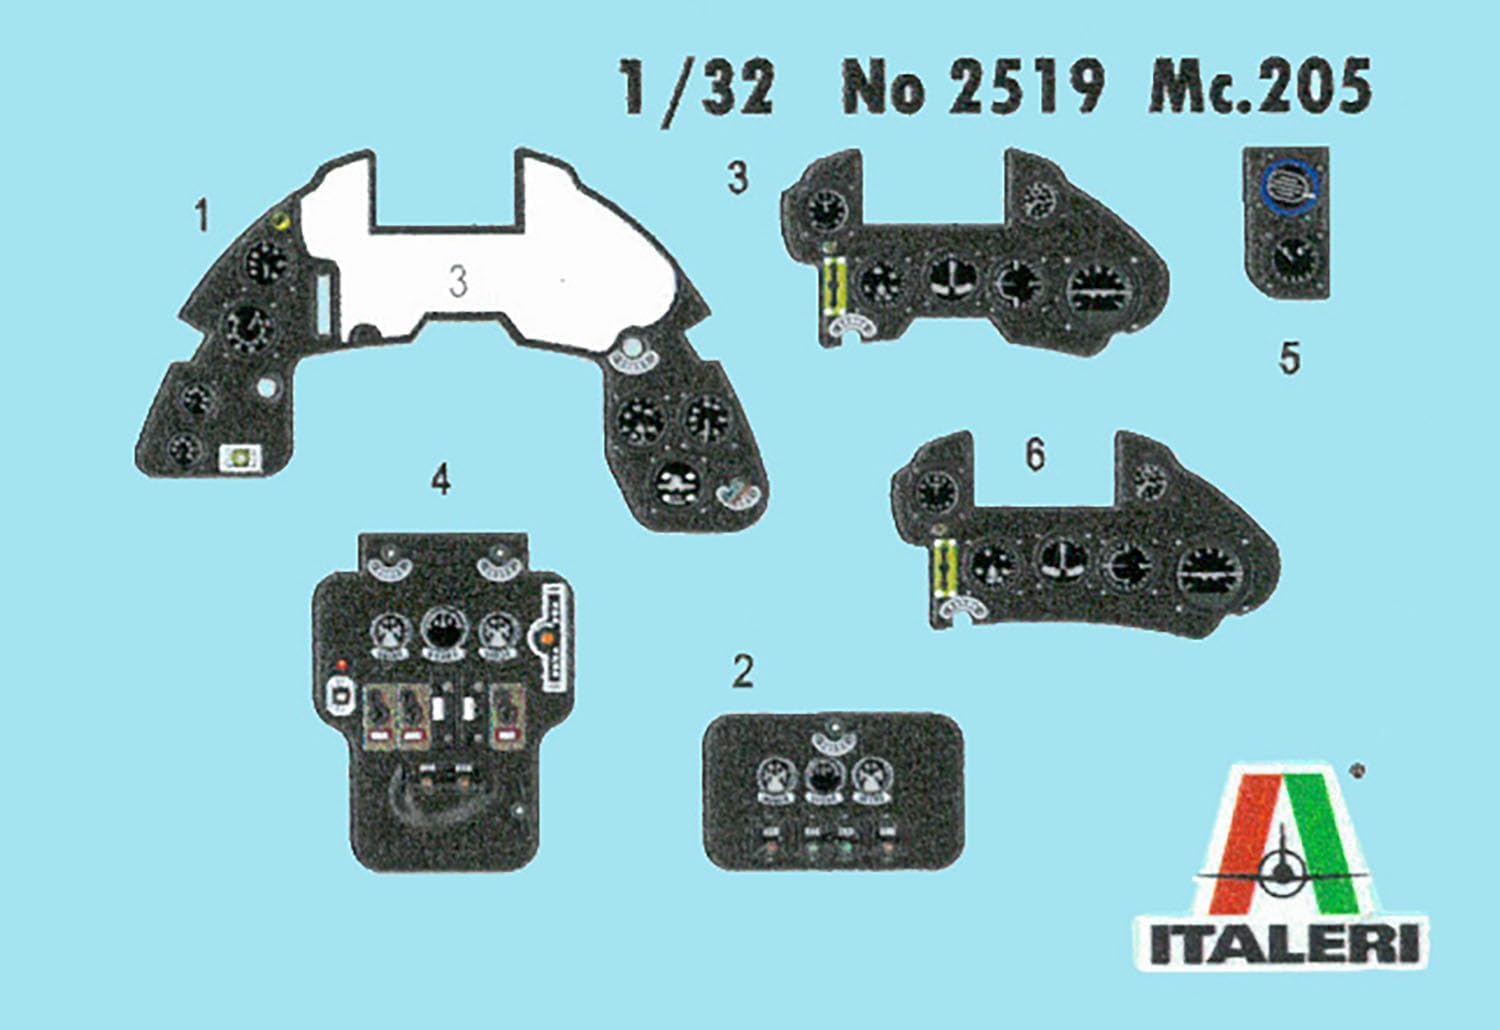
Image: Camouflage decal sheet. This sheet contains numerous irregularly shaped decals, numbered 1 through 136, designed to replicate the distinctive camouflage pattern of the Macchi MC.205 Veltro.
Decal Application
Apply a gloss clear coat before applying decals to prevent silvering. Cut out each decal carefully, dip it in water, and slide it onto the model. Use decal setting solutions to help the decals conform to surface details. Once dry, apply a final clear coat (gloss or matte, depending on desired finish) to seal the decals.
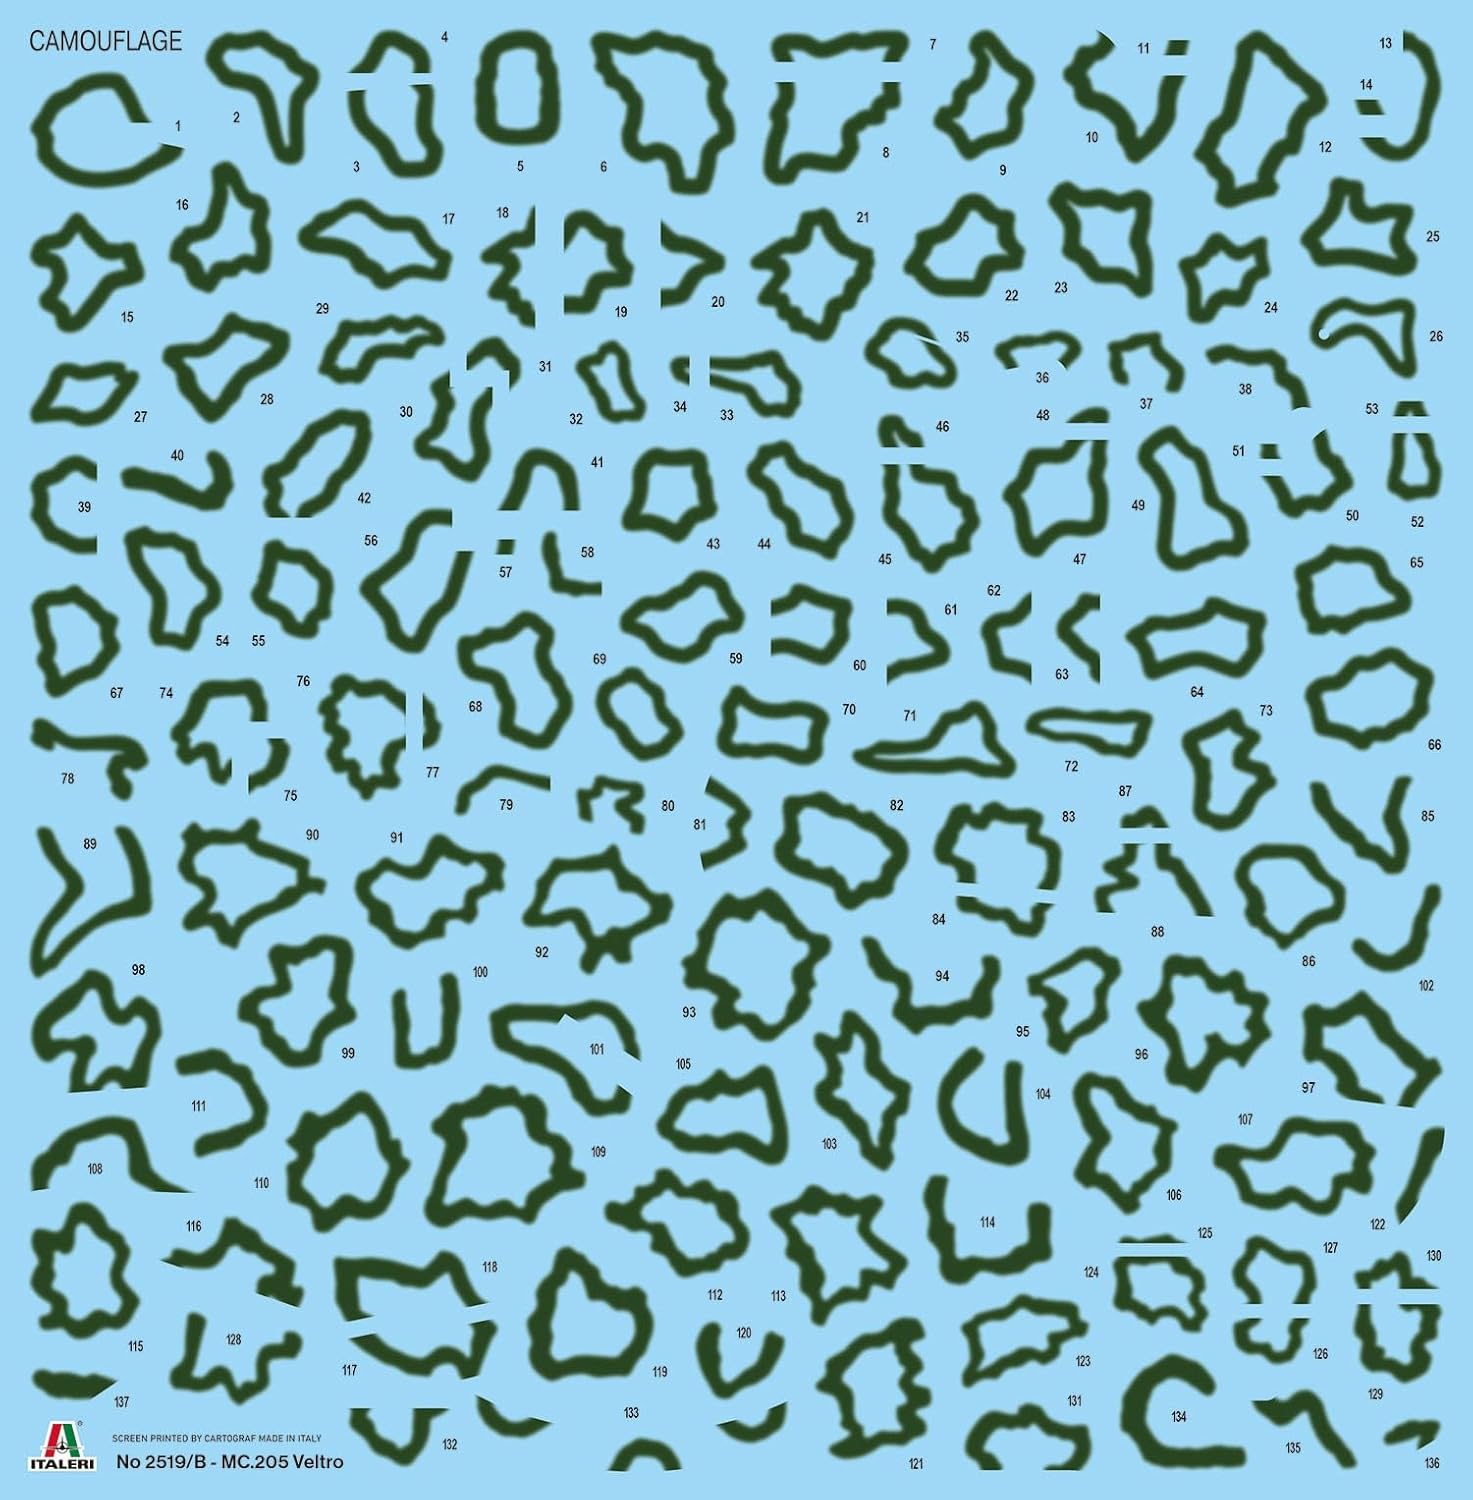
Image: Common parts decal sheet. This sheet includes various national insignia, unit markings, and stencils, organized into sections A through H, for different versions of the Macchi MC.205 Veltro.
Finished Model Examples

Image: Top view of finished model. This image shows the completed Macchi MC.205 Veltro model from a top-down perspective, highlighting the camouflage and markings.

Image: Front-side view of finished model. This image presents the completed model from a three-quarter front view, showcasing the overall shape and details.

Image: Close-up of cockpit and engine area. This detailed shot focuses on the cockpit and engine cowling, highlighting the intricate painting and decal work.
Care and Maintenance
Once assembled and painted, your model is a static display piece. To maintain its appearance:
- Keep the model in a dust-free environment, such as a display case.
- Clean gently with a soft brush or a lint-free cloth to remove dust. Avoid using harsh chemicals or abrasive materials.
- Keep away from direct sunlight and extreme temperature changes to prevent paint fading or plastic warping.
Troubleshooting
Most issues during model assembly can be resolved by carefully re-reading the instructions and dry-fitting parts. If you encounter difficulties:
- Parts not fitting: Ensure all flash is removed and parts are oriented correctly. Gentle sanding may be required.
- Decal silvering: Ensure a gloss surface is present before applying decals and use decal setting solutions.
- Missing or damaged parts: If you believe parts are missing or damaged from your kit, please contact Italeri customer support with your kit model number and details of the issue.
Specifications
| Feature | Detail |
|---|---|
| Brand | Italeri |
| Model Name | 1/32 WW2 ITALIAN MAKI MC.205 |
| Item Model Number | IT2519JP |
| Scale | 1/32 |
| Assembled Length (approx.) | 10.9 inches (276 mm) |
| Material | Plastic |
| Special Features | Etched parts and 3D stickers included |
| Assembly Required | Yes |
| Recommended Age Range | Adult |
Customer Support
For further assistance, technical questions, or inquiries regarding missing parts, please visit the official Italeri website or contact their customer service department. Please have your model number (IT2519JP) ready when contacting support.
Official Italeri Website: www.italeri.com