Yale Assure Lock 2 Touch Deadbolt (YRD430-F-ZW3-619) Instruction Manual
Model: YRD430-F-ZW3-619
Introduction
This manual provides detailed instructions for the installation, operation, and maintenance of your Yale Assure Lock 2 Touch Deadbolt. This key-free smart entry door lock features a Z-Wave (ZW3) connected touchscreen keypad, offering multiple ways to unlock and remote access capabilities when integrated with a compatible Z-Wave smart home or alarm system.

Image: Yale Assure Lock 2 Touch Deadbolt components including the keypad, interior module, and Z-Wave module.
Video: An overview of the Yale Assure Lock 2, highlighting its unique features and design.
Safety Information
- Read all instructions carefully before installation and use.
- Do not use harsh chemicals or abrasive cleaners on the lock's finish.
- Ensure proper battery installation to prevent damage or malfunction.
- Keep entry codes confidential and change them regularly.
What's in the Box
The Yale Assure Lock 2 Touch Deadbolt package includes the following components:
- Yale Assure Lock 2 Touch Deadbolt (Exterior Keypad and Interior Module)
- Z-Wave Module
- 4 AA Batteries
- DoorSense Sensor
- Mounting Hardware (screws, strike plate)
Tools You'll Need
For installation, you will need the following tools:
- Philips head screwdriver
- Pencil (optional)
- Drill (optional)
- Utility knife (optional)
- Tape measure (optional)
- Wood mortise chisel (optional)
Installation Guide
The Yale Assure Lock 2 is designed for simple DIY installation, typically taking under 30 minutes using basic tools. Follow these steps carefully:

Image: A visual representation of the simple DIY installation process for the Yale Assure Lock 2.
Step 1: Prepare Your Door
Before installing your lock, prepare your door. Use a screwdriver to remove the two screws from the existing deadbolt. Next, remove the two screws from the deadbolt latch.
Step 2: Check Door Measurements
Use the provided door checker to verify your door measurements. The Assure Lock 2 can be installed on doors that are 1 3/8" - 2 1/4" thick. Ensure the space between your deadbolt hole and your lever is greater than 1.78". The deadbolt supports backsets of 2 3/8" or 2 3/4". If your backset is 2 3/4", adjust your deadbolt latch by twisting the bolt. The Assure Lock 2 supports bore holes of 2 1/8" or 1 1/2". If your bore hole is 1 1/2", remove the bore hole cup from the keypad by unscrewing the two screws on the inside of the keypad. The diameter of your cross bore hole must be 1". The strike pocket hole must be 1" in diameter and 1" deep.
Step 3: Install Deadbolt Latch
Put the deadbolt latch in the retracted, unlocked position. The deadbolt orientation should be placed into the door with the side marked 'UP'. Verify that the deadbolt is centered in the hole in the door. Then, secure it with the two small screws.
Step 4: Install Strike Plate
Install the strike plate into the door frame with the remaining two small screws.
Step 5: Install Keypad and Mounting Bracket
Install the keypad on the front of the door. Make sure the cable is positioned under the deadbolt latch. Additionally, ensure the keypad is flush to the door and is straight. Install the mounting bracket on the inside of your door. Place the two prongs through the two holes in the keypad. Then, guide the keypad wire through the hole in the mounting bracket. Secure the mounting bracket using the long screws (silver, black, or blue) you selected while measuring your door thickness. Thread the through bolts through the two holes in the mounting bracket. Make sure they also thread properly through the deadbolt latch and the keypad. Continue to thread until tightened and so that the keypad is sitting flushing on the front of the door.
Step 6: Attach Cable and Place Tailpiece
Attach the cable from the keypad to the connector on the inside of the lock. Be sure to route the wire under the wire guide without crimping it. Put the tailpiece in the horizontal position and place it through the mounting bracket and the deadbolt latch. Make sure the interior lock is on the mounting bracket by hooking the bottom of the interior of the lock to the latch on the mounting bracket.
Step 7: Install Interior Lock and Batteries
Screw in the two pre-installed screws inside of the lock's battery cover. When tightening down these screws, the lock will adjust itself to sit flush on the door. Unlock the deadbolt before installing the batteries. For easy battery removal in the future, pull up the ribbon to cover the battery terminals. Then, install the bottom back battery, followed by the top back battery, and finally the two front batteries before sliding the battery cover back in place.
Step 8: Test Lock Operation
Test the operation of the lock by moving the thumbturn. The thumbturn should move smoothly and the latch should move to the extended, or locked, position. If you are experiencing issues, refer to the troubleshooting section.
Step 9: Install Yale Smart Module (Optional)
If you have a Yale Smart Module, install it in the interior of the lock in the module slot. The module must be installed prior to installing the batteries. If your batteries are already installed, remove one battery prior to installing the module. We recommend doing this if your lock came with a module.
Video: Detailed installation steps for the Yale Assure Lock 2 Key-Free model.
Operating Instructions
The Yale Assure Lock 2 Touch Deadbolt offers multiple convenient ways to access your home.
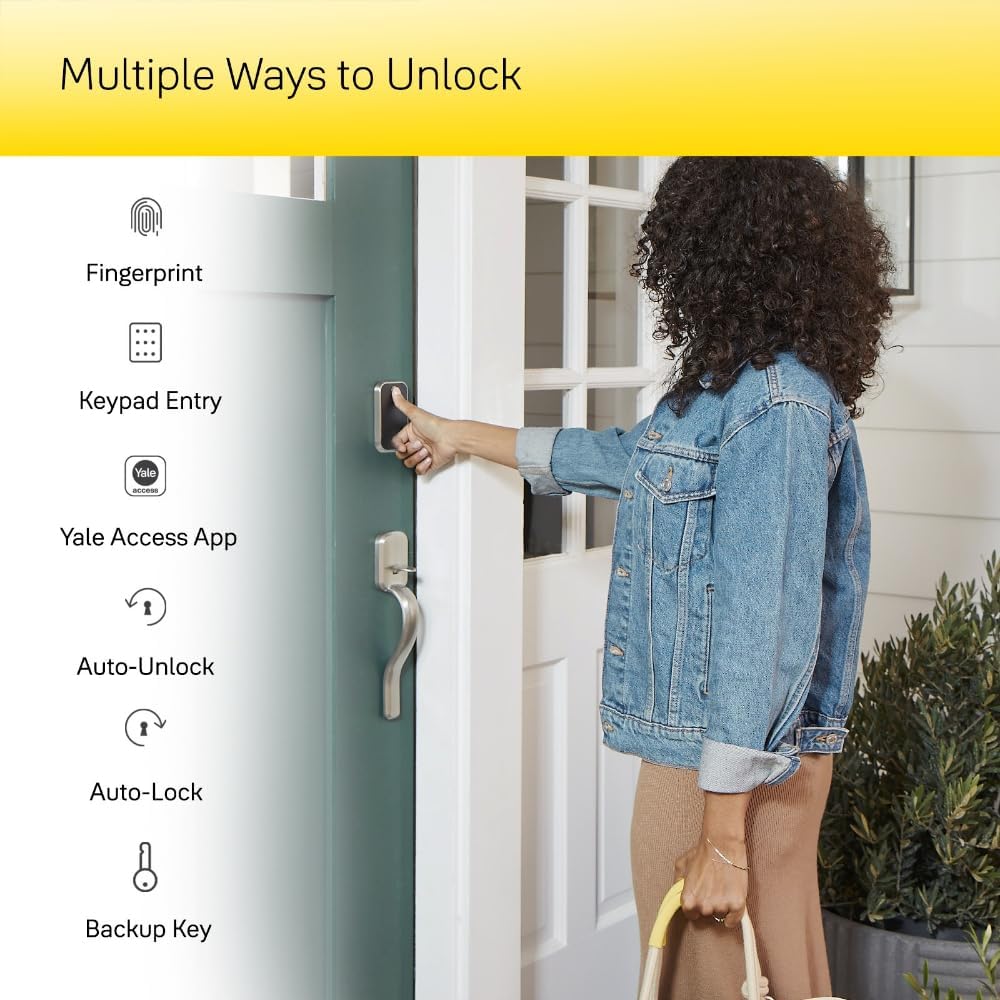
Image: Diagram illustrating various unlock methods: Fingerprint, Keypad Entry, Yale Access App, Auto-Unlock, Auto-Lock, and Backup Key.
Key-Free Access
- Touchscreen Keypad: Enter your unique code on the illuminated keypad.
- Fingerprint: For models with fingerprint recognition, simply place your registered fingerprint on the sensor for quick entry.
- Yale Access App: Use the Yale Access App on your smartphone for convenient unlocking and locking.
- Voice Assistant: Integrate with compatible voice assistants for hands-free control.

Image: A person unlocking the Yale Assure Lock 2 using their unique fingerprint on the keypad.
Z-Wave System Integration
The Z-Wave module allows seamless integration with your favorite Z-Wave smart home or alarm system (e.g., Samsung SmartThings, Hubitat). This enables you to manage the lock alongside other smart devices, check lock status, and receive notifications remotely.
Auto-Lock Feature
The Auto-Lock feature automatically locks your door after a set period, providing peace of mind that your home is secure even if you forget to lock it manually.
Remote Access and Code Sharing
Through your compatible Z-Wave smart home or alarm system app, you can lock/unlock your door, receive notifications, and share access from anywhere. You can create temporary, scheduled, or permanent codes for family, friends, or service personnel, eliminating the need for physical keys.

Image: A couple entering a home, illustrating the convenience of sharing guest access codes.
Setting Up Entry Codes
Follow these steps to set up entry codes using the Yale Access App:
- Open the Yale Access App and navigate to the Guest List tab (located on the bottom menu).
- Tap on your name in the Owner List. An entry code will be assigned to you, which you can change at any time.
- To invite a guest, tap the Invite icon.
- Choose either App Access (guest uses the Yale Access App) or Entry Code Only (guest receives a code via text, no app needed).
- If choosing App Access, you can add a guest manually or pull from your contact list. Set the access level to 'Guest'.
- Set the App Access schedule to 'Always', 'Temporary', or 'Recurring'. Ensure the user is set as a guest first.
- Tap 'Send Invite'. Your guest will receive a text with instructions. If they already have a Yale lock, the new lock will automatically appear in their keychain.
- If choosing Entry Code Only, enter the guest's name.
- Choose the access level for your guest (Always, Temporary, or Recurring).
- Create a code and save. You will then have the option to text the code to your guest.
Video: Step-by-step guide on setting up entry codes for the Yale Assure Lock 2 using the Yale Access App.
Maintenance
- Battery Replacement: The lock uses 4 AA batteries. The Yale Access App will notify you when battery levels are low. For emergency access if batteries die, the lock has external terminals for a 9V battery jump start.
- Cleaning: Clean the touchscreen keypad with a soft, damp cloth. Avoid abrasive materials or harsh chemicals.
- Firmware Updates: Regularly check the Yale Access App for firmware updates to ensure optimal performance and security.
Troubleshooting
- Lock not responding: Check battery levels and replace if necessary. Ensure the Z-Wave module is properly installed and connected to your smart home hub.
- Entry code issues: Verify the code is entered correctly. Check the access schedule in the Yale Access App to ensure the code is active.
- Fingerprint sensor not working: Ensure the sensor is clean and your finger is dry. Re-register your fingerprint if issues persist.
- App connectivity problems: Ensure your smartphone's Bluetooth is enabled (for direct connection) or your Z-Wave hub is online and functioning correctly.
- Door alignment: If the deadbolt is not extending or retracting smoothly, check for door alignment issues or obstructions.
Specifications
| Feature | Detail |
|---|---|
| Brand | Yale |
| Model Name | Yale Assure Lock 2 Touch with Z-Wave |
| Item Model Number | YRD430-F-ZW3-619 |
| Lock Type | Biometric, Deadbolt, Keypad |
| Special Features | Auto-Lock, Back-Lit Keypad, Battery Indicator, Fingerprint, Passcode Unlock |
| Connectivity Protocol | Bluetooth, Z-Wave |
| Control Method | App, Touch |
| Material | Zinc |
| Color | Satin Nickel |
| Style | No Key |
| Item Dimensions L x W x H | 0.9 x 2.5 x 3.75 inches |
| Item Weight | 3.63 pounds |
| Included Components | 4 AA Batteries, DoorSense, Mounting Hardware, Yale Assure Lock 2 Touch, Z-Wave Module |
| Recommended Uses | Exterior Door, Front Door |
Warranty and Support
For warranty information and customer support, please refer to the official Yale website or contact their customer service directly. Keep your purchase receipt for warranty claims.


