Introduction
This document provides comprehensive instructions for the installation, operation, maintenance, and troubleshooting of the KAISUPJX replacement motor. This motor is specifically designed for compatibility with Dreame V12pro and V16 C2126 M16-J handheld cordless vacuum cleaners. Please read this manual thoroughly before proceeding with any installation or operation to ensure proper function and safety.
Safety Information
- Always disconnect the vacuum cleaner from its power source and remove the battery before attempting any installation, removal, or maintenance of the motor.
- Handle the motor with care to avoid damage to its components or wiring.
- Ensure all connections are secure and correctly aligned during installation. Incorrect wiring can lead to malfunction or electrical hazards.
- If you are unsure about any step, consult a qualified technician.
- Keep the motor and all tools out of reach of children.
Package Contents
The package contains the following item:
- One (1) KAISUPJX Replacement Motor (Model mei0203jb)
Setup and Installation
This replacement motor is designed for straightforward installation. However, it is recommended that installation be performed by individuals familiar with vacuum cleaner repair or electronics. Ensure the vacuum cleaner is powered off and the battery is removed before beginning.
- Prepare the Vacuum Cleaner: Disassemble the vacuum cleaner housing to access the existing motor. Refer to your specific Dreame V12pro or V16 vacuum cleaner's service manual for detailed disassembly instructions.
- Remove the Old Motor: Carefully disconnect any wiring and mounting screws securing the old motor. Note the orientation and connection points of the wires.
- Install the New Motor: Position the KAISUPJX replacement motor (Model mei0203jb) into the designated compartment. Ensure it fits securely.
- Connect Wiring: Connect the red wire from the replacement motor to the positive (+) terminal and the black wire to the negative (-) terminal, matching the original motor's connections. Ensure connections are firm.
- Secure the Motor: Fasten the motor using the appropriate screws or clips, ensuring it is stable and does not vibrate excessively.
- Reassemble: Carefully reassemble the vacuum cleaner housing, ensuring all parts are correctly aligned and secured.
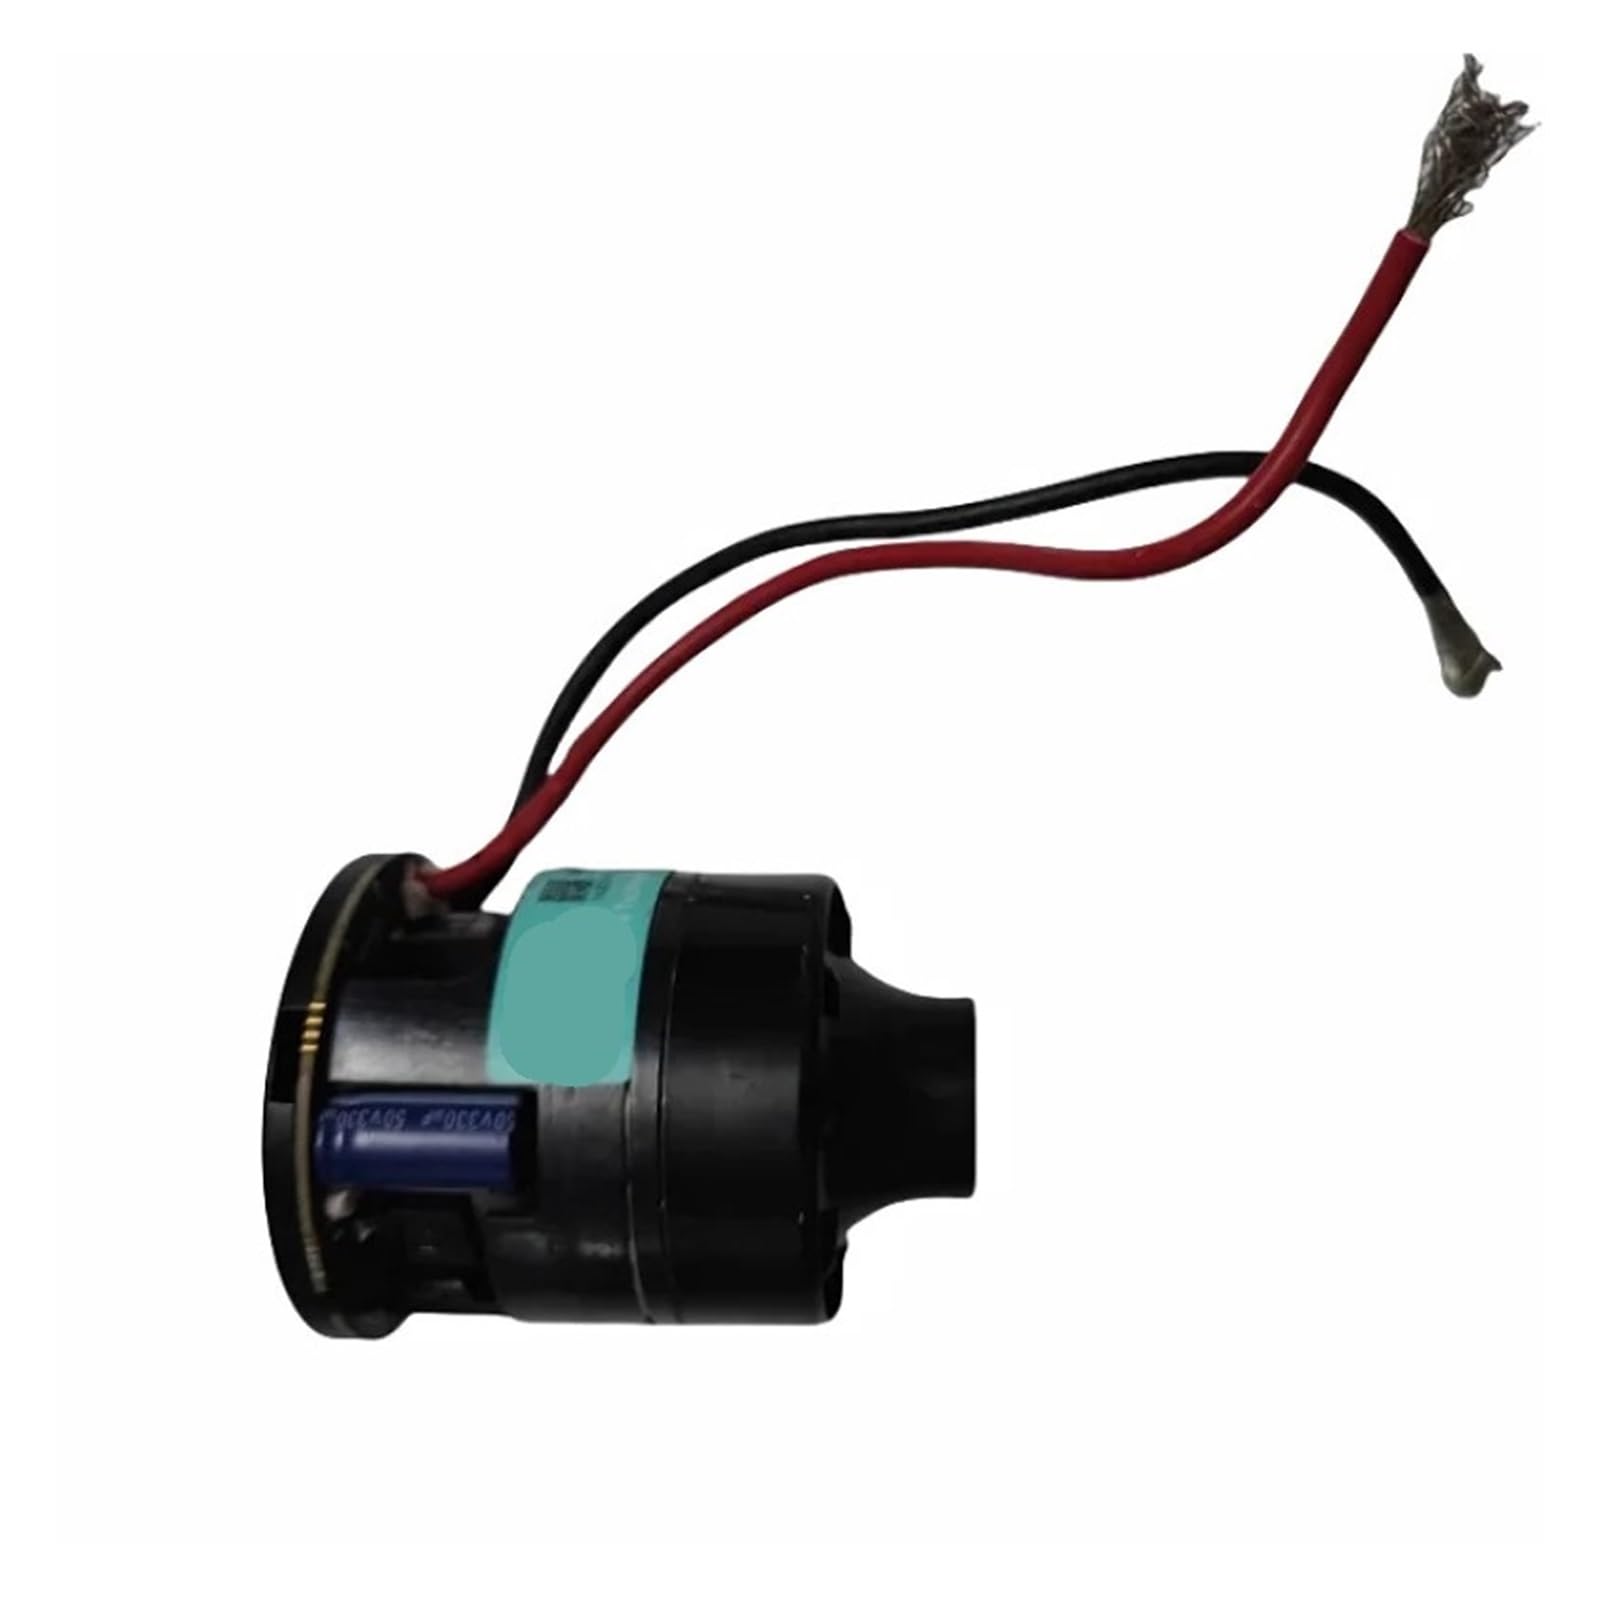
Image: The KAISUPJX replacement motor, showing its compact design and pre-attached red and black power wires. The motor unit is black with visible internal circuitry and a blue capacitor.
Operating Instructions
Once the replacement motor is correctly installed and the vacuum cleaner is reassembled, it is ready for operation.
- Power On: Reinsert the battery and power on your Dreame V12pro or V16 vacuum cleaner as usual.
- Performance: The new motor is designed to provide sufficient suction and air volume, contributing to improved cleaning efficiency.
- Heat Dissipation: The motor features good heat dissipation performance, which helps maintain its life and consistent performance during extended use.
- Stable Operation: Expect stable performance and a long operational life from the replacement motor.
Maintenance
To ensure the longevity and optimal performance of your replacement motor, consider the following maintenance tips:
- Regular Cleaning: Periodically clean the vacuum cleaner's filters and dustbin to prevent blockages that can strain the motor.
- Avoid Overheating: While the motor has good heat dissipation, avoid continuous operation for excessively long periods without breaks, especially during heavy-duty cleaning.
- Inspect for Debris: Occasionally check the motor area (if accessible without full disassembly) for any accumulated dust or debris that could impede airflow or cause overheating.
- Professional Check: If you notice any unusual noises, reduced performance, or excessive heat, consider having the vacuum cleaner inspected by a professional.
Troubleshooting
If you encounter issues after installing the replacement motor, refer to the following common troubleshooting steps:
| Problem | Possible Cause | Solution |
|---|---|---|
| Motor does not start | Incorrect wiring; Loose connections; Battery issue; Vacuum cleaner fault | Check all wire connections for proper polarity and tightness. Ensure the vacuum cleaner battery is charged and correctly inserted. Verify other vacuum cleaner components are functional. |
| Reduced suction power | Clogged filters; Blocked airways; Motor not operating at full capacity | Clean or replace filters. Check for and remove any blockages in the vacuum cleaner's hose, brush head, or dustbin. Recheck motor installation. |
| Unusual noise or vibration | Loose motor mounting; Debris in motor area; Damaged motor | Ensure the motor is securely mounted. Inspect for any foreign objects near the motor. If noise persists, the motor may be faulty and require replacement. |
| Motor overheats | Restricted airflow; Prolonged heavy use; Internal motor issue | Clean filters and clear any blockages. Allow the vacuum cleaner to cool down between uses. If overheating is frequent, professional inspection is advised. |
If these steps do not resolve the issue, contact customer support or a qualified repair technician.
Specifications
- Brand: KAISUPJX
- Model Name: mei0203jb
- Compatibility: Dreame V12pro, Dreame V16 C2126 M16-J Handheld Cordless Vacuum Cleaners
- Voltage: 25.2V
- Power: 635W
- Item Weight: 50 Grams (1.76 ounces)
- Package Dimensions: 1.18 x 0.79 x 0.39 inches
- Number of Pieces: 1
- Assembly Required: No (for the motor itself, installation into vacuum cleaner required)
Warranty and Support
For warranty information or technical support regarding your KAISUPJX replacement motor, please refer to the retailer's return policy or contact the manufacturer directly through their official channels. Keep your purchase receipt as proof of purchase.