
1. Introduction
This manual provides detailed instructions for the installation, operation, and maintenance of your HIDALIFE Fingerprint Door Lock (Model: HL-200DF+Knob). Please read this manual thoroughly before installation and use to ensure proper function and safety. Keep this manual for future reference.
2. Product Features
- Advanced Fingerprint Recognition: Secure and rapid entry with biometric technology. Recognizes fingerprints in approximately 0.3 seconds with a 99.99% accuracy rate.
- Multiple Access Methods: Unlock using fingerprint, keypad codes, or traditional keys. Supports up to 20 user codes and temporary one-time codes for guests.
- Auto-Locking Function: Enhances security by automatically locking the door within 5-99 seconds after unlocking. This feature is customizable.
- One-Touch Locking: Conveniently lock the door by pressing any key on the keypad for 2 seconds.
- Durable Construction: Crafted from alloy materials for long-lasting performance.
- Easy Installation: Designed for straightforward installation on standard doors (1-3/8'' to 2'' thickness, 2-3/8'' or 2-3/4'' backset). Requires only a screwdriver and 4 AA batteries (not included).
3. Package Contents
Verify that all components are present before beginning installation:
- Fingerprint Deadbolt Unit
- Door Knob Set (2 knobs)
- Latch
- Mounting Hardware
- Spare Keys
- Installation Template
- User Manual
4. Specifications
| Attribute | Detail |
|---|---|
| Brand | HIDALIFE |
| Model Number | HL-200DF+Knob |
| Lock Type | Biometric |
| Material | Metal (Alloy) |
| Color | Matte Black |
| Item Dimensions (L x W x H) | 8 x 5.9 x 2.8 inches |
| Door Thickness Compatibility | 1-3/8'' to 2'' (35mm to 50mm) |
| Backset Compatibility | 2-3/8'' or 2-3/4'' (60mm or 70mm) |
| Power Source | 4 AA Alkaline Batteries (not included) |
| Fingerprint Capacity | Up to 100 |
| User Code Capacity | Up to 20 |
| Special Features | Auto-Lock, Fingerprint, One Time Code, One-Touch Lock, Passage Mode |
5. Safety Information
- Do not expose the lock to direct water or extreme temperatures.
- Use only new, high-quality AA alkaline batteries. Do not mix old and new batteries or different types of batteries.
- Keep your master code and physical keys in a secure location away from the lock.
- Regularly check battery levels and replace batteries promptly when the low-power alarm sounds.
- Ensure the door frame and door are in good condition and properly aligned for optimal lock performance.
6. Installation
The HIDALIFE Fingerprint Door Lock is designed for easy installation on most standard US doors. A screwdriver and 4 AA batteries (not included) are required.
6.1 Door Preparation
Ensure your door meets the following specifications:
- Door Thickness: 1-3/8 inches to 2 inches (35mm to 50mm)
- Backset: 2-3/8 inches or 2-3/4 inches (60mm or 70mm)
Refer to the included installation template for drilling holes if necessary. The lock automatically identifies left and right door handing, simplifying the process.

Image: Door dimensions and lock components for installation, illustrating compatibility with standard door sizes.

Image: The HIDALIFE door lock installed on a door, showing its appearance and fit.
6.2 Step-by-Step Installation
- Install the latch into the door edge. Ensure the latch bolt faces the correct direction.
- Install the exterior keypad assembly, feeding the cable through the door hole.
- Install the interior mounting plate, securing it with screws.
- Connect the cable from the exterior assembly to the interior assembly.
- Install the interior assembly, ensuring it aligns correctly with the mounting plate.
- Insert 4 AA alkaline batteries into the battery compartment.
- Test the lock functionality with the physical key and by pressing any key on the keypad to ensure it powers on.
For detailed visual instructions, please refer to the separate installation guide included in your package.
7. Operation
7.1 Unlocking the Door
- Fingerprint: Place your registered finger on the fingerprint sensor. The lock will unlock if the fingerprint is recognized.
- Keypad Code: Enter your 4-8 digit user code followed by the '#' key. The lock will unlock.
- Physical Key: Insert the physical key into the keyhole and turn to unlock.

Image: A hand interacting with the fingerprint sensor for unlocking.
7.2 Locking the Door
- Auto-Lock: If enabled, the lock will automatically engage 5-99 seconds after being unlocked.
- One-Touch Lock: Press and hold any key on the keypad for 2 seconds to manually lock the door.
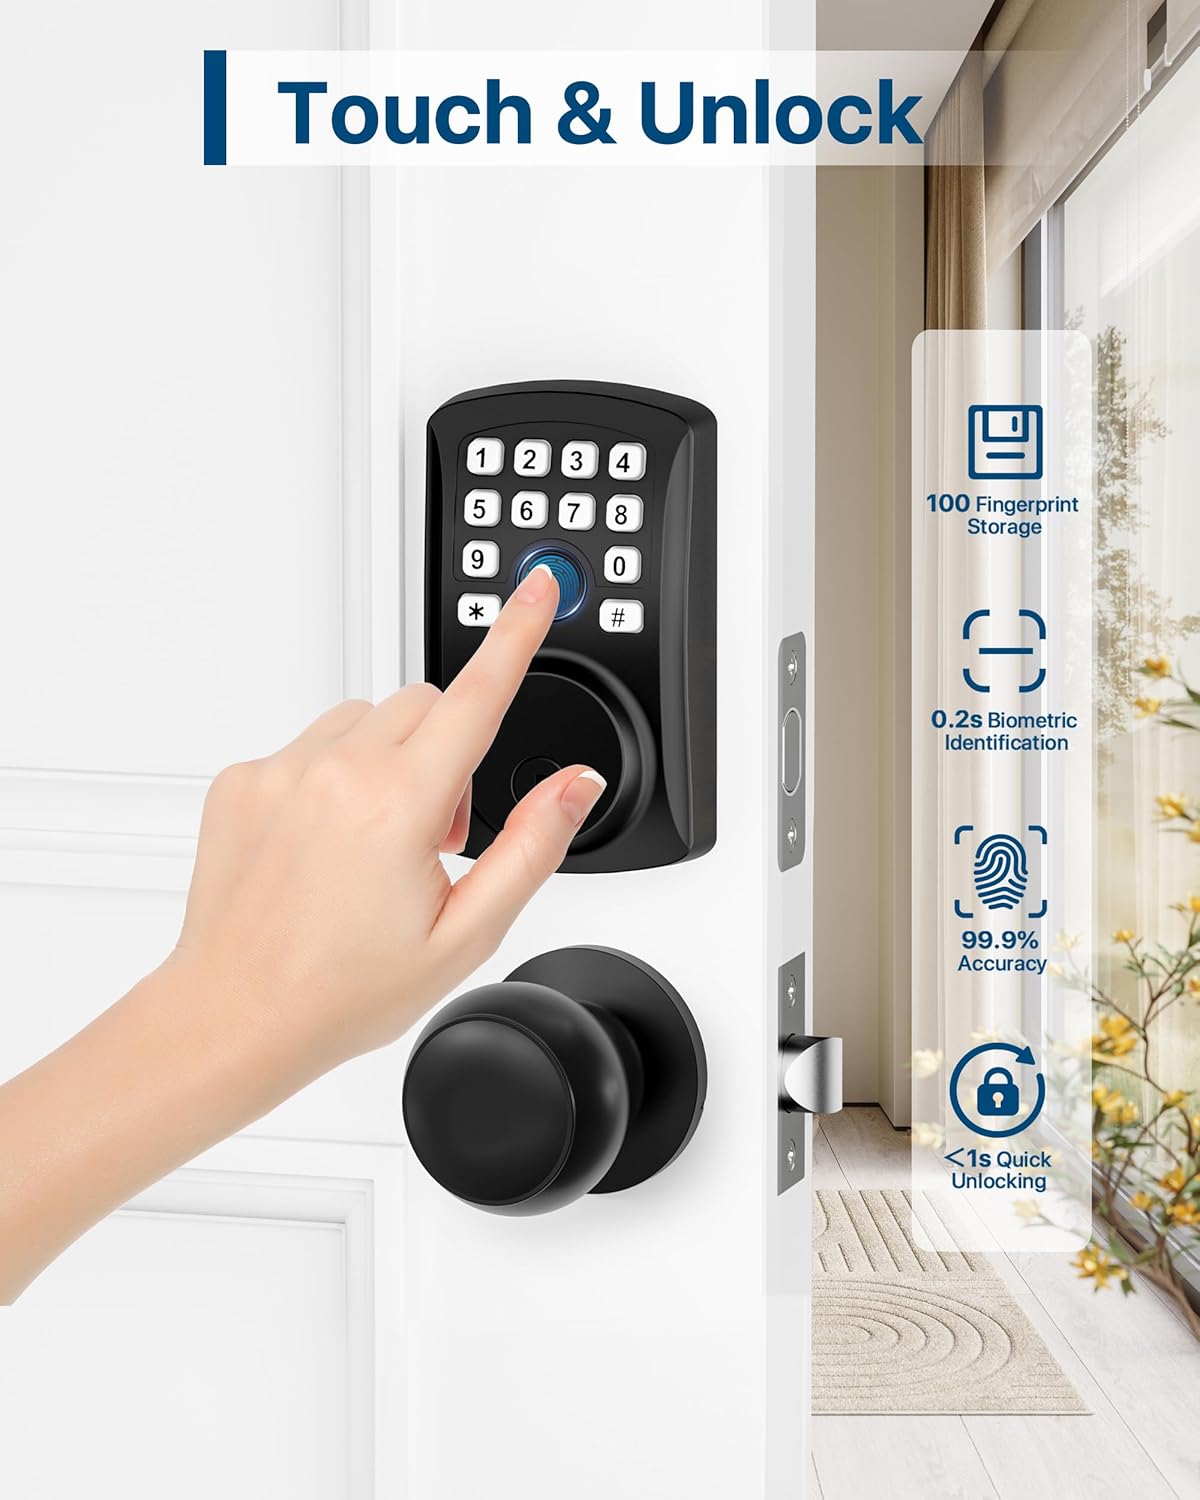
Image: Visual representation of the intelligent auto-lock feature, showing the lock engaging after a set time.
7.3 Low-Power Alarm
When the batteries are running low, the lock will beep 10 times after unlocking to remind you to change them. Replace all 4 AA batteries promptly to ensure continuous operation.

Image: Illustration of the low-power alarm, indicating when batteries need replacement.
8. Programming
Before programming, ensure the lock is in an unlocked state and the auto-lock feature is temporarily disabled if you anticipate needing more time for setup.

Image: Overview of the 4-in-1 unlock methods, including fingerprint, user codes, spare keys, and one-time codes.
8.1 Master Code Setup
The first code you set will be the Master Code. This code is essential for adding or deleting other user codes and fingerprints. Follow the instructions in your detailed manual to set your Master Code.
8.2 Adding User Codes
You can add up to 20 unique user codes (4-8 digits long). Use the Master Code to enter programming mode, then follow the prompts to add new user codes.
8.3 Adding Fingerprints
The lock can store up to 100 fingerprints. Use the Master Code to enter programming mode, then follow the prompts to register new fingerprints. Ensure your finger covers the sensor completely during registration.

Image: A person demonstrating the use of the fingerprint sensor on the door lock.
8.4 One-Time Codes
Generate temporary one-time codes for guests or service providers. These codes are automatically deleted after a single use, providing enhanced security and convenience.

Image: Scenario showing how one-time codes can be used to grant temporary access to individuals like delivery personnel.
9. Maintenance
- Battery Replacement: Replace all 4 AA batteries when the low-power alarm sounds. Do not wait for the lock to completely lose power.
- Cleaning: Wipe the keypad and fingerprint sensor with a soft, dry cloth. Avoid using abrasive cleaners or solvents that could damage the finish or electronic components.
- Lubrication: Do not lubricate the lock cylinder or internal mechanisms with oil-based lubricants, as this can attract dust and cause malfunctions.
- Environmental Care: Protect the lock from prolonged exposure to direct sunlight, rain, or extreme humidity to prevent damage.
10. Troubleshooting
| Problem | Possible Cause | Solution |
|---|---|---|
| Lock does not respond or power on. | Dead or incorrectly installed batteries. | Replace all 4 AA batteries with new ones. Ensure correct polarity. |
| Fingerprint not recognized. | Finger not placed correctly, dirty sensor, unregistered fingerprint. | Ensure your finger covers the sensor completely. Clean the sensor. Re-register your fingerprint if necessary. |
| Keypad code not working. | Incorrect code entered, code not registered, keypad malfunction. | Verify the code. Ensure the code is registered. Try using the physical key. |
| Auto-lock not engaging. | Auto-lock feature is disabled or setting is too long. | Check programming settings to ensure auto-lock is enabled and set to a desired time. |
| Lock is difficult to operate (stuck). | Door misalignment, worn latch, or internal obstruction. | Check door alignment and hinges. Ensure the latch moves freely. Do not force the lock. |
11. Warranty and Support
HIDALIFE products are designed for reliability and durability. For specific warranty details, please refer to the warranty card included with your product or contact HIDALIFE customer support.
If you encounter any issues or have questions regarding your HIDALIFE Fingerprint Door Lock, please contact our customer support team for assistance. Provide your model number (HL-200DF+Knob) and a detailed description of the issue to expedite support.
Customer Support Contact: Refer to your product packaging or the HIDALIFE official website for the most current contact information.
