
Focket Fockets9kmz2i107
User Manual: Focket 3D Printer Build Plate
Model: Fockets9kmz2i107
1. Product Overview
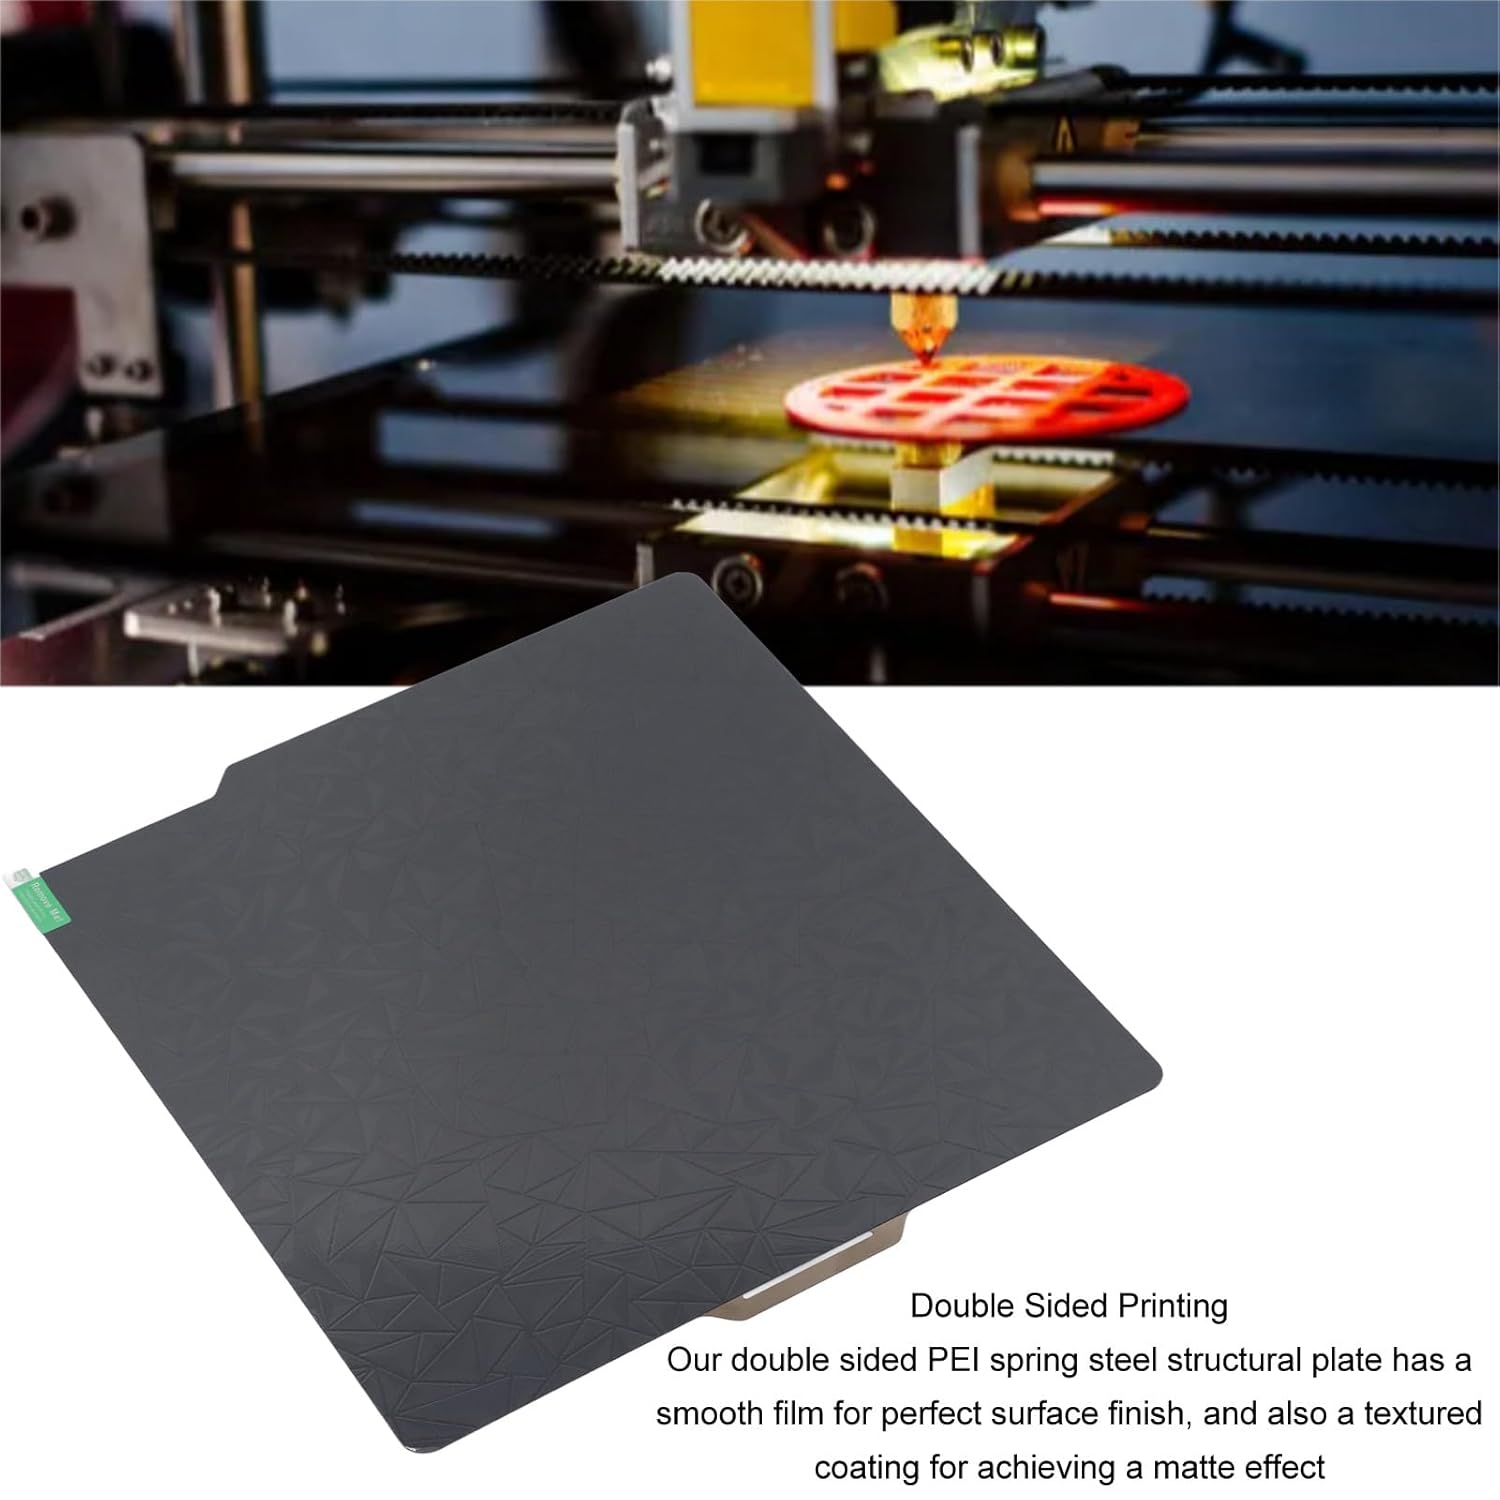
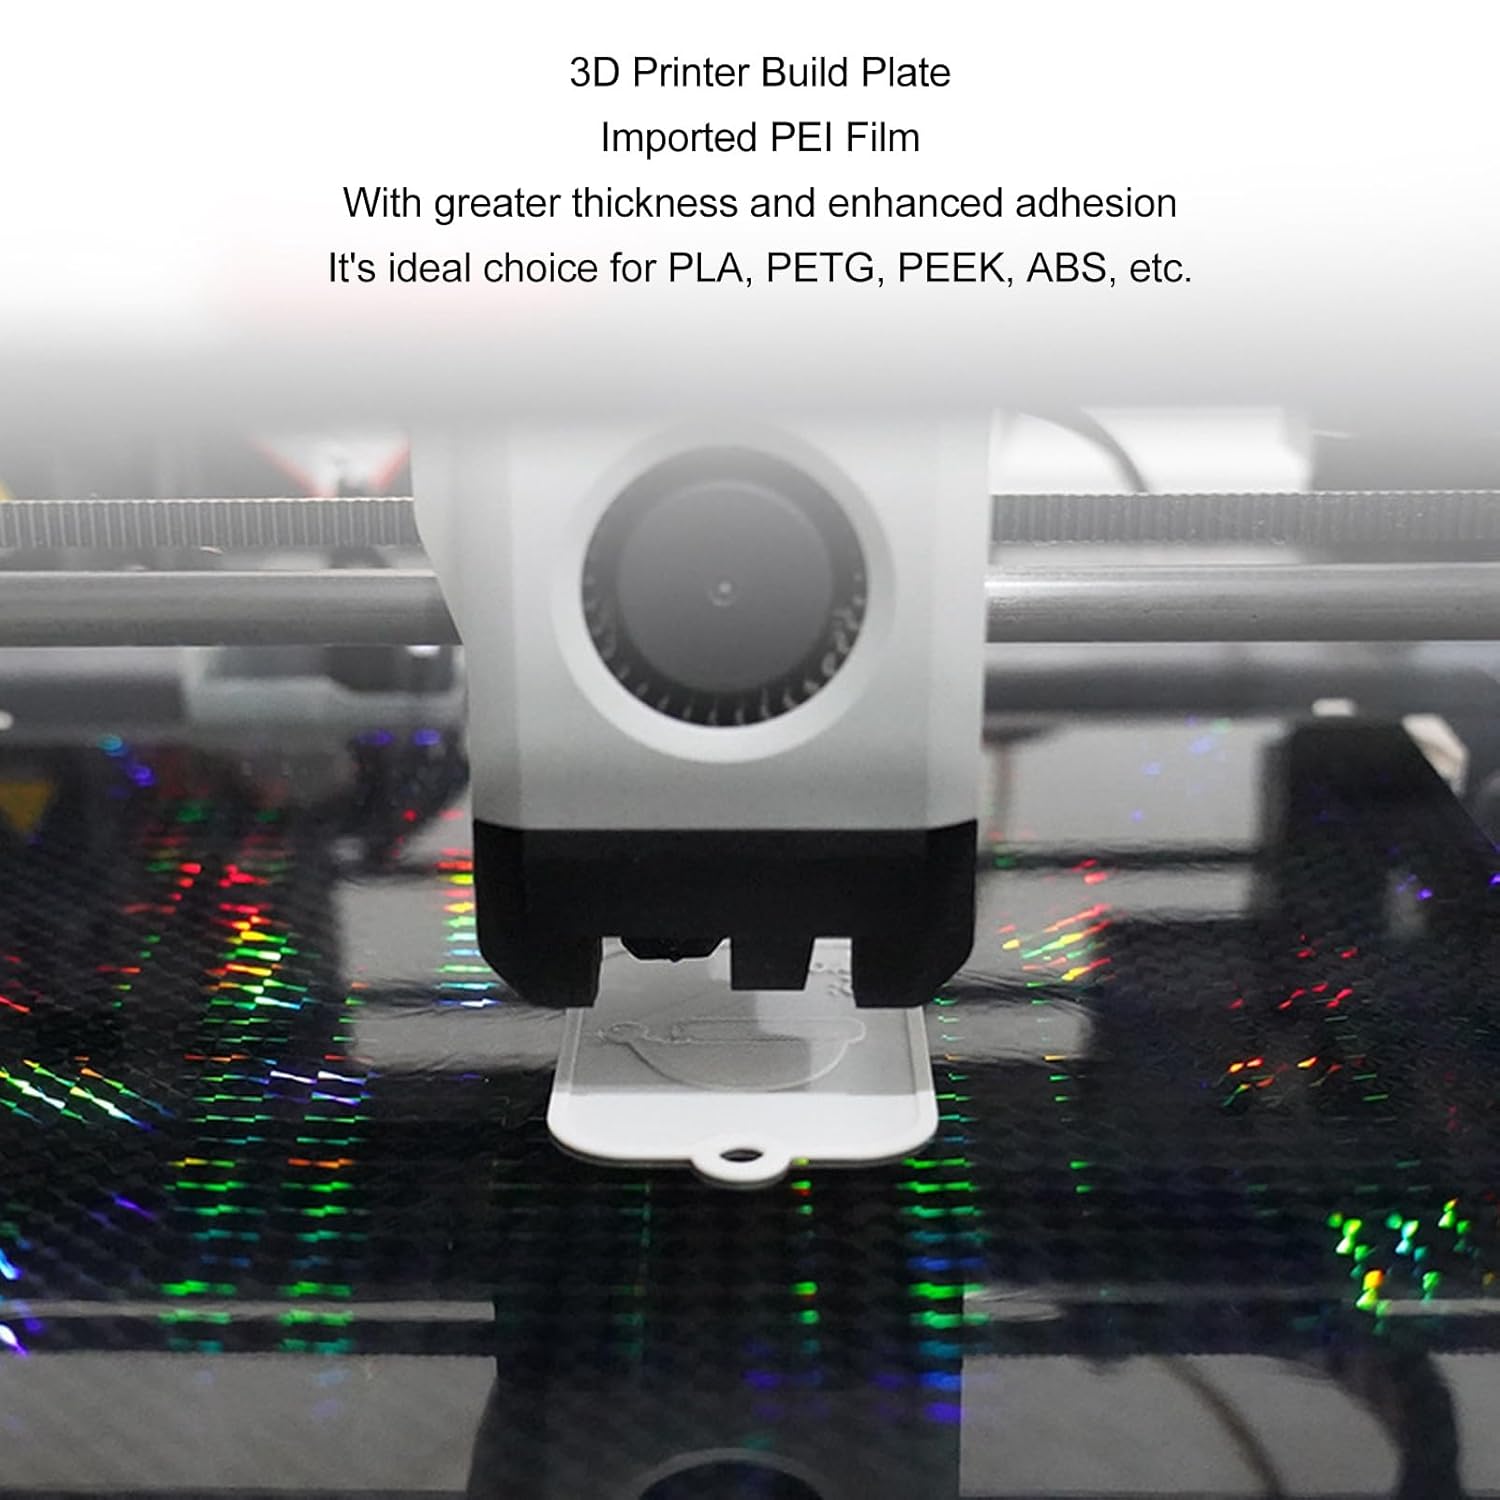
The Focket 3D Printer Build Plate is a high-quality, dual-sided spring steel plate designed for optimal 3D printing. It features a premium imported PEI film for enhanced adhesion and durability, making it suitable for various filament types including PLA, PETG, PEEK, and ABS. Its 257x257mm size ensures compatibility with Bambu Lab X1 PLP PLS and similar 3D printers.
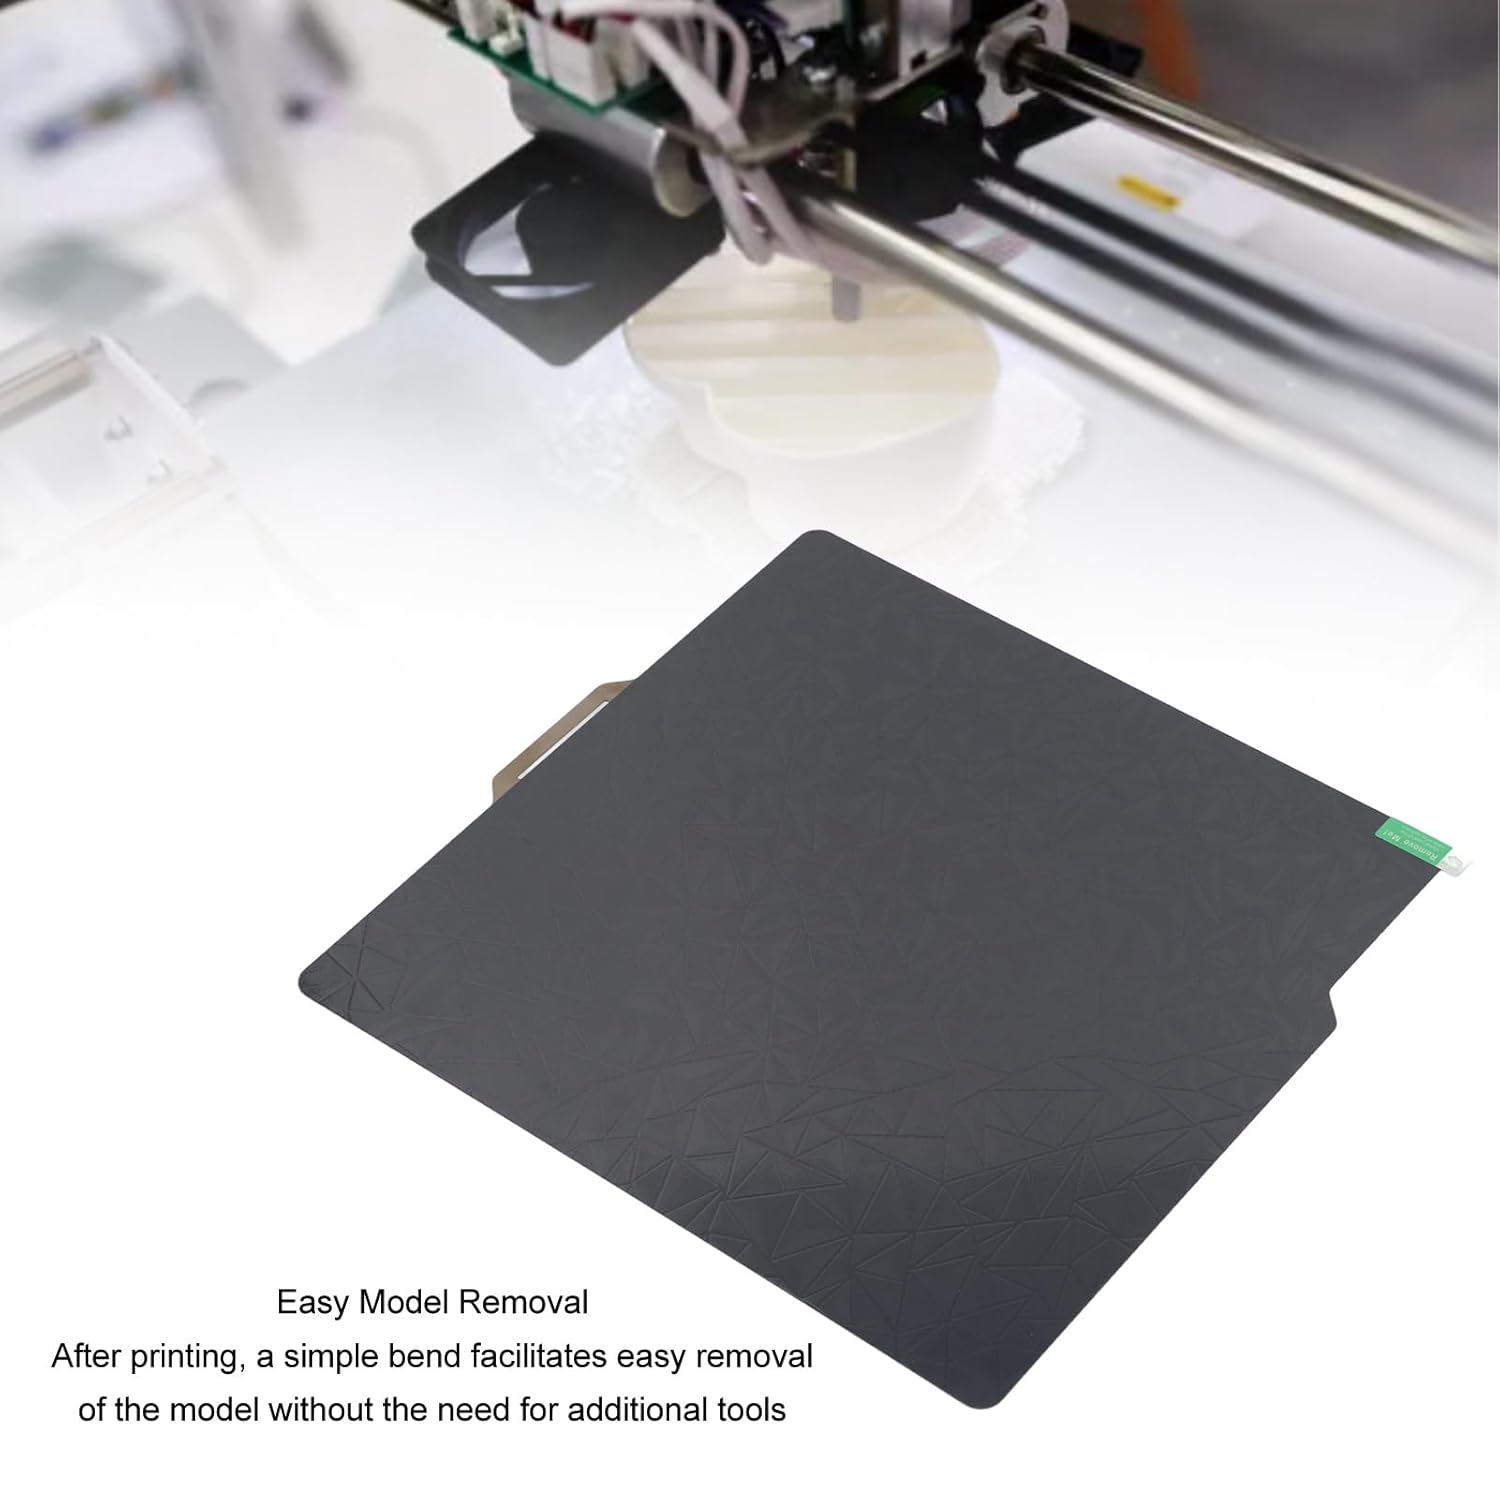
This build plate offers a unique dual-sided design: one side provides a smooth film for a pristine surface finish, while the other features a textured coating for achieving a matte effect on your prints. Its flexible nature allows for easy removal of printed models by simply bending the plate.


2. Setup
Setting up your Focket 3D Printer Build Plate is straightforward. Follow these steps to prepare for printing:
- Unpack the Build Plate: Carefully remove the build plate from its packaging.
- Remove Protective Film: If using the smooth PEO surface, ensure you remove any protective film present on that side before use. The textured PEI side typically does not have a film.
- Clean the Surface: Thoroughly clean the chosen printing surface (either smooth PEO or textured PEI) with isopropyl alcohol (IPA) and a clean, lint-free cloth. This removes any oils or residues that could affect adhesion.
- Place on Heat Bed: Carefully place the cleaned build plate onto your 3D printer's magnetic heat bed. Ensure it is properly aligned and seated securely.

3. Operating Instructions
Once the build plate is set up, you can begin your 3D printing process. The plate is designed for excellent adhesion during printing and easy removal afterward.
- Pre-heat the Bed: Heat your printer's bed to the recommended temperature for your chosen filament. The build plate will achieve optimal adhesion once heated.
- Start Printing: Begin your print job. The model should firmly adhere to the surface of the printing bed throughout the process.
- Model Removal: After the print is complete and the bed has cooled down, simply remove the flexible build plate from the magnetic base. A gentle bend of the plate will cause the printed model to detach easily without the need for scrapers or other tools.

4. Maintenance
Proper maintenance of your build plate will ensure its longevity and consistent printing quality:
- Regular Cleaning: Always clean the build plate surface with isopropyl alcohol (IPA) before each print to remove any fingerprints, dust, or filament residues. This is crucial for maintaining good adhesion.
- Avoid Scratches: Be mindful of the distance between the printer nozzle and the PEI surface. An incorrect Z-offset can cause the nozzle to scratch the plate, which will negatively affect its service life and printing quality.
- Handle with Care: While the spring steel plate is flexible, avoid excessive bending or sharp creases that could permanently deform the plate.
- Storage: When not in use, store the build plate flat in a clean, dry environment to prevent warping or damage.
The service life of the build plate is influenced by the frequency of use and the care taken during handling and processing.
5. Troubleshooting
If you encounter issues with your Focket 3D Printer Build Plate, consider the following common problems and solutions:
| Problem | Possible Cause | Solution |
|---|---|---|
| Poor first layer adhesion | Dirty print surface, incorrect Z-offset, insufficient bed temperature. | Thoroughly clean the surface with IPA. Adjust Z-offset to ensure proper nozzle distance. Verify bed temperature settings for your filament. |
| Prints difficult to remove | Bed not cooled sufficiently, plate not bent correctly. | Allow the print bed to cool completely before attempting removal. Ensure you are bending the flexible plate to pop off the print. |
| Scratches or damage on surface | Nozzle crashing into the plate, abrasive cleaning. | Re-calibrate your Z-offset to prevent nozzle contact. Use only soft, lint-free cloths and IPA for cleaning. |
| Warping of the plate | Improper storage, excessive heat cycles without cooling. | Store the plate flat. Allow the plate to cool down between prints to prevent thermal stress. |
6. Specifications
| Attribute | Detail |
|---|---|
| Product Name | 3D Printer Build Plate |
| Brand | Focket |
| Model Number | Fockets9kmz2i107 |
| Material | PEI, Spring Steel |
| Size | 257x257mm / 10.12x10.12in |
| Compatibility | Bambu Lab X1 PLP PLS and similar 3D printers |
| Package Dimensions | 12.2 x 11.81 x 0.79 inches |
| Item Weight | 9.31 ounces |
| First Available Date | July 10, 2024 |
7. Warranty and Support
Specific warranty information for this product is not provided in the available documentation. For details regarding warranty coverage, returns, or technical support, please contact the manufacturer, Focket, directly or refer to the seller's policies where the product was purchased.
Manufacturer: Focket
For further assistance, please visit the Focket Store on Amazon.
Ask a question about this manual
Ask about setup, troubleshooting, compatibility, parts, safety, or missing instructions. Manuals+ will review the question and use this page’s manual context to help answer it.