1. Introduction
This manual provides detailed instructions for the setup, operation, and maintenance of your BITIWEND B2G Mini Projector. Please read this manual thoroughly before using the product to ensure proper operation and to prevent damage. Keep this manual for future reference.
2. Safety Instructions
- Do not look directly into the projector lens when the lamp is on.
- Ensure proper ventilation around the projector to prevent overheating.
- Use only the power adapter supplied with the projector.
- Do not expose the projector to rain, moisture, or extreme temperatures.
- Avoid placing the projector on unstable surfaces.
- Do not attempt to disassemble or repair the projector yourself. Contact qualified service personnel.
3. Package Contents
Verify that all items are present in your package:
- BITIWEND B2G 1080P Full HD WiFi Bluetooth Projector (x1)
- Remote Control (x1)
- Power Adapter (x1)
- User Manual (x1)
4. Product Overview
Familiarize yourself with the components of your BITIWEND B2G Mini Projector.

Image: Front and rear view of the BITIWEND B2G Mini Projector, highlighting the lens, ventilation, and various input ports including USB, HDMI, and audio jack.
Front Panel
- Projection Lens: Emits the image.
- IR Receiver: For remote control signals.
Rear Panel / Side Panels
- HDMI Port: Connects to HDMI-enabled devices (laptops, game consoles, streaming sticks).
- USB Port: Connects to USB flash drives for media playback.
- Audio Out (3.5mm Jack): Connects to external speakers or headphones.
- Power Input: Connects to the power adapter.
- Ventilation Grilles: Ensures proper airflow for cooling.
5. Setup
5.1 Placement
Position the projector on a stable, flat surface. Ensure there are no obstructions blocking the ventilation grilles. The projection distance will determine the screen size.

Image: Diagram illustrating recommended projection distances for screen sizes ranging from 50 inches (1.48m) to 120 inches (3.40m).
- For a 50-inch screen, place the projector approximately 1.48 meters away.
- For an 80-inch screen, place the projector approximately 2.30 meters away.
- For a 100-inch screen, place the projector approximately 2.86 meters away.
- For a 120-inch screen, place the projector approximately 3.40 meters away.
5.2 Power Connection
Connect the power adapter to the projector's power input port, then plug the adapter into a power outlet.
5.3 Initial Power On
Press the power button on the projector or the remote control to turn on the device. The projector will display the startup screen.
6. Operating Instructions
6.1 Basic Navigation
Use the remote control to navigate the projector's menu. The arrow keys allow you to move between options, and the OK button confirms selections. The Back button returns to the previous menu.
6.2 Source Selection
After connecting your input device (e.g., laptop via HDMI, USB drive), press the "Source" button on the remote control to select the appropriate input source (HDMI, USB, etc.).
7. Connectivity
The BITIWEND B2G projector offers various connectivity options for a versatile viewing experience.
Image: Close-up of the projector's connectivity panel, showing USB, HDMI, and 3.5mm audio ports, along with icons for Bluetooth and WiFi.
7.1 Wired Connections
- HDMI: Connect to devices like TVs, Chromecast, laptops, PCs, PS5, and streaming sticks.
- USB: Insert USB flash drives for direct media playback.
- Audio 3.5mm: Connect external speakers or headphones for enhanced audio.
7.2 Wireless Connections
7.2.1 WiFi 6
The projector supports high-speed WiFi 6 for seamless online streaming and screen mirroring. Navigate to the WiFi settings in the projector's menu to connect to your wireless network.

Image: A visual comparison between WiFi 5 and WiFi 6 performance, showing faster loading with WiFi 6. Also depicts screen mirroring from iOS, Android, and Windows devices.
7.2.2 Bluetooth 5.2
Connect to external Bluetooth speakers or headphones for a personalized audio experience. Go to the Bluetooth settings in the projector's menu, enable Bluetooth, and pair with your desired device.

Image: The projector wirelessly connected to a Bluetooth speaker and Bluetooth headphones, illustrating its Bluetooth 5.2 capabilities.
8. Image Adjustment
Achieve a clear and perfectly aligned image using the following adjustment features.

Image: A remote control highlighting the 'F+' and 'F-' buttons for electric focus, alongside visual representations of 4-point, horizontal, and vertical keystone correction.
8.1 Electric Focus
Use the 'F+' and 'F-' buttons on the remote control to adjust the image focus electronically until the picture is sharp and clear.
8.2 4P/4D Keystone Correction
If the projected image appears trapezoidal or distorted, use the 4-point or 4D keystone correction feature to adjust the image shape. This allows for flexible projection from various angles (front, side, ceiling) to achieve a perfectly rectangular image. Access these settings through the projector's menu.
8.3 Digital Zoom
The projector supports a digital zoom function (50%-100%) to adjust the image size without moving the projector. This can be accessed via the projector's menu settings.
9. Maintenance
9.1 Cleaning the Lens
Use a soft, lint-free cloth specifically designed for optical lenses to gently wipe the projector lens. Do not use abrasive cleaners or excessive force.
9.2 Cleaning the Projector Body
Wipe the exterior of the projector with a soft, dry cloth. For stubborn marks, a slightly damp cloth can be used, followed by a dry cloth. Ensure no liquid enters the ventilation openings.
9.3 Storage
When not in use for extended periods, store the projector in a cool, dry, dust-free environment. Use the original packaging or a protective case to prevent damage.
10. Troubleshooting
| Problem | Possible Cause | Solution |
|---|---|---|
| No image displayed |
|
|
| Image is blurry |
|
|
| Image is distorted (trapezoidal) |
|
|
| No sound |
|
|
| Remote control not working |
|
|
11. Specifications
| Feature | Detail |
|---|---|
| Brand | BITIWEND |
| Model Number | B2G |
| Native Resolution | 1280 x 720 (Native 720P) |
| Supported Resolution | Up to 1080P Full HD, 4K |
| Brightness | 15000 Lumens |
| Connectivity Technology | USB, 3.5mm Audio, HDMI, Bluetooth 5.2, WIFI 6 |
| Special Features | 4P/4D Keystone Correction, Electric Focus, Digital Zoom (50%-100%) |
| Compatible Devices | TV, Chromecast, Laptops, PC, Tablets, USB Flash Drives, Chrome Book, PS5, External Speakers |
| Power Consumption | 70 Watts |
| Color | White |
| Mounting Type | Table Mount |
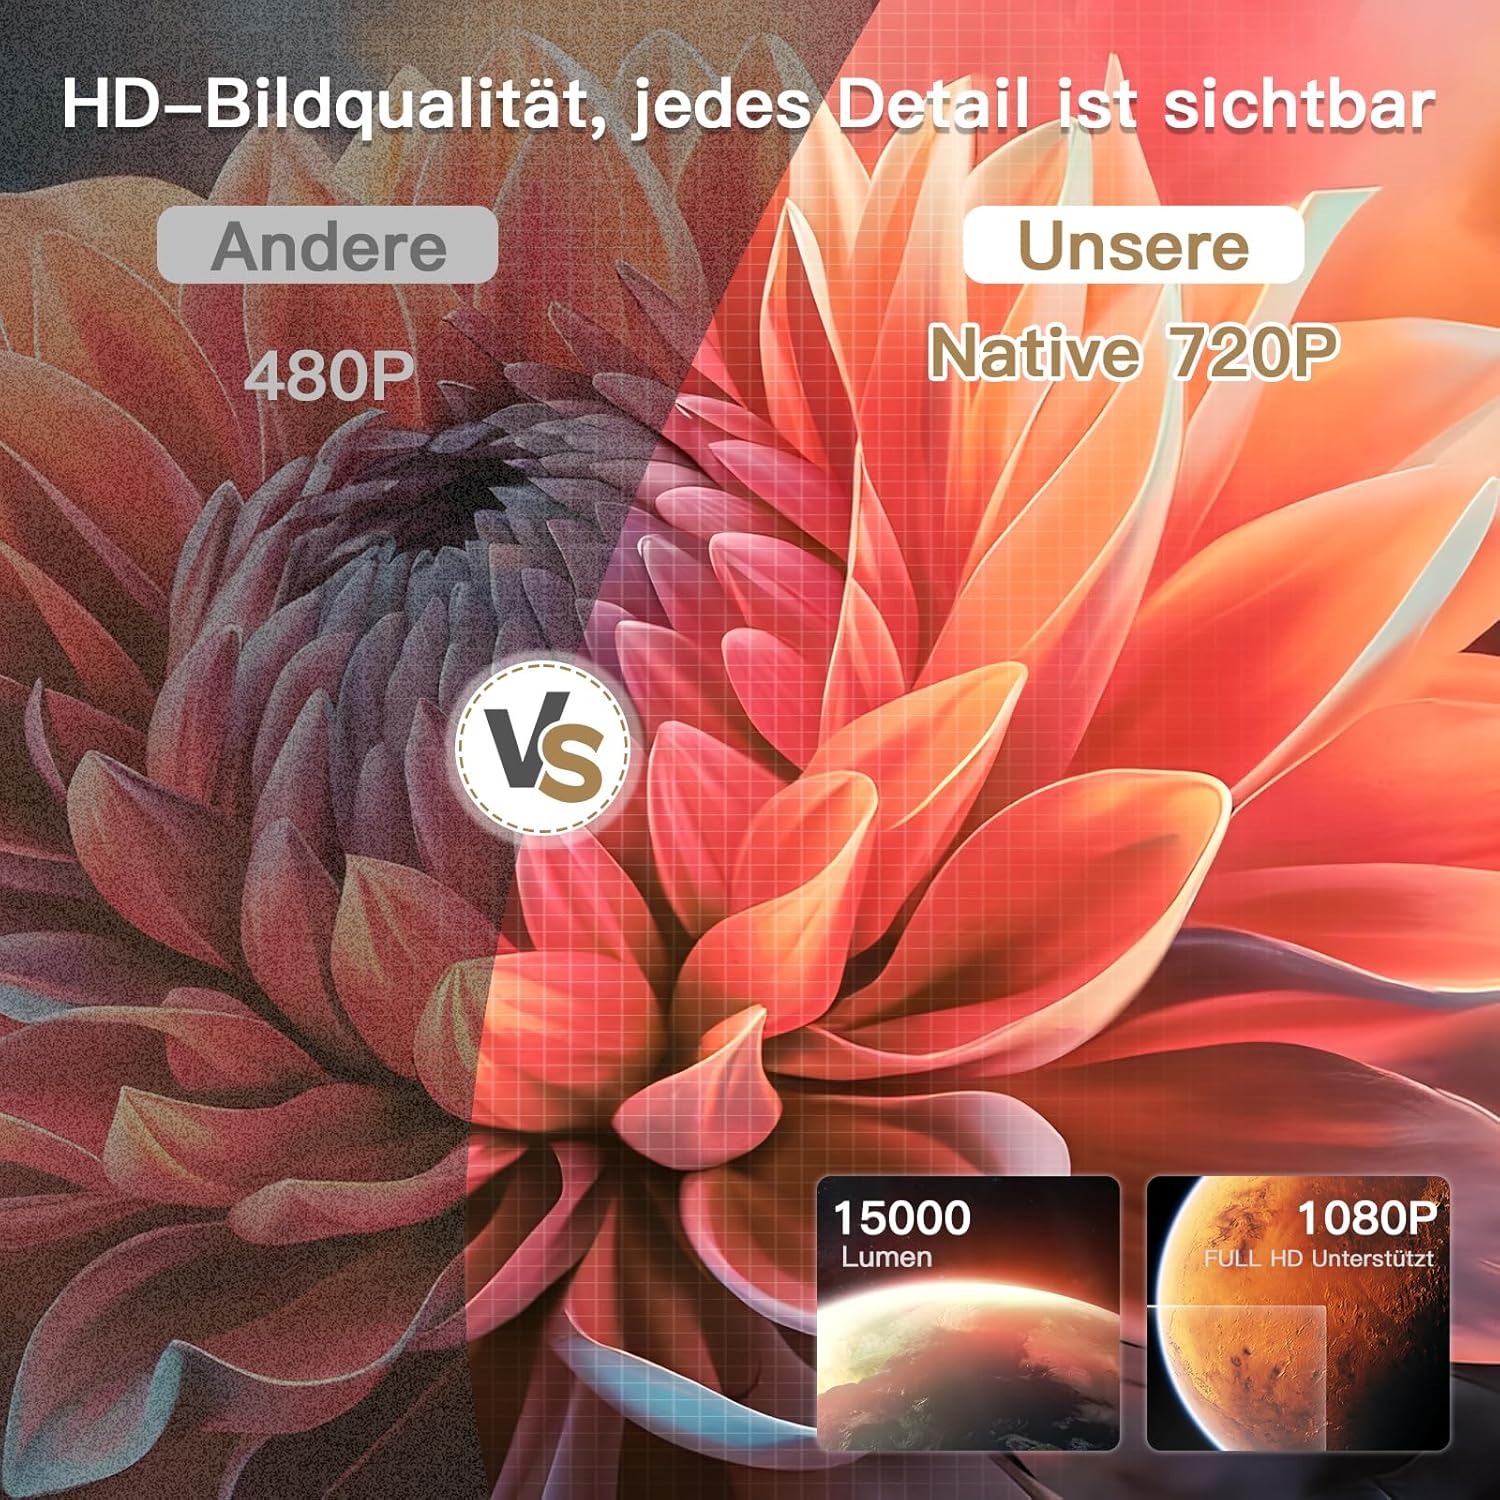
Image: Visual comparison demonstrating the superior clarity of Native 720P resolution compared to 480P, highlighting 15000 lumens brightness and 1080P Full HD support.

Image: Illustrates the projector's 15000 lumens brightness, showing clear projection both during the day and at night.
12. Warranty and Support
For warranty information, technical support, or service inquiries, please contact your retailer or the manufacturer directly. Information regarding spare parts availability and software updates is not provided in this manual.


