1. Introduction
Thank you for purchasing the Hermitlux HVC4S02 Ceramic Hob. This manual provides essential information for the safe and efficient operation, installation, and maintenance of your new appliance. Please read these instructions thoroughly before use and keep them for future reference.
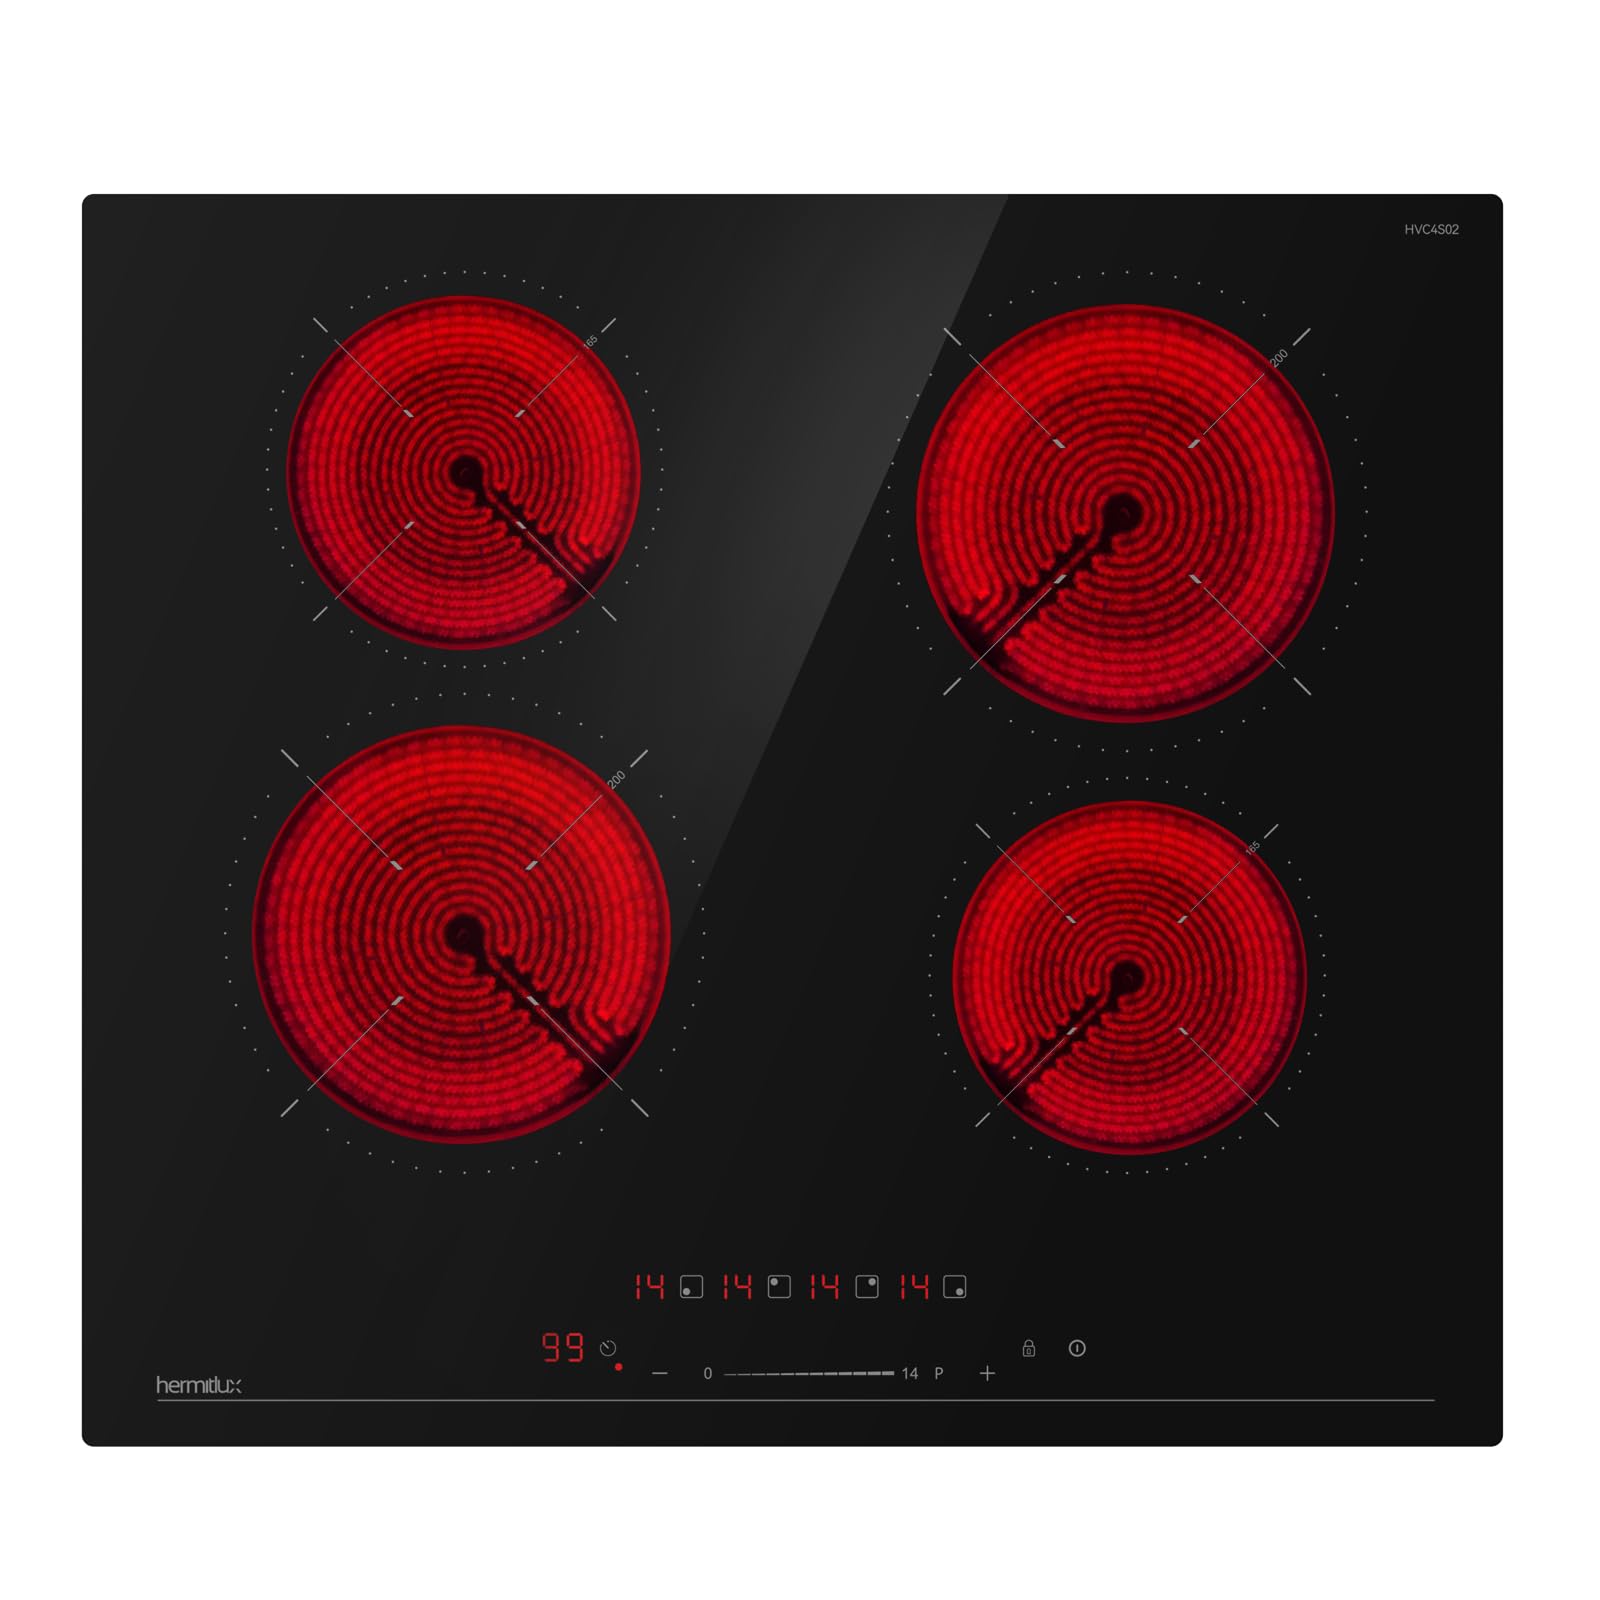
Image: The Hermitlux HVC4S02 Ceramic Hob, showcasing its sleek black glass surface and four cooking zones.
2. Safety Information
Important Safety Instructions:
- Read all instructions before using the appliance.
- This appliance is intended for household use only.
- Do not touch hot surfaces. Use handles or knobs.
- To protect against electrical shock, do not immerse cord, plugs, or the appliance in water or other liquid.
- Close supervision is necessary when any appliance is used by or near children.
- Unplug from outlet when not in use and before cleaning. Allow to cool before putting on or taking off parts.
- Do not operate any appliance with a damaged cord or plug or after the appliance malfunctions or has been damaged in any manner.
- The use of accessory attachments not recommended by the appliance manufacturer may cause injuries.
- Do not use outdoors.
- Do not let cord hang over edge of table or counter, or touch hot surfaces.
- Do not place on or near a hot gas or electric burner, or in a heated oven.
- Extreme caution must be used when moving an appliance containing hot oil or other hot liquids.
- Always attach plug to appliance first, then plug cord into the wall outlet. To disconnect, turn any control to "off", then remove plug from wall outlet.
- Do not use appliance for other than intended use.
- Ensure proper ventilation around the appliance during operation.
- The appliance must be installed by a qualified person.
- Keep children away from the appliance when it is operating and when it is cooling down.
- Do not store items on the cooking surfaces.
3. Product Overview
The Hermitlux HVC4S02 Ceramic Hob features a sleek glass-ceramic surface with four cooking zones, offering efficient and precise cooking. It is designed for seamless integration into your kitchen countertop.
Key Features:
- 4 Cooking Zones: Provides ample space for various pots and pans.
- 14 Power Levels: Allows for precise temperature control for diverse cooking needs.
- Touch Control Panel: Sensitive and intuitive controls for easy operation.
- Child Lock: Enhances safety by preventing accidental activation or changes to settings.
- Timer Function: Programmable timer up to 99 minutes for convenient cooking.
- Residual Heat Indicator: Warns when the cooking zone is still hot after use.
- Automatic Shut-off: Safety feature that turns off the hob after a certain period of inactivity.
4. Setup and Installation
This ceramic hob is designed for built-in installation. Professional installation by a qualified electrician is highly recommended to ensure safety and proper functioning.
Installation Requirements:
- Cut-out Dimensions: Ensure the countertop cut-out matches the required dimensions for the hob. Product dimensions are approximately 52 cm (Depth) x 59 cm (Width) x 5.1 cm (Height). The recommended cut-out size is 56 cm x 49 cm.
- Electrical Connection: The appliance requires a wired electrical connection to a 220V (AC) power supply. The total power consumption is 6000W. Ensure the electrical circuit can support this load.
- Ventilation: Adequate ventilation must be provided around the hob to prevent overheating.
- Clearance: Maintain minimum clearances from adjacent walls and overhead cabinets as specified in local building codes.
Installation Steps (Summary - Consult a professional):
- Prepare the countertop cut-out according to the specified dimensions.
- Ensure the electrical supply is disconnected at the main breaker.
- Carefully lower the hob into the cut-out, ensuring it sits flush with the countertop.
- Secure the hob using the provided mounting brackets and accessories.
- Connect the electrical wiring to the hob's terminal block, following the wiring diagram in the full installation guide (not included in this summary).
- Restore power and test the hob's functionality.
5. Operating Instructions
The ceramic hob is operated via a touch control panel. Ensure your hands are clean and dry when using the controls.
Basic Operation:
- Power On/Off: Touch the Power symbol to turn the hob on or off.
- Selecting a Cooking Zone: After powering on, select the desired cooking zone by touching its corresponding control.
- Adjusting Power Level: Use the '+' and '-' symbols to adjust the power level from 1 to 14. The display will show the current power setting.
- Residual Heat Indicator: After turning off a cooking zone, an 'H' may appear on the display, indicating that the surface is still hot. Do not touch the surface until the 'H' disappears.
Special Functions:
- Timer Function:
- Select the cooking zone you wish to set a timer for.
- Touch the Timer symbol.
- Use the '+' and '-' symbols to set the desired cooking time (up to 99 minutes).
- The cooking zone will automatically turn off once the set time has elapsed.
- Child Lock:
- To activate, touch and hold the Lock symbol for a few seconds. A lock indicator will appear.
- When activated, all controls are disabled, preventing accidental operation.
- To deactivate, touch and hold the Lock symbol again until the indicator disappears.
6. Cleaning and Maintenance
Regular cleaning and proper maintenance will ensure the longevity and optimal performance of your ceramic hob.
Cleaning the Ceramic Surface:
- Always ensure the hob is turned off and completely cool before cleaning.
- For light spills and daily cleaning, wipe the surface with a soft cloth dampened with warm water and a mild detergent.
- For stubborn stains or burnt-on food, use a specialized ceramic hob cleaner and a non-abrasive sponge or scraper. Follow the cleaner's instructions carefully.
- Avoid using abrasive pads, harsh chemicals, or steam cleaners, as these can damage the ceramic surface.
- Dry the surface thoroughly after cleaning to prevent water spots.
General Maintenance:
- Inspect the hob regularly for any signs of damage or wear.
- Ensure the ventilation openings are not blocked.
- Do not use the hob as a work surface or storage area to prevent scratches or damage.
7. Troubleshooting
Before contacting customer service, please refer to the following common issues and their solutions:
| Problem | Possible Cause | Solution |
|---|---|---|
| Hob does not turn on. | No power supply; Child lock activated. | Check the circuit breaker. Deactivate the child lock. |
| Cooking zone not heating. | Incorrect power level selected; Pan not suitable (though ceramic hobs are generally compatible with all cookware, ensure it's flat-bottomed). | Increase power level. Ensure cookware is appropriate and making good contact. |
| Hob turns off unexpectedly. | Overheating protection activated; Automatic shut-off engaged. | Allow the hob to cool down. Reduce cooking time or power. |
| Error code displayed. | Specific malfunction. | Refer to the full user manual for specific error code meanings or contact customer support. |
8. Specifications
| Feature | Specification |
|---|---|
| Brand | Hermitlux |
| Model Number | HVC4S02 |
| Type | Ceramic Hob (Vitroceramic Plate) |
| Number of Cooking Zones | 4 |
| Power Levels | 14 |
| Total Power | 6000W |
| Voltage | 220V (AC) |
| Product Dimensions (D x W x H) | 52 cm x 59 cm x 5.1 cm |
| Cut-out Dimensions (W x D) | 56 cm x 49 cm |
| Weight | 9.36 kg |
| Material | Glass Ceramic |
| Control Type | Touch Control |
| Special Features | Digital Display, Safety Lock (Child Lock), Timer |
9. Warranty and Support
Specific warranty details are typically provided with your purchase documentation. Please refer to the warranty card or contact the retailer for information regarding warranty coverage and terms.
For technical support, spare parts, or service inquiries, please contact Hermitlux customer service through their official website or the contact information provided in your purchase documents.


