
Introduction
Thank you for choosing the JUNEBOX 13.3-inch Portable Touch Screen Monitor. This manual provides detailed instructions to help you set up, operate, and maintain your new monitor. Please read this manual thoroughly before use to ensure optimal performance and longevity of your device.
This monitor features a 13.3-inch 1080P display with 10-point capacitive touch, VESA compatibility, and multiple input ports including HDMI and VGA. It is designed for enhanced productivity and entertainment across various devices such as PCs, MacBooks, gaming consoles (PS5/4/Xbox), and more.
Package Contents
Please verify that all items listed below are included in your package:
- 13.3-inch Portable Touch Screen Monitor
- HDMI Cable
- Power Adapter
- USB-B to USB-A Touch Cable
- VESA Mounting Screws and Screwdriver
- Warranty Card / User Manual
Video: Unboxing the monitor and its accessories, including the monitor, HDMI cable, power cord, touch line, and VESA mounting hardware.
Setup and Connection
1. Basic Connection (Non-Touch Mode)
- Connect one end of the HDMI cable to the HDMI port on the monitor and the other end to your computer's HDMI output.
- Plug the power adapter into the DC 12V port on the monitor and then into a power outlet.
- The monitor will power on and display your computer's screen.

Image: Illustration of connecting the monitor to a laptop using HDMI and power for non-touch display.
2. Touch Function Connection
To enable the touch function, an additional USB connection is required:
- Follow steps 1 and 2 from the "Basic Connection" section above.
- Connect the USB-B end of the 'Touch Line' cable to the USB-B port on the monitor.
- Connect the USB-A end of the 'Touch Line' cable to an available USB-A port on your computer.
- Your computer should automatically detect the touch screen. If not, ensure drivers are updated or restart your computer.

Image: Illustration of connecting the monitor for touch functionality, including HDMI, power, and USB-B to USB-A connections.
Video: Demonstrates connecting the HDMI cable, power cord, and USB touch cable to the monitor and laptop, followed by a demonstration of the touch function.
Operating Instructions
Display Modes
The monitor supports various display modes to enhance your productivity:
- Extend Mode: Extends your desktop across both screens, allowing for more workspace.
- Mirror Mode: Duplicates your primary screen's content onto the portable monitor.
- Portrait/Landscape Mode: The monitor can be used in both orientations. Adjust settings in your operating system's display preferences.
Image: A laptop and the portable monitor displaying different content in extended mode, demonstrating increased workspace.
Touch Functionality
The 10-point capacitive touch screen allows for intuitive interaction:
- Single Touch: Tap to select or activate items.
- Multi-Touch: Use multiple fingers for gestures like zooming (pinch-to-zoom) or scrolling.
- Slide Control: Swipe to navigate through content or menus.
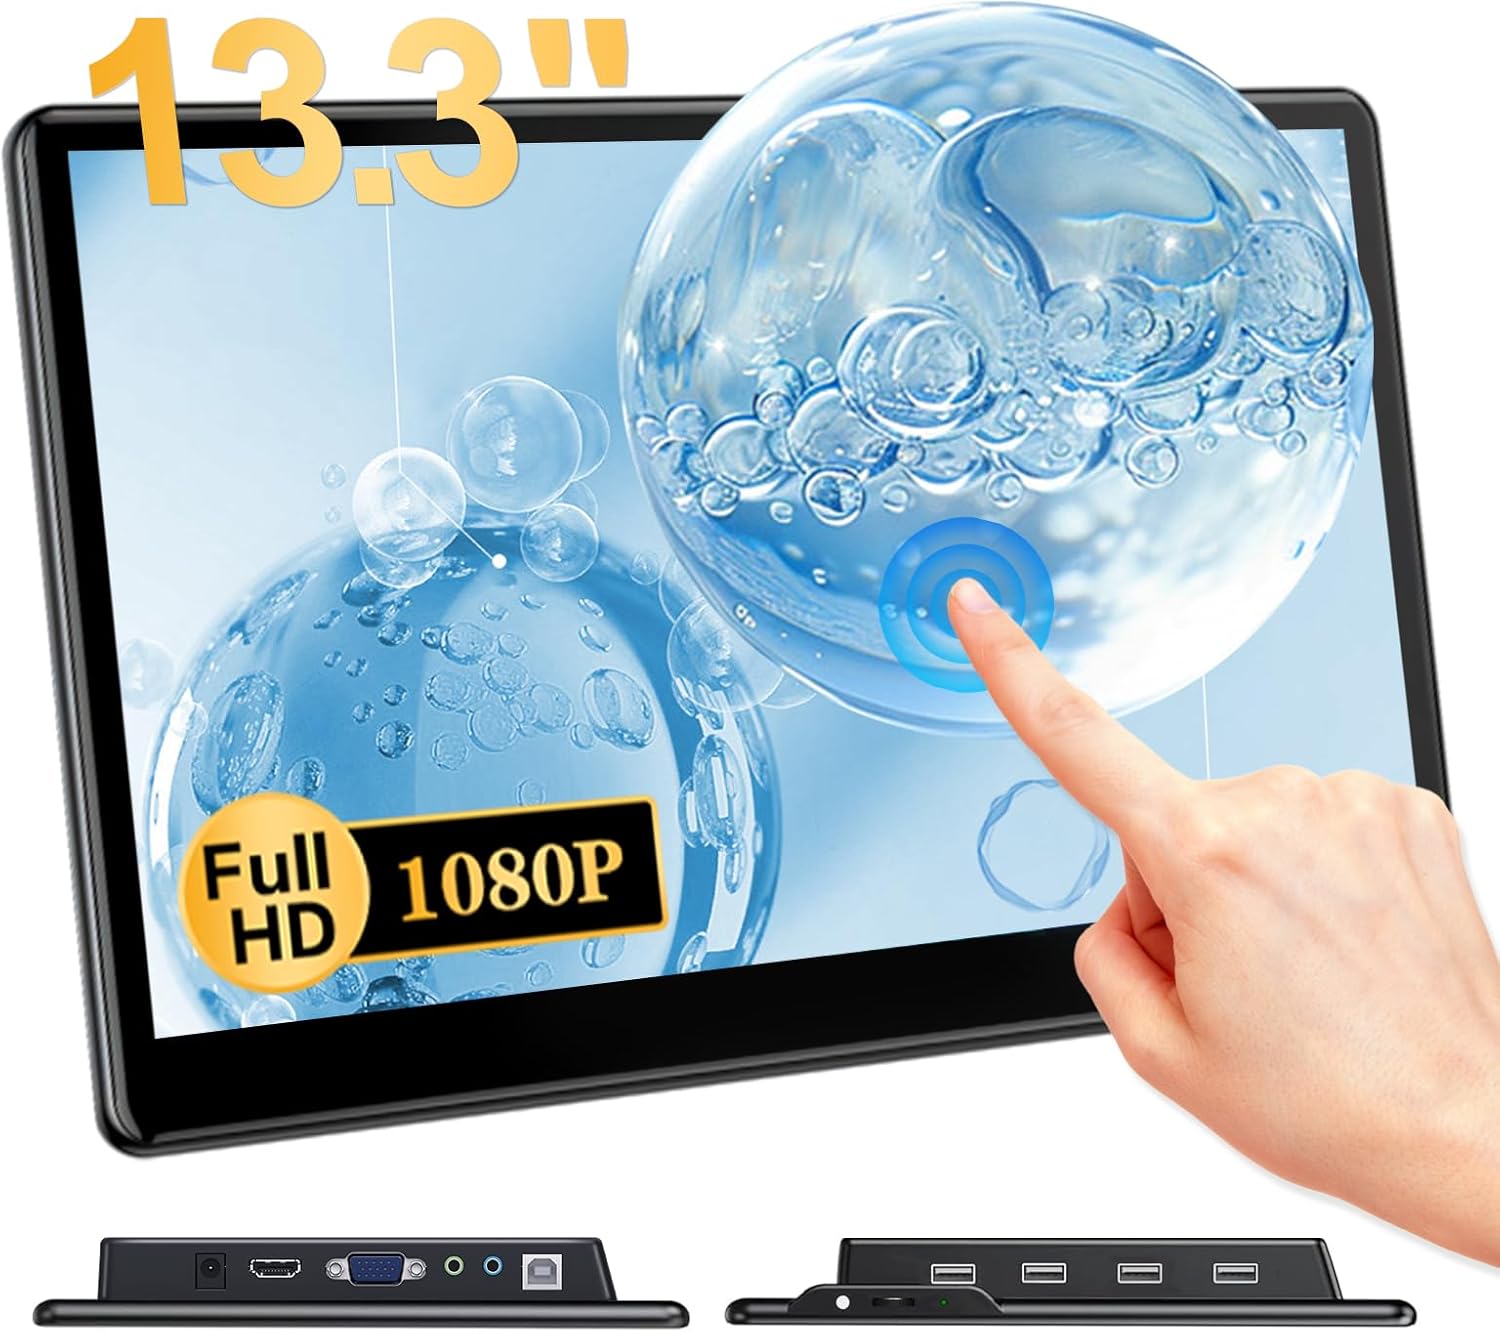
Image: A hand demonstrating multi-touch gestures on the monitor, such as pinching to zoom.
VESA Mounting
The monitor is VESA 75x75mm compatible, allowing for flexible mounting options with compatible arms or stands (sold separately).
- Remove the built-in stand by unscrewing it from the back of the monitor.
- Align the VESA mount bracket with the four screw holes on the back of the monitor.
- Secure the bracket using the provided VESA nuts and screwdrivers.
- Attach the monitor to your VESA-compatible arm or stand.

Image: The monitor attached to a VESA mount, illustrating its use in a DIY project setup.
Video: Demonstrates the process of installing a VESA mount onto the back of the monitor and setting it up vertically.
Maintenance
Proper maintenance ensures the longevity and optimal performance of your monitor:
- Cleaning: Use a soft, lint-free cloth to gently wipe the screen. For stubborn smudges, slightly dampen the cloth with water or a screen-safe cleaner. Avoid harsh chemicals or abrasive materials.
- Storage: When not in use, store the monitor in a cool, dry place away from direct sunlight and extreme temperatures.
- Handling: Handle the monitor with care to prevent physical damage. Avoid placing heavy objects on it or dropping it.
Troubleshooting
| Problem | Possible Cause | Solution |
|---|---|---|
| No display/Power LED off | No power supply or loose connection. | Ensure the power adapter is securely connected to the monitor and a working power outlet. |
| No signal | Incorrect input source or loose video cable. | Check HDMI/VGA cable connections. Ensure your computer's display output is active. Select the correct input source on the monitor if applicable. |
| Touch function not working | USB touch cable not connected or faulty. | Ensure the USB-B to USB-A cable is securely connected to both the monitor and your computer. Try a different USB port or cable. |
| Screen flickering or unstable image | Faulty cable or resolution/refresh rate mismatch. | Try a different HDMI/VGA cable. Adjust your computer's display resolution or refresh rate to match the monitor's specifications (1920x1080). |
Specifications
| Feature | Detail |
|---|---|
| Screen Size | 13.3 Inches |
| Resolution | 1920 x 1080 (FHD 1080p) |
| Aspect Ratio | 16:9 |
| Touch Type | 10-Point Capacitive Touch |
| Input Ports | HDMI, VGA, DC 12V, USB-B (for touch) |
| USB Ports | 4x USB-A (USB 2.0) |
| Image Brightness | 300 Candela |
| Screen Surface | Matte |
| VESA Compatibility | 75x75mm |
| Product Dimensions | 0.95 x 11.93 x 7.56 inches |
| Item Weight | 2.92 pounds |

Image: Detailed diagram illustrating the physical dimensions and port locations of the monitor.
Warranty and Support
For warranty information and technical support, please refer to the warranty card included in your package or contact JUNEBOX customer service. Our team is available to assist you with any questions or issues you may encounter.
Contact Information: Please refer to the contact details provided on the warranty card or the official JUNEBOX website.