
SINGER 6700C
SINGER Electronic Heavy Duty Sewing Machine & Carrying Case User Manual
Model: 6700C
1. Introduction and Overview
This manual provides detailed instructions for the SINGER Electronic Heavy Duty Sewing Machine (Model 6700C) and its accompanying SINGER Machine Carrying Case. The sewing machine is engineered for robust performance, offering 411 stitch applications, a powerful motor, and user-friendly electronic controls. The carrying case is designed to provide secure and dust-free storage and transport for your sewing machine.

Figure 1.1: SINGER Electronic Heavy Duty Sewing Machine and Carrying Case.
2. Product Features
- Built-in Needle Threader & Easy Threading: Simplifies the threading process with clear guides and an automatic needle threader.
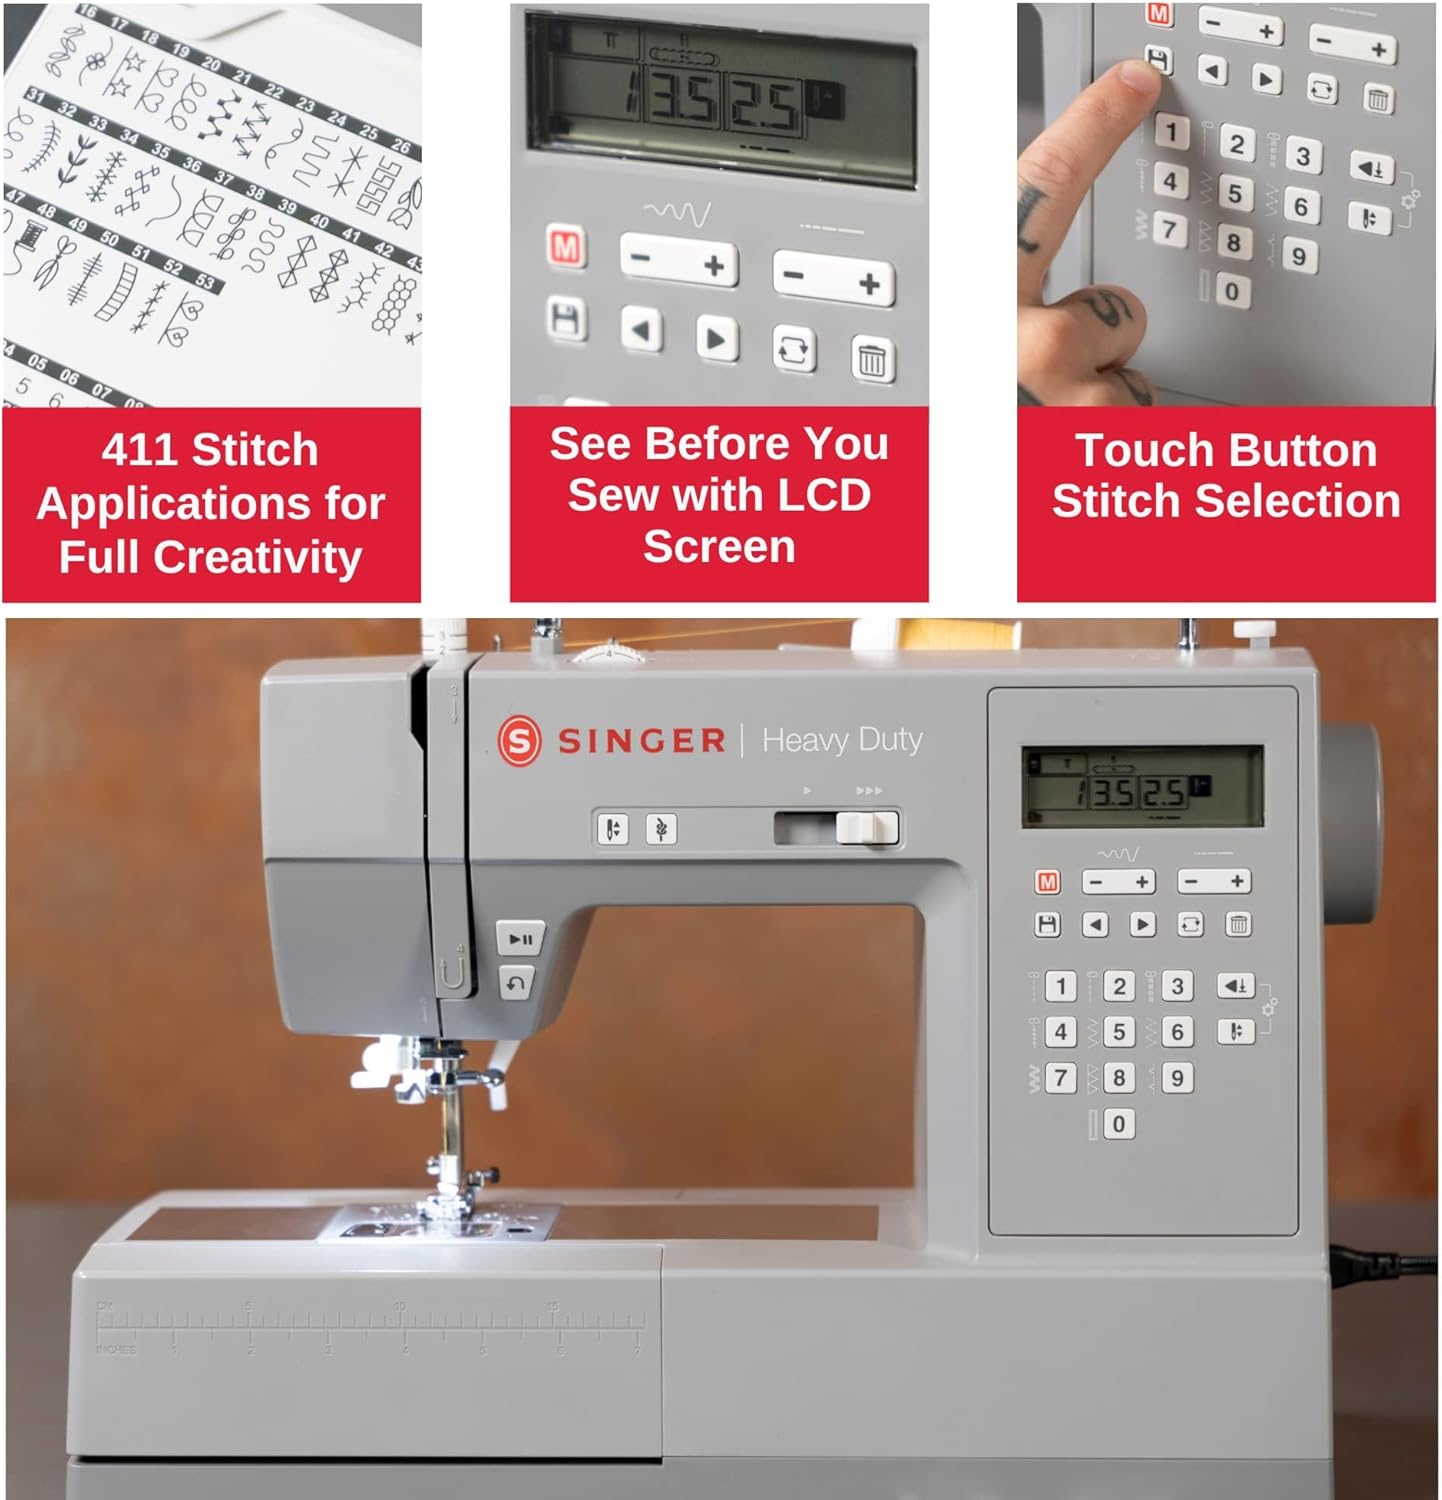
- LCD Screen: Provides a clear display of selected stitches, stitch length, and width settings for easy monitoring and adjustment.
- Touch Button Stitch Selection: Allows for quick and intuitive selection of stitches, with pre-selected optimal settings that can be customized.
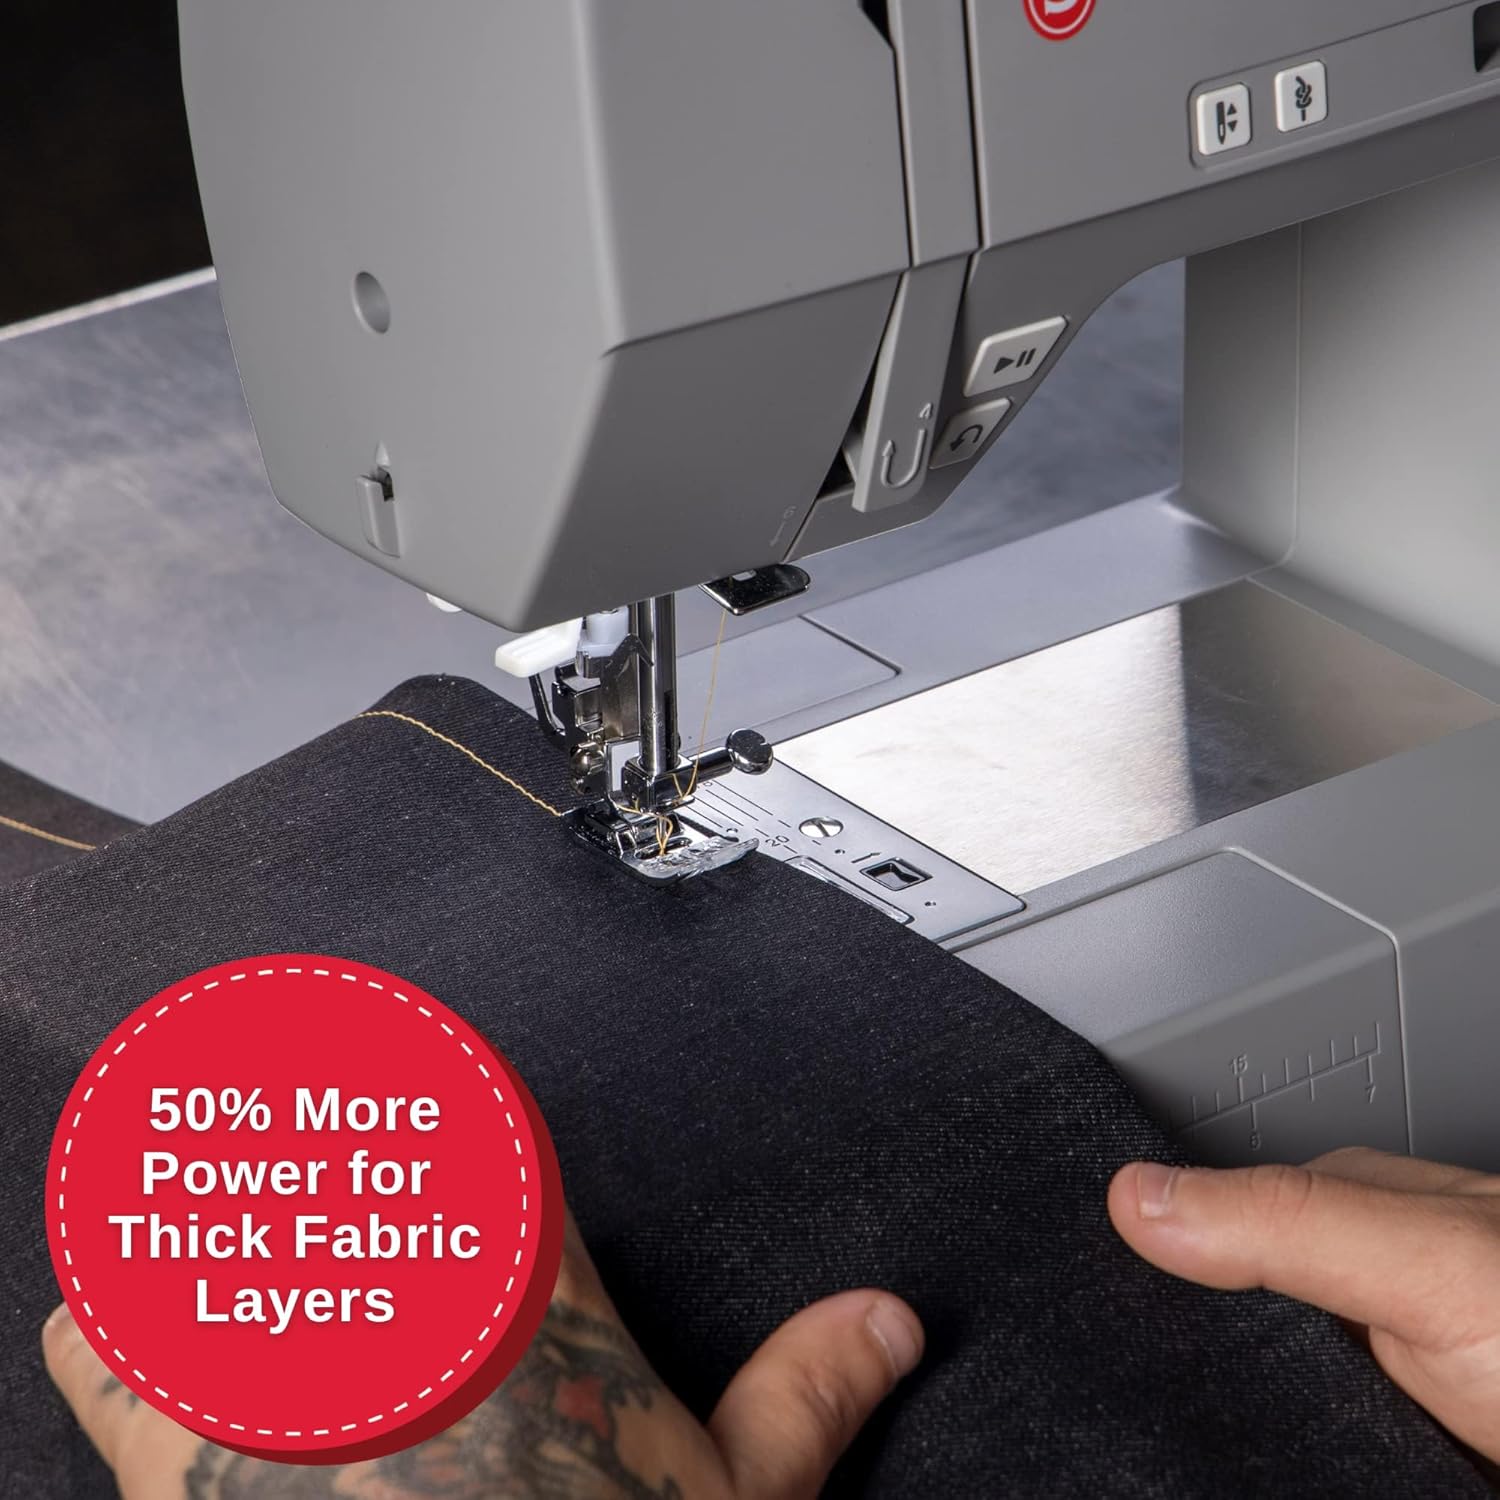
- Powerful Motor: Delivers enhanced needle piercing power and high sewing speed, ideal for heavy-duty fabrics like denim and canvas.
- Extensive Stitch Applications: Features 411 stitch applications, including basic, stretch, decorative, and a lettering font for diverse creative projects.
- Included Accessories: Comes with ten presser feet (All-Purpose, Zipper, Buttonhole, Blind Hem, Button Sewing, Sew Easy, Satin Stitch, Even Feed / Walking, Open Toe, Cording), 4 transparent bobbins (Class 15), spool holders, spool pin, felt auxiliary, L-screwdriver, brush/seam ripper, pack of needles, and a dust cover.
- Top Drop-in Bobbin: Easy to thread and monitor thread supply through the transparent cover.
- Protective Carrying Case: The SINGER Machine Carrying Case offers safe, dust-free storage with a fully-padded interior and impact-resistant design.
- Spacious Case with Easy Access: Features a large front pocket for accessories and a full zip for convenient machine placement and removal.
- Padded Carrying Handles: Ensures a secure and comfortable grip for transport.




3. Setup
- Unpacking: Carefully remove the sewing machine and all accessories from the packaging. Retain packaging for future storage or transport.
- Power Connection: Place the machine on a stable, flat surface. Connect the foot controller and power cord to the machine, then plug the power cord into a suitable electrical outlet.
- Bobbin Winding: Refer to the machine's markings for instructions on how to wind the bobbin. The top drop-in bobbin system makes this process straightforward.
- Upper Threading: Follow the numbered threading guides on the machine. Utilize the built-in needle threader for quick and easy threading of the needle.
- Needle Installation: Ensure the correct needle type and size are installed for your fabric. Loosen the needle clamp screw, insert the new needle with the flat side facing the back, and tighten the screw securely.
- Carrying Case Preparation: If using the carrying case, ensure the machine is properly positioned on the inner platform. Utilize the large front pocket for storing the foot controller, cords, and other notions.
4. Operating Instructions
- Selecting a Stitch: Turn on the machine. Use the touch buttons to select your desired stitch. The LCD screen will display the selected stitch and its default settings.
- Adjusting Stitch Settings: While the machine provides optimal pre-selected settings, you can adjust stitch length and width using the dedicated buttons next to the LCD screen to customize your projects.
- Using Presser Feet: Select the appropriate presser foot for your sewing task. For example, use the Zipper Foot for zippers, the Buttonhole Foot for buttonholes, or the Cording Foot for adding decorative cords. Attach the presser foot by aligning it with the presser foot holder and lowering the presser foot lever.
- Starting to Sew: Place your fabric under the presser foot. Lower the presser foot lever. Gently press the foot controller to begin sewing. The powerful motor ensures smooth operation even through multiple layers of thick fabric.
- Reverse Stitching: Use the reverse stitch button to reinforce seams at the beginning and end of your stitching.
- Finishing a Seam: When finished, raise the needle to its highest position, lift the presser foot, and gently pull the fabric away from the machine. Cut the threads using the built-in thread cutter.

Figure 4.1: User operating the SINGER Heavy Duty Sewing Machine.
5. Maintenance
Regular maintenance ensures the longevity and optimal performance of your SINGER sewing machine and carrying case.
- Cleaning the Bobbin Area: Periodically remove the needle plate and bobbin case. Use the provided brush to remove lint and dust accumulation from the bobbin area and feed dogs.
- General Cleaning: Wipe the exterior of the machine with a soft, dry cloth. Avoid using harsh chemicals or abrasive cleaners.
- Needle Replacement: Replace needles frequently, especially when working with new projects or if you notice skipped stitches or fabric damage. A dull or bent needle can affect stitch quality.
- Carrying Case Care: The carrying case is designed for dust-free storage. Keep it clean by wiping with a damp cloth as needed. Ensure the machine is dry before placing it in the case.
6. Troubleshooting
This section addresses common issues you might encounter. For more complex problems, refer to the official SINGER support resources.
| Problem | Possible Cause | Solution |
|---|---|---|
| Skipped Stitches | Incorrect needle, bent needle, improper threading. | Replace needle with correct type/size, re-thread machine correctly. |
| Thread Breaking | Incorrect tension, poor quality thread, improperly wound bobbin. | Adjust tension, use good quality thread, re-wind bobbin evenly. |
| Bobbin Jamming | Lint in bobbin case, incorrect bobbin insertion. | Clean bobbin area, ensure bobbin is inserted correctly. |
| Machine Not Starting | Power cord not connected, foot controller issue. | Check all power connections, ensure foot controller is properly plugged in. |
7. Specifications
- Brand: SINGER
- Model Number: 6700C
- ASIN: B0D8W8KYV7
- Stitch Applications: 411
- Bobbin Type: Top Drop-in (Class 15 transparent)
- Frame: Heavy Duty Metal Frame
8. Warranty and Support
For warranty information, product registration, or technical support, please visit the official SINGER website or contact SINGER customer service. Keep your purchase receipt as proof of purchase for warranty claims.
Official SINGER Website: www.singer.com
Ask a question about this manual
Ask about setup, troubleshooting, compatibility, parts, safety, or missing instructions. Manuals+ will review the question and use this page’s manual context to help answer it.