
Stokk E1-W
Contents
Stokk E1 Reverse Osmosis Water Filter Countertop User Manual
Model: E1-W
1. Introduction
The Stokk E1 Reverse Osmosis Water Filter System is a compact, countertop water purification device designed to provide clean, filtered water without the need for complex installation. This system utilizes a 5-stage filtration process, including reverse osmosis and remineralization, to enhance water quality and taste. It is suitable for various environments such as homes, offices, and RVs.

Figure 1.1: Stokk E1 Countertop RO Water Filter System.
2. Product Features
- 5-Stage Filtration System: Incorporates PP Cotton, Pre-C, RO, Post-C, and Mineralization filters for comprehensive water purification.
- Remineralization: Adds beneficial minerals back into the water and balances pH levels for improved taste and health.
- Countertop Design: Portable and requires no plumbing installation, making it convenient for various locations.
- Smart LED Display: Features a built-in TDS meter to monitor water quality (IN/OUT), filter life indicators, and touch buttons for operation.
- Efficient Water Production: Achieves a 3:1 pure to waste water ratio, minimizing water waste.
- Certified Safety: NSF/ANSI 58 & 372 certified, along with SGS and FCC certifications, ensuring high standards of water purity and safety.

Figure 2.1: Detailed view of the 5-stage filtration layers.

Figure 2.2: Smart LED Screen and Touch Button Interface.
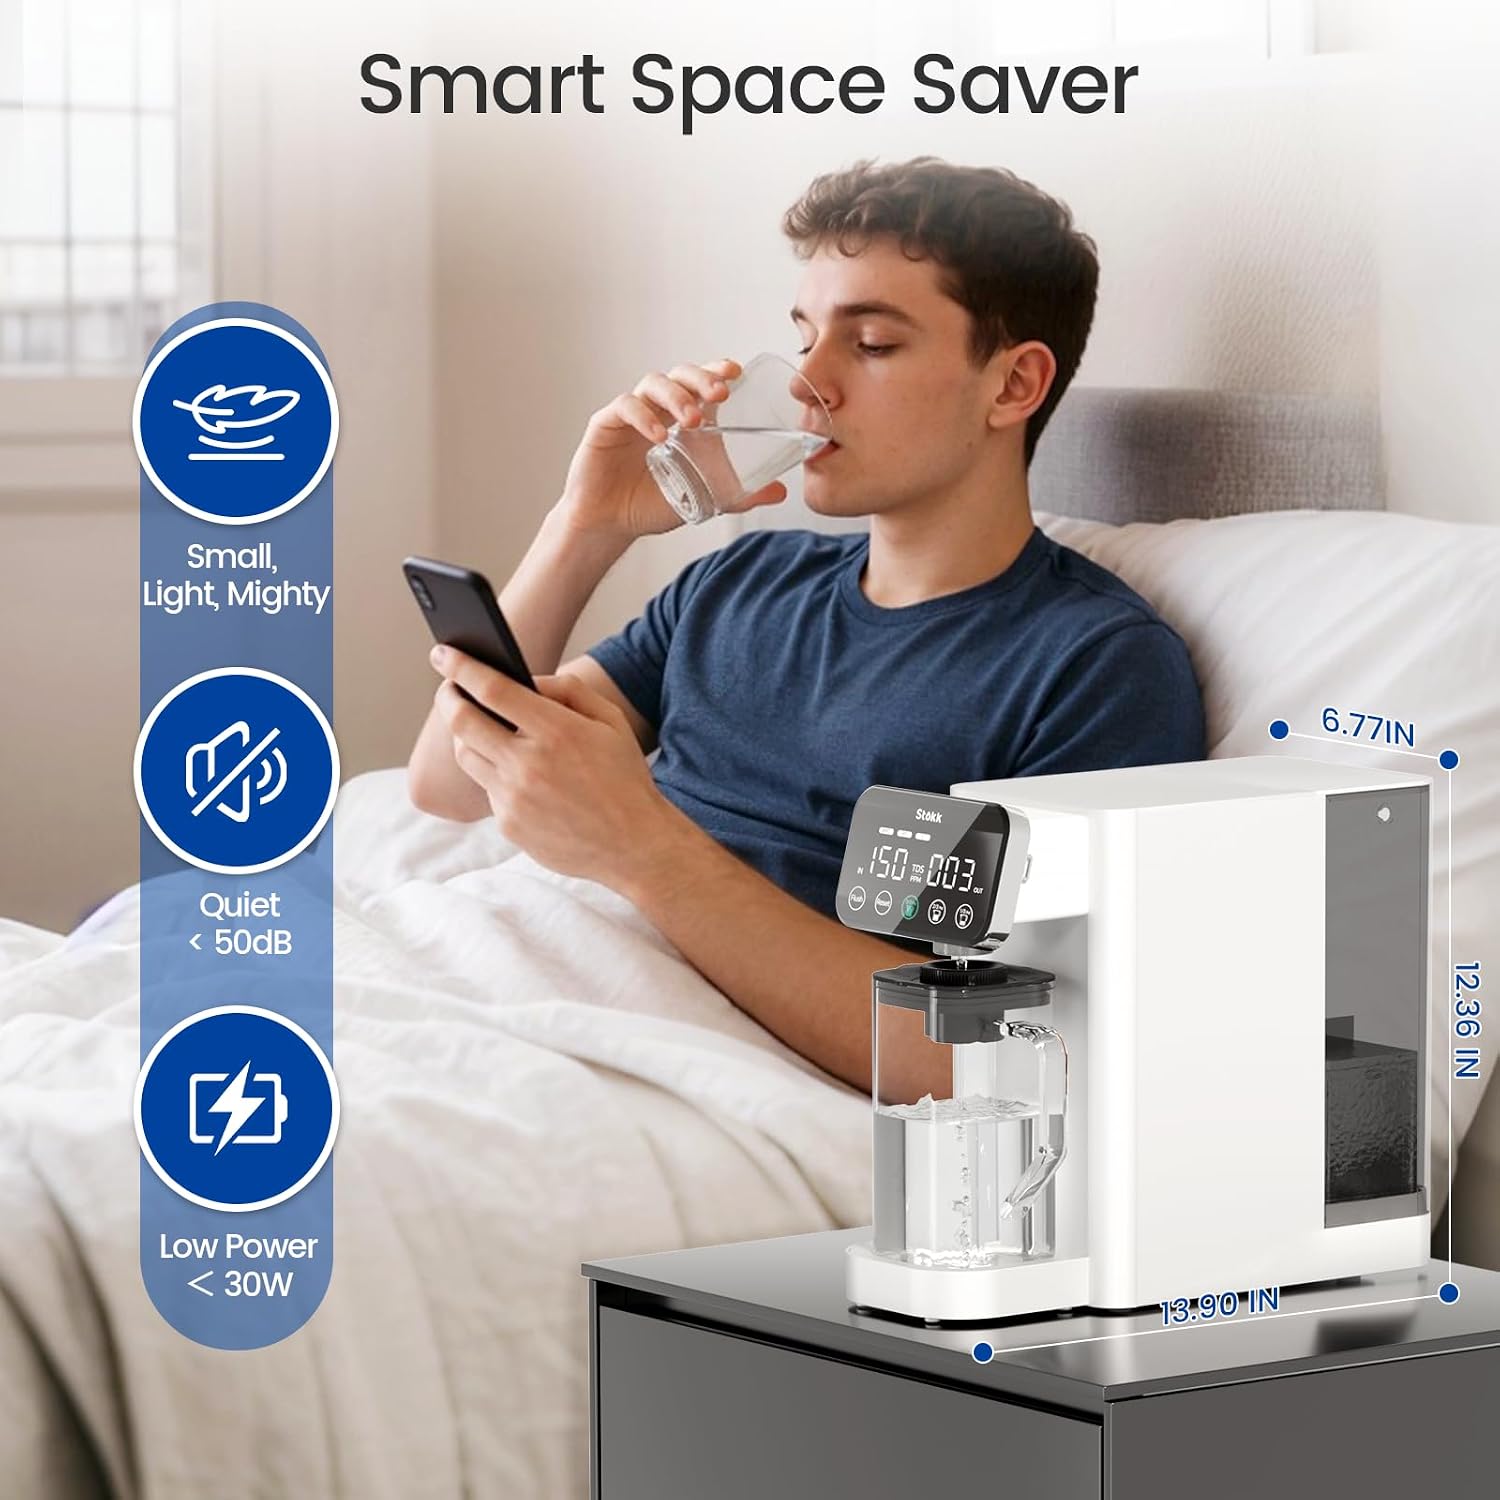
Figure 2.3: Compact Design and Dimensions of the Stokk E1.

Figure 2.4: Mineral-Enhancing Glass Pitcher.
3. Setup and First Use
The Stokk E1 system is designed for quick and easy setup, requiring no plumbing. Follow these steps for initial use:
- Unpack the System: Carefully remove all components from the packaging. Ensure the main unit, glass pitcher, and filters are present.
- Install Filters: Open the filter compartment. Insert the PPC, RO, and C filters into their designated slots. Ensure they are securely in place. Refer to Figure 3.1 for visual guidance.
- Fill the Raw Water Tank: Remove the raw water tank from the back of the unit. Fill it with tap water up to the MAX line.
- Place the Pitcher: Position the glass pitcher under the water dispenser spout.
- Power On: Plug the power cord into a suitable electrical outlet. The display will illuminate.
- Initial Flush: For first-time use, it is recommended to perform an initial flush cycle. Press the "Flush" button on the display. This process cleans the filters and prepares the system for optimal performance. Dispose of the water from the first few cycles.
- Dispense Water: Once the initial flush is complete, the system is ready for use. Select your desired water volume (e.g., 1/3 pitcher, 2/3 pitcher, full pitcher) and press the corresponding button to dispense purified water.

Figure 3.1: Filter Compartment and Filter Types.

Figure 3.2: Portability and Versatility of the Stokk E1 System.
4. Operation
Operating the Stokk E1 is straightforward with its intuitive touch panel.
4.1 Dispensing Water
- Ensure the raw water tank is filled and the glass pitcher is correctly placed under the dispenser.
- On the LED display, select the desired volume by pressing the corresponding button (e.g., 1/3, 2/3, or full pitcher icon).
- The system will begin dispensing purified water. The display will show the progress and current TDS levels.
- Once dispensing is complete, the system will automatically stop.

Figure 4.1: One-Touch Water Dispensing.
4.2 Display Indicators
The LED display provides important information about the system's status:
- IN TDS: Indicates the Total Dissolved Solids level of the incoming tap water.
- OUT TDS: Indicates the Total Dissolved Solids level of the purified water. A lower OUT TDS value signifies higher purification efficiency.
- Filter Life Indicators (PPC, RO, C): These icons show the remaining lifespan of each filter. When an icon flashes or changes color, it indicates that the corresponding filter needs replacement.
- Flush Button: Initiates a system flush cycle to clean the RO membrane and extend its life.
- Reset Button: Used to reset filter life indicators after filter replacement.
5. Maintenance
Regular maintenance ensures the longevity and optimal performance of your Stokk E1 system.
5.1 Filter Replacement
Filters should be replaced according to their recommended service life or when the filter indicator on the display signals replacement. The system uses three separate filters: PPC, RO, and C.
| Filter Name | Model | Service Life |
|---|---|---|
| Polypropylene Carbon Composite Filter | RE1-PPC | 6-12 months |
| Reverse Osmosis Membrane | RE1-RO | 12-24 months |
| Post Carbon Filter | RE1-C | 6-12 months |
Steps for Filter Replacement:
- Unplug the power cord from the electrical outlet.
- Open the filter compartment cover on the side of the unit.
- Twist the old filter counter-clockwise to unlock it, then pull it out.
- Insert the new filter into the slot, align the arrows, and twist clockwise to lock it into place.
- Close the filter compartment cover.
- Plug the power cord back in.
- Press and hold the "Reset" button on the display for a few seconds until the corresponding filter indicator resets.
- Perform a flush cycle after replacing any filter to ensure proper function and remove any air or carbon fines.

Figure 5.1: Filter Replacement Process.


Figure 5.2: Stokk E1 Replacement Filters (PPC, RO, C).
5.2 Cleaning the System
- Exterior: Wipe the exterior of the unit with a soft, damp cloth. Do not use abrasive cleaners or solvents.
- Raw Water Tank: Periodically clean the raw water tank with mild soap and water. Rinse thoroughly before refilling.
- Glass Pitcher: The glass pitcher can be washed with dish soap and water.
6. Troubleshooting
This section addresses common issues you might encounter with your Stokk E1 system.
| Problem | Possible Cause | Solution |
|---|---|---|
| No water dispensed | Raw water tank empty; Power not connected; Filter not installed correctly. | Refill raw water tank; Check power connection; Reinstall filters securely. |
| Low water flow rate | Clogged filters; Air in system. | Replace old filters; Perform a flush cycle. |
| High OUT TDS reading | RO membrane needs replacement; Initial use (not flushed). | Replace RO filter; Perform initial flush cycles. |
| Unusual taste or odor | Filters need replacement (especially carbon filters); System not flushed adequately. | Replace PPC or C filter; Perform additional flush cycles. |
| Leaking | Filters not seated properly; Tank not sealed. | Ensure filters are twisted and locked; Check raw water tank for proper seating. |
If the problem persists after attempting these solutions, please contact Stokk customer support.
7. Technical Specifications
| Model Name | E1-W |
| Dimensions (L x W x H) | 13.5" x 7.24" x 12.52" |
| Item Weight | 11.9 Pounds |
| Installation Type | Countertop (No Installation Required) |
| Power Source | Corded Electric |
| Maximum Flow Rate | 260 Milliliters Per Minute |
| Operating Temperature Range | 41 - 100 Degrees Fahrenheit |
| Filtration Stages | 5-Stage (PPC, RO, C, Remineralization) |
| Certifications | NSF/ANSI 58 & 372, SGS, FCC |

Figure 7.1: Contaminant Removal Efficiency.

Figure 7.2: Certification Documents. For detailed compliance reports, visit SGS Online Report.
8. Customer Support and Warranty
Stokk is committed to providing excellent customer service and support for your water filtration system.
8.1 Contacting Support
For any questions, technical assistance, or issues with your Stokk E1 system, please contact our U.S.-based customer support team. Information on how to reach support is typically provided with your product packaging or on the official Stokk website.
- Phone Support: Refer to your product documentation for the dedicated customer service phone number.
- Email Support: Contact us via email for non-urgent inquiries.
- Online Resources: Visit the Stokk brand store on Amazon or the official website for FAQs, product information, and filter purchasing.

Figure 8.1: Stokk Customer Support Process.
8.2 Warranty Information
Details regarding the product warranty, including coverage period and terms, are provided with your purchase. Please retain your proof of purchase for warranty claims. For specific warranty inquiries, contact customer support.
For a comprehensive PDF version of this manual, you may also refer to the official User Manual (PDF).
Ask a question about this manual
Ask about setup, troubleshooting, compatibility, parts, safety, or missing instructions. Manuals+ will review the question and use this page’s manual context to help answer it.