1. Product Overview
The STRICH L-2E1AW Wooden Guitar Stand is designed to securely hold up to three guitars, optimizing space and providing a stable display solution. Its tiered, layered structure allows for simultaneous display of multiple instruments, ensuring both safety and accessibility. Constructed from durable plywood with a walnut finish, this stand is suitable for home, studio, or stage use.
This model features one universal slot and two electric guitar-specific slots. The universal slot accommodates most electric and acoustic guitars, while the electric guitar slots are exclusively for electric guitars. It can hold one acoustic and two electric guitars, or three electric guitars.

Figure 1: The STRICH L-Series Guitar Stand (L-2E1AW) displaying three guitars. This stand offers a compact solution compared to individual guitar stands.
2. Assembly Instructions
The STRICH L-2E1AW guitar stand requires assembly. A simple screwdriver and all necessary accessories are included. Each part is pre-drilled for straightforward installation.
2.1. Components Check
Before beginning assembly, ensure all components are present and undamaged. Refer to the diagram below for an overview of the parts.
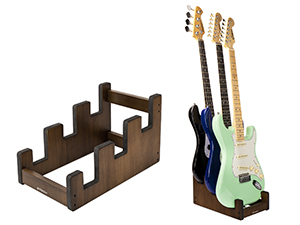
Figure 2: Exploded view of the guitar stand components, highlighting screw hole orientation and logo placement.
2.2. Step-by-Step Assembly
- Step 1: Attach the first connecting bar. Align the first connecting bar between two side panels. Ensure the large screw holes on the side panels face outward and any logos on the connecting bar face forward. Insert screws and tighten with the provided screwdriver.
- Step 2: Attach the second connecting bar. Repeat Step 1 for the second connecting bar, ensuring proper alignment and secure fastening.
- Step 3: Secure the top support bar. Position the top support bar between the upper sections of the side panels. Align the pre-drilled holes and insert screws, tightening them firmly.
- Step 4: Final check. Ensure all screws are tightened and the stand is stable.

Figure 3: Attaching the first connecting bar.

Figure 4: Attaching the second connecting bar.
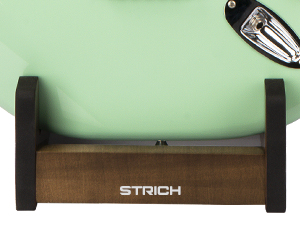
Figure 5: Securing the top support bar.
3. Operating Instructions
This guitar stand is designed for universal compatibility with various guitar types, featuring a stepped yoke design and protective EVA cushioning.
3.1. Guitar Placement
- The L-2E1AW model includes one universal slot and two electric guitar-specific slots.
- The universal slot is suitable for most electric and acoustic guitars.
- The electric guitar slots are designed exclusively for electric guitars.
- The stand can hold a combination of 1 acoustic and 2 electric guitars, or 3 electric guitars.
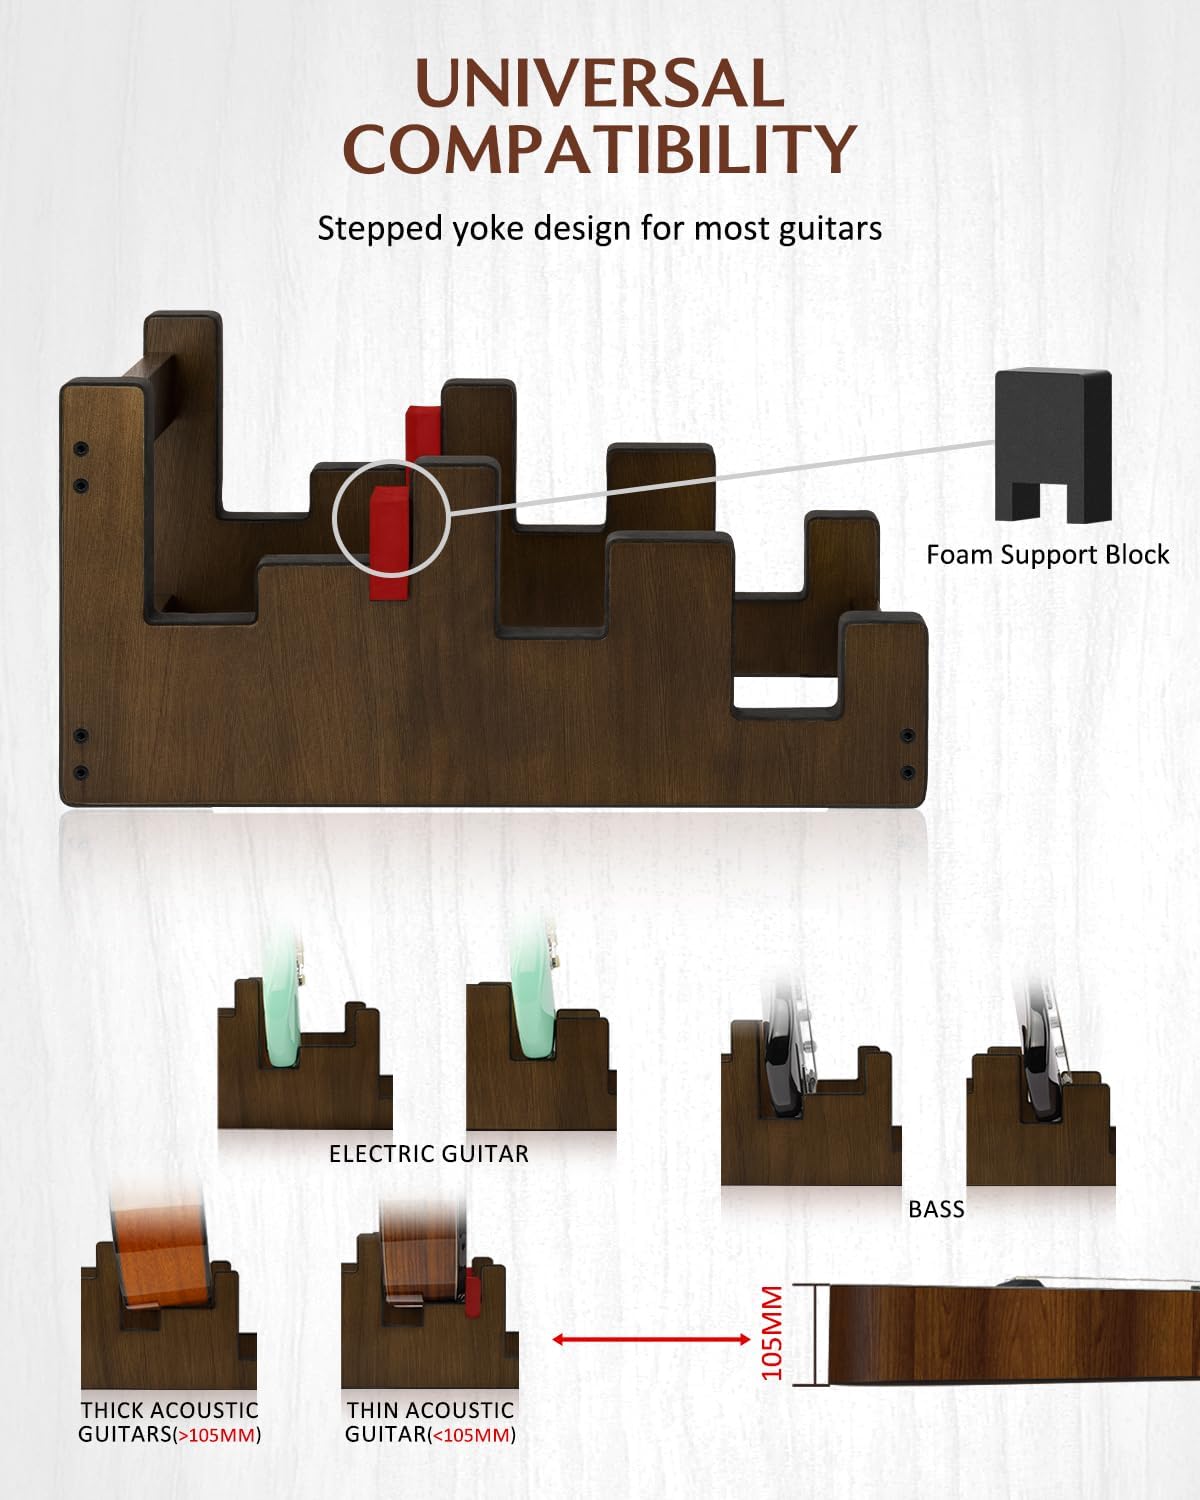
Figure 6: Universal compatibility and guitar slot types.
3.2. Using Slot Pads for Thin Acoustic Guitars
When placing an acoustic guitar with a thickness less than 10.5 cm (approximately 4.1 inches), it is recommended to use the provided slot pads (foam support blocks). These pads help maintain proper tilt and prevent potential collisions with adjacent guitars or the stand structure.
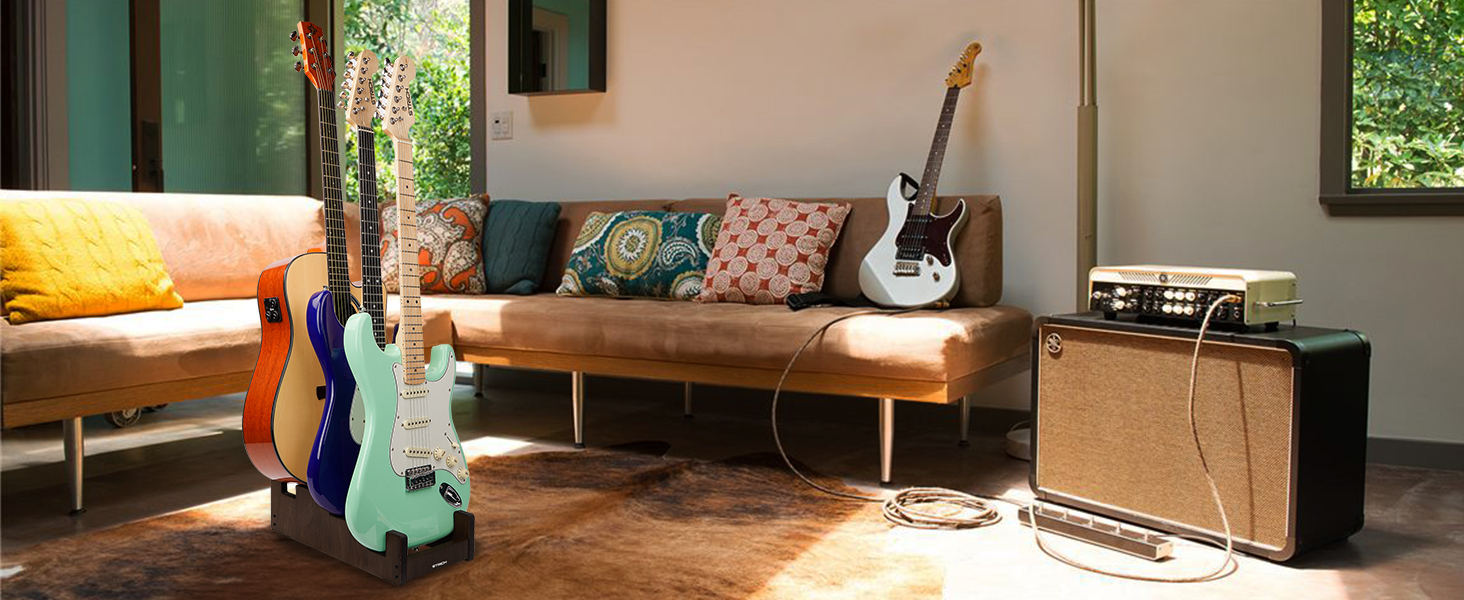
Figure 7: Proper use of slot pads for thin acoustic guitars.
3.3. Stability and Protection
- The stand features soft, inert EVA cushioning on all contact surfaces to prevent scratches and damage to your instruments.
- A non-slip base ensures stability on various floor types, including carpets.
- The tiered design allows guitars to be displayed both front and back, maximizing space efficiency while maintaining security.

Figure 8: Stable structure and guitar arrangement.

Figure 9: Protective features of the guitar stand.
4. Maintenance
To ensure the longevity and appearance of your STRICH Wooden Guitar Stand, follow these simple maintenance guidelines:
- Cleaning: Wipe the wooden surfaces with a soft, dry cloth. For light cleaning, a slightly damp cloth can be used, followed immediately by a dry cloth. Avoid abrasive cleaners or harsh chemicals, as these can damage the wood finish.
- Protection: Keep the stand away from direct sunlight and extreme temperature changes to prevent wood warping or fading.
- Cushioning: Periodically check the EVA cushioning for wear and tear. Replace if necessary to ensure continued protection for your guitars.
5. Troubleshooting
If you encounter any issues with your guitar stand, refer to the following troubleshooting tips:
- Stand Shakes After Installation:
Check all screws to ensure they are properly aligned with the holes and fully tightened. Verify that all components are correctly aligned and securely fitted together. Loose connections can cause instability.
- Guitars Lean Excessively or Feel Unstable:
- Ensure the correct slot is used for each guitar type (universal for acoustic/electric, electric-specific for electric).
- For acoustic guitars thinner than 10.5 cm, use the provided slot pads to adjust the tilt and prevent collisions.
- Some electric guitar models, particularly those with specific body shapes (e.g., certain Gibson Les Paul models), may not sit as securely in the electric guitar slots due to their weight distribution or body depth. Exercise caution and ensure stability before leaving the guitar unattended.
- Wood Color Differences:
As the product is made of natural solid wood, slight variations in wood grain and color between individual pieces are normal and not a defect.
6. Specifications
| Model Number | L-2E1AW |
| Product Dimensions (L x W x H) | 42.3 x 21 x 21.4 cm (16.7 x 8.27 x 8.43 inches) |
| Item Weight | 1.54 kg (3.4 lbs) |
| Material | Plywood (18 mm structure) |
| Color | Walnut Color |
| Number of Levels | 3 (tiered) |
| Assembly Required | Yes |
| Special Features | Designed for triple guitars, Floor stand, Front display, Lightweight, EVA cushioning, Non-slip base |

Figure 10: Product dimensions.
7. Warranty and Support
This product does not come with an explicit manufacturer's warranty as per available information. For any product-related inquiries, assembly assistance, or support, please contact the seller, Strich Direct, through your purchase platform. They can provide further assistance regarding your STRICH Wooden Guitar Stand.


