
Introduction
This manual provides detailed instructions for the installation, operation, and maintenance of your aquota Dash Cam Front and Rear (Model C5). Please read this manual thoroughly before using the product to ensure proper function and safety. This dual dash camera system records Ultra HD 2K (1920x1080P) front video and FHD 1080P rear video, featuring Wi-Fi connectivity, app control, night vision, and 24-hour parking mode.
What's in the Box
Verify that all items are present in the package:
- Dash cam front
- Dash cam rear
- Hardwire Kit
- User Manual
- 64GB Micro SD Card (included)
- Screws
- 3M adhesive sticker
- Bucking cable for recorder
- Rear pull lens mounting cable
- Pull back lens
- Power cord

Image: Contents of the aquota Dash Cam package. This includes the front dash cam, rear dash cam, hardwire kit, user manual, 64GB Micro SD card, screws, 3M adhesive sticker, bucking cable, rear camera cable, pull back lens, and power cord.
Product Overview
Key Features
- Ultra HD Video Quality: Records 2K (1920x1080P) front video and 1080P rear video for clear capture of details like license plates and road signs.
- Super Night Vision: Equipped with a high-quality sensor, 6-glass lenses, F1.8 large aperture, and automatic exposure for clear recording in low-light conditions.
- 170° Ultra Wide Angle: Features a 170° wide-angle front camera and a 140° wide-angle waterproof rear camera to capture a broad view of the road.
- Loop Recording: Automatically overwrites the oldest files when the storage is full, ensuring continuous recording without interruption.
- G-Sensor: Detects sudden impacts or collisions and automatically locks the current footage to prevent it from being overwritten. Manual locking is also available.
- Wi-Fi & App Control: Connects to a mobile app for real-time preview, video playback, and download.
- 24-Hour Parking Mode: Automatically activates time-lapse recording after the engine is stopped. Requires a special Type-C step-down cable (hardwire kit) for full functionality.
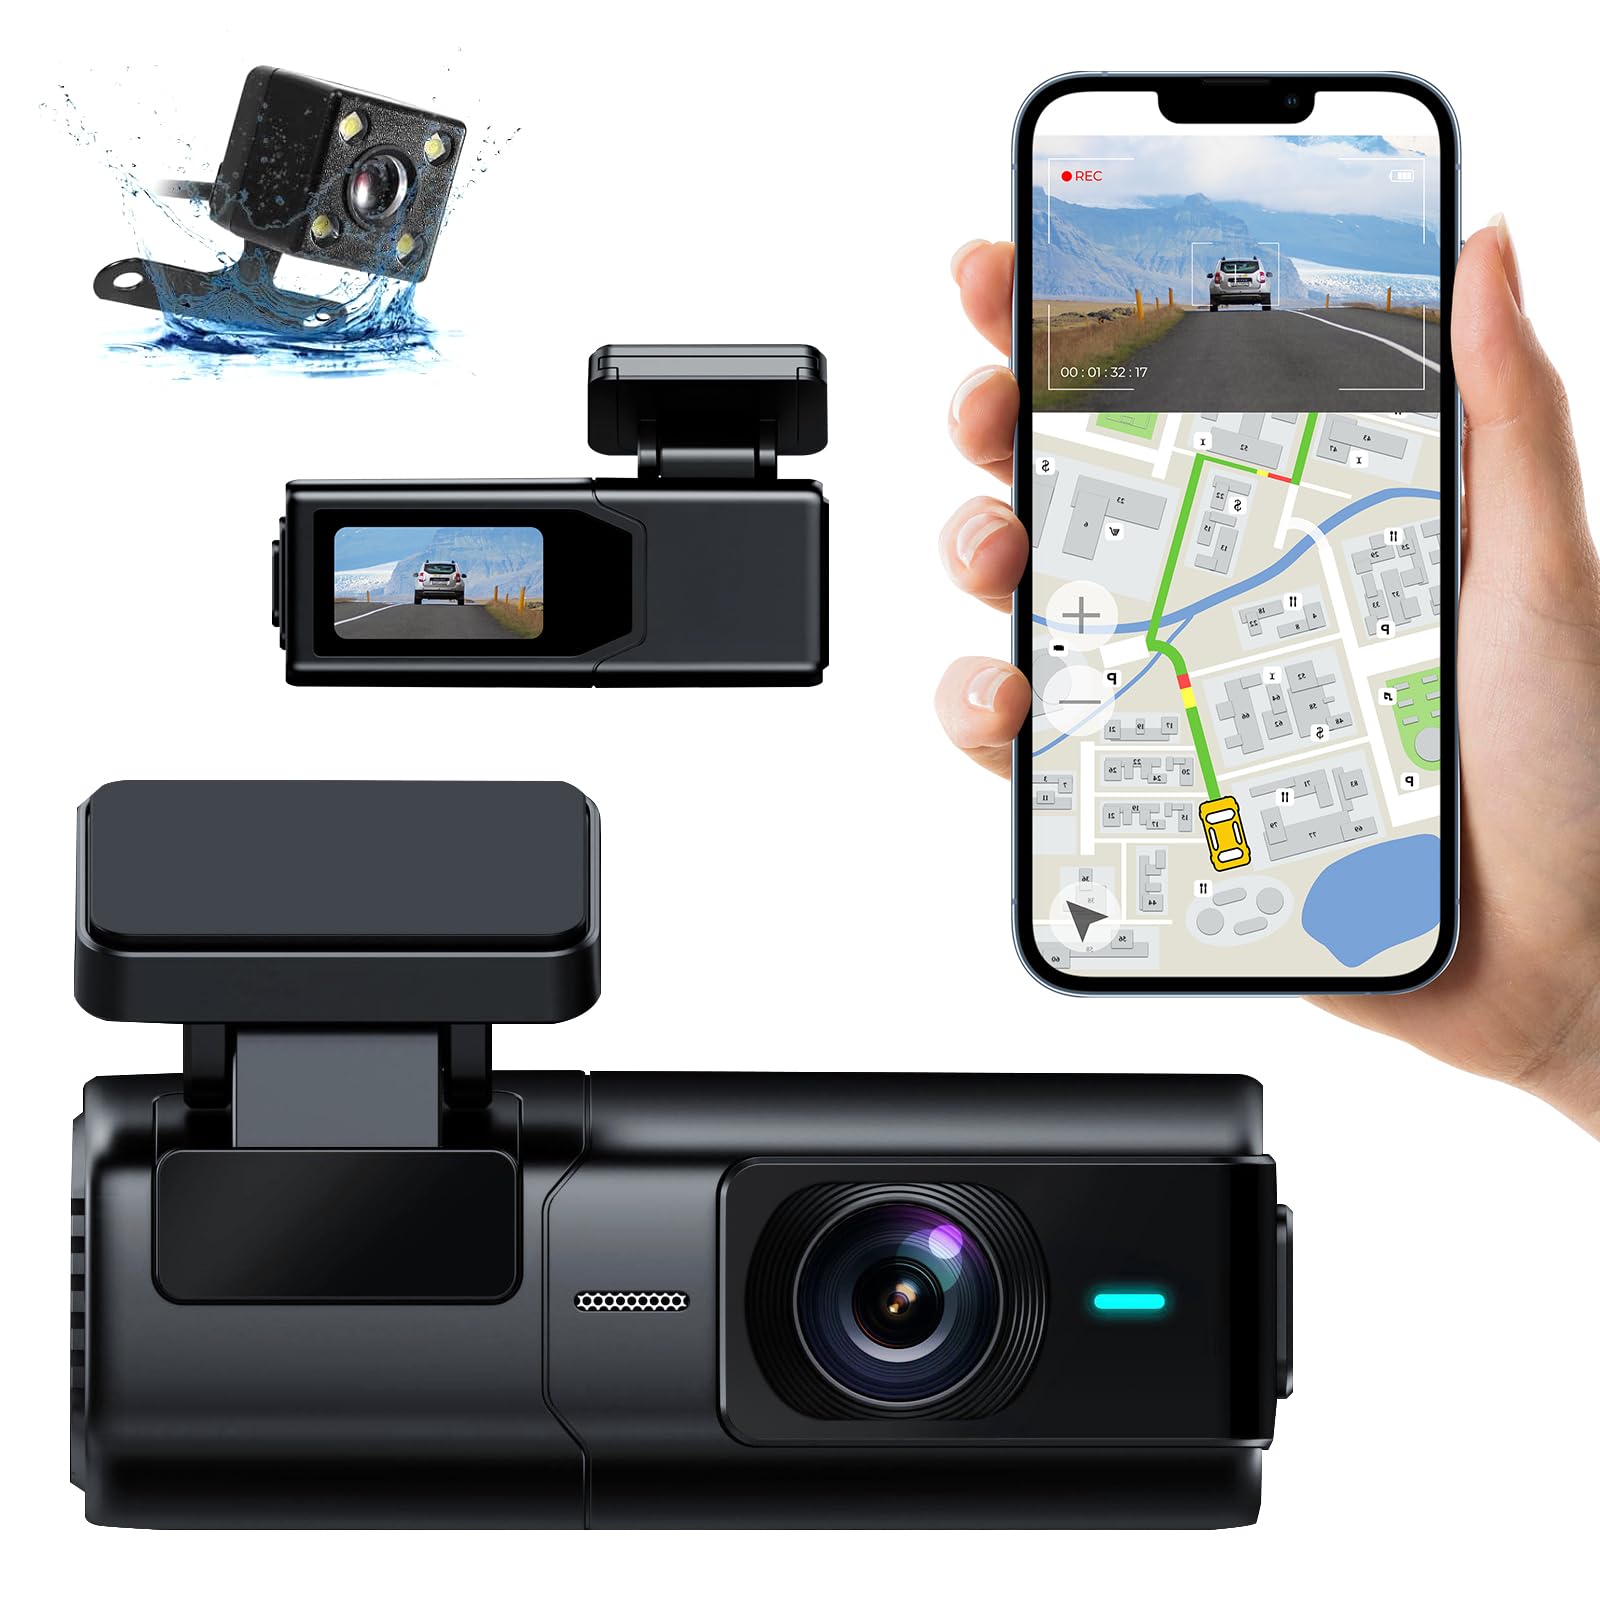
Image: The aquota Dash Cam Front and Rear main unit, showcasing its compact design.

Image: Illustrates the clear video quality of the front 2K camera and rear 1080P camera, showing captured license plates.

Image: Diagram illustrating the 170-degree wide-angle view of the front camera and 140-degree view of the rear camera, covering a broad area around the vehicle.
Setup
1. SD Card Installation
- Ensure the dash cam is powered off.
- Insert the provided 64GB Micro SD card (or another compatible card, Class 10 or above, up to 128GB) into the SD card slot on the side of the front dash cam until it clicks into place.
- To remove, gently push the card in until it springs out.
Important: It is recommended to format the SD card regularly (at least once a month) to maintain optimal recording performance and prevent data corruption. Format the card using the dash cam's settings or the mobile app.
2. Front Camera Installation
- Clean the windshield area where the dash cam will be mounted.
- Attach the 3M adhesive sticker to the dash cam mount.
- Securely attach the dash cam to the windshield, ensuring it does not obstruct your view. Position it centrally for the best front view.
- Adjust the camera lens angle to capture the road ahead.
3. Rear Camera Installation
- Identify a suitable location on your rear windshield or license plate area for the rear camera.
- Clean the mounting surface thoroughly.
- Use the provided screws or 3M adhesive to secure the rear camera.
- Route the rear camera cable from the rear of the vehicle to the front dash cam. Ensure the cable is tucked away neatly to avoid interference with vehicle operations.
- Connect the rear camera cable to the designated port on the front dash cam.
4. Power Connection
- Connect the power cord to the front dash cam.
- Plug the other end of the power cord into your vehicle's 12V power outlet (cigarette lighter socket).
- For 24-hour parking monitoring, use the included hardwire kit. Connect the hardwire kit according to its specific instructions, typically to the vehicle's fuse box to provide continuous power.

Image: Visual guide on connecting the dash cam to Wi-Fi, along with an illustration of the included components for setup, such as the front camera, instruction manual, bucking cable, rear camera cable, rear camera, and power cord.
Operating Instructions
1. Power On/Off
- The dash cam will automatically power on and begin recording when your vehicle's engine starts (if connected to the 12V outlet).
- To manually power on/off, press and hold the power button on the dash cam.
2. Basic Recording
- Once powered on, the dash cam will automatically start continuous loop recording.
- The recording status is indicated by an icon on the display screen.
3. Wi-Fi and App Control
The aquota Dash Cam can be controlled and managed via a mobile application (e.g., VeeCar app, as indicated in product images).
- Download the designated app from your smartphone's app store (e.g., Apple App Store or Google Play Store).
- Turn on the dash cam.
- Enable Wi-Fi on your smartphone and connect to the dash cam's Wi-Fi network (SSID and password typically found in the dash cam's settings or manual).
- Open the app. You can now view a real-time preview, play back recorded videos, and download files directly to your phone.
Video: Official guide demonstrating product installation and app details for the aquota Dash Cam.

Image: The mobile app interface for the aquota Dash Cam, showing options for real-time preview, video playback, and video download.
4. Loop Recording
The dash cam records video in segments (e.g., 1, 3, or 5 minutes). When the SD card is full, the oldest unlocked files are automatically overwritten by new recordings. This ensures continuous recording without manual intervention.

Image: Depicts the G-sensor function, which locks important video clips during a collision, and the loop recording feature, which automatically overwrites the oldest unlocked files for continuous recording.
5. G-Sensor (Emergency Recording)
The built-in G-sensor detects sudden impacts or rapid acceleration/deceleration. When triggered, it automatically locks the current video segment, preventing it from being overwritten by loop recording. This ensures critical incident footage is preserved.
- Manual Lock: You can also manually press the lock button on the dash cam to protect the current recording.

Image: Shows the G-sensor in action, automatically starting to record and lock important events when detecting impact or motion, preventing them from being overwritten.
6. 24-Hour Parking Mode
When properly connected with the hardwire kit, the dash cam can monitor your vehicle even when the engine is off. It automatically enters time-lapse recording mode or triggers event-based recording (e.g., G-sensor activation) to capture incidents while parked.
- Requires the included hardwire kit for continuous power supply.

Image: Depicts the 24-hour parking mode feature, which automatically turns on time-lapse recording after the engine stops, requiring a special Type-C step-down cable (hardwire kit).

Image: Explains the 24-hour parking monitoring feature, noting that bucking cables are included for basic setup, but a more comprehensive hardwire kit is needed for full functionality.
7. Super Night Vision
The dash cam is designed with advanced sensor technology, an F1.8 large aperture, and 6-glass lenses to enhance low-light performance. This allows for clear and vivid video capture even in challenging night-time or low-light conditions.

Image: A red sports car driving at night, demonstrating the dash cam's Super Night Vision feature, which ensures clear recording in low-light conditions with f/1.8 aperture, WDR Tech, Sony Sensor, and 6-Glass lens.
Maintenance
1. SD Card Formatting
Regular formatting of the Micro SD card is crucial for optimal performance and to prevent recording errors. Over time, fragmented files can reduce card efficiency.
- Frequency: Format the SD card at least once a month.
- Method: Use the formatting option within the dash cam's menu settings or through the connected mobile app. Avoid formatting the card on a computer unless absolutely necessary, as it may use an incompatible file system.
2. Cleaning the Device
- Gently wipe the camera lenses with a soft, lint-free cloth to ensure clear video quality.
- Clean the exterior of the dash cam with a dry or slightly damp cloth. Do not use harsh chemicals or abrasive cleaners.
- Ensure the device is powered off before cleaning.
Troubleshooting
If you encounter issues with your aquota Dash Cam, refer to the following common problems and solutions:
| Problem | Possible Solution |
|---|---|
| Dash cam does not power on. |
|
| Dash cam stops recording or does not save videos. |
|
| Wi-Fi connection issues or app not working. |
|
| Video quality is poor or blurry. |
|
| Dash cam has a delay in powering on. |
|
Specifications
| Feature | Detail |
|---|---|
| Brand | aquota |
| Model Name | aquota (Model C5) |
| Connectivity Technology | Wi-Fi |
| Special Feature | App Control, Night Vision, 24H Parking Mode, G-Sensor, Loop Recording |
| Video Capture Resolution | Front: 2K (1920x1080P), Rear: 1080p |
| Mounting Type | Rearview Mirror Mount (Adhesive) |
| Color | Black |
| Control Method | App |
| Screen Size | 1.5 Inches |
| Flash Memory Type | Micro SD |
| Maximum Aperture | F1.8 |
| Auto Part Position | Front, Rear |
| Are Batteries Included | No (Power from vehicle) |
| Display Type | LCD |
| Supported Standards | AVI |
| Compatible Devices | Smartphone |
| Frame Rate | 30 fps |
| Real Angle of View | Front: 170 Degrees, Rear: 140 Degrees |
| Included Memory Card Size | 64 GB |
| Flash Memory Supported Size Maximum | 128 GB |
| Item Dimensions D x W x H | 1.18"D x 3.38"W x 1"H |
Warranty Information
The aquota Dash Cam (Model C5) comes with a 12-month warranty from the date of purchase. This warranty covers manufacturing defects and malfunctions under normal use. It does not cover damage caused by misuse, accidents, unauthorized modifications, or improper installation.
Please retain your proof of purchase for warranty claims.
Customer Support
For further assistance, technical support, or warranty inquiries, please contact aquota customer service. Refer to the contact information provided on the product packaging or the official aquota website.
When contacting support, please have your product model (C5) and purchase details ready.