
1. Introduction
Thank you for choosing the Mars Gaming ML-LCD360 AIO Liquid Cooler. This all-in-one liquid cooling system is designed to provide efficient thermal management for your CPU, featuring a 600W TDP, three 120mm FDB ARGB fans, and an integrated LCD display for real-time temperature monitoring. This manual provides essential information for proper installation, operation, and maintenance of your cooler.
2. Package Contents
Please verify that all components are present before proceeding with installation. If any items are missing or damaged, please contact Mars Gaming support.
- 1x Mars Gaming ML-LCD360 AIO Liquid Cooler (Radiator, Pump/Cold Plate, Tubes)
- 3x 120mm FDB ARGB Fans
- Mounting Hardware Kit for Intel (LGA 2066/2011/1700/1200/1156/1155/1151/1150)
- Mounting Hardware Kit for AMD (AM5/AM4/AM3+/AM3/AM2+/AM2/FM2/FM1)
- Fan Screws and Radiator Screws
- Thermal Paste (may be pre-applied or included in a tube)
- ARGB Controller/Cables (5V 3-pin ARGB connector)
- User Manual
3. Specifications
| Feature | Specification |
|---|---|
| Model | MLLCD360 |
| Brand | Mars Gaming |
| Cooling Method | Liquid |
| TDP (Thermal Design Power) | Up to 600W |
| Fan Size | 3x 120mm FDB ARGB Fans |
| Pump Technology | 3rd Gen Opti-Chamber |
| Display | ARGB LCD Temperature Monitoring Display |
| ARGB Compatibility | Asus Aura Sync, Mystic Light Sync, RGB Fusion (5V 3-pin ARGB) |
| Intel Socket Compatibility | LGA 2066/2011/1700/1200/1156/1155/1151/1150 |
| AMD Socket Compatibility | AM5/AM4/AM3+/AM3/AM2+/AM2/FM2/FM1 |
| Product Dimensions (L x W x H) | 44L x 13W x 19H cm |
| Item Weight | 1.32 Kilograms |
| Material | Polycarbonate |
| Power Connector Type | 4-pin |
| Voltage | 5 Volts |
| GTIN | 08435693106593 |
| Country of Origin | Spain |
4. Setup and Installation
Before installation, ensure your system is powered off and unplugged. Refer to your motherboard manual for specific CPU socket and header locations. Always handle components with care to prevent damage.
4.1 Prepare CPU Socket
- Identify your CPU socket type (Intel or AMD).
- Install the appropriate backplate (if required for your socket) behind the motherboard.
- Secure the correct standoffs onto the backplate or directly into the motherboard mounting holes.
4.2 Apply Thermal Paste
If the thermal paste is not pre-applied to the cold plate, apply a small pea-sized amount to the center of your CPU's integrated heat spreader (IHS). Do not spread it manually; the pressure from the cold plate will distribute it evenly.
4.3 Mount Pump/Cold Plate
- Carefully align the pump/cold plate assembly with the standoffs on the motherboard.
- Place the mounting bracket over the pump and secure it with the provided thumb screws or nuts, tightening them in a diagonal pattern until snug. Do not overtighten.

Image: The pump head of the Mars Gaming ML-LCD360 AIO Liquid Cooler, featuring the integrated LCD display for temperature monitoring and the 3rd Gen Opti-Chamber design.
4.4 Mount Radiator and Fans
- Attach the three 120mm ARGB fans to the radiator using the shorter fan screws. Ensure the fan airflow direction is appropriate for your case (typically pushing air through the radiator or pulling air from it).
- Mount the radiator assembly to an available fan mount location in your PC case (e.g., top, front, or rear) using the longer radiator screws.

Image: The Mars Gaming ML-LCD360 AIO Liquid Cooler fully assembled with its three 120mm ARGB fans attached to the radiator, showcasing its 600W TDP capability.
4.5 Connect Cables
- Connect the pump's 4-pin power cable to a dedicated AIO_PUMP or CPU_FAN header on your motherboard. Consult your motherboard manual for the correct header.
- Connect each fan's 4-pin PWM power cable to available fan headers on your motherboard or a fan hub.
- Connect the 5V 3-pin ARGB cables from the pump and fans to a compatible 5V ARGB header on your motherboard or an external ARGB controller. Ensure correct polarity to avoid damage.

Image: The Mars Gaming ML-LCD360 AIO Liquid Cooler installed inside a desktop computer case, with the ARGB lighting active and the LCD display showing a temperature reading.
5. Operating Instructions
5.1 Initial Power-On
After completing all connections, power on your system. The fans and pump should start operating, and the ARGB lighting should illuminate. The LCD display on the pump will show the coolant temperature.
5.2 Monitoring Temperature
The integrated ARGB LCD display on the pump provides real-time monitoring of the coolant temperature. This allows you to quickly assess the cooling performance of your system.
5.3 ARGB Lighting Control
The ML-LCD360 supports customizable ARGB lighting. Connect the 5V 3-pin ARGB cable to a compatible motherboard header (Asus Aura Sync, Mystic Light Sync, RGB Fusion) to control the lighting effects via your motherboard's software. Alternatively, if an external ARGB controller is included or purchased separately, use its controls to adjust the lighting.
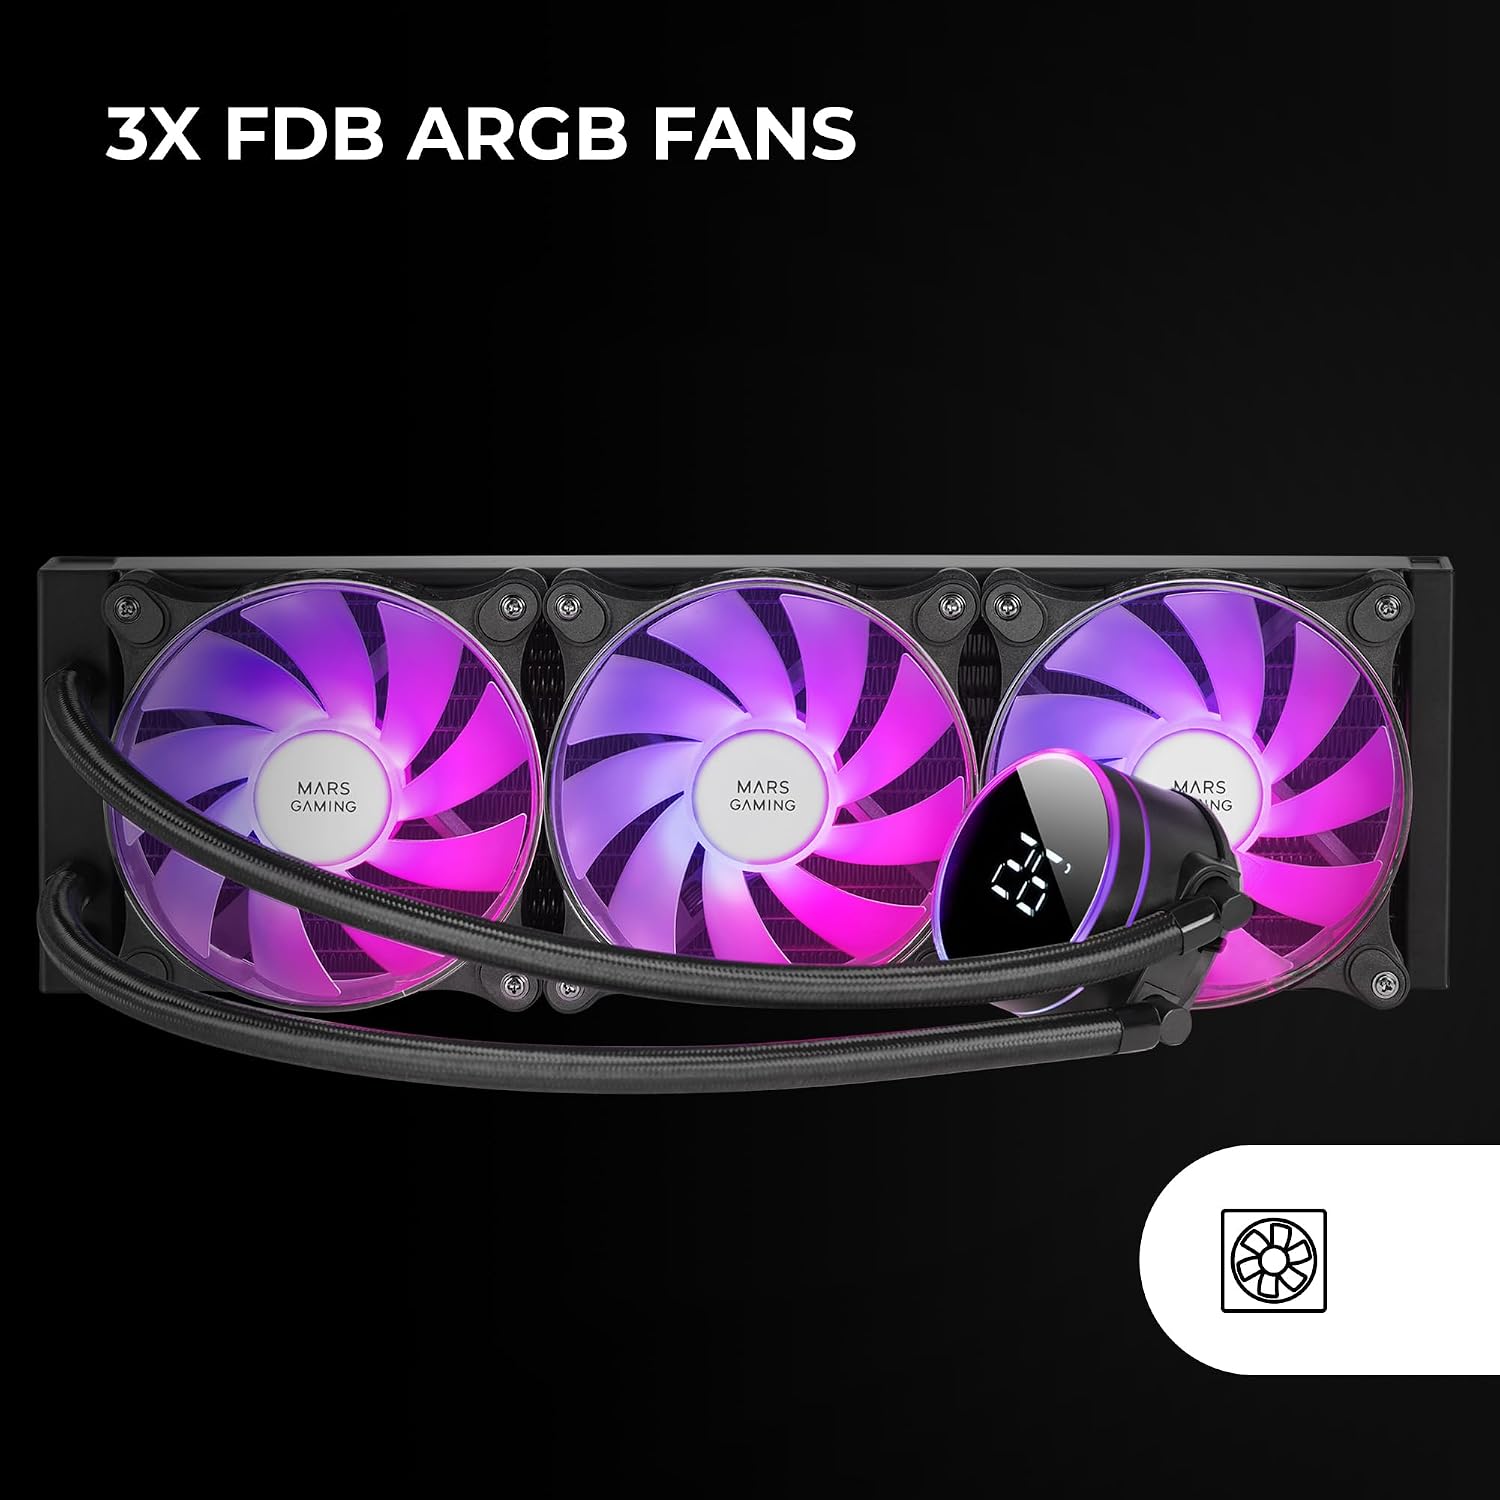
Image: A close-up view of the Mars Gaming ML-LCD360 AIO Liquid Cooler's three 120mm FDB ARGB fans, showcasing their vibrant illumination and the pump head with its LCD display.
6. Maintenance
Regular maintenance helps ensure optimal performance and longevity of your liquid cooler.
- Dust Cleaning: Periodically clean the radiator fins and fan blades with compressed air or a soft brush to remove dust buildup. Dust can impede airflow and reduce cooling efficiency.
- Visual Inspection: Occasionally inspect the tubes and connections for any signs of leaks or damage. While the system is sealed, a quick visual check can help identify potential issues early.
- Liquid Loop: The liquid loop is a closed system and does not require refilling or maintenance by the user. Do not attempt to open the pump or radiator.

Image: A detailed view of the extra-long Teflon tubes used in the Mars Gaming ML-LCD360 AIO Liquid Cooler, designed for durability and flexible installation.
7. Troubleshooting
If you encounter issues with your Mars Gaming ML-LCD360 AIO Liquid Cooler, refer to the following common problems and solutions.
7.1 High CPU Temperatures
- Check Mounting: Ensure the pump/cold plate is securely mounted to the CPU and making good contact. Re-seat if necessary.
- Thermal Paste: Verify that thermal paste was applied correctly and evenly.
- Fan Operation: Confirm that all three fans are spinning. Check fan connections to the motherboard or fan hub.
- Radiator Airflow: Ensure the radiator is not obstructed by dust or cables, and that case airflow is adequate.
- Pump Operation: Listen for the pump operating. If it's silent and temperatures are high, the pump may not be functioning. Check its power connection.
7.2 Fans or ARGB Lighting Not Working
- Power Connections: Double-check all 4-pin fan power cables and the 5V 3-pin ARGB cables are securely connected to the correct headers on the motherboard or controller.
- Motherboard Software: For ARGB control, ensure your motherboard's lighting software (e.g., Asus Aura Sync, Mystic Light Sync, RGB Fusion) is installed and configured correctly.
- ARGB Header: Confirm you are using a 5V 3-pin ARGB header, not a 12V 4-pin RGB header, as this can damage the ARGB components.
7.3 Inaccurate LCD Temperature Display
The LCD display shows the coolant temperature. This reading may differ from CPU core temperatures reported by software, as it measures the liquid temperature within the loop. If the display appears to be malfunctioning (e.g., showing incorrect values, flickering, or turning off), ensure all display-related cables are properly connected. If the issue persists, contact customer support.
8. Warranty and Support
The Mars Gaming ML-LCD360 AIO Liquid Cooler comes with a 3-year manufacturer warranty from the date of purchase. This warranty covers defects in materials and workmanship under normal use.
For technical support, warranty claims, or any questions regarding your product, please contact Mars Gaming customer service through their official website or the retailer where you purchased the product. Please have your proof of purchase and product model number (MLLCD360) ready when contacting support.


