
1. Introduction
Thank you for choosing the DOINOW Cordless Rechargeable Hot Glue Gun G1-NEW. This manual provides essential information for the safe and effective operation, maintenance, and troubleshooting of your new device. Please read it thoroughly before first use and retain it for future reference.
2. Product Overview and Components
The DOINOW G1-NEW is a compact, cordless hot glue gun designed for various crafting and repair tasks. It features fast preheating and automatic glue dispensing for precise application.
Included Components:
- 1 x DOINOW Pink Hot Glue Gun (G1-NEW)
- 1 x USB-C Charging Cable
- 20 x Clear Glue Sticks (7mm diameter)
- 10 x Glitter Colored Glue Sticks (7mm diameter, assorted colors)
- 1 x User Manual (this document)

Image: The DOINOW G1-NEW hot glue gun, USB-C charging cable, and a variety of clear and colored glue sticks.
3. Safety Instructions
WARNING: Failure to follow these safety instructions may result in injury or property damage.
- Hot Nozzle and Glue: The nozzle and dispensed glue become very hot during operation. Avoid direct contact with skin to prevent burns. Allow glue to cool completely before touching.
- Glue Stick Insertion: Always insert glue sticks from the designated entrance at the rear of the gun. Do not attempt to pull a glue stick out from the entrance once it has been inserted, as this can damage the internal mechanism.
- Charging Safety: For your safety, do not use the glue gun while it is charging.
- Children: Keep the device out of reach of children. Adult supervision is required if children are using the glue gun.
- Ventilation: Use in a well-ventilated area.
- Storage: Store in a dry place, away from direct sunlight and extreme temperatures.

Image: Visual warnings against touching the hot nozzle, pulling glue sticks from the back, and using the device while charging.
4. Setup
4.1 Initial Charging
- Before first use, fully charge the glue gun using the provided USB-C cable. Connect the USB-C end to the glue gun's charging port and the USB-A end to a compatible power adapter (not included).
- The indicator light will show charging status (refer to device for specific light behavior).
4.2 Inserting a Glue Stick
- Ensure the glue gun is powered off.
- Insert a 7mm diameter glue stick into the circular opening at the rear of the glue gun.
- For the first insertion, you may need to apply some force to push the glue stick fully into place until it engages with the internal feeding mechanism.

Image: Step 2 shows inserting a glue stick into the rear of the glue gun.
5. Operating Instructions
5.1 Powering On and Preheating
- Press and hold the power button for approximately 3 seconds to turn on the glue gun.
- The glue gun will begin preheating. It takes approximately 6 seconds to reach operating temperature.
- For the very first use with a new glue stick, it may take up to one minute for the glue stick to fully advance and for glue to dispense. Subsequent uses will only require the 6-second preheating time.
Image: Steps 1 and 3 illustrate powering on and the 6-second preheating process.
5.2 Automatic Glue Dispensing
- Once preheated, press the trigger button to automatically dispense glue. The motor-driven design ensures a smooth and consistent flow.
- Release the trigger to stop the glue flow.
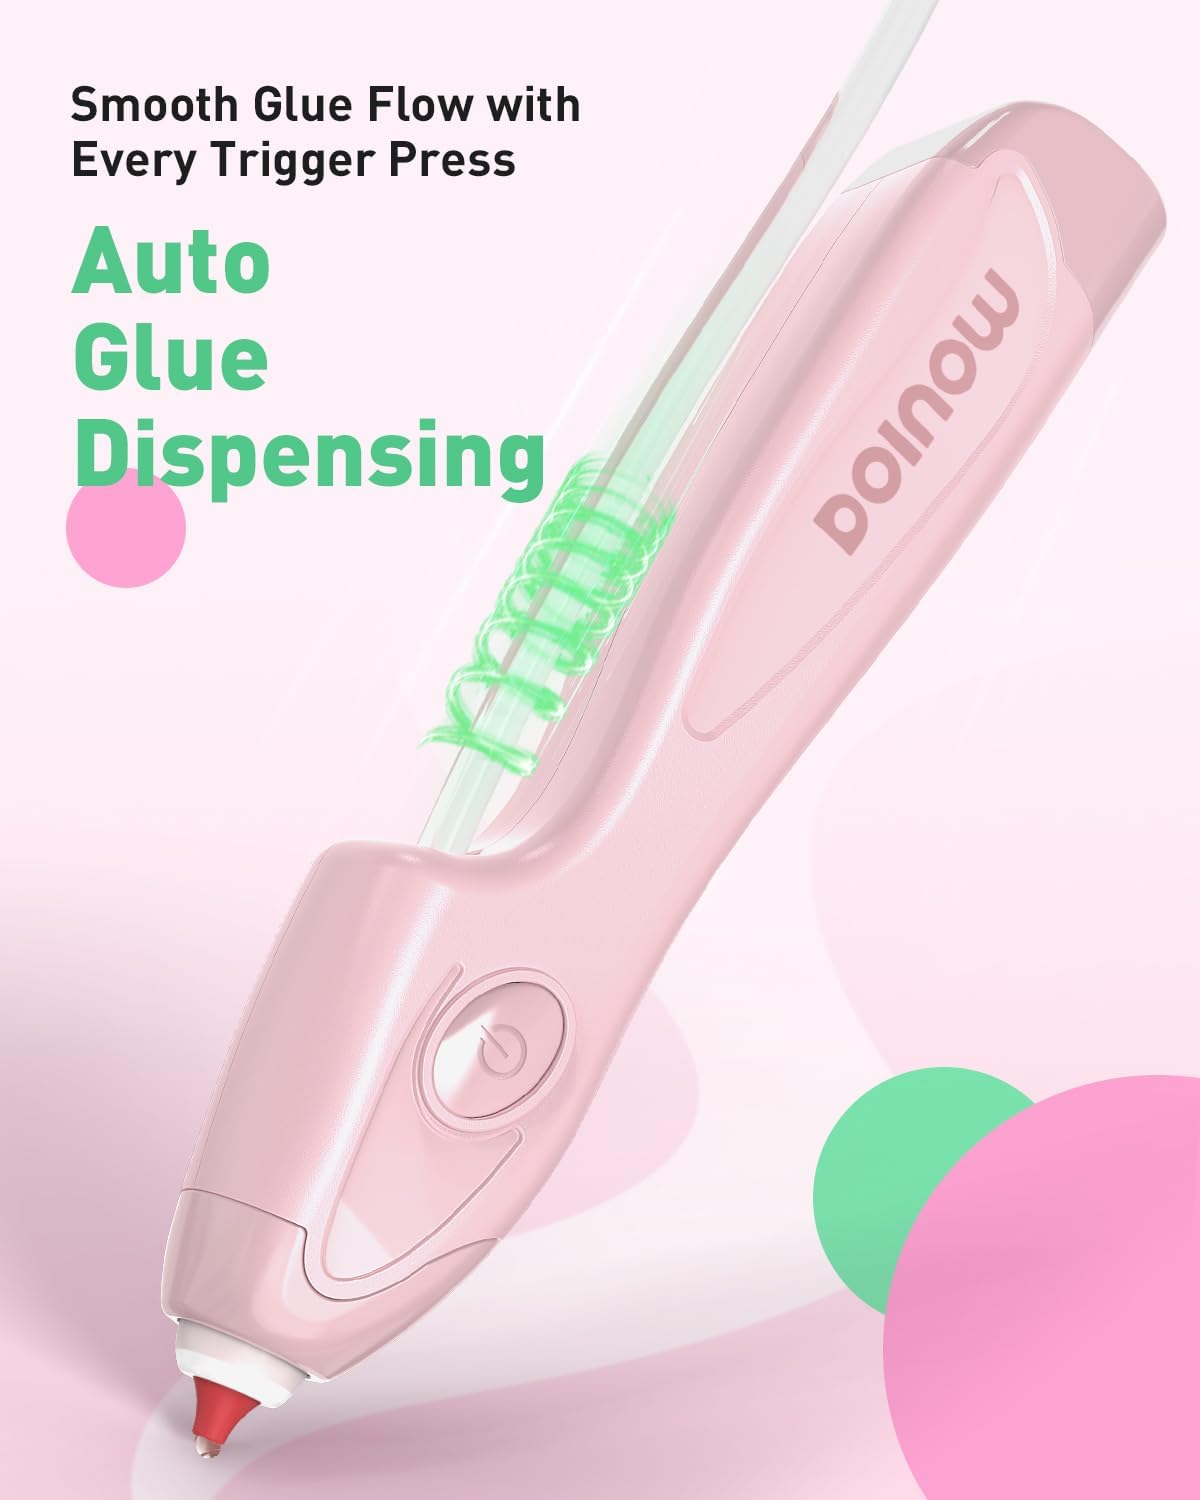
Image: The glue gun demonstrating automatic glue dispensing with a smooth flow.
5.3 Auto-Shutdown Feature
For safety and energy efficiency, the glue gun will automatically power off after 100 seconds of inactivity. To resume operation, press and hold the power button for 3 seconds to turn it back on and allow it to preheat.
5.4 Replacing Glue Sticks
Once a glue stick is inserted and used, it cannot be removed from the rear of the machine. If you wish to change to a different color or type of glue stick before the current one is fully consumed:
- Allow the current glue stick to be mostly consumed.
- Alternatively, use scissors to carefully cut off the remaining exposed portion of the current glue stick.
- Insert the new glue stick as described in Section 4.2.
6. Maintenance
6.1 Cleaning
- Ensure the glue gun is powered off and completely cool before cleaning.
- Wipe the exterior of the glue gun with a soft, damp cloth. Do not use abrasive cleaners or solvents.
- If there is dried glue on the nozzle, allow the gun to heat up slightly, then carefully wipe away the softened glue with a heat-resistant cloth. Avoid touching the hot nozzle directly.
6.2 Storage
When not in use, store the DOINOW G1-NEW in a clean, dry place, away from direct sunlight and extreme temperatures. Ensure no glue sticks are partially inserted if storing for extended periods, or if you prefer to keep it clean.
7. Troubleshooting
| Problem | Possible Cause | Solution |
|---|---|---|
| Glue not dispensing or dispensing slowly. |
|
|
| Glue gun not turning on. |
|
|
| Glue drips excessively. |
|
|
8. Specifications
| Feature | Detail |
|---|---|
| Model | G1-NEW |
| Brand | DOINOW |
| Color | Pink |
| Item Weight | 0.12 Kilograms (4.2 ounces) |
| Product Dimensions | 7.47"L x 1.08"W x 1.18"H |
| Power Source | Battery Powered (Lithium Ion) |
| Wattage | 25 watts |
| Voltage | 3 Volts (DC) |
| Compatible Glue Stick Diameter | 7 mm (0.28 inches) |
| Preheating Time | Approx. 6 seconds (after initial glue stick advance) |
| Auto-Shutdown | After 100 seconds of inactivity |
9. Warranty and Support
For warranty information or technical support, please contact DOINOW customer service. Refer to the packaging or the official DOINOW website for contact details.
Manufacturer: DOINOW
Part Number: G1-NEW