
1. Introduction
This manual provides detailed instructions for the assembly, operation, and maintenance of your Quictent 10x20 ft Heavy Duty Carport Canopy, Model 1112GY. This galvanized car tent is designed to offer reliable outdoor shelter for vehicles, boats, or as a versatile outdoor garage. Please read all instructions carefully before beginning assembly and retain this manual for future reference.

Image 1.1: Overview of the Quictent 10x20 ft Carport Canopy, Model 1112GY, providing shelter for a vehicle.
2. Safety Information
Proper installation and anchoring are crucial for the safe and stable operation of this carport. Failure to follow these guidelines may result in damage to the product or personal injury.
- Ensure the shelter is properly anchored to withstand external pressures and high winds. Use all provided anchoring hardware.
- Do not assemble the carport in strong winds or adverse weather conditions.
- Regularly inspect the frame and cover for any signs of wear, damage, or loose connections. Address any issues promptly.
- Clear snow accumulation from the canopy cover to prevent structural collapse.
- Keep open flames and heat sources away from the canopy fabric.
- This product is intended for temporary or seasonal use. Prolonged exposure to extreme weather conditions may reduce its lifespan.
3. Package Contents
Before beginning assembly, verify that all components listed below are present and undamaged. If any parts are missing or damaged, contact customer support immediately.
- Galvanized Steel Frame Pipes (various lengths and shapes, numbered for identification)
- Metal Corner Joints (3-way, 4-way, etc.)
- Extra Top Reinforced Poles
- Heavy-Duty Polyethylene Fabric Cover (Roof and Sidewalls with Roll-up Ventilated Windows)
- Bungee Cords
- Ropes
- Spiral Pegs / Anchors
- Solid Foot Bases
- Assembly Hardware (bolts, nuts, washers if applicable)
- Instruction Manual

Image 3.1: Key components including bungee cords, welded joints, foot bases, and spiral pegs.
4. Setup and Assembly
Assembly typically requires two people for optimal speed and ease. Follow the numbered steps below for a successful setup.
4.1. Prepare the Site
Choose a level area free from overhead obstructions. Ensure adequate space for the 10x20 ft footprint and additional working room around the perimeter. Clear any debris or sharp objects that could damage the canopy fabric.
4.2. Assemble the Top Frame
Begin by connecting the galvanized steel pipes and metal corner joints to form the roof structure. Refer to the numbered pipes and joints in your specific instruction diagram. Ensure all connections are secure.

Image 4.1: Step 1 of assembly - assembling the top frame.
The structure includes extra top reinforced poles for enhanced stability and to prevent structural twisting under external pressures.
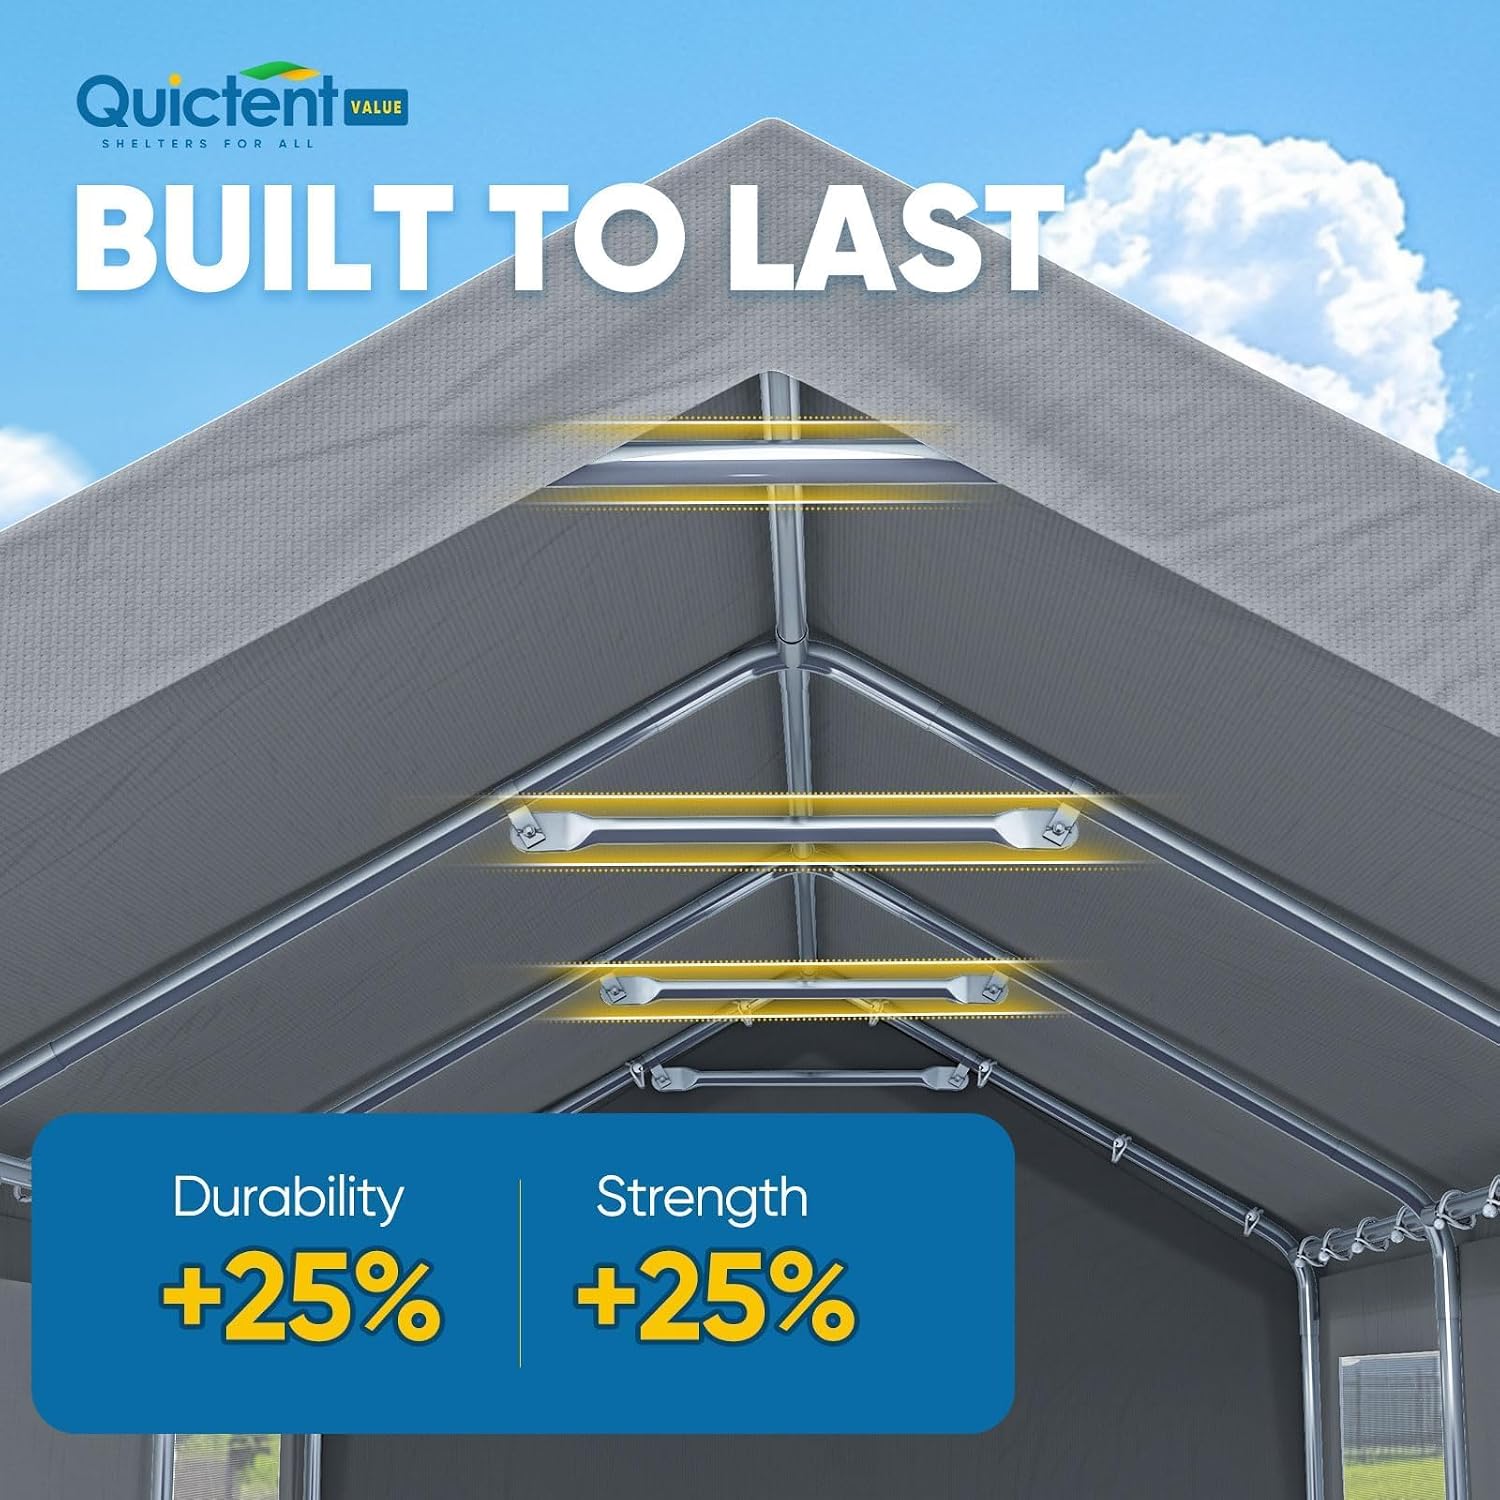
Image 4.2: Detail of the reinforced structure with extra top poles.
4.3. Cover the Frame with Tarpaulin
Carefully drape the main roof cover over the assembled top frame. Ensure it is centered and aligned correctly before proceeding.
Image 4.1 (Step 2): Covering the frame with the main tarpaulin.
4.4. Assemble Pillar Steel Pipes
Attach the vertical pillar pipes to the roof frame, connecting them to the appropriate corner joints. Ensure all connections are firm and stable. The upgraded galvanized tubes are designed for heavy-duty use and rust resistance.
Image 4.1 (Step 3): Assembling the 8 pillar steel pipes.

Image 4.3: Illustration of the durable galvanized pipe construction.
4.5. Cover the Sides with Tarpaulins
Attach the sidewalls to the frame using the provided bungee cords and other fasteners. Ensure the sidewalls are taut and securely fastened to prevent flapping in the wind.
Image 4.1 (Step 4): Covering the sides with tarpaulins.
4.6. Secure the Carport
Utilize the spiral pegs and ropes to firmly anchor the carport to the ground. Proper anchoring is essential for stability, especially in windy conditions.

Image 4.4: The fully assembled carport providing shelter.
5. Operation
The Quictent Carport is designed for ease of use and adaptability to various weather conditions.
5.1. Roll-up Ventilated Windows
The sidewalls feature mesh windows with roll-up covers. These can be adjusted to suit seasonal climate conditions:
- For Ventilation (Summer): Roll up the window covers to expose the mesh, allowing airflow and preventing heat buildup inside the carport.
- For Protection (Winter/Rain): Roll down and secure the window covers to provide additional protection against cold, wind, and rain.

Image 5.1: Detail of the roll-up ventilated mesh window.
6. Maintenance
Regular maintenance will extend the lifespan and ensure the continued performance of your carport.
- Cleaning the Cover: The extra-thick polyethylene fabric is waterproof and anti-UV. Clean the cover periodically with mild soap and water. Avoid harsh chemicals or abrasive brushes that could damage the material.
- Frame Inspection: Annually inspect all frame connections, bolts, and anchors for tightness. Tighten any loose components. Check for rust on the galvanized steel frame; while rust-resistant, extreme conditions may require touch-ups.
- Snow Removal: In snowy regions, regularly remove snow accumulation from the roof to prevent excessive weight and potential collapse.
- Wind Protection: In anticipation of strong winds, ensure all anchors are secure and consider temporarily removing the sidewalls or relocating the carport if possible.
- Fabric Care: Avoid placing sharp objects near the fabric to prevent tears. If tears occur, repair them promptly with appropriate patch kits to maintain waterproof integrity.

Image 6.1: The carport's cover is designed to withstand various elements.
7. Troubleshooting
This section addresses common issues you might encounter with your carport.
- Carport Instability: If the carport feels unstable, re-check all frame connections and ensure all ground anchors (spiral pegs) are fully secured into the ground. Verify that ropes are taut.
- Water Pooling on Roof: Ensure the roof cover is stretched tightly and evenly over the frame. Adjust bungee cords if necessary. Excessive pooling can indicate improper assembly or insufficient tension.
- Sidewalls Flapping in Wind: Ensure all sidewall fasteners (Velcro straps, bungee cords) are securely attached to the frame. For very strong winds, consider temporarily removing sidewalls to reduce wind resistance.
- Difficulty Assembling Pipes: Ensure you are using the correct numbered pipes and joints as per the assembly diagram. A rubber mallet can gently assist in seating pipes, but avoid excessive force.
8. Specifications
| Feature | Detail |
|---|---|
| Brand | Quictent |
| Model Number | 1112GY |
| Product Dimensions | 240"L x 120"W x 110"H (20 ft L x 10 ft W x 9.2 ft H) |
| Color | Gray |
| Frame Material | Alloy Steel (Galvanized) |
| Cover Material | Extra-thick Polyethylene (PE) Fabric |
| Water Resistance Level | Waterproof |
| UV Protection | Yes |
| Item Weight | 97 pounds |
| Assembly Required | Yes |

Image 8.1: Carport dimensions overview.
9. Warranty Information
Quictent provides the following warranty for this product:
- Lifetime Warranty Replacement: For connectors, pegs, ropes, elastic ropes, and similar accessories.
- 1 Year Warranty: For covers and poles.
Please retain your proof of purchase for warranty claims. For detailed warranty terms and conditions, or to initiate a claim, please contact Quictent customer support.
10. Customer Support
For any questions, assistance with assembly, troubleshooting, or warranty inquiries, please contact Quictent customer support. Our team is available to provide support.
You can typically find contact information on the seller's page or through the official Quictent website.

Image 10.1: Illustration of available customer support channels.